Outfitting the Trailer
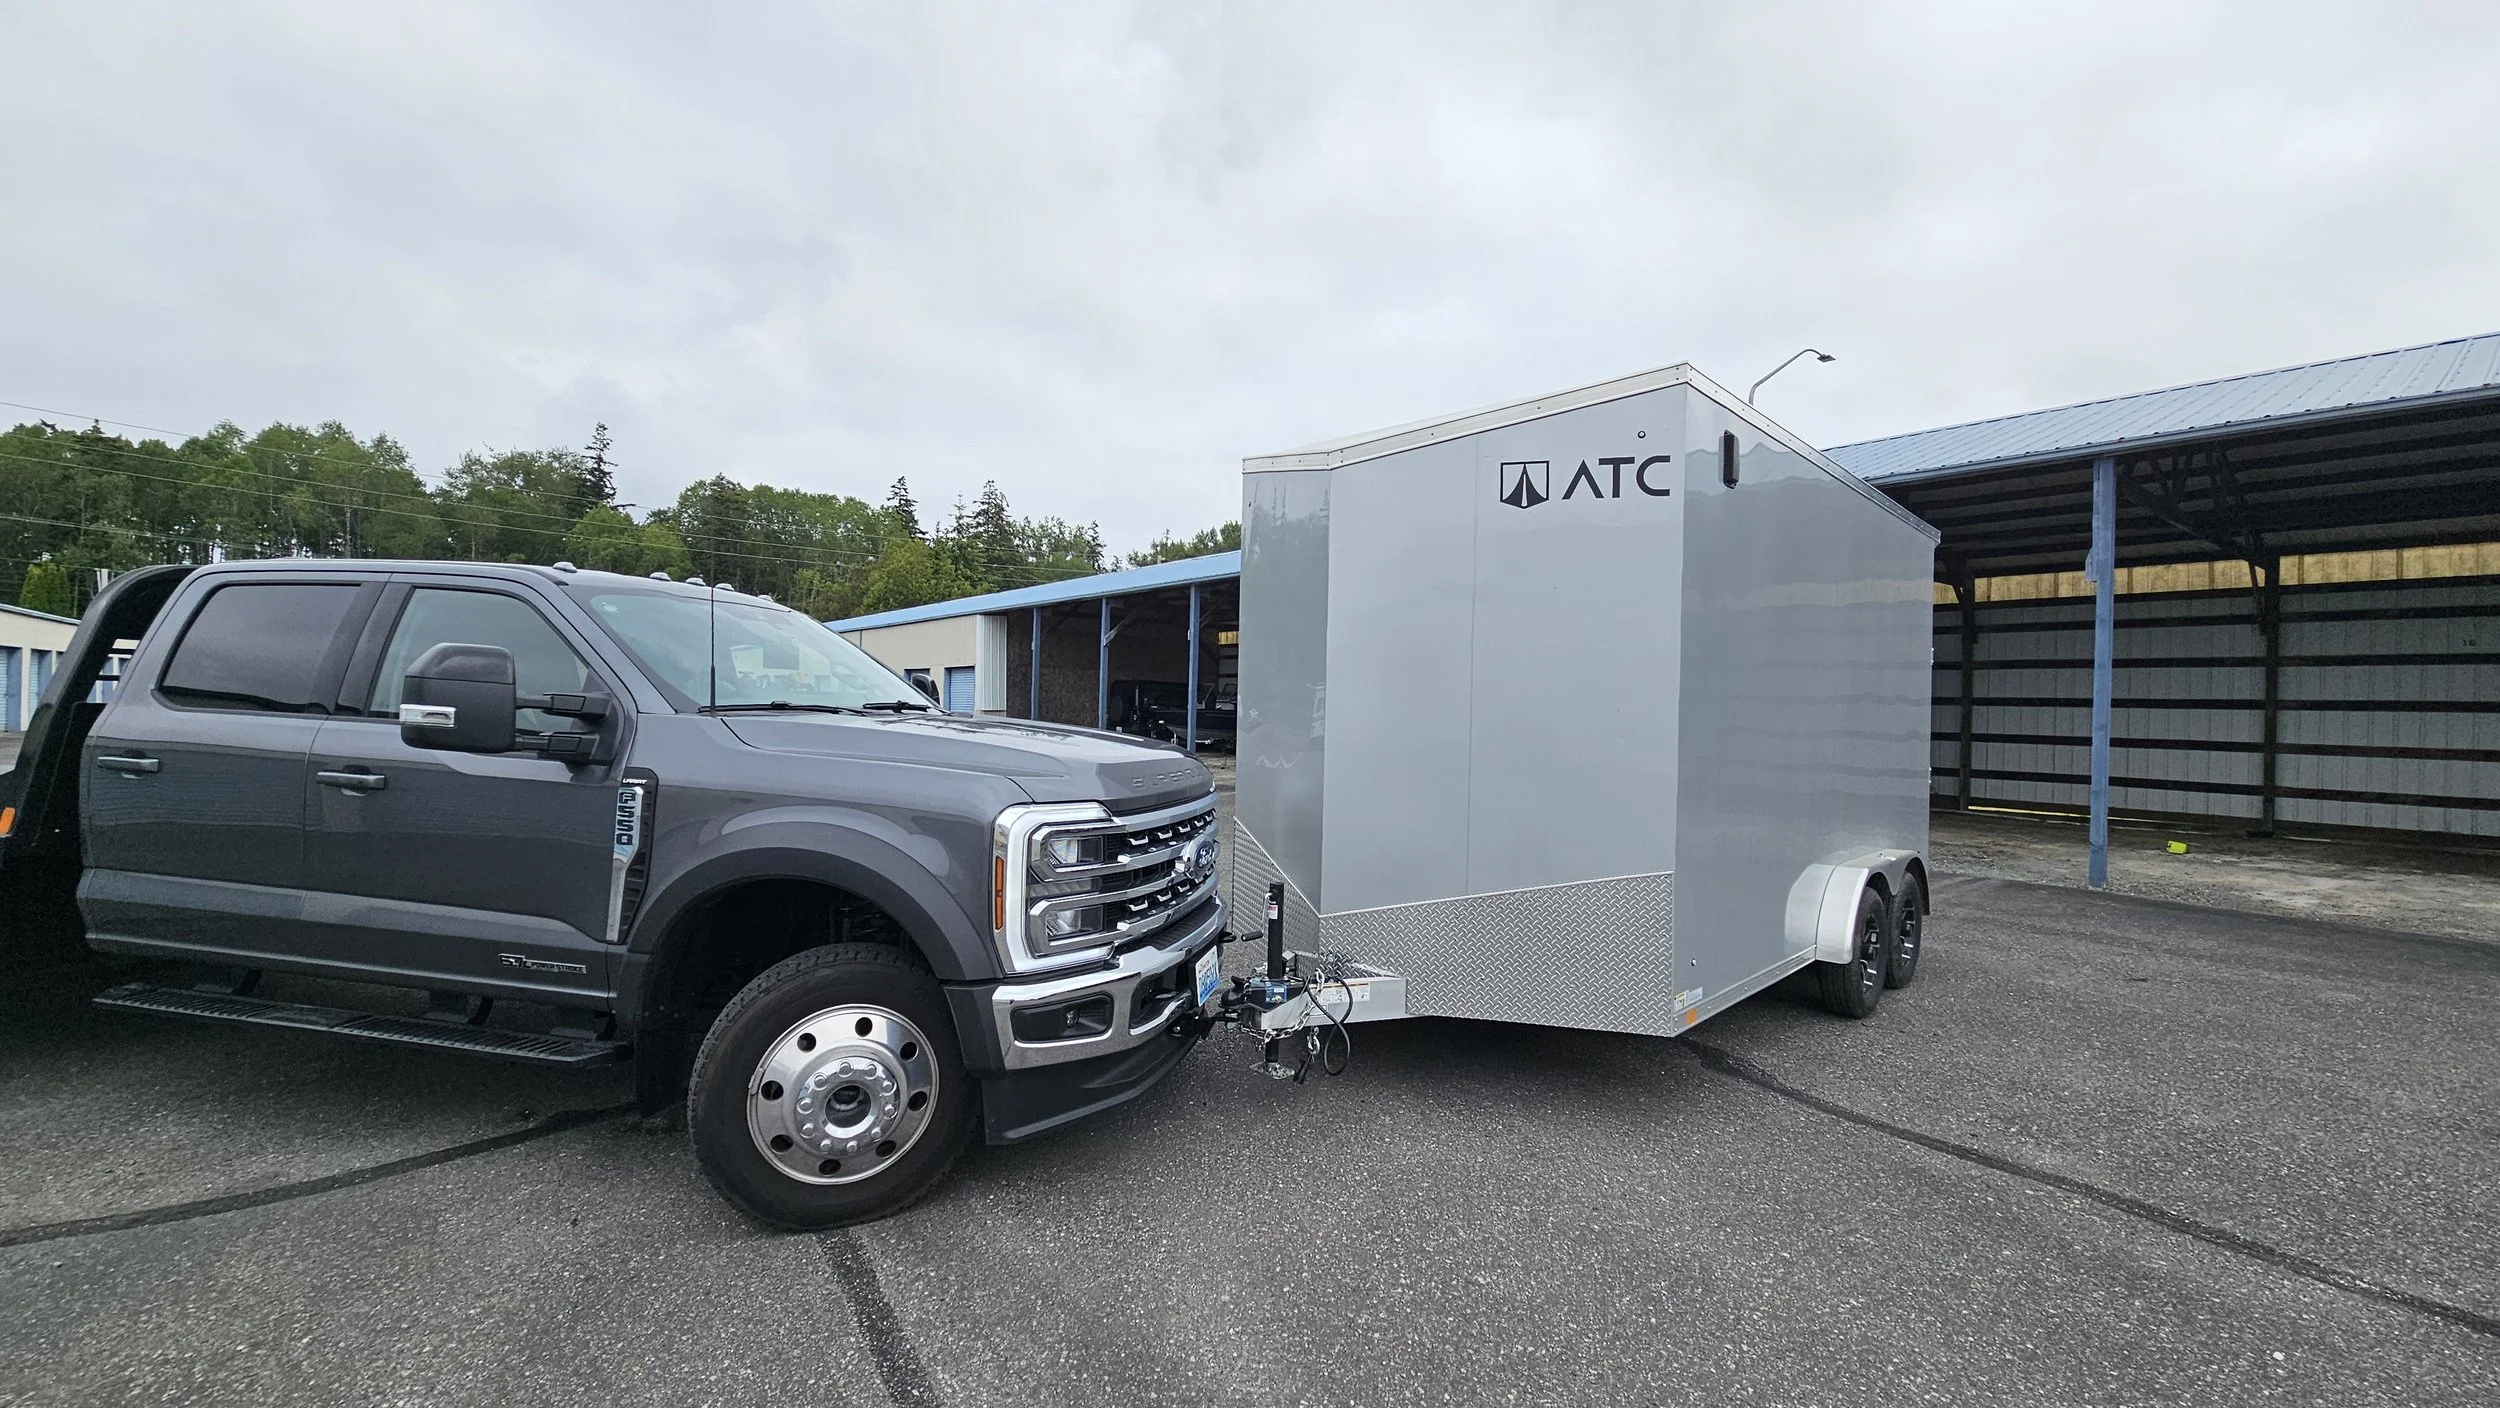
We drove to Indiana and picked up our ATC Sto400 trailer on June 4th. If you missed the blog post about our trip to pick up the trailer, check it out here: https://www.rethinknorthwest.com/blog-1-1/a-trip-to-pick-up-our-cargo-trailer-and-visiting-aven.
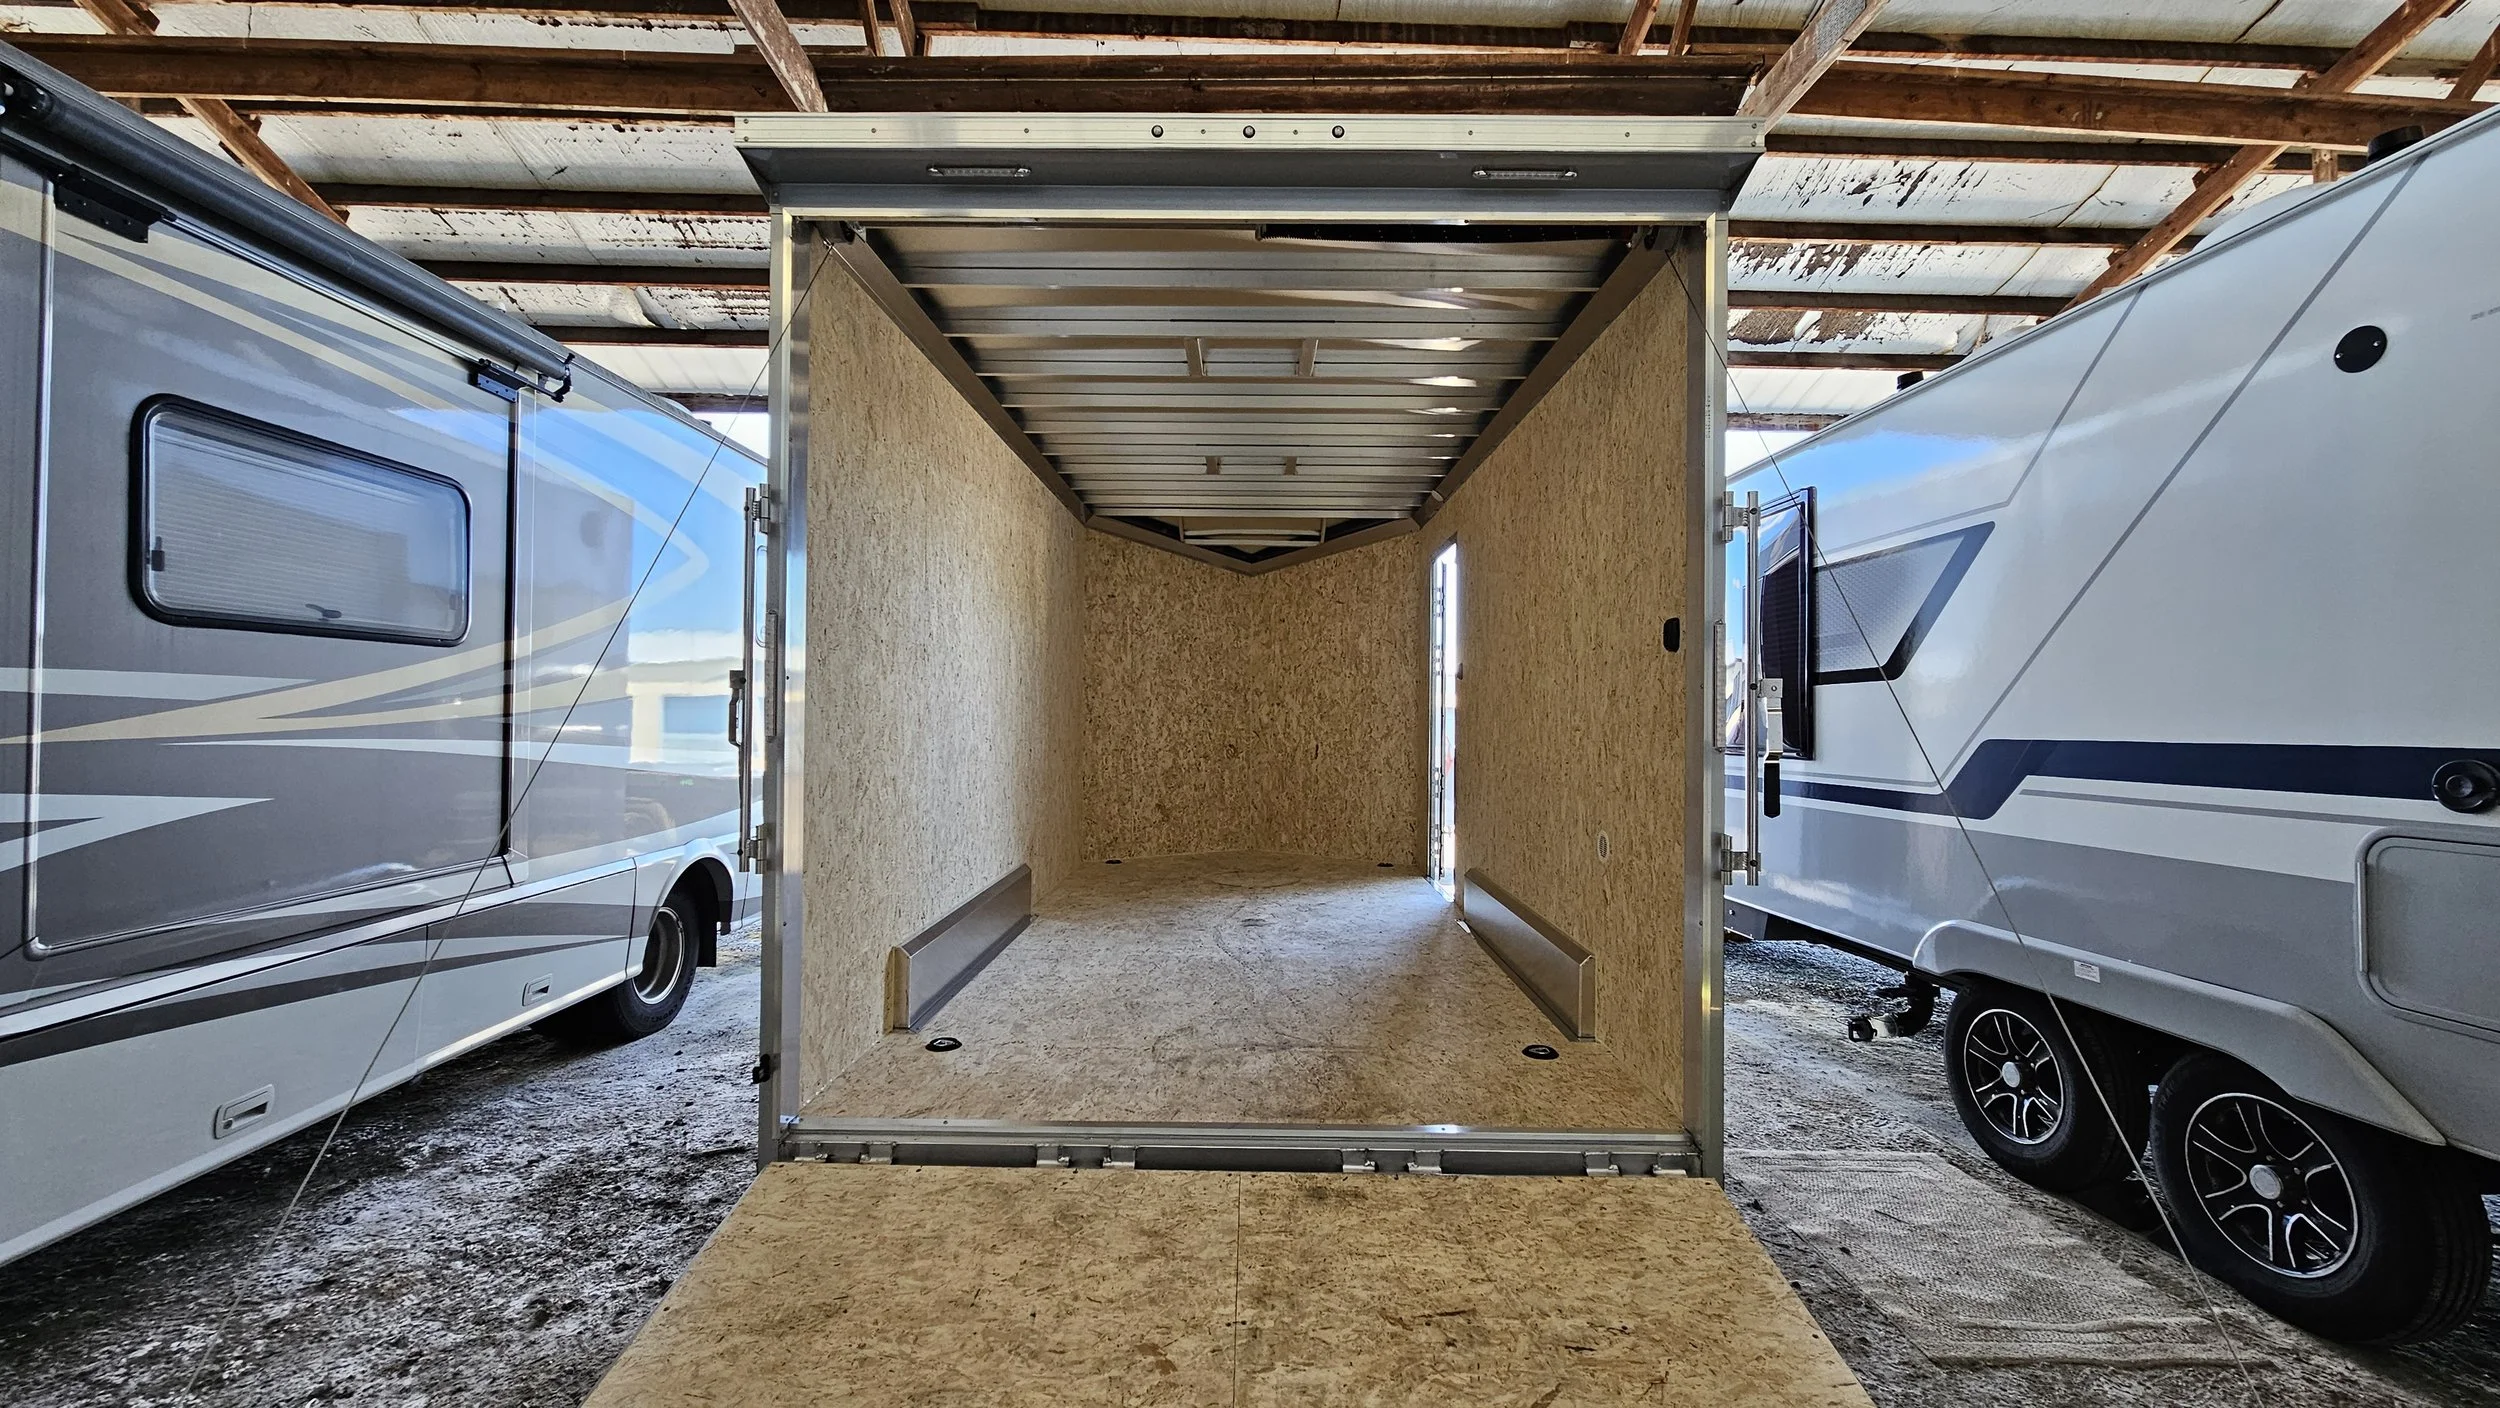
Once we got it back to Anacortes, here’s where we started - a blank slate.
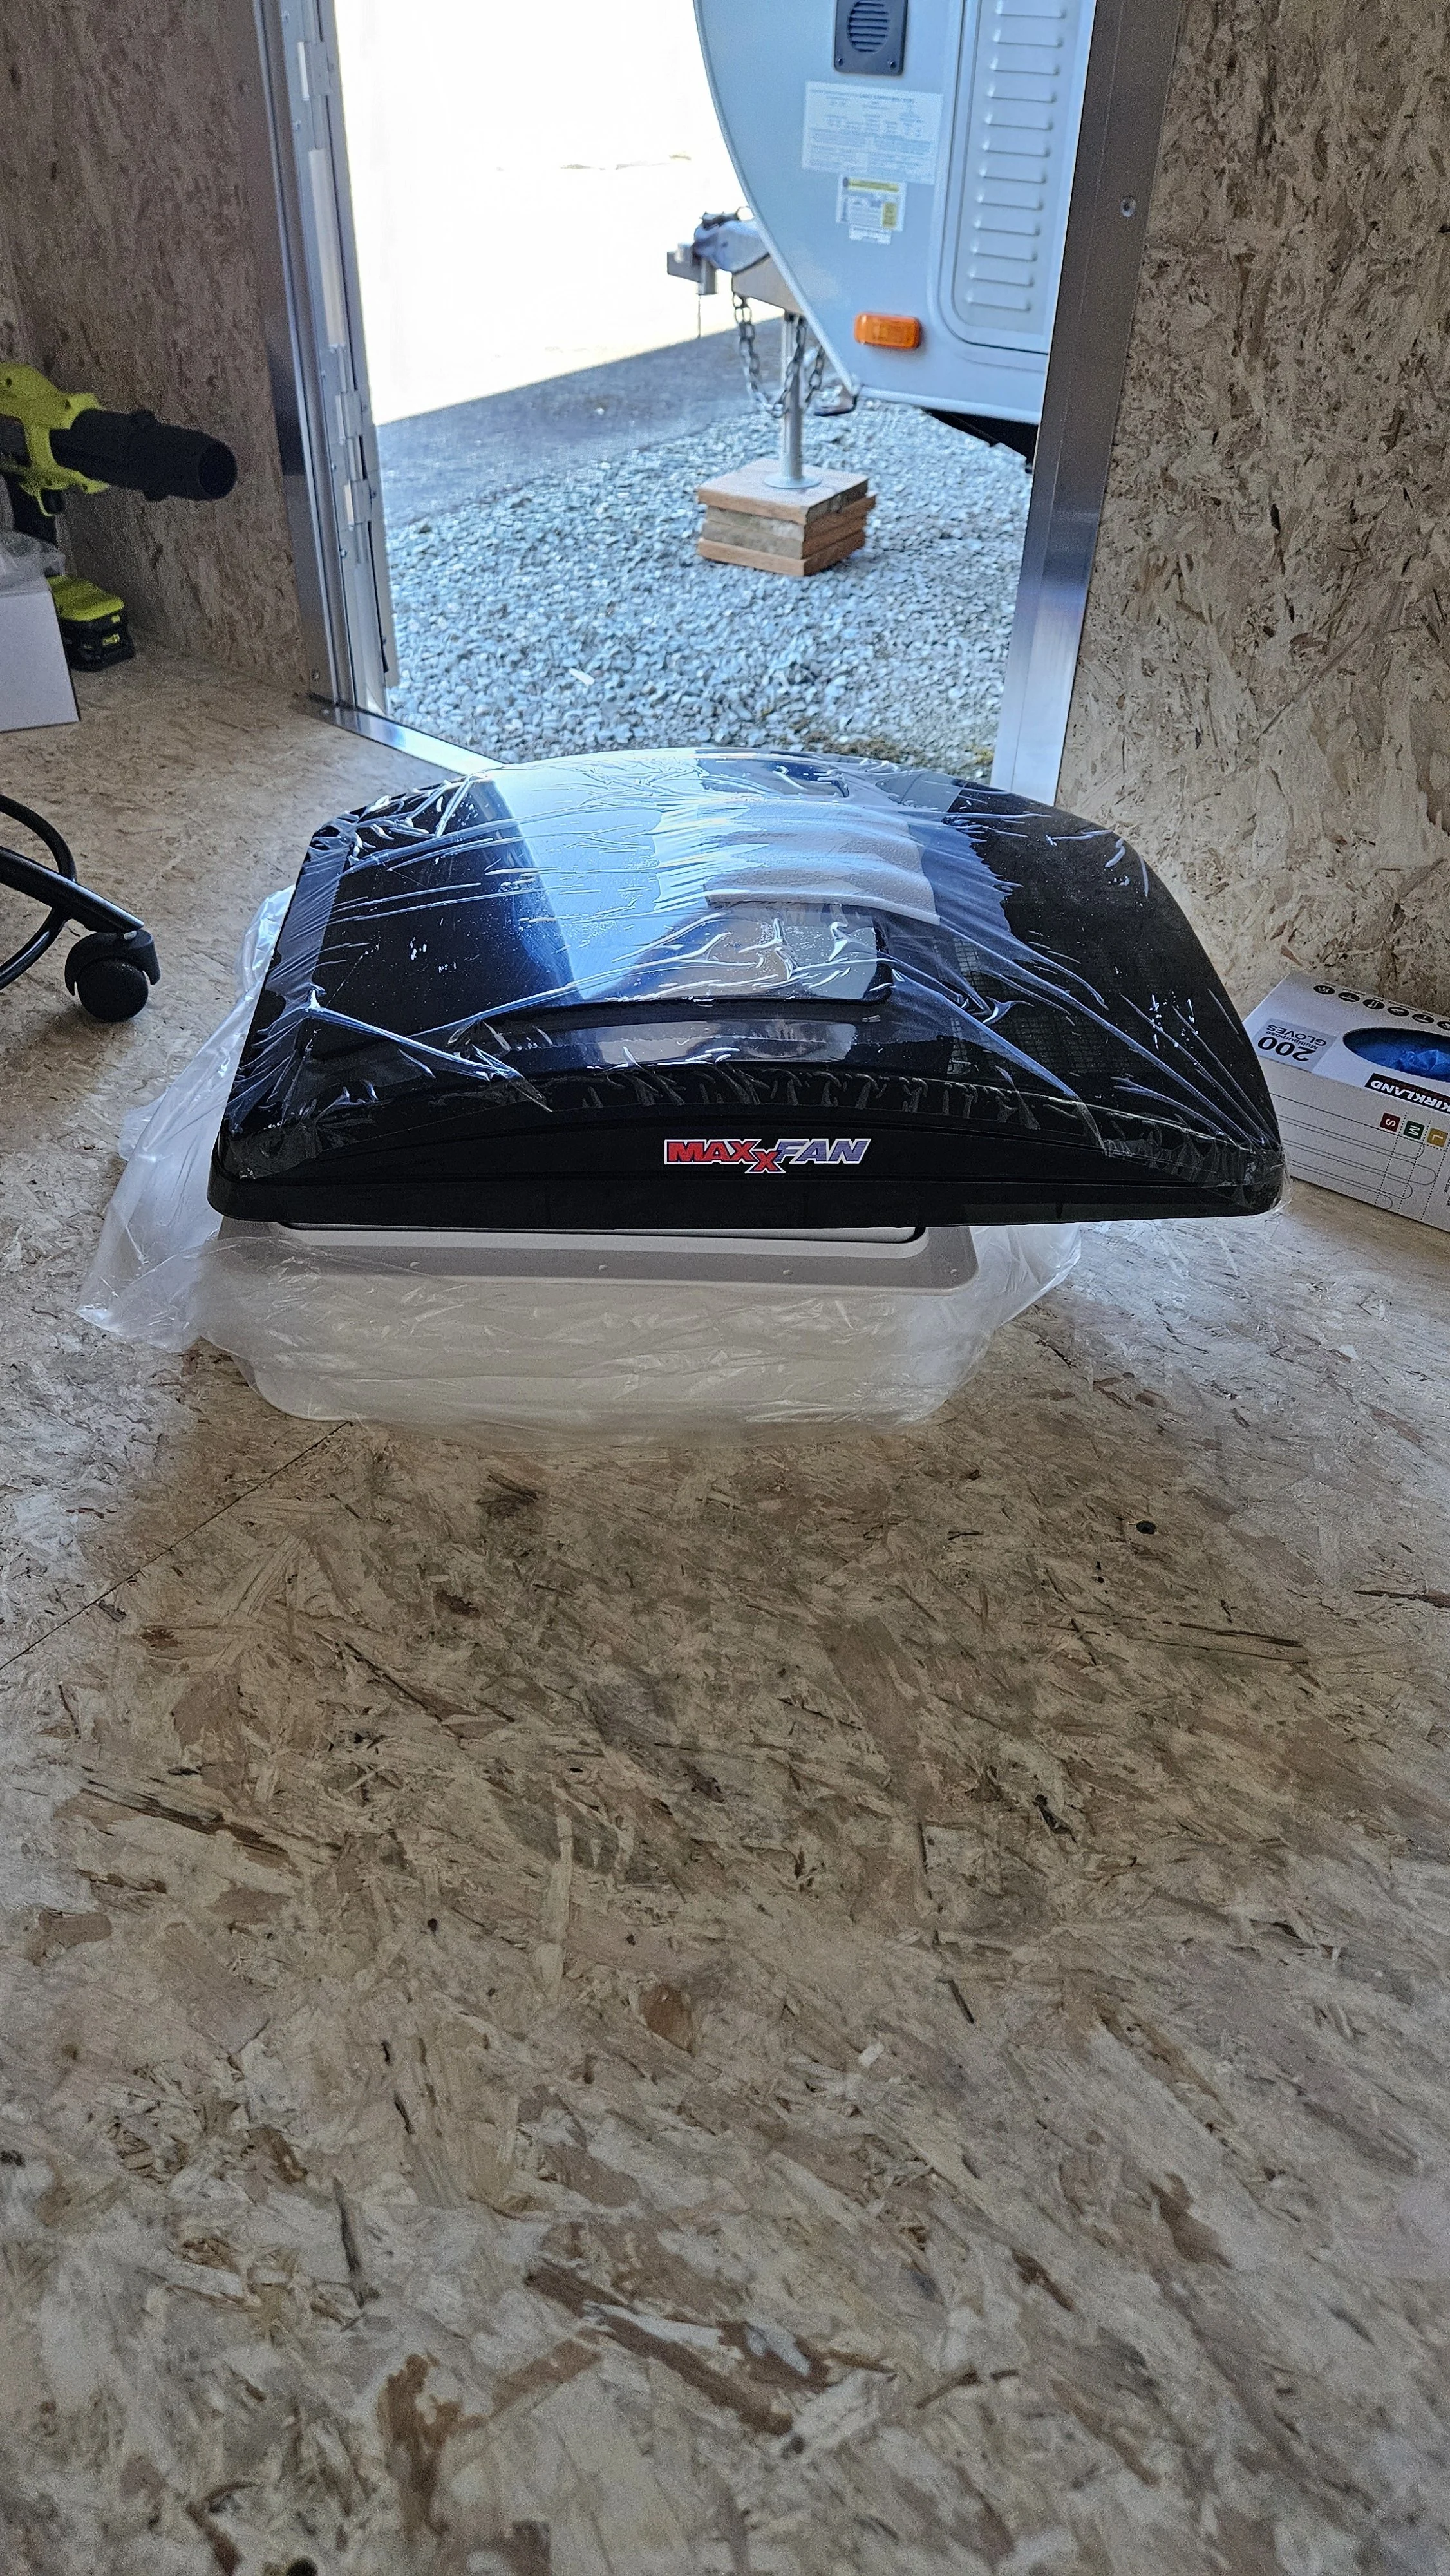
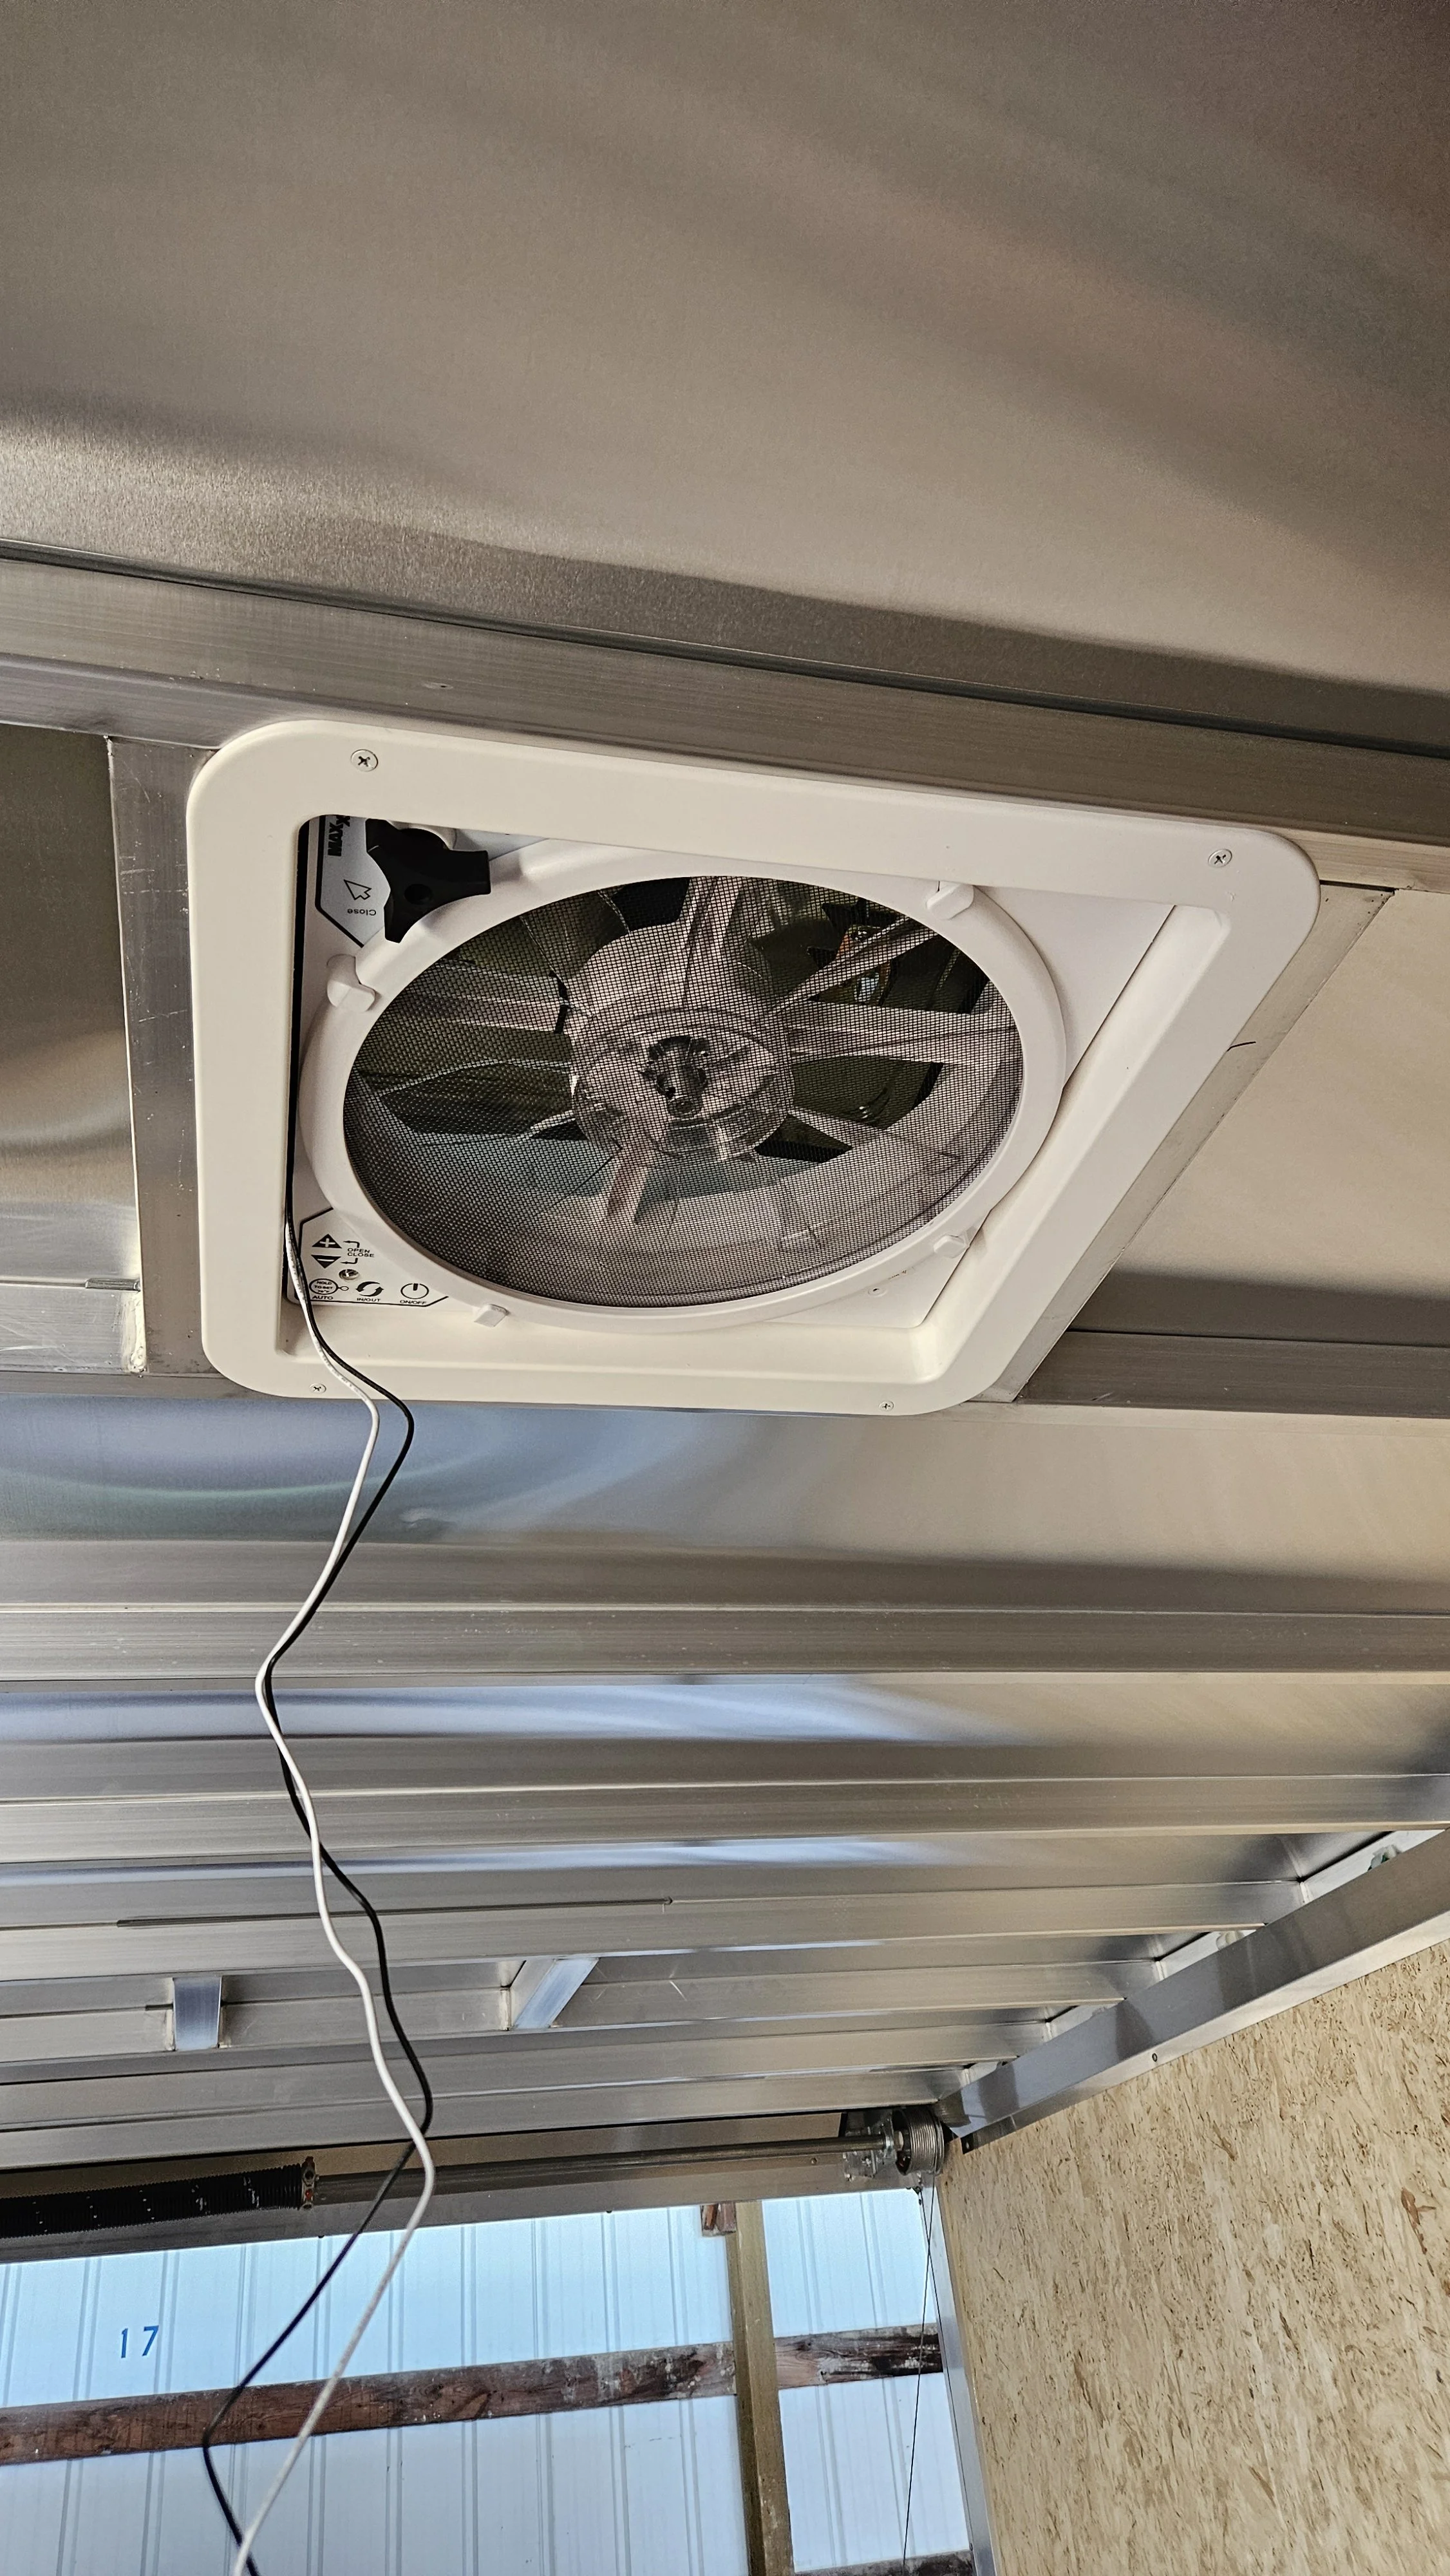
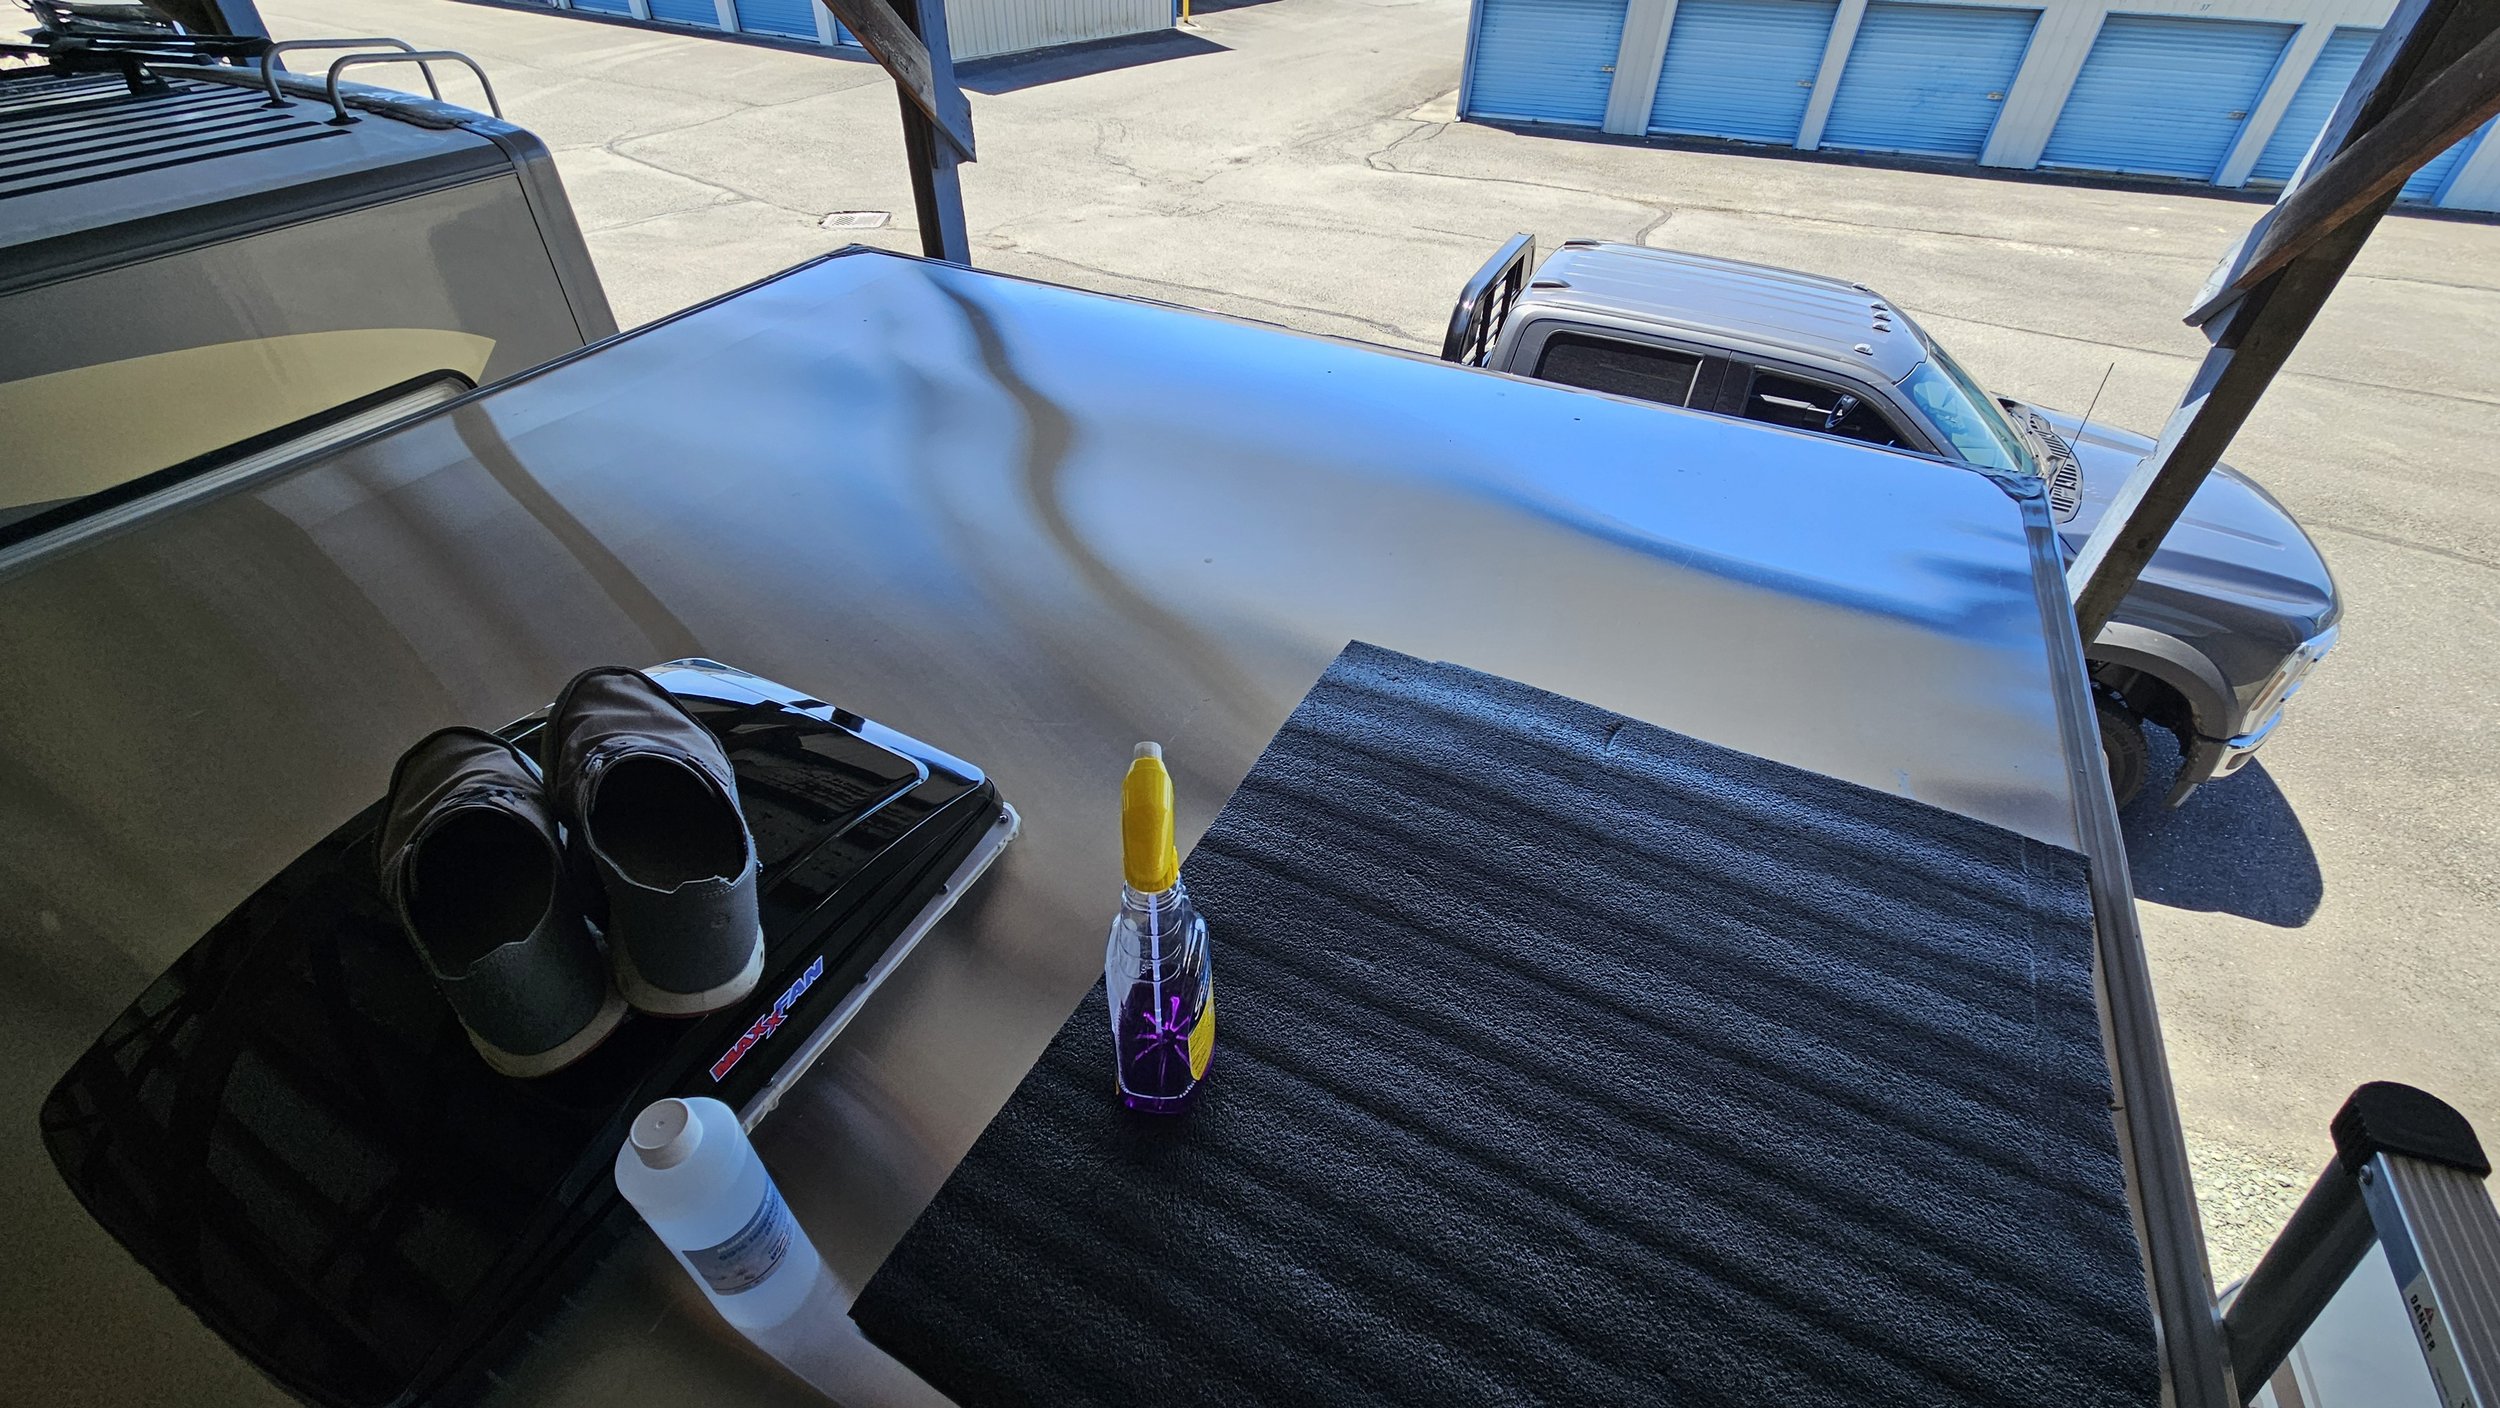
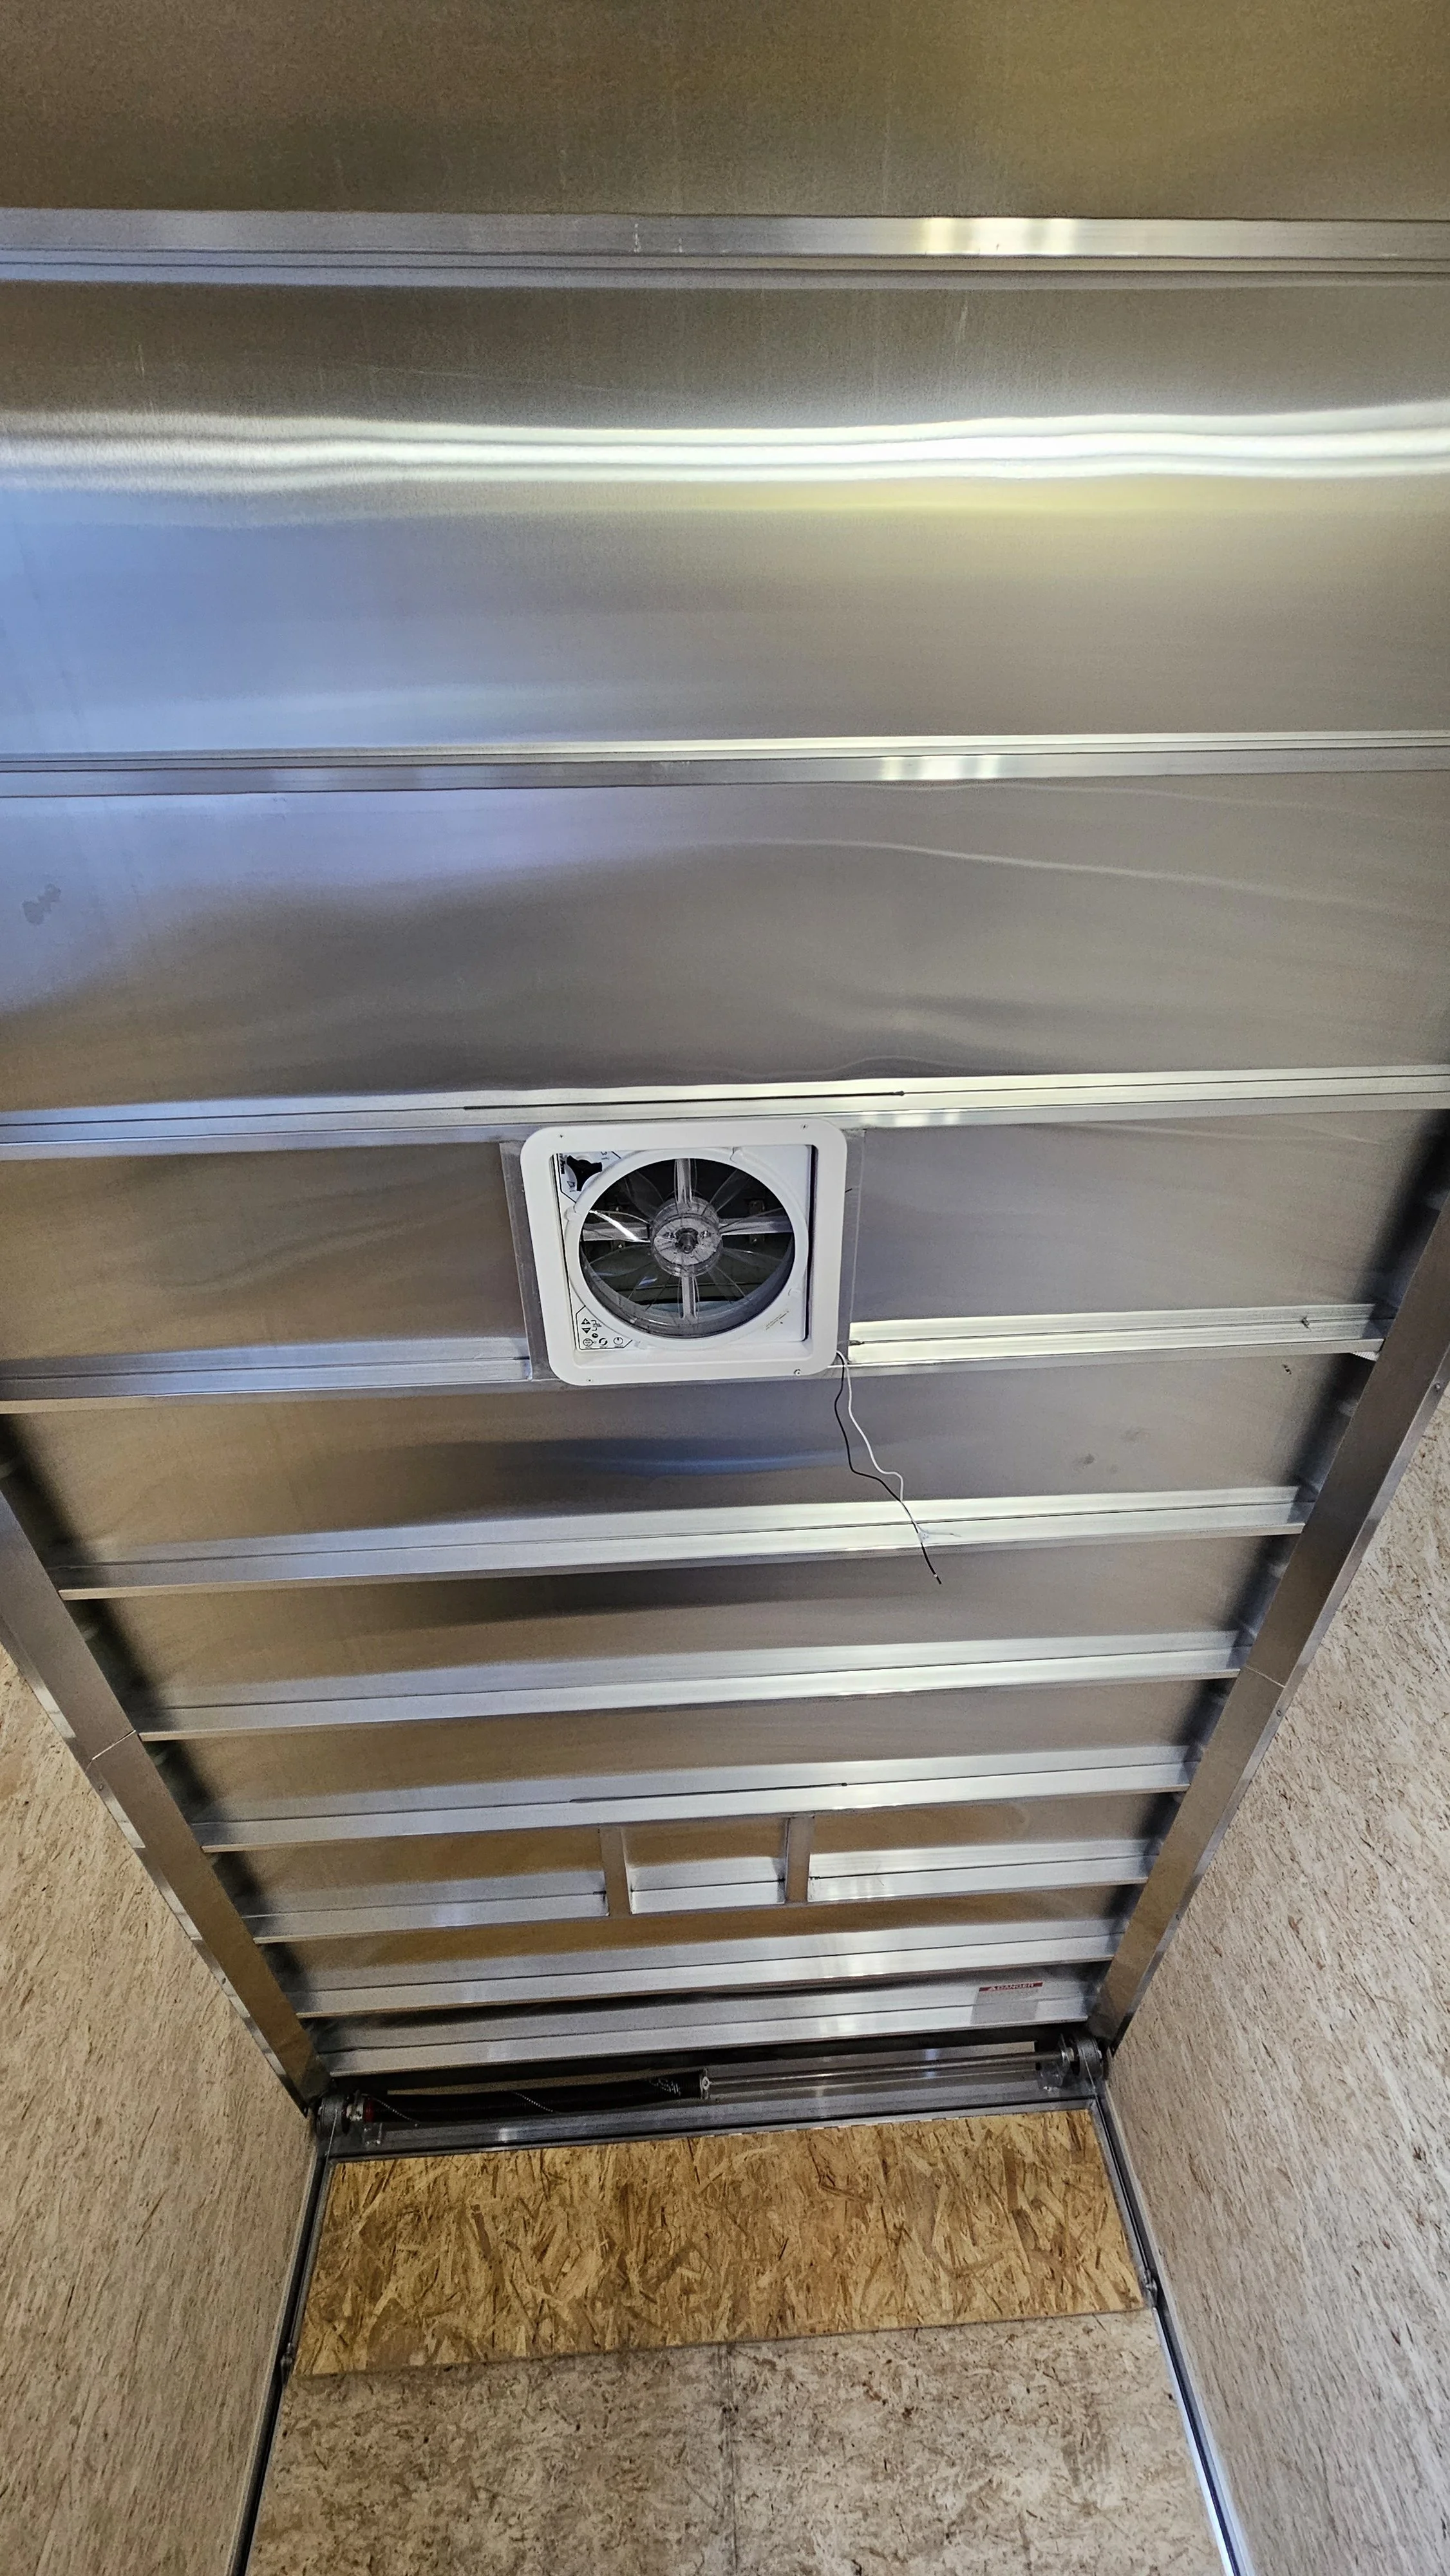
Our first install was the MAXXAIR MAXXFAN Deluxe. This fan will be very nice in warmer locations. It can blow air in or out, can open and run while driving, and has a thermostat built in so it will turn on when it reaches a set temperature.
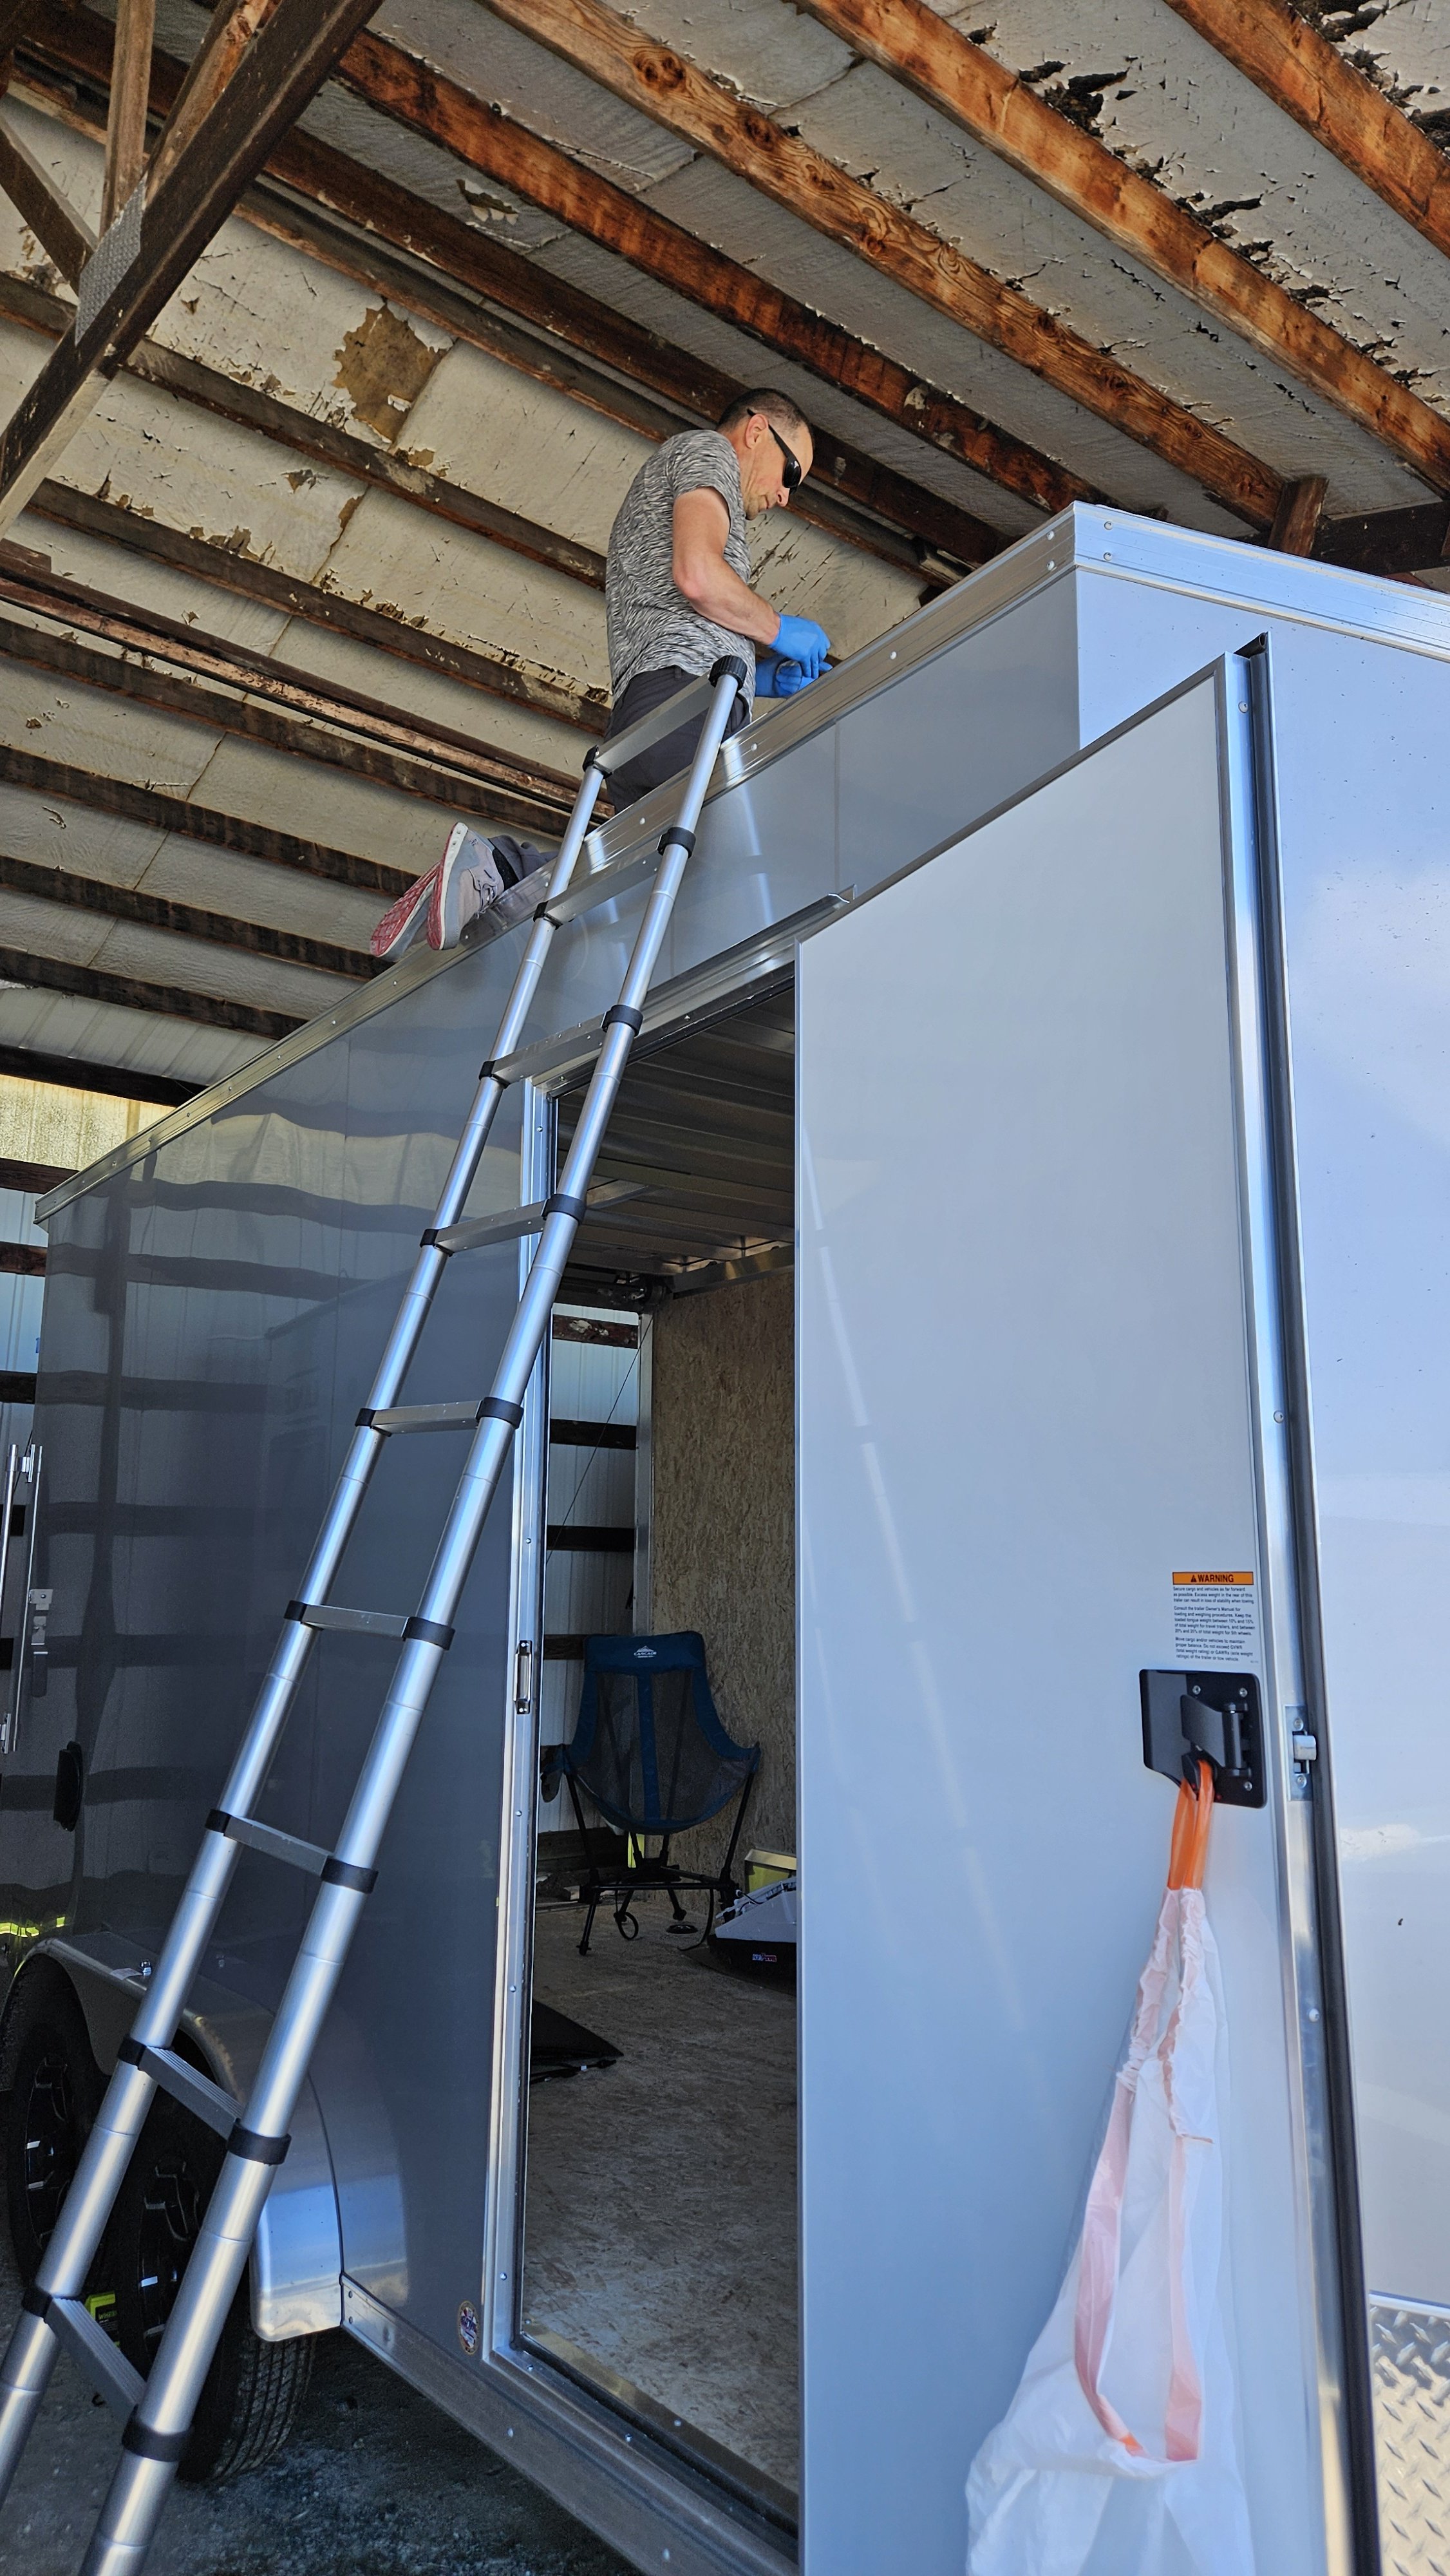
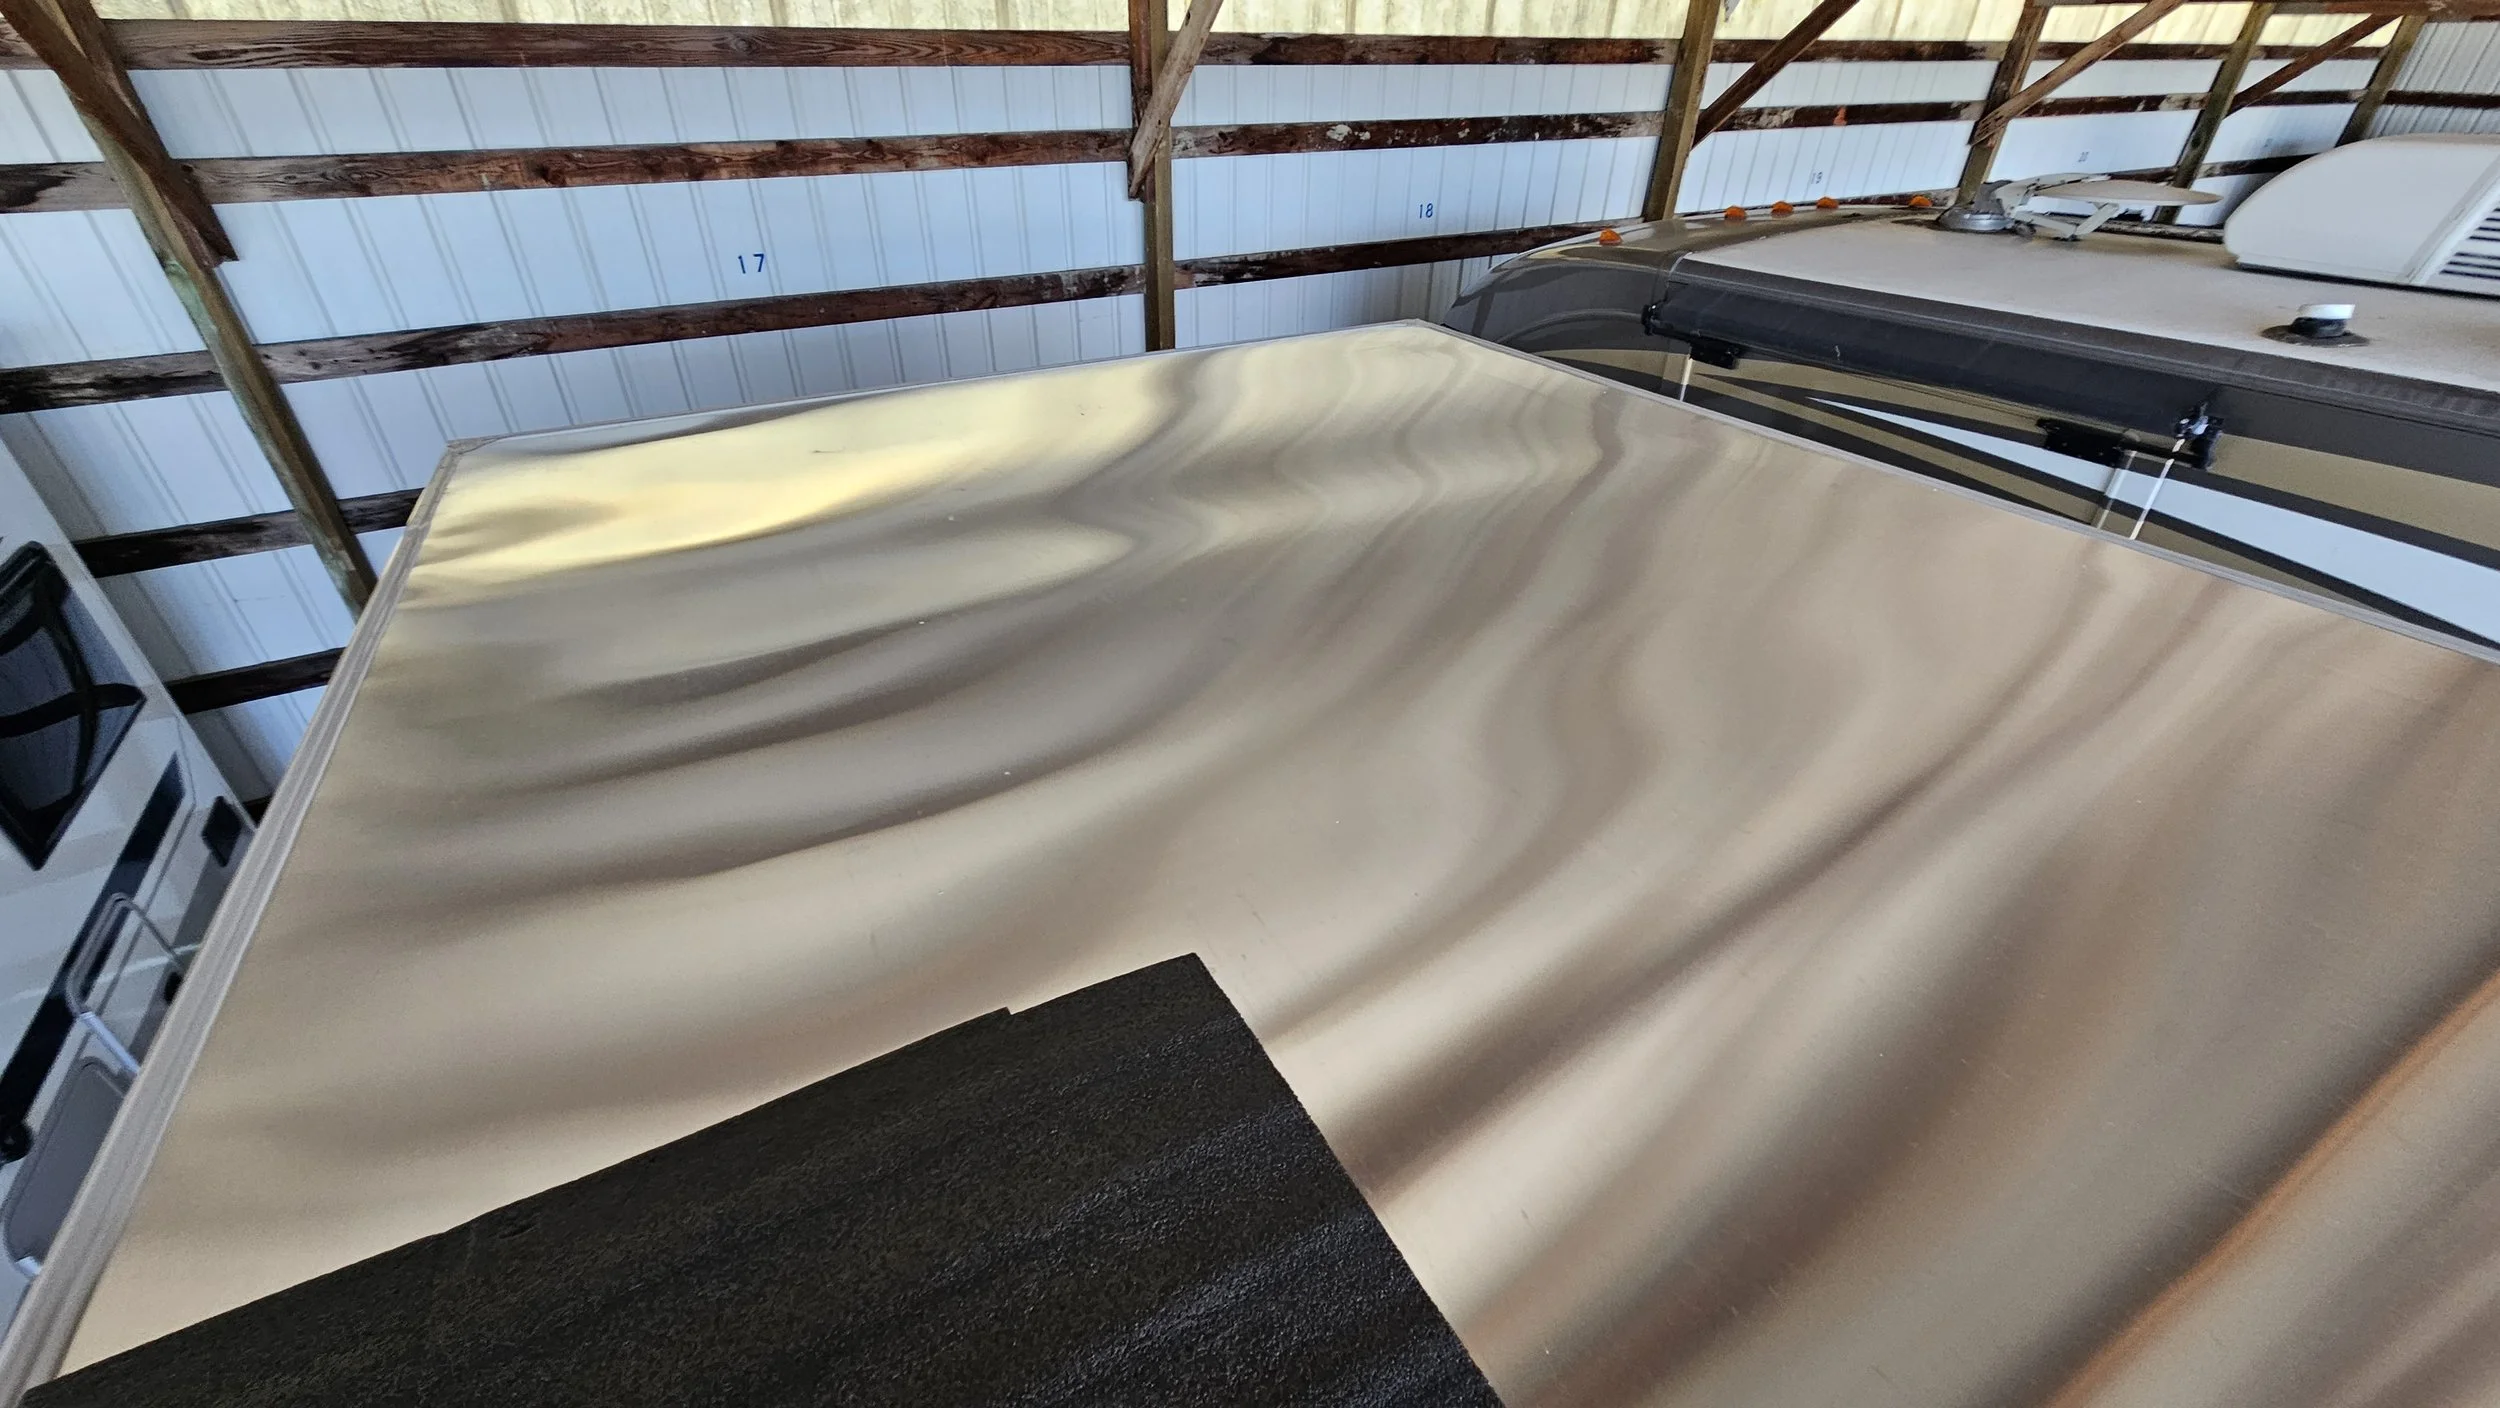
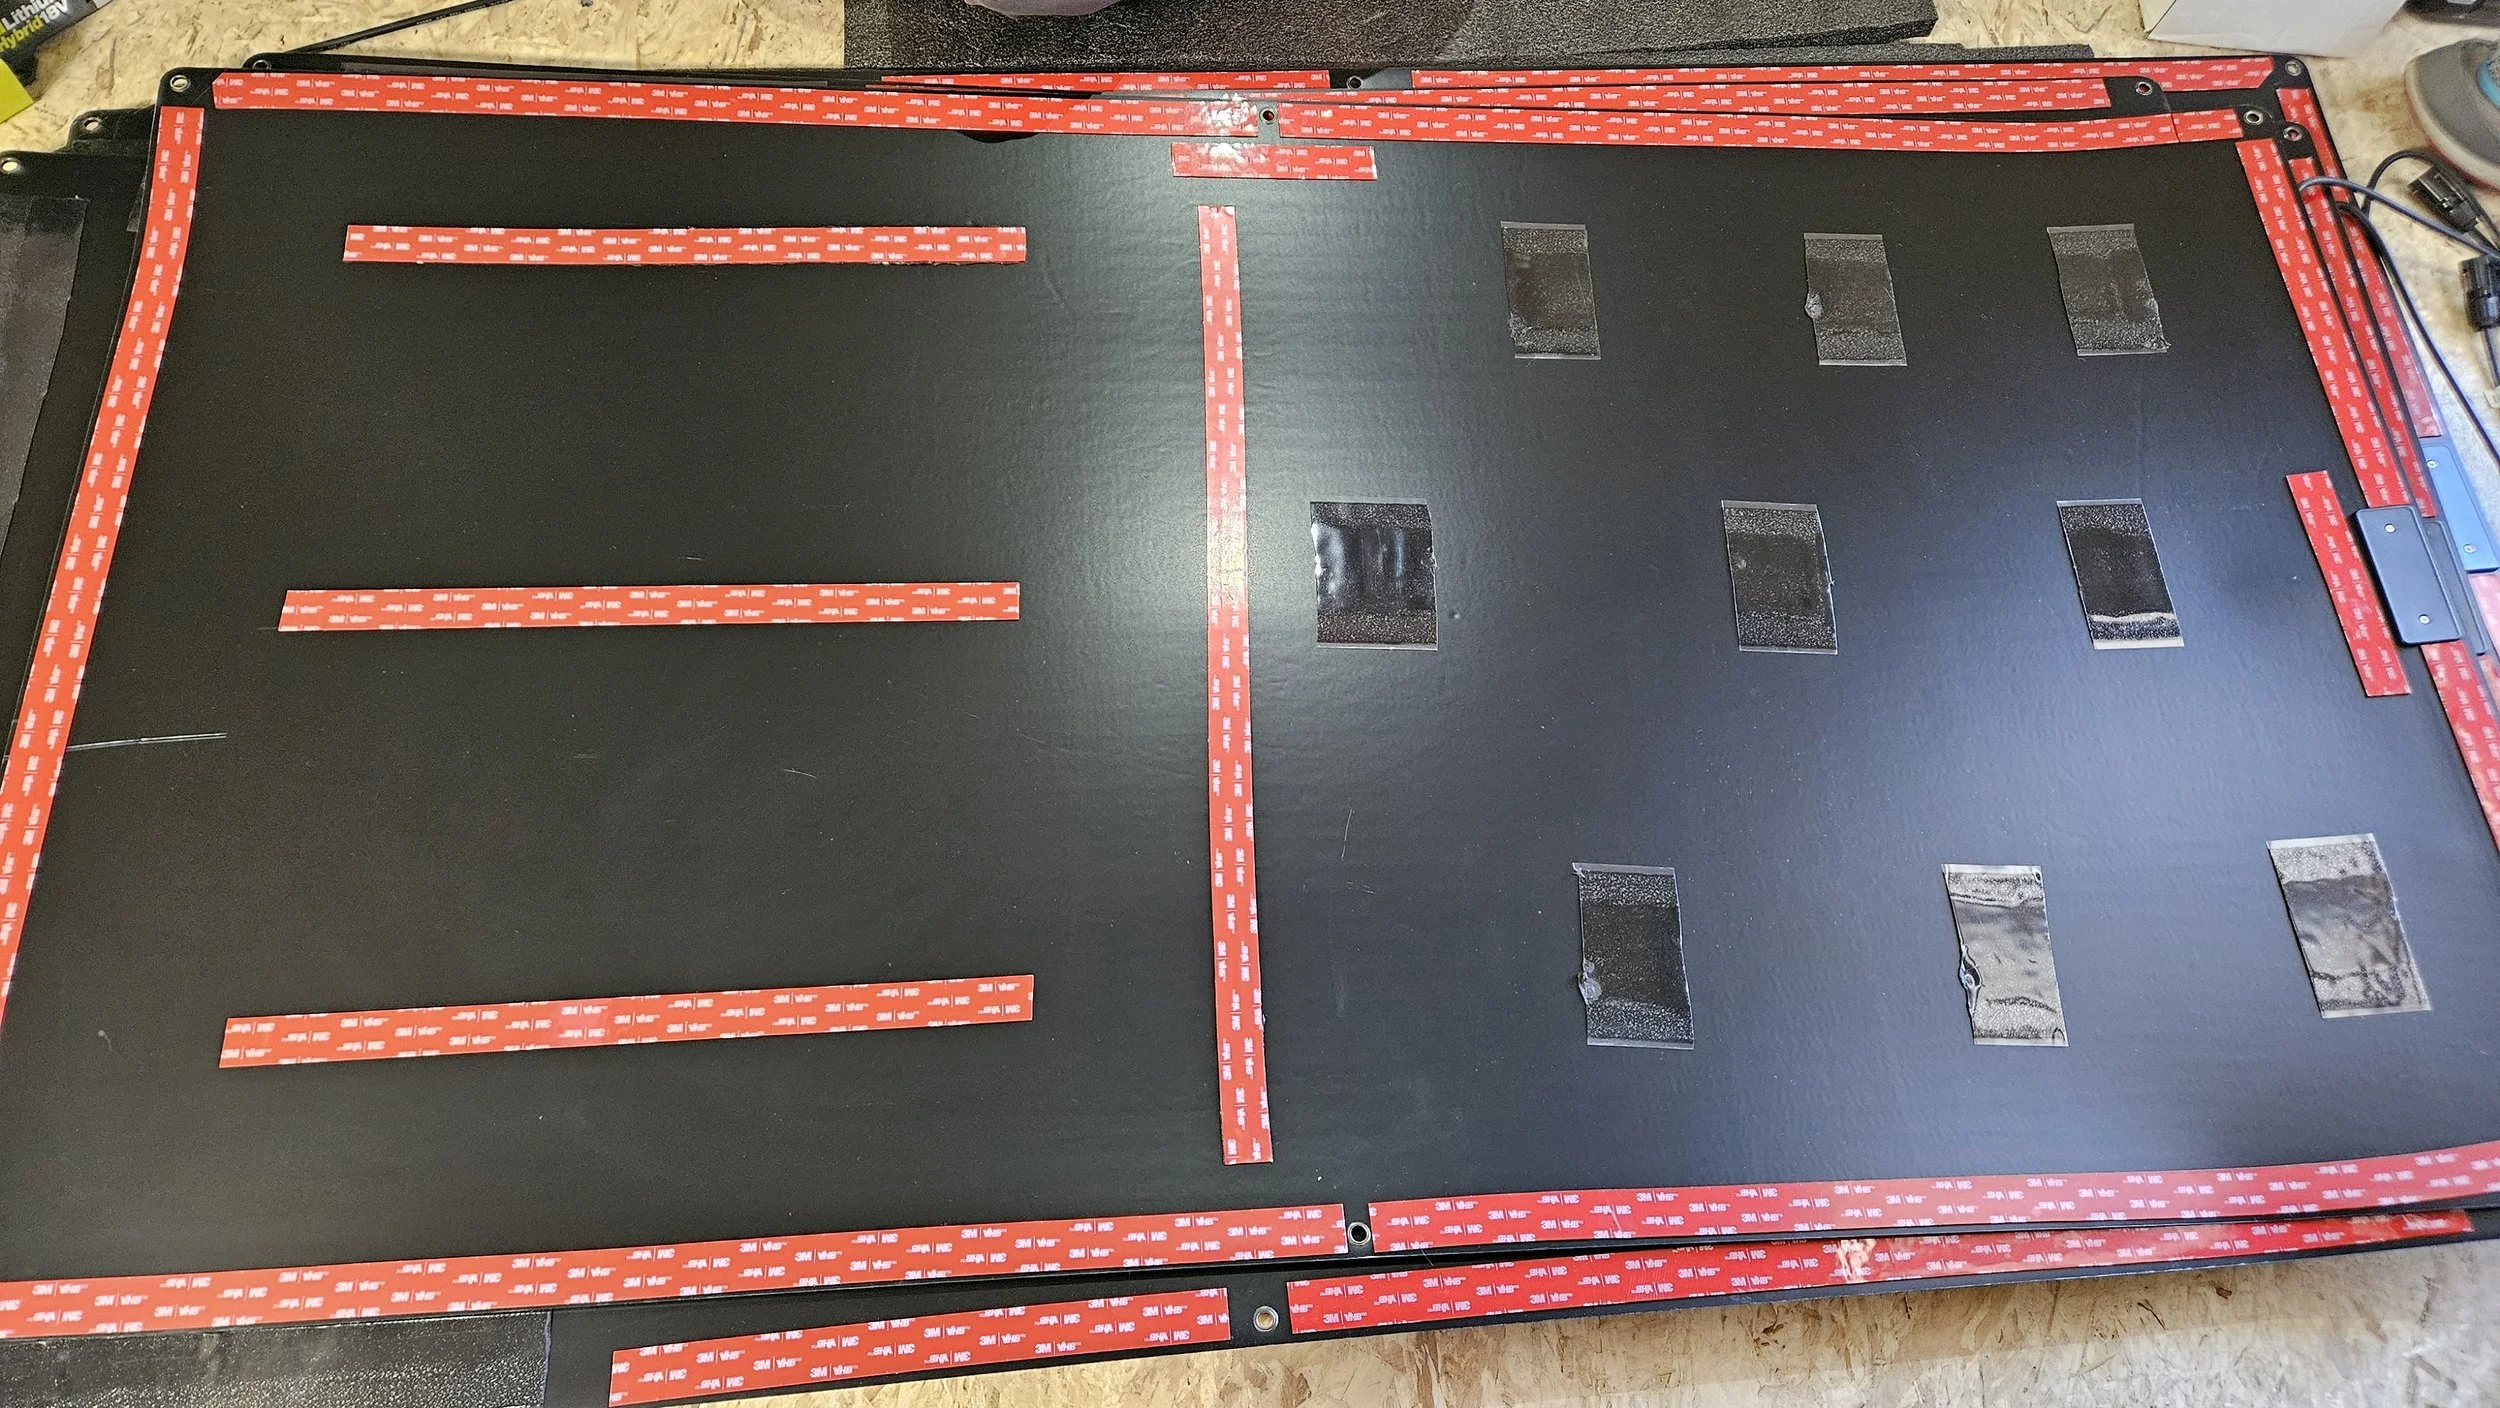
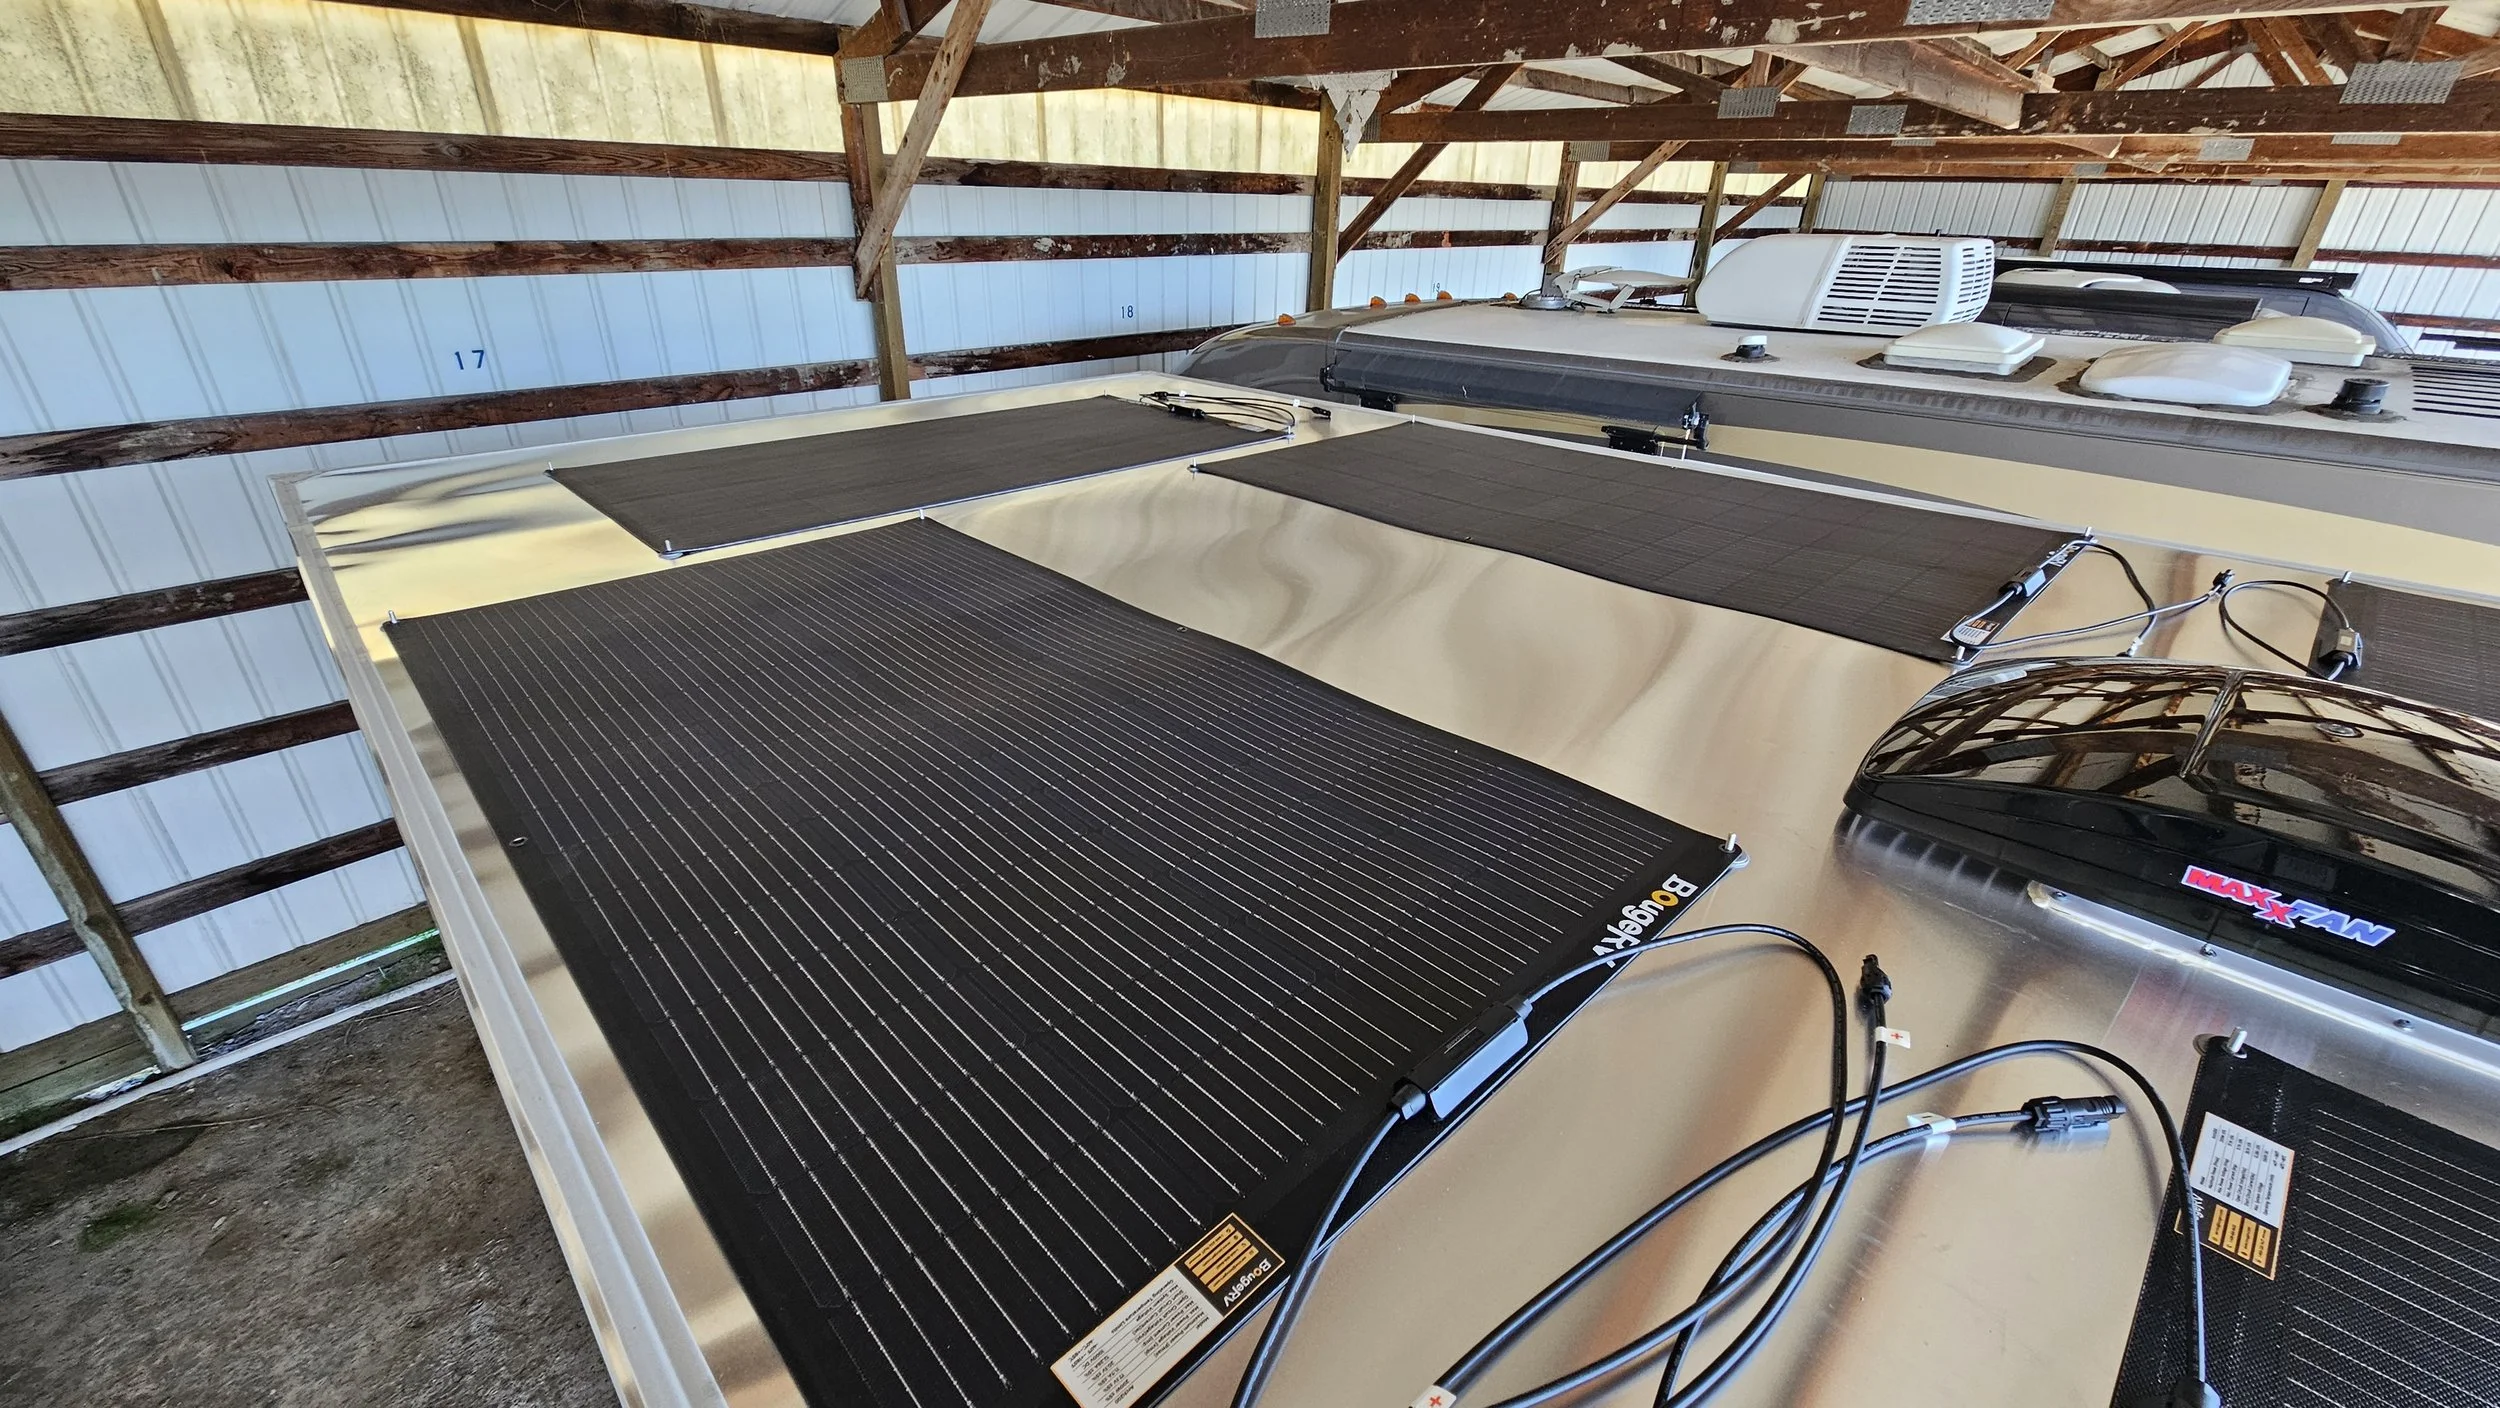
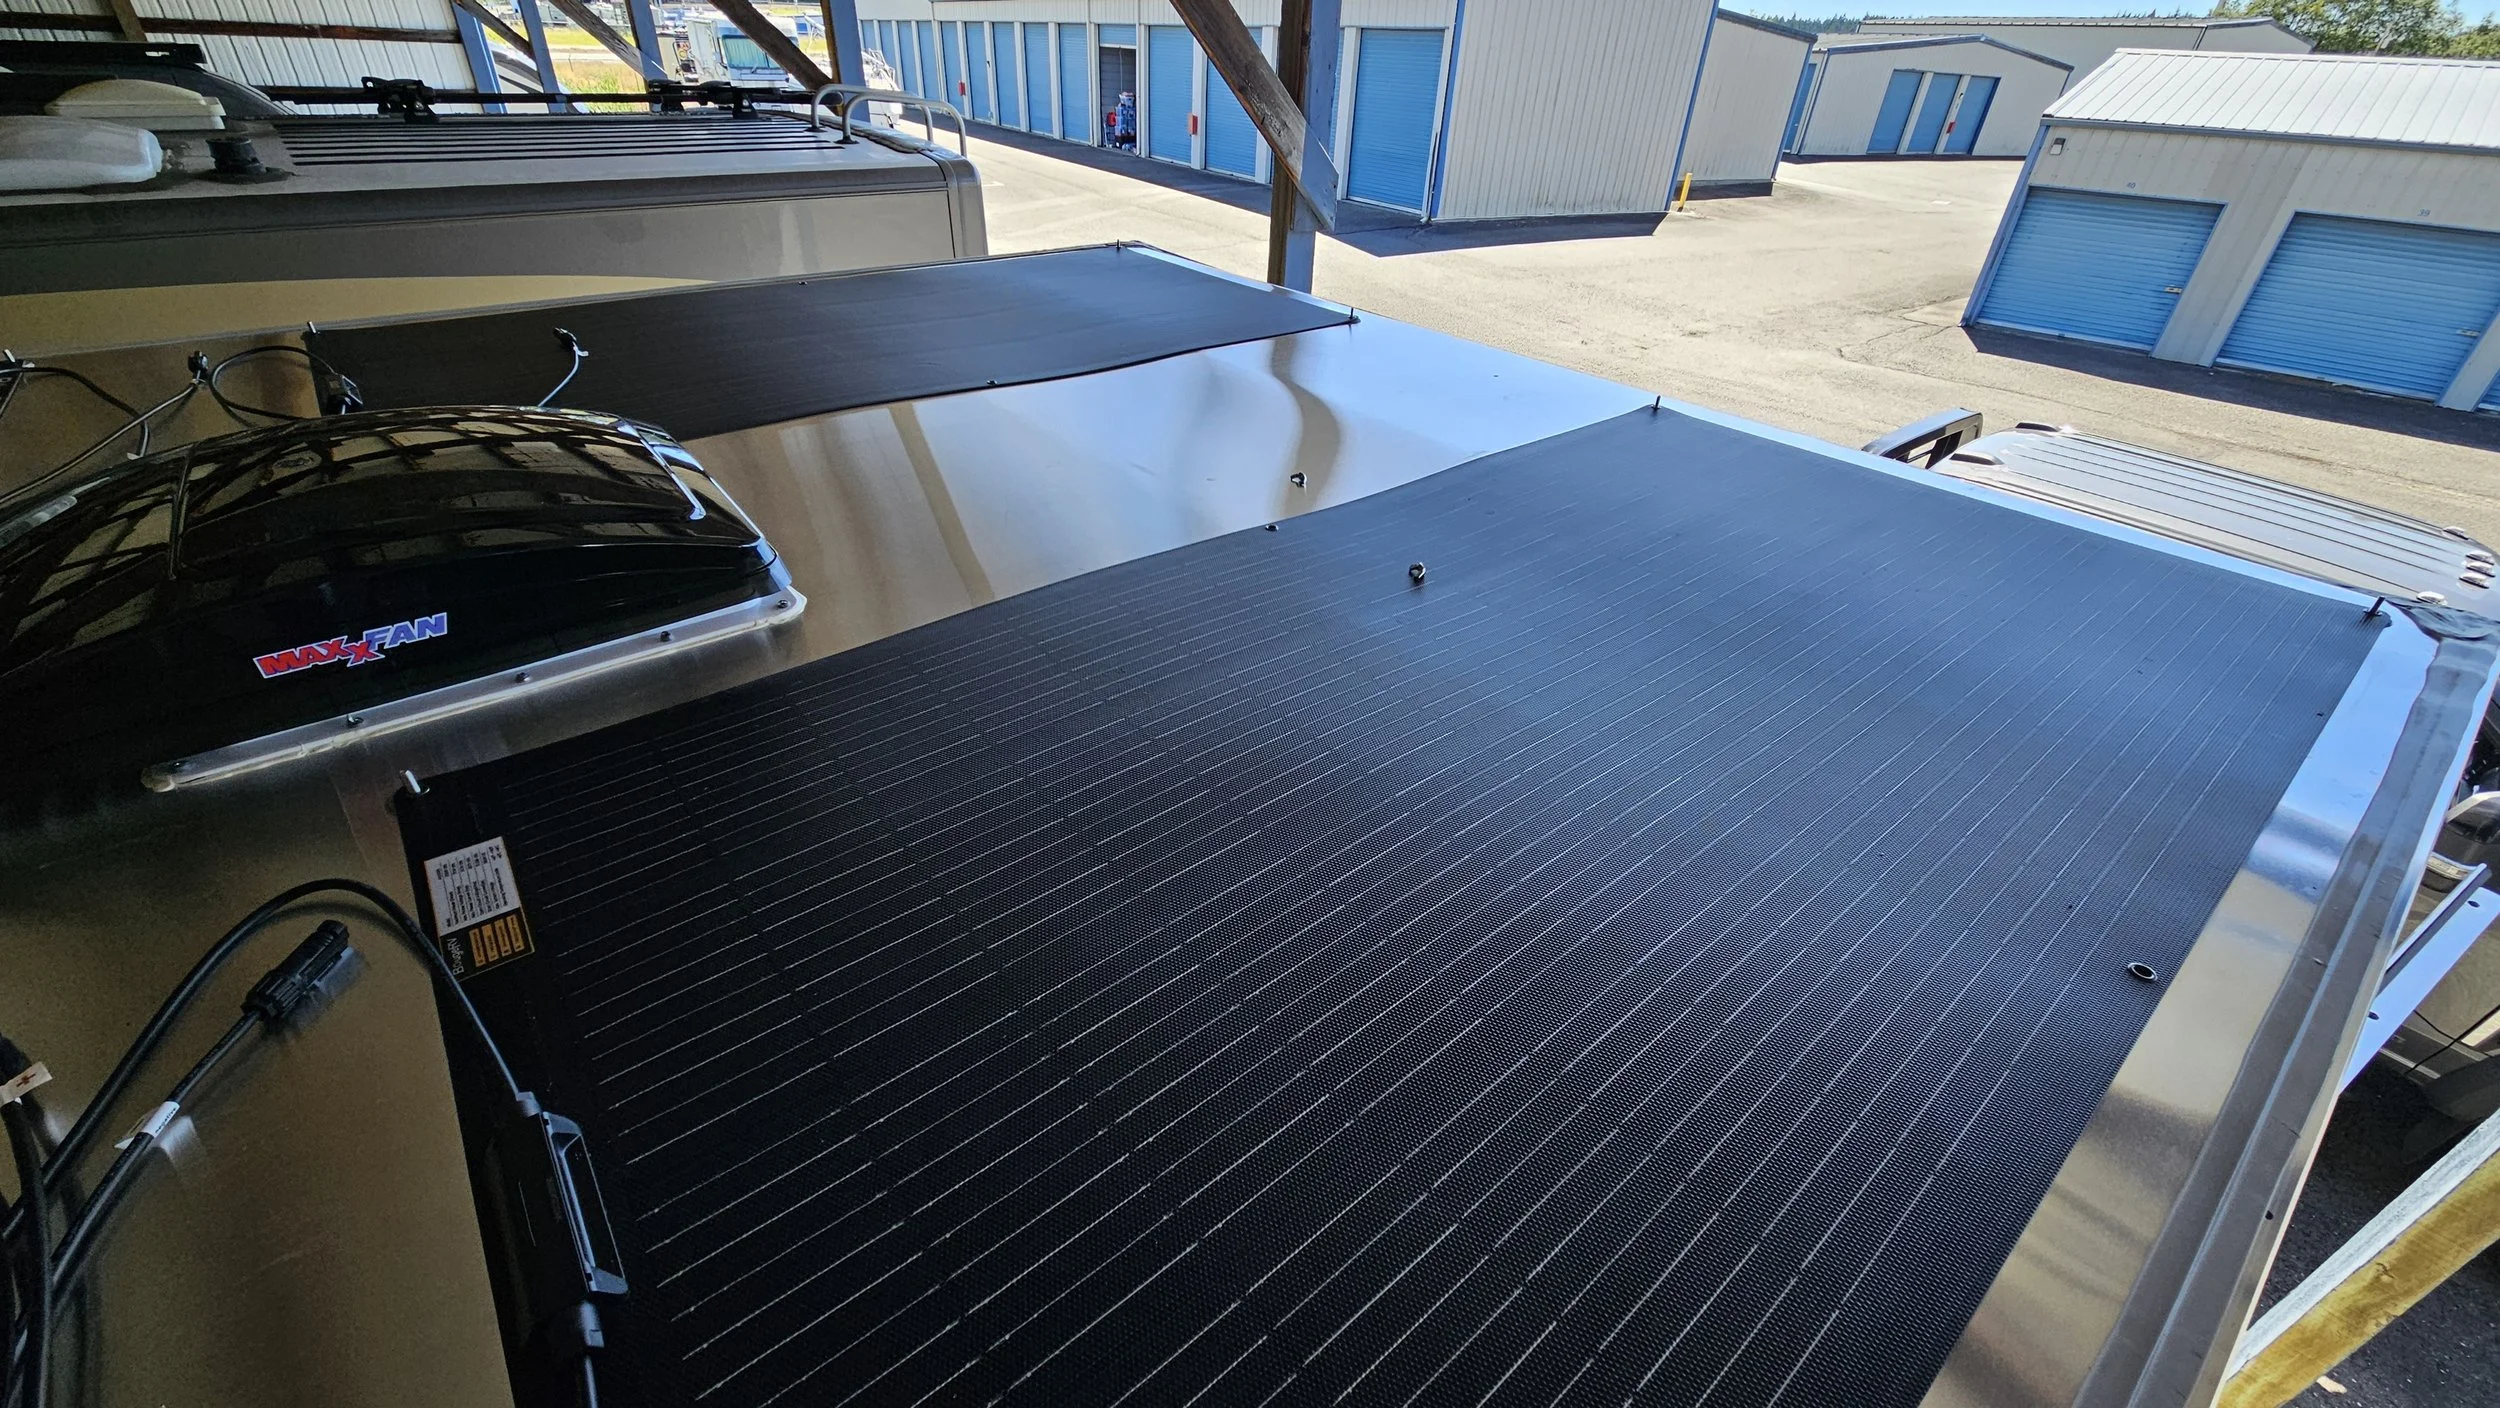
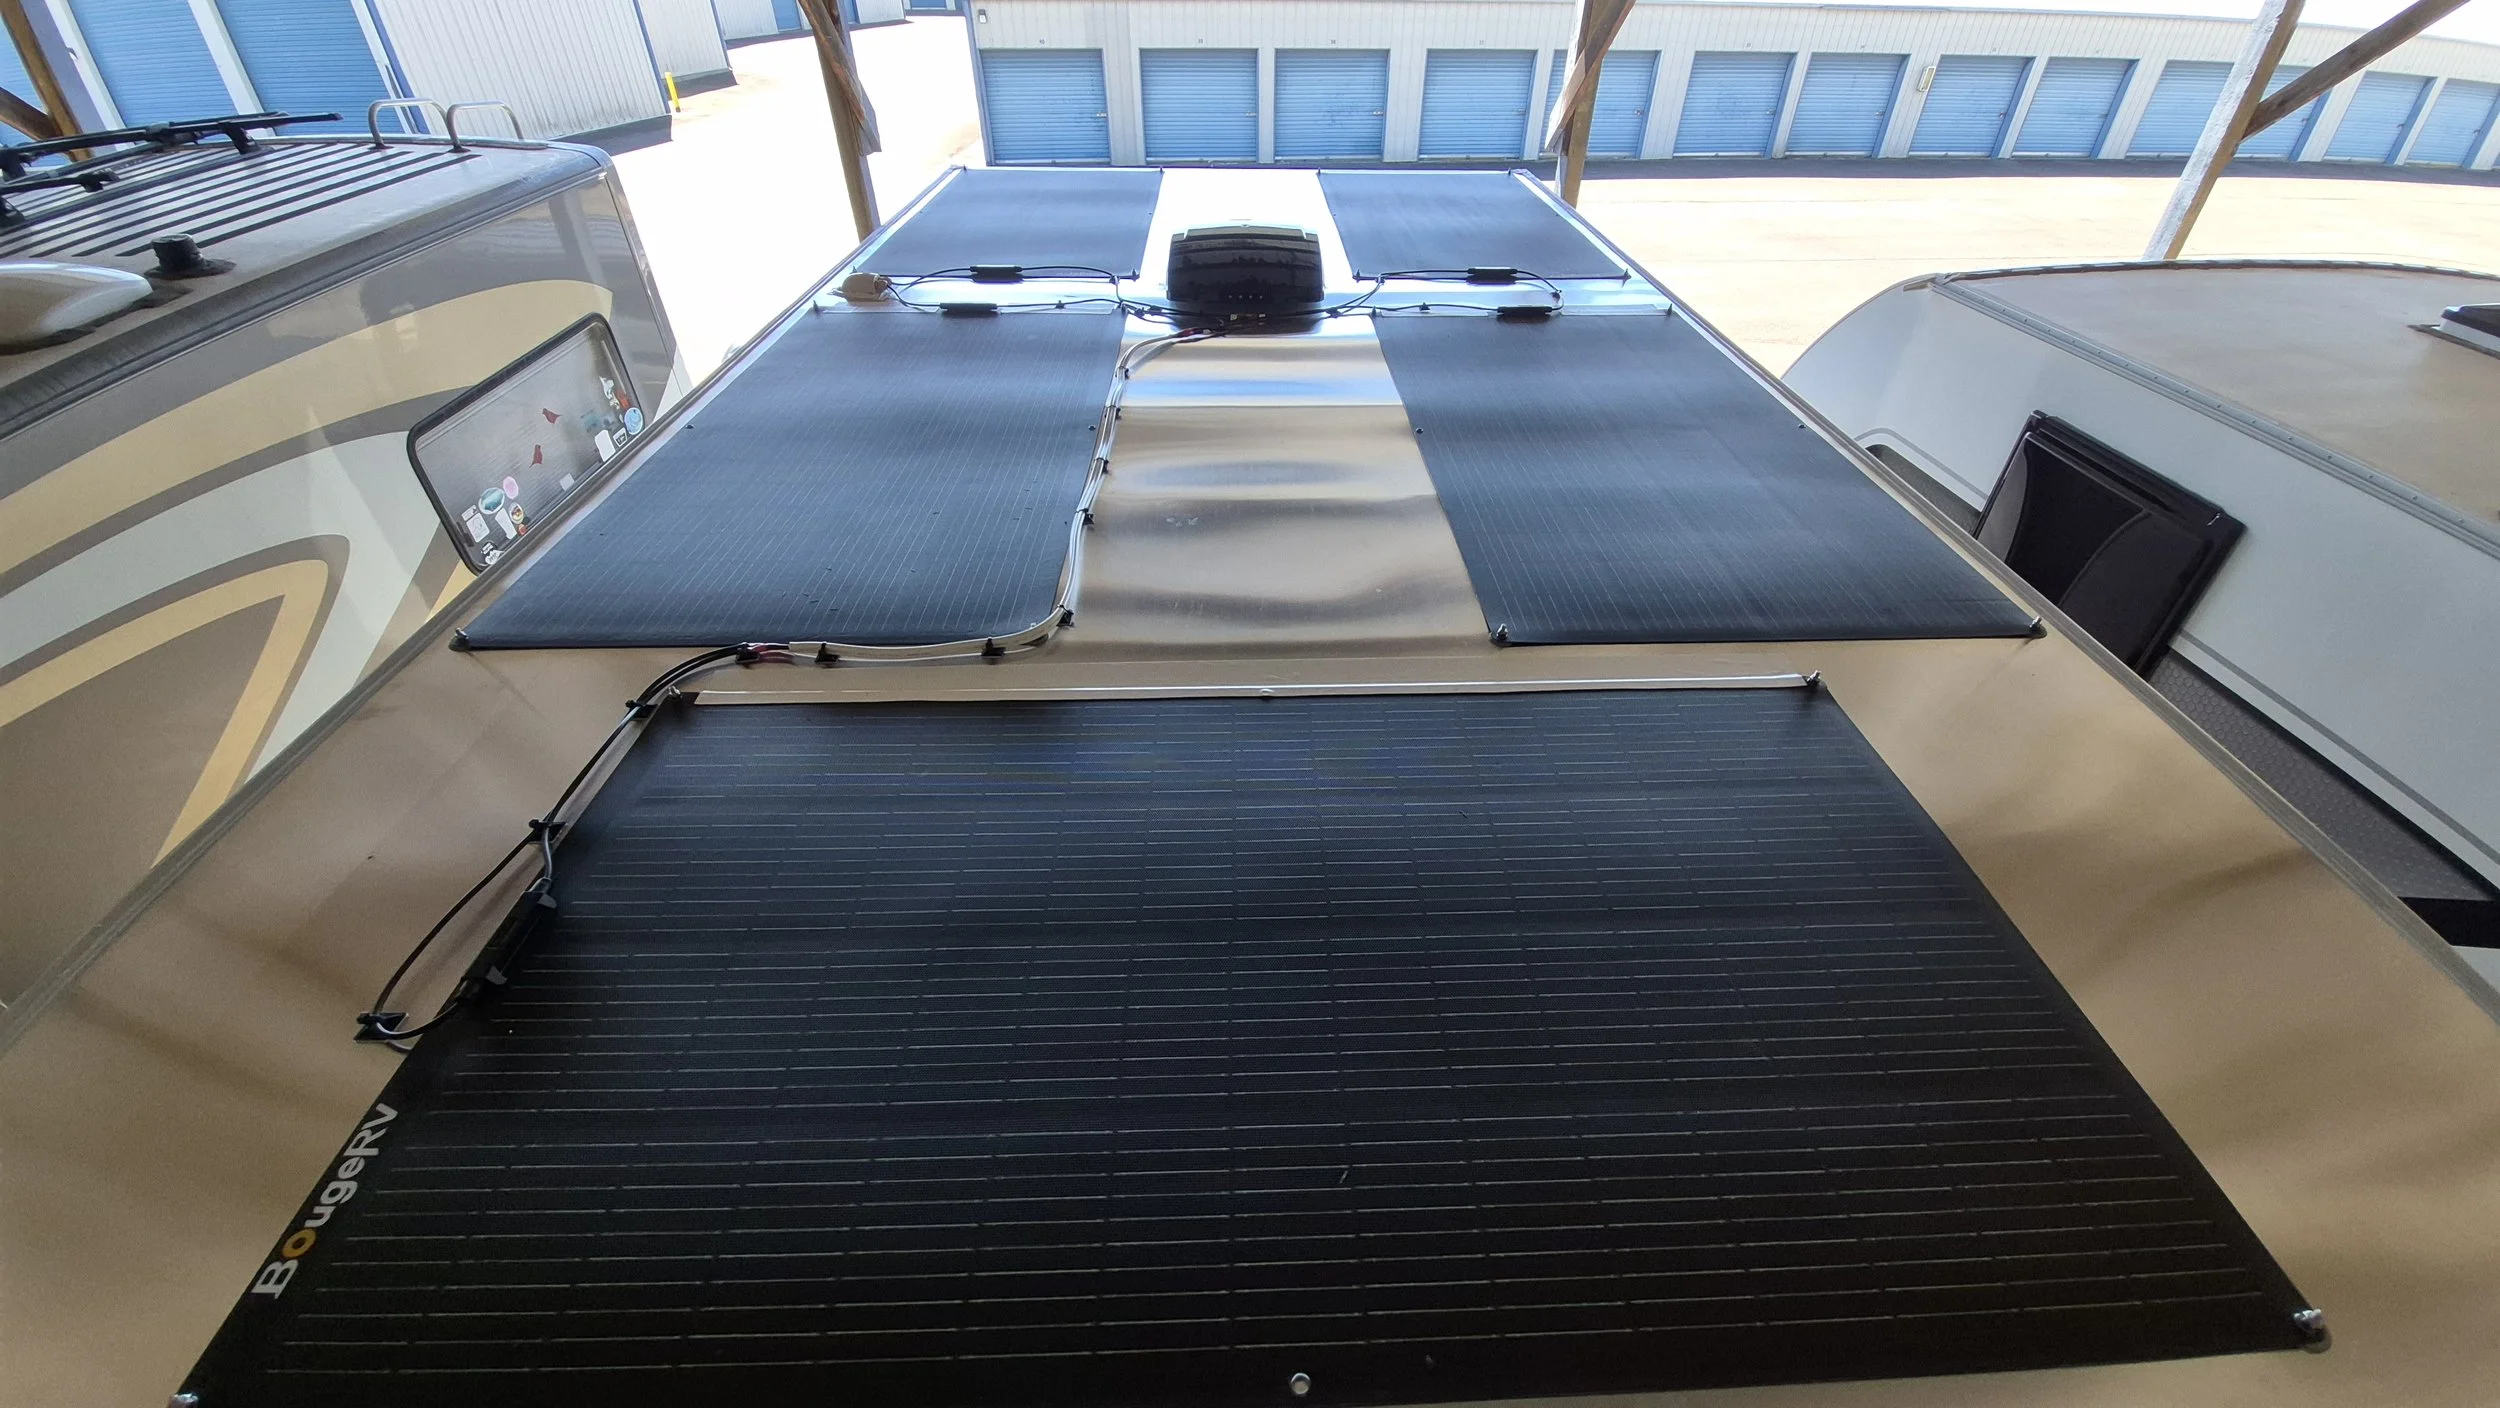
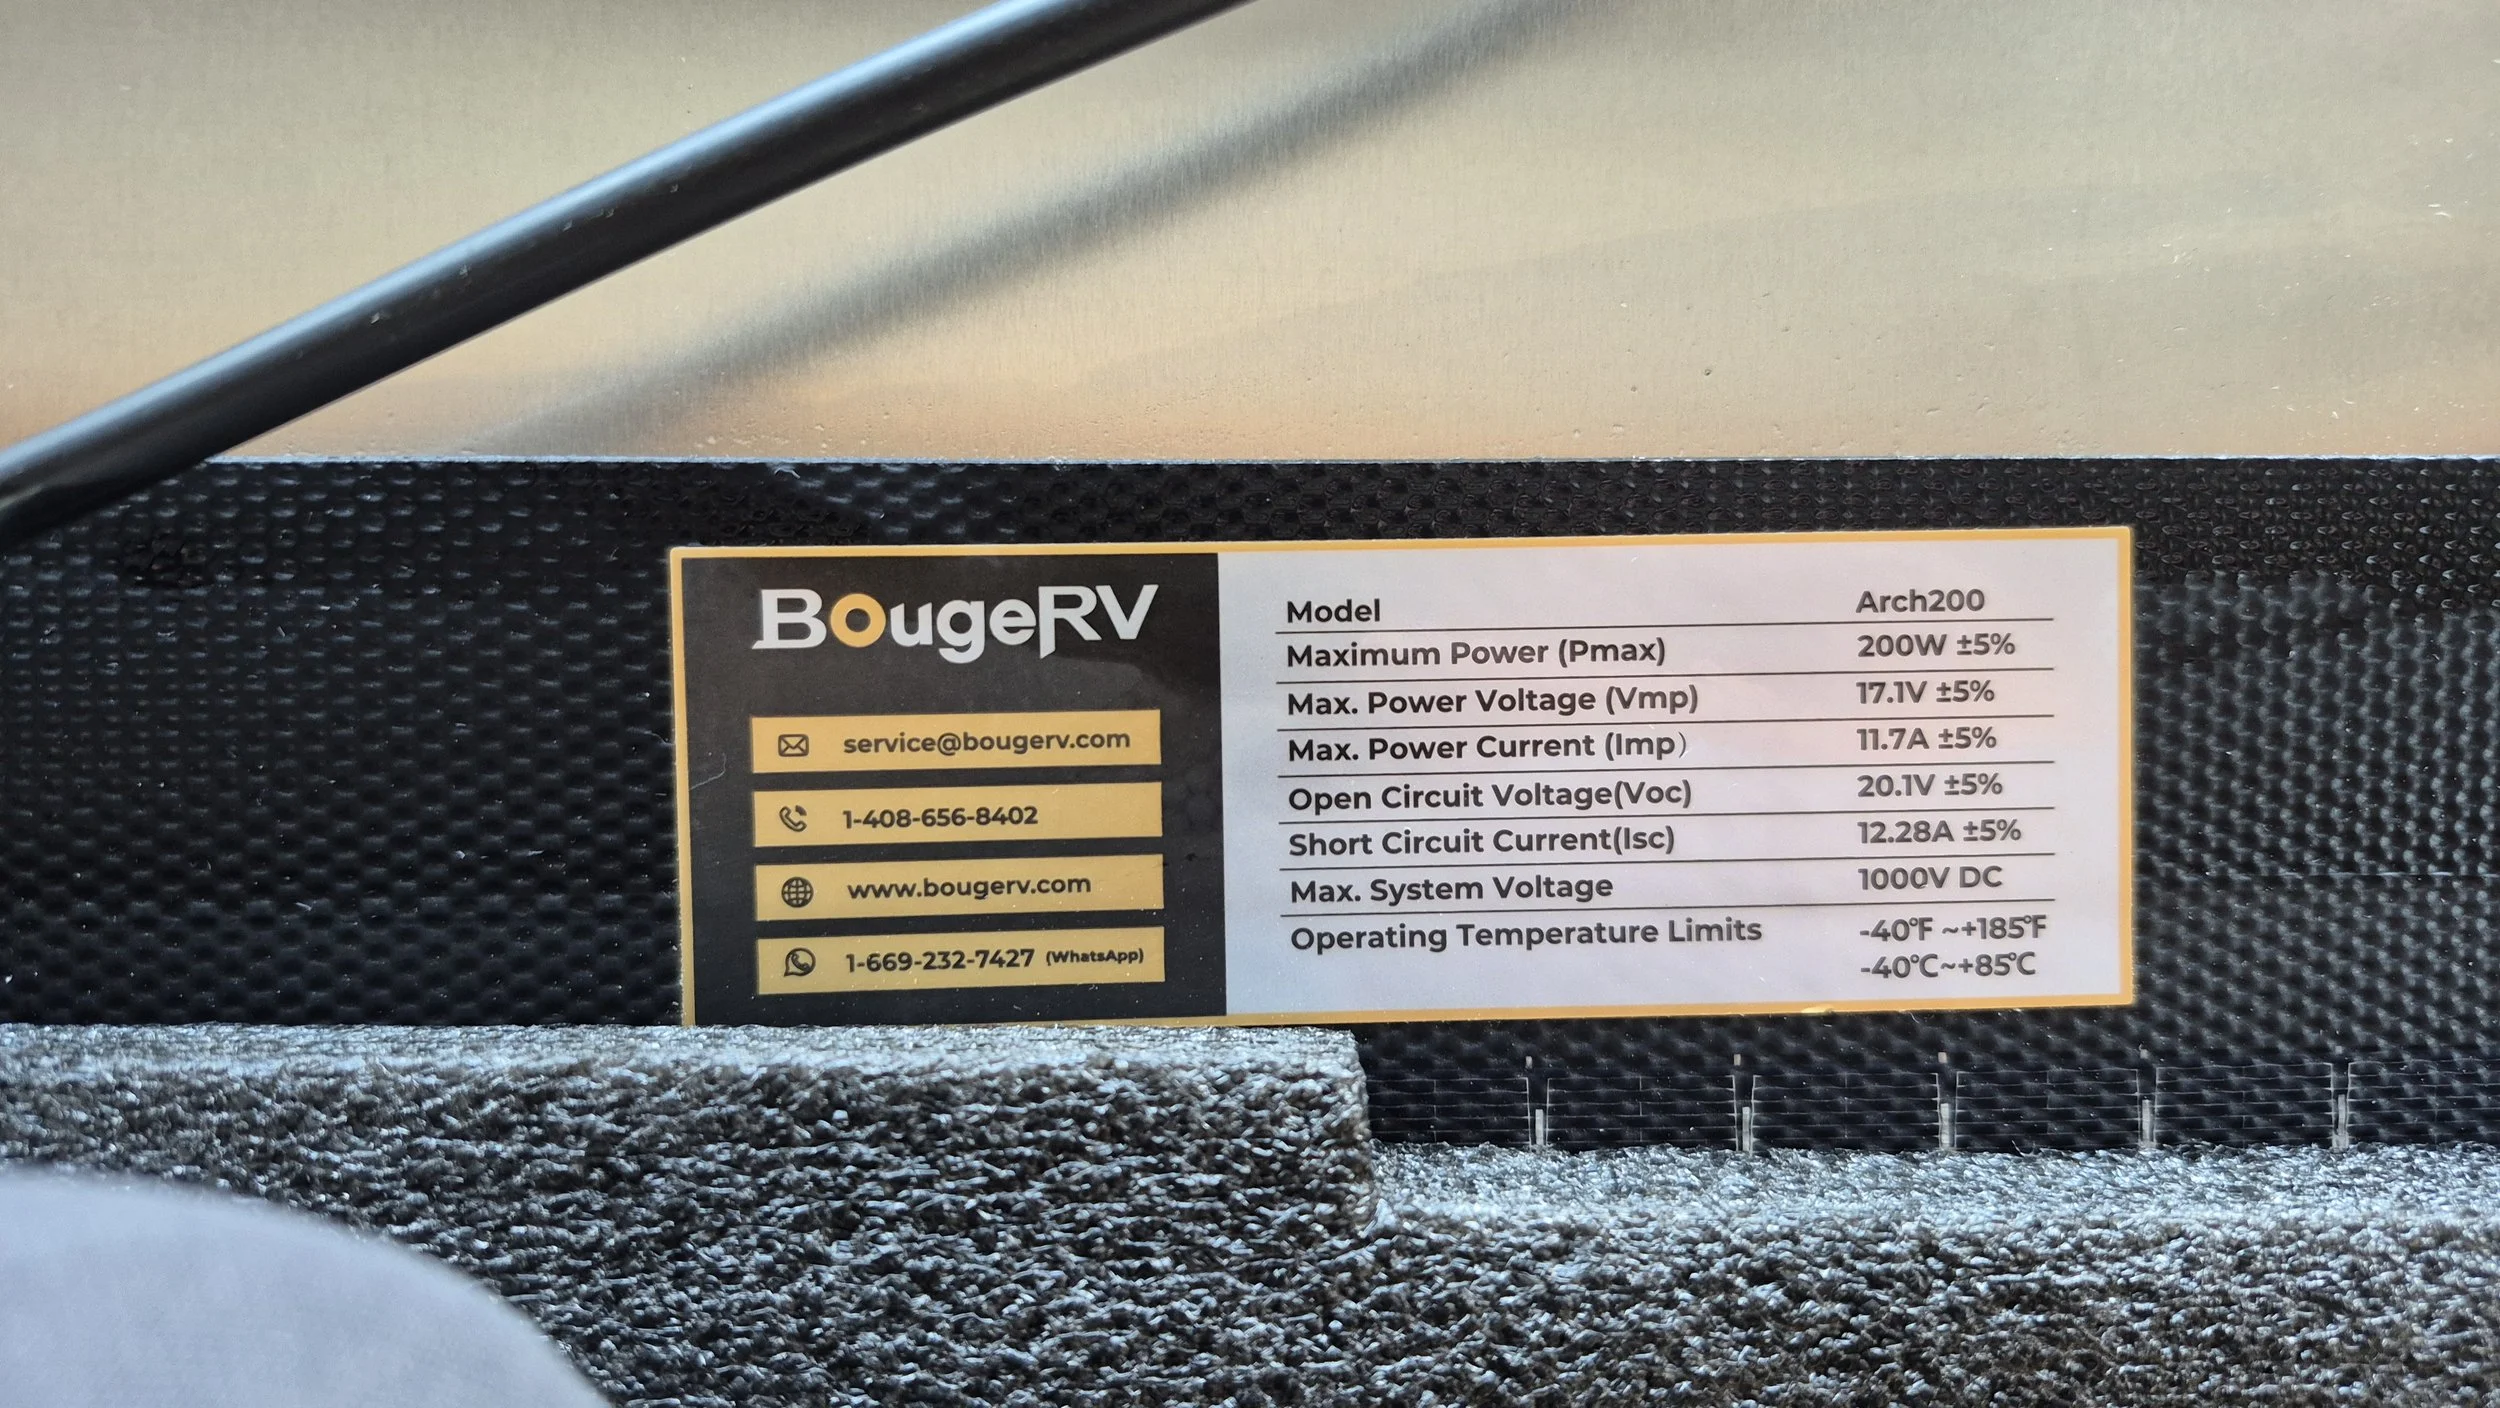
Next came the solar panels. We went with BougeRV Arch200 watt flexible panels. We went with 5 panels, so we have 1000 watts of solar.
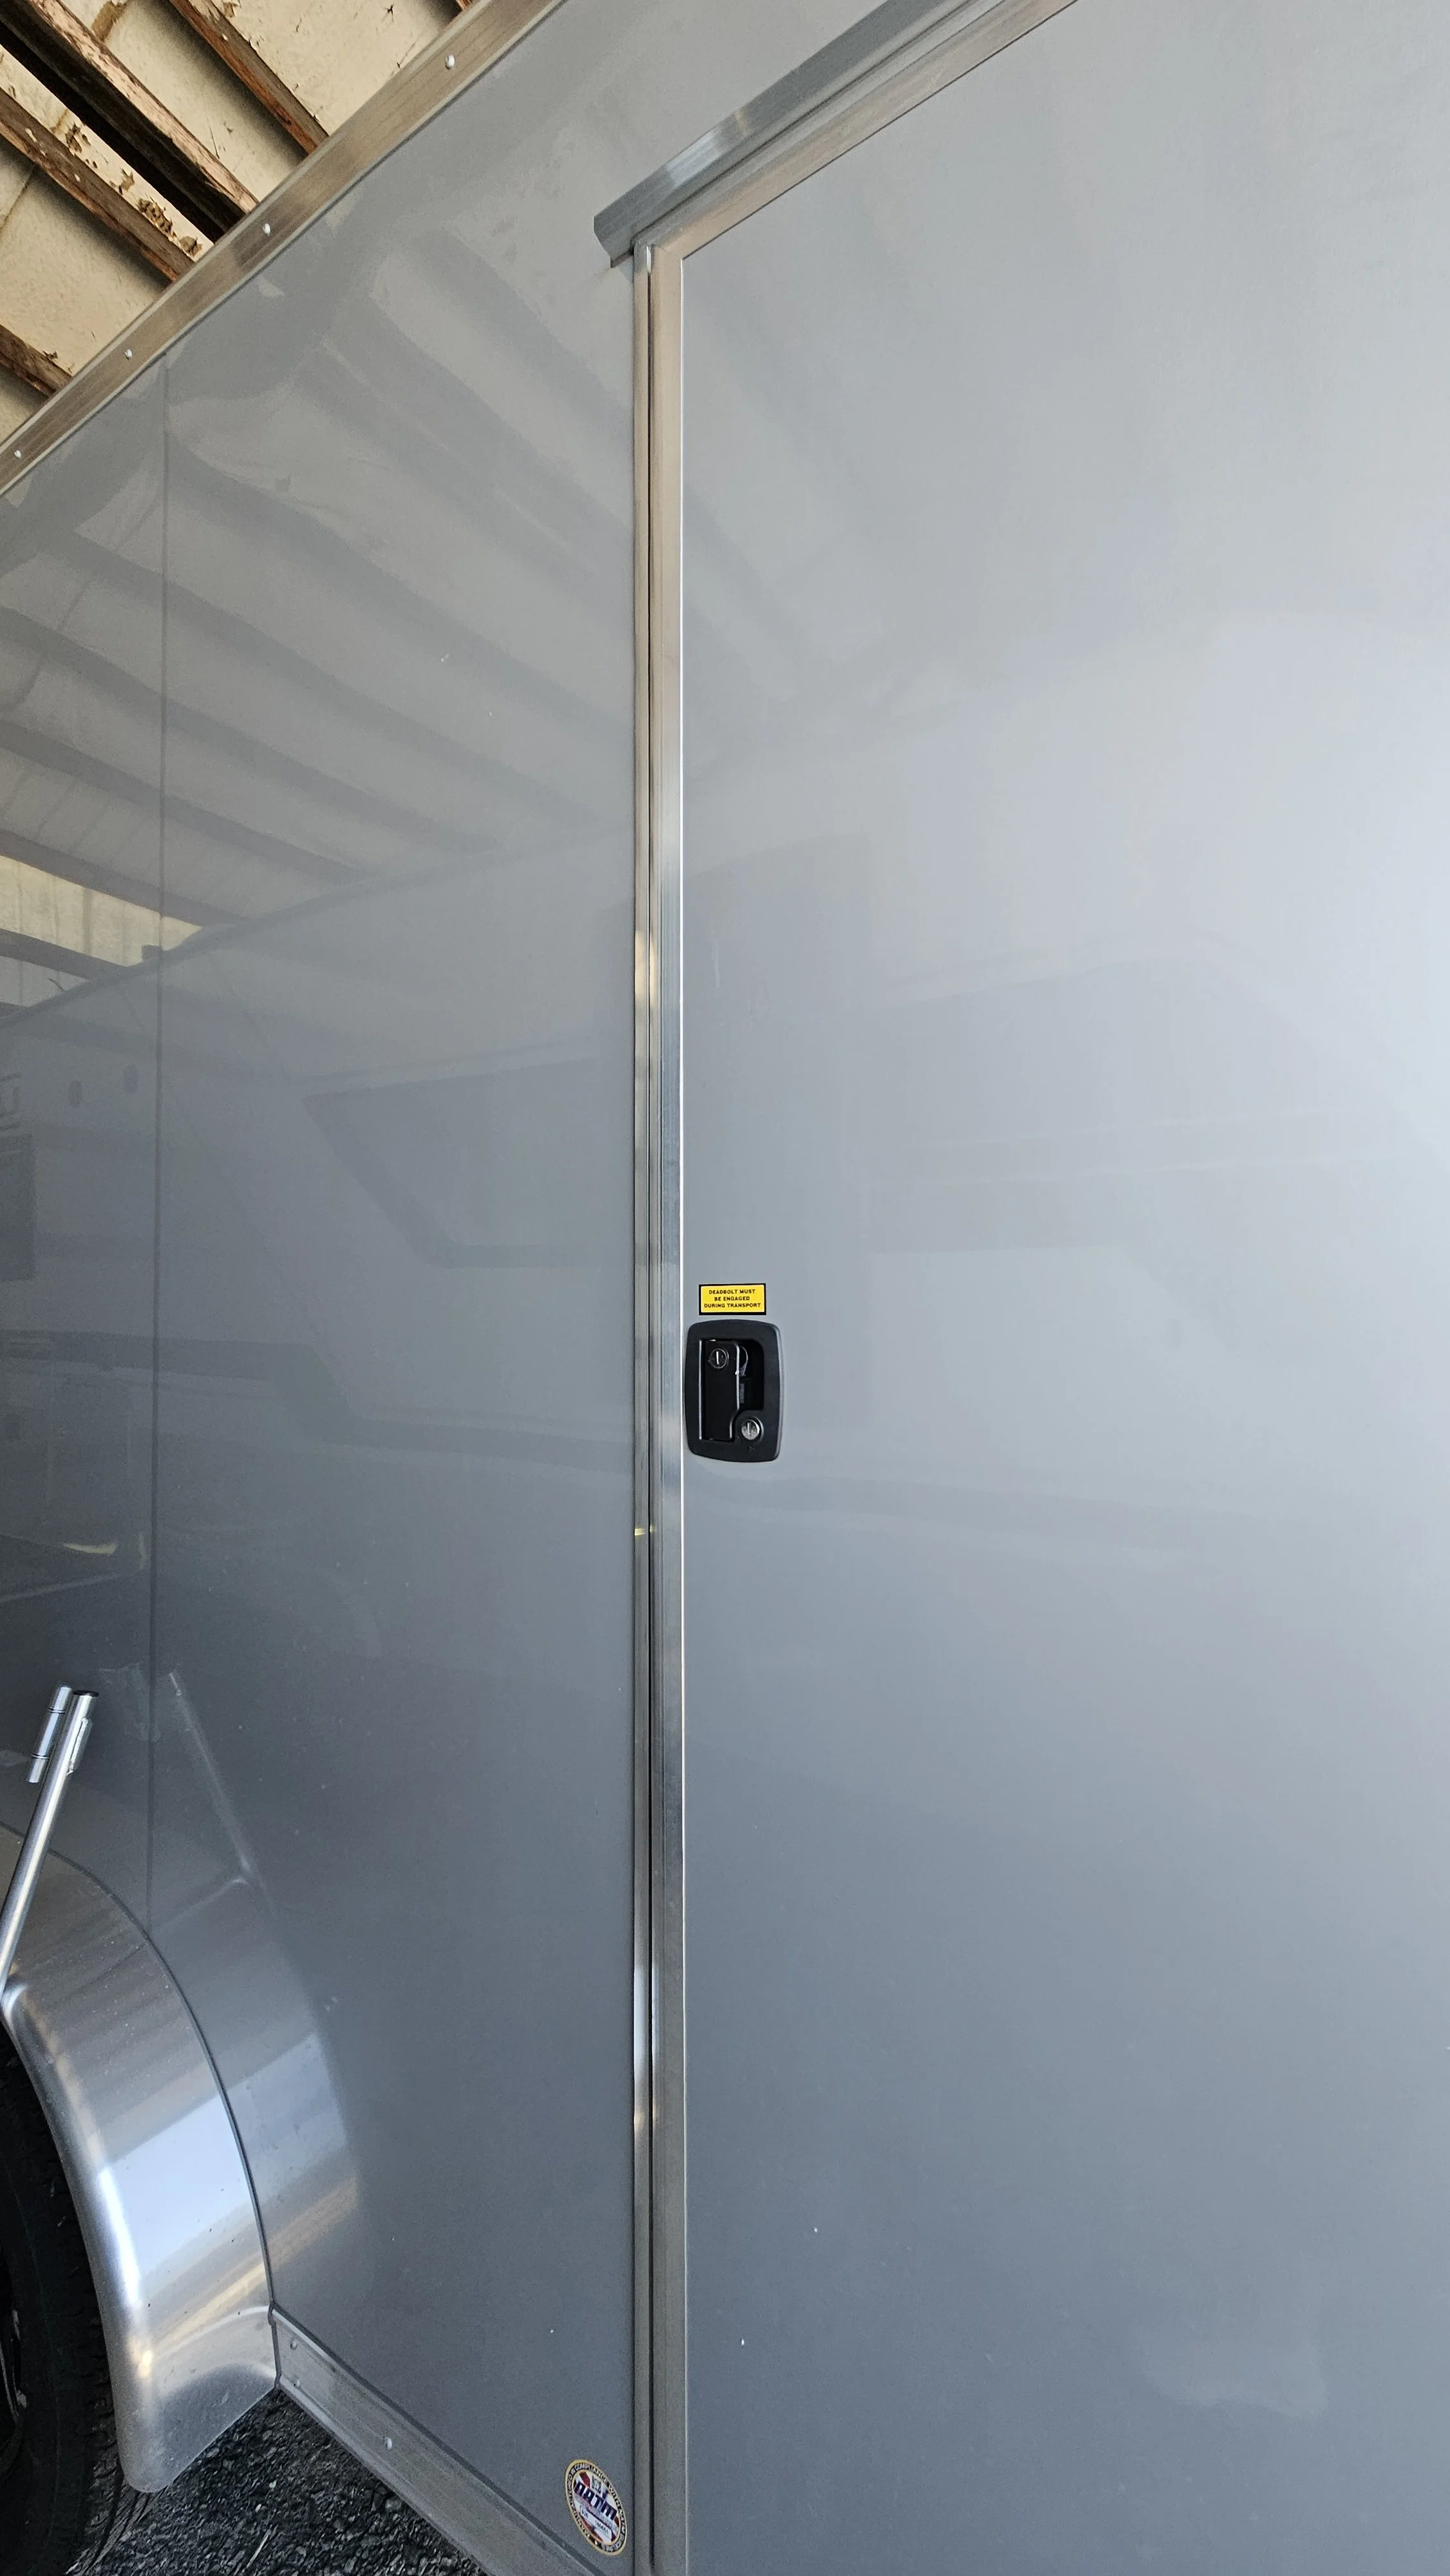
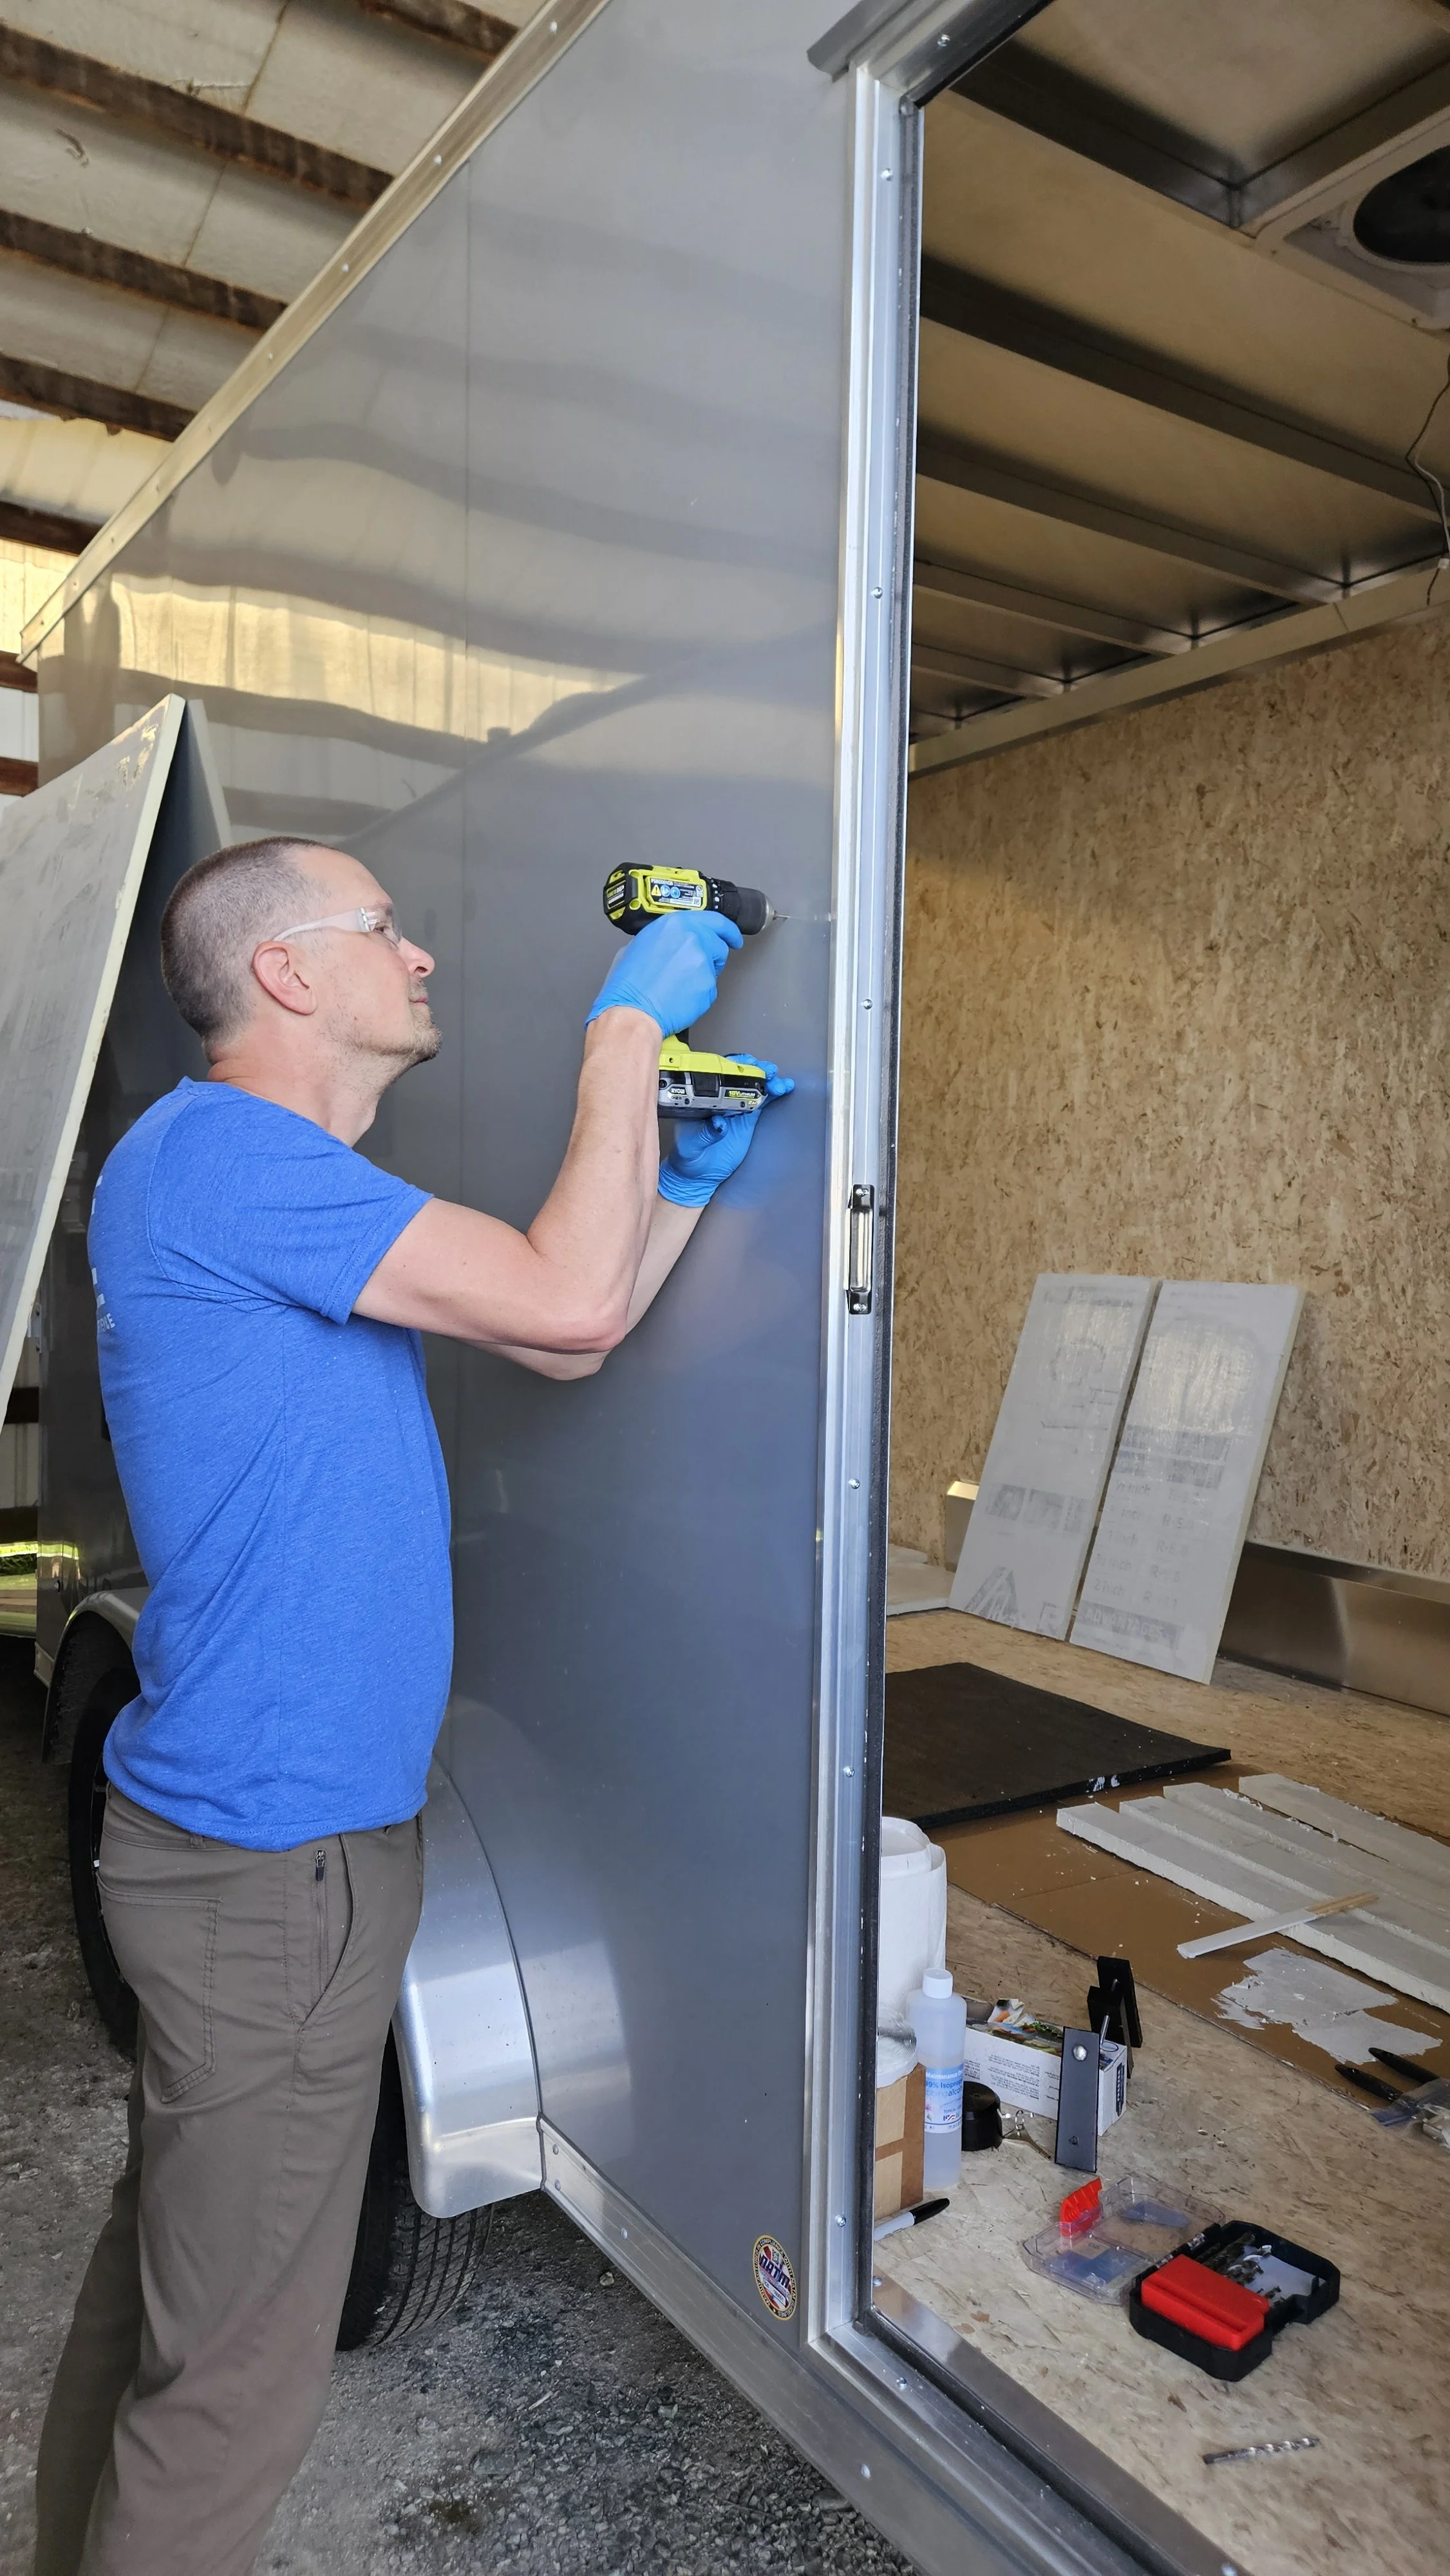
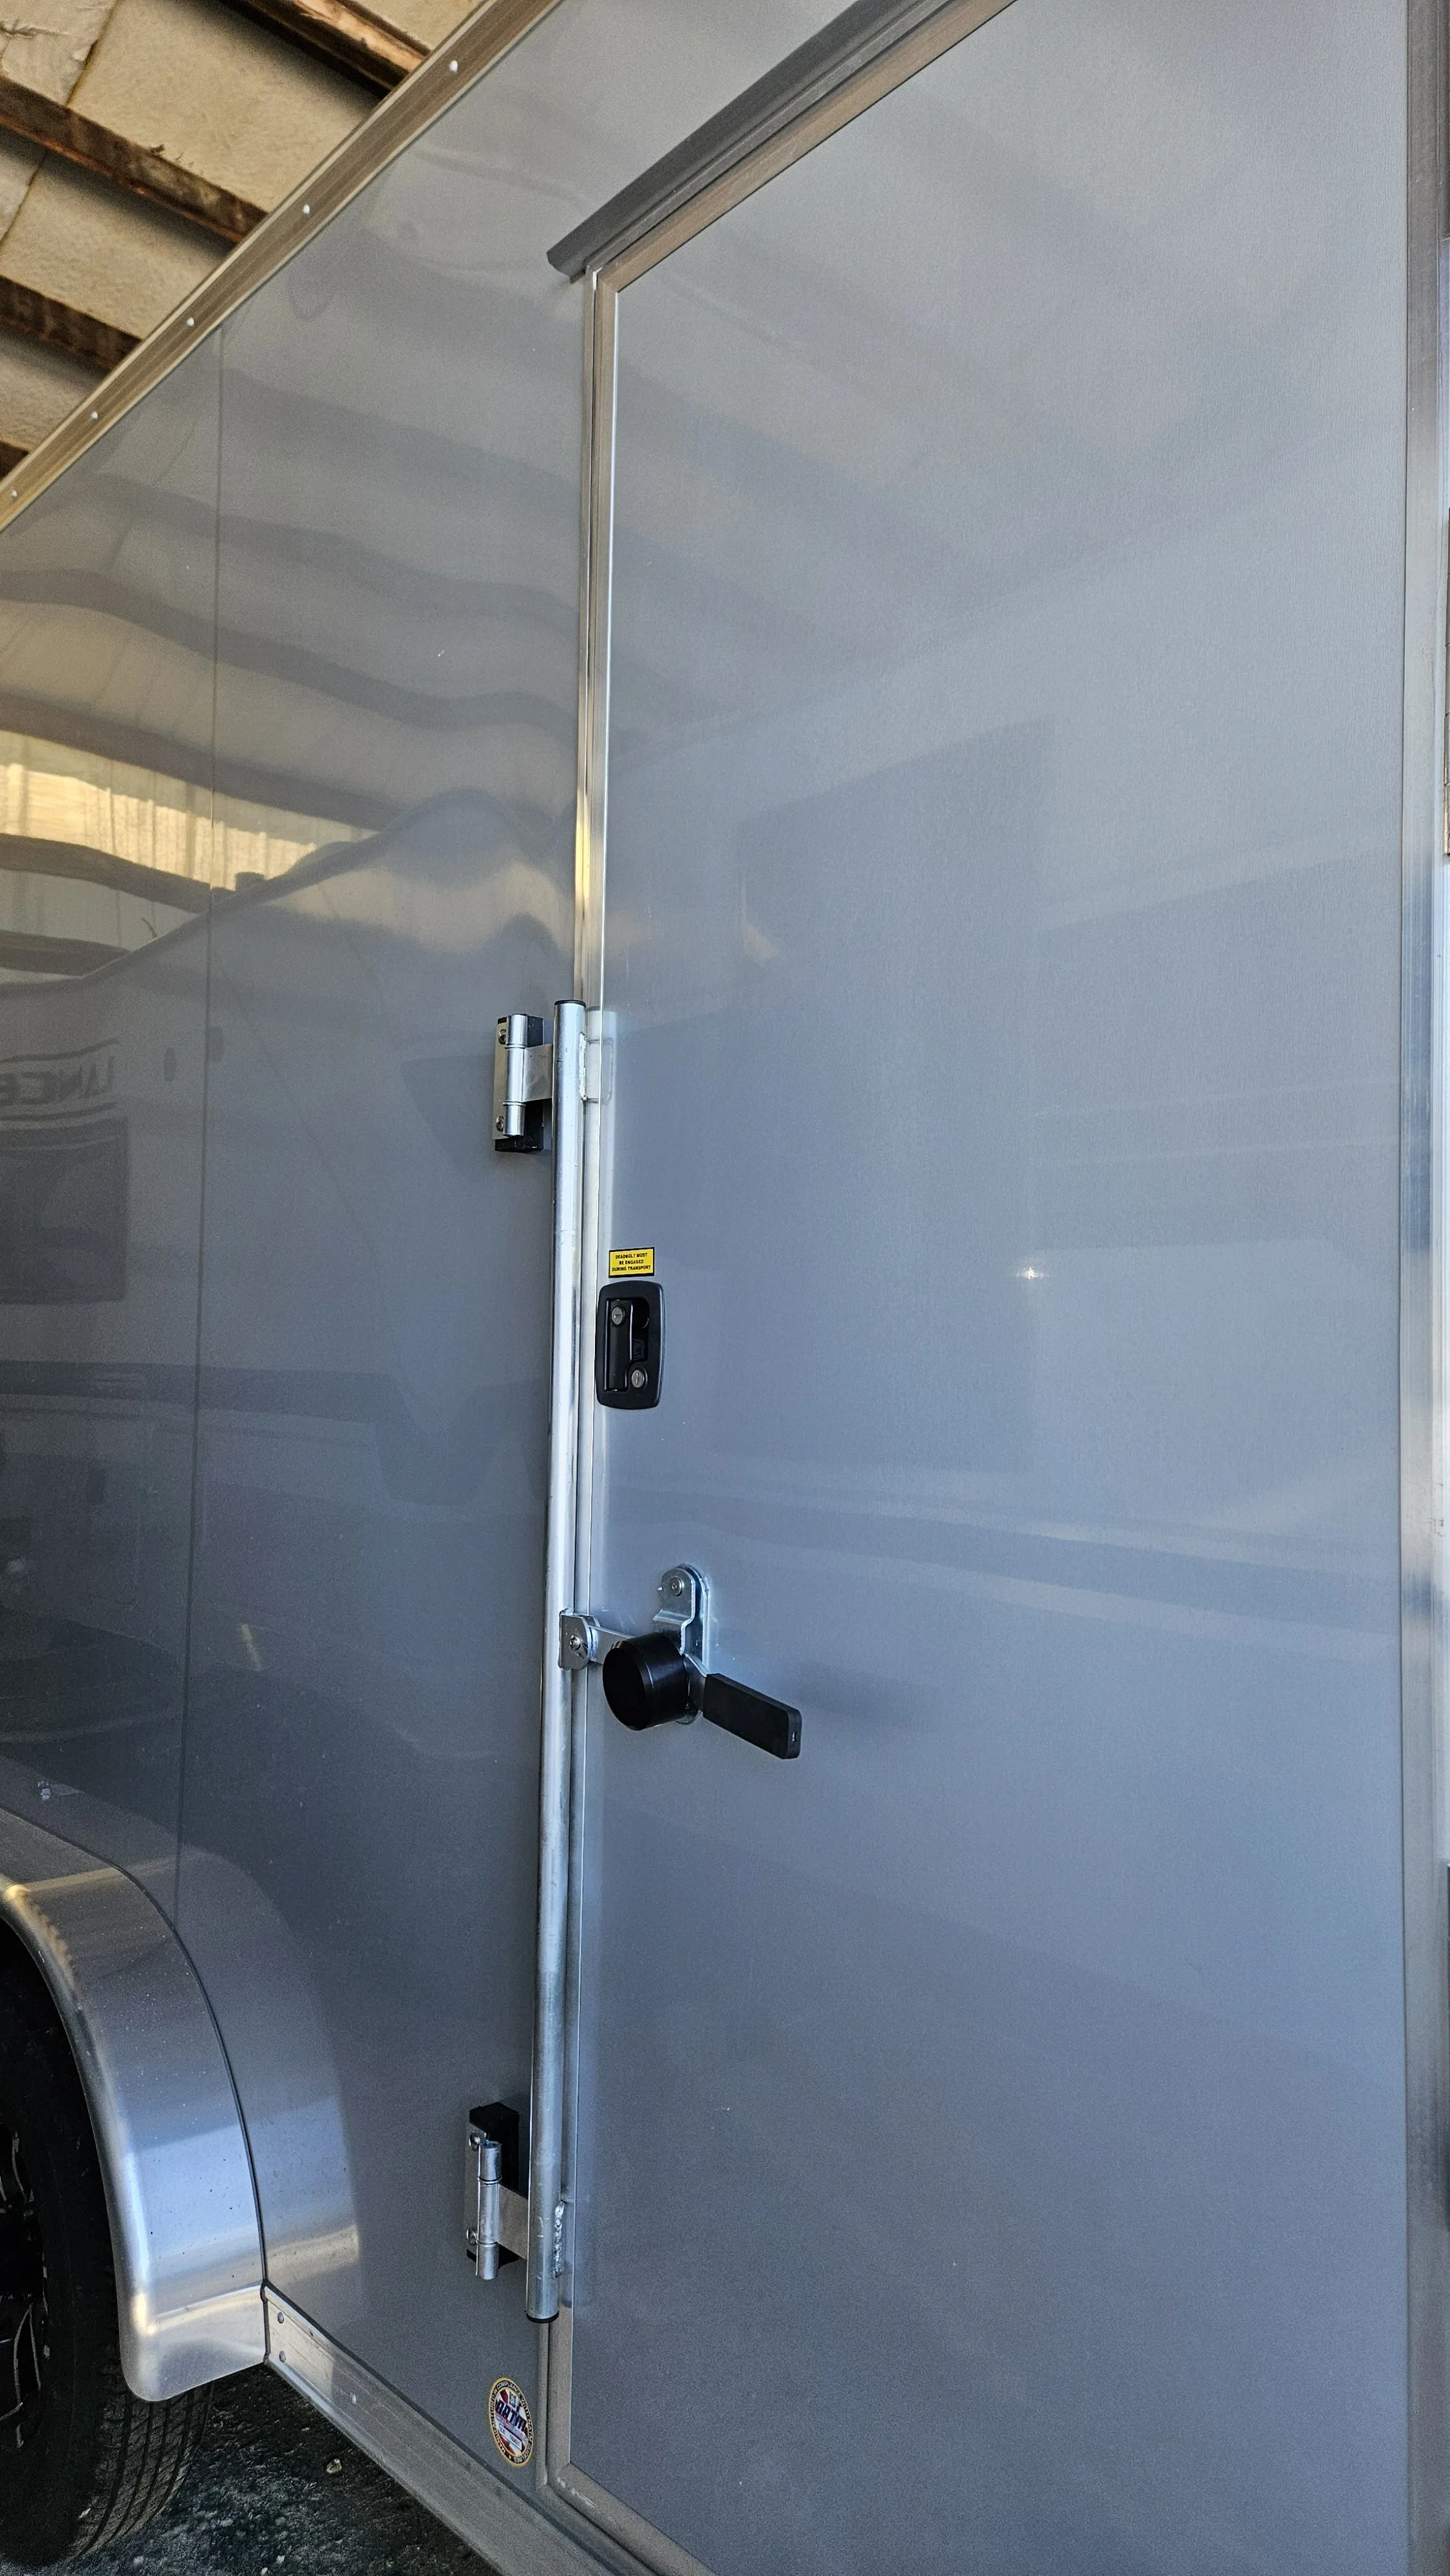
We added a security bar to the main door in the trailer. Doesn’t hurt to have one more level of security.
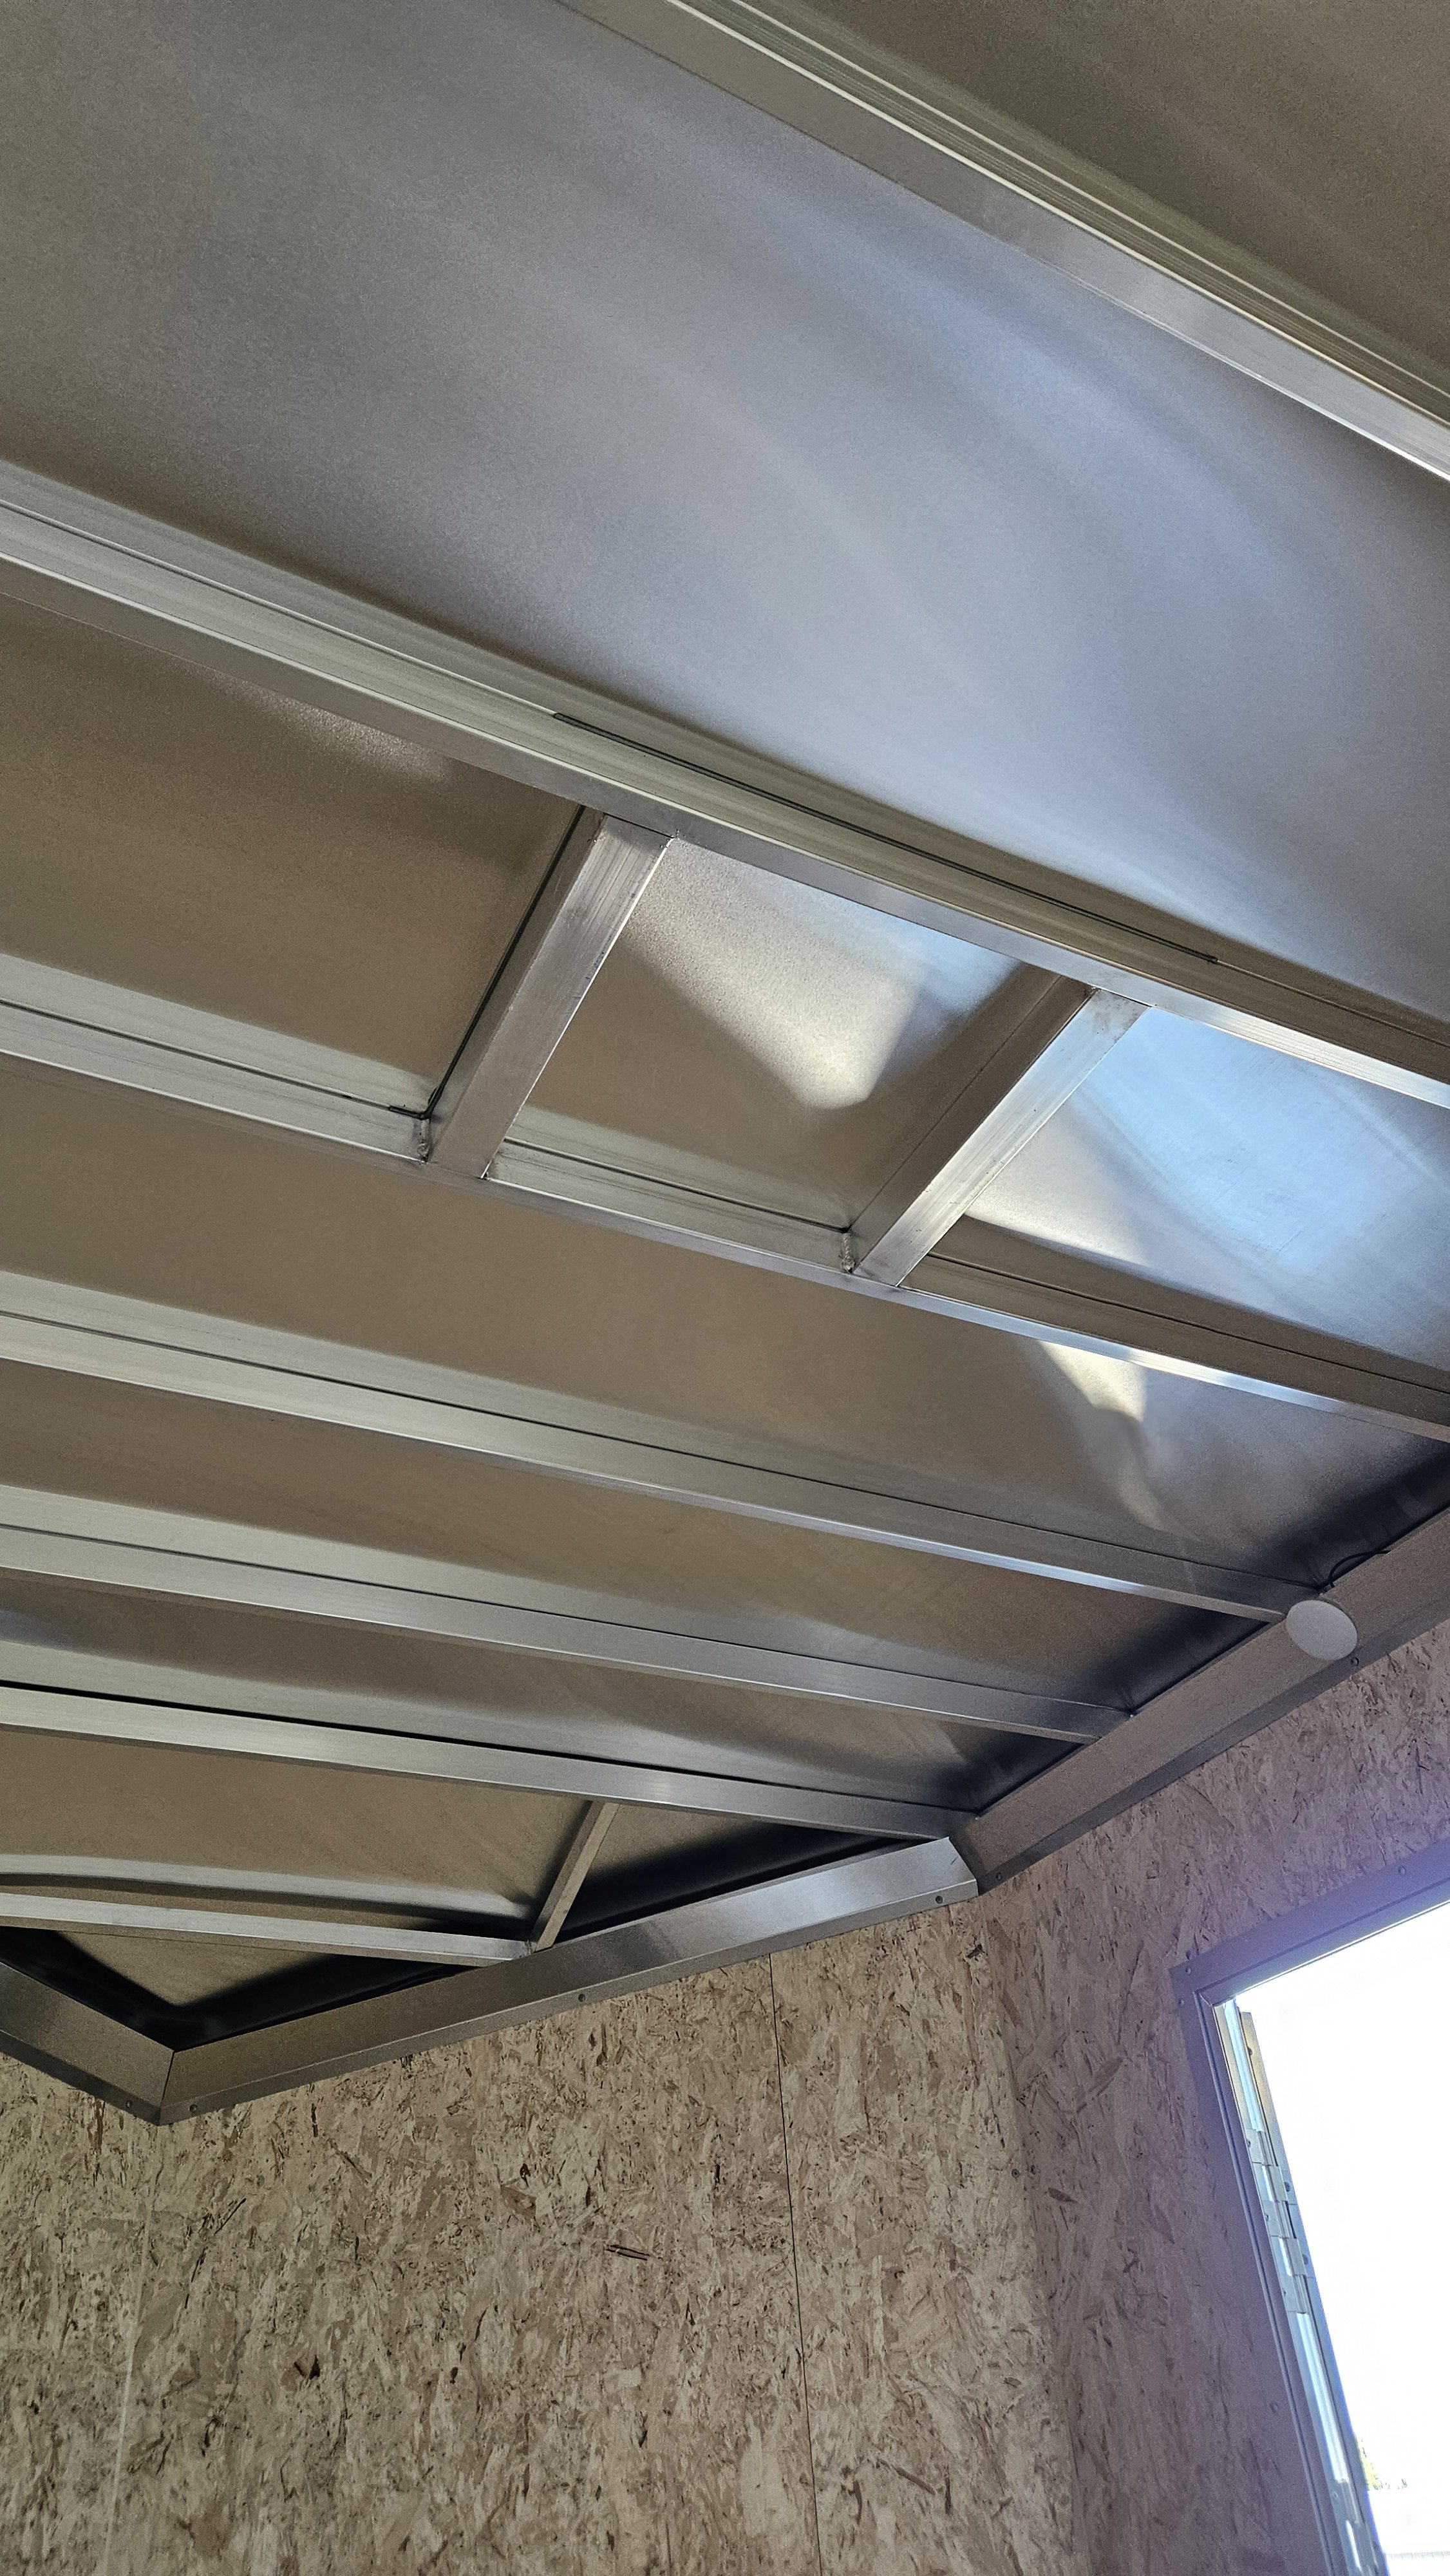
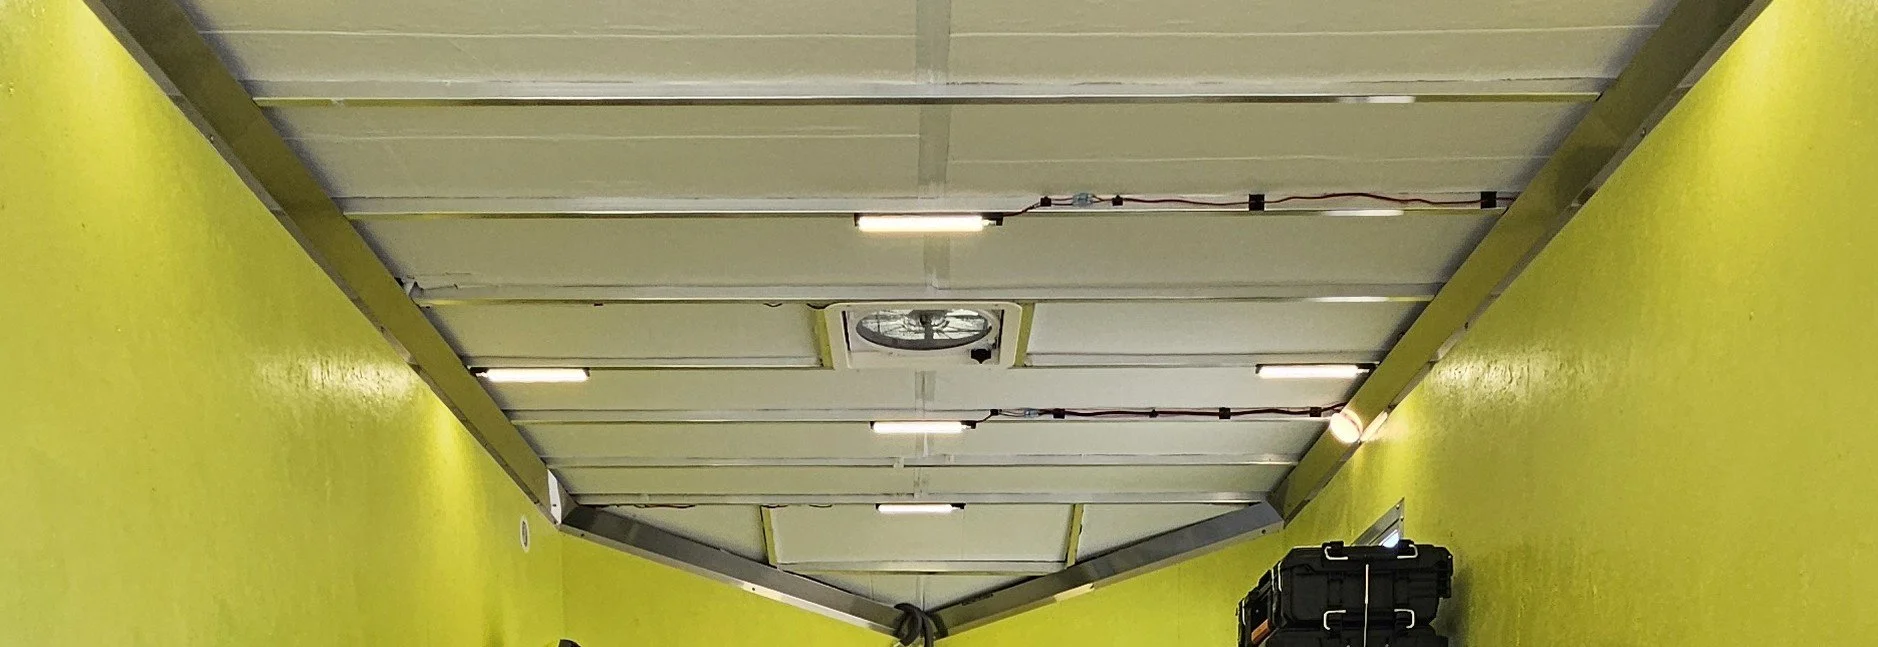
Next up was installing insulation panels on the ceiling.
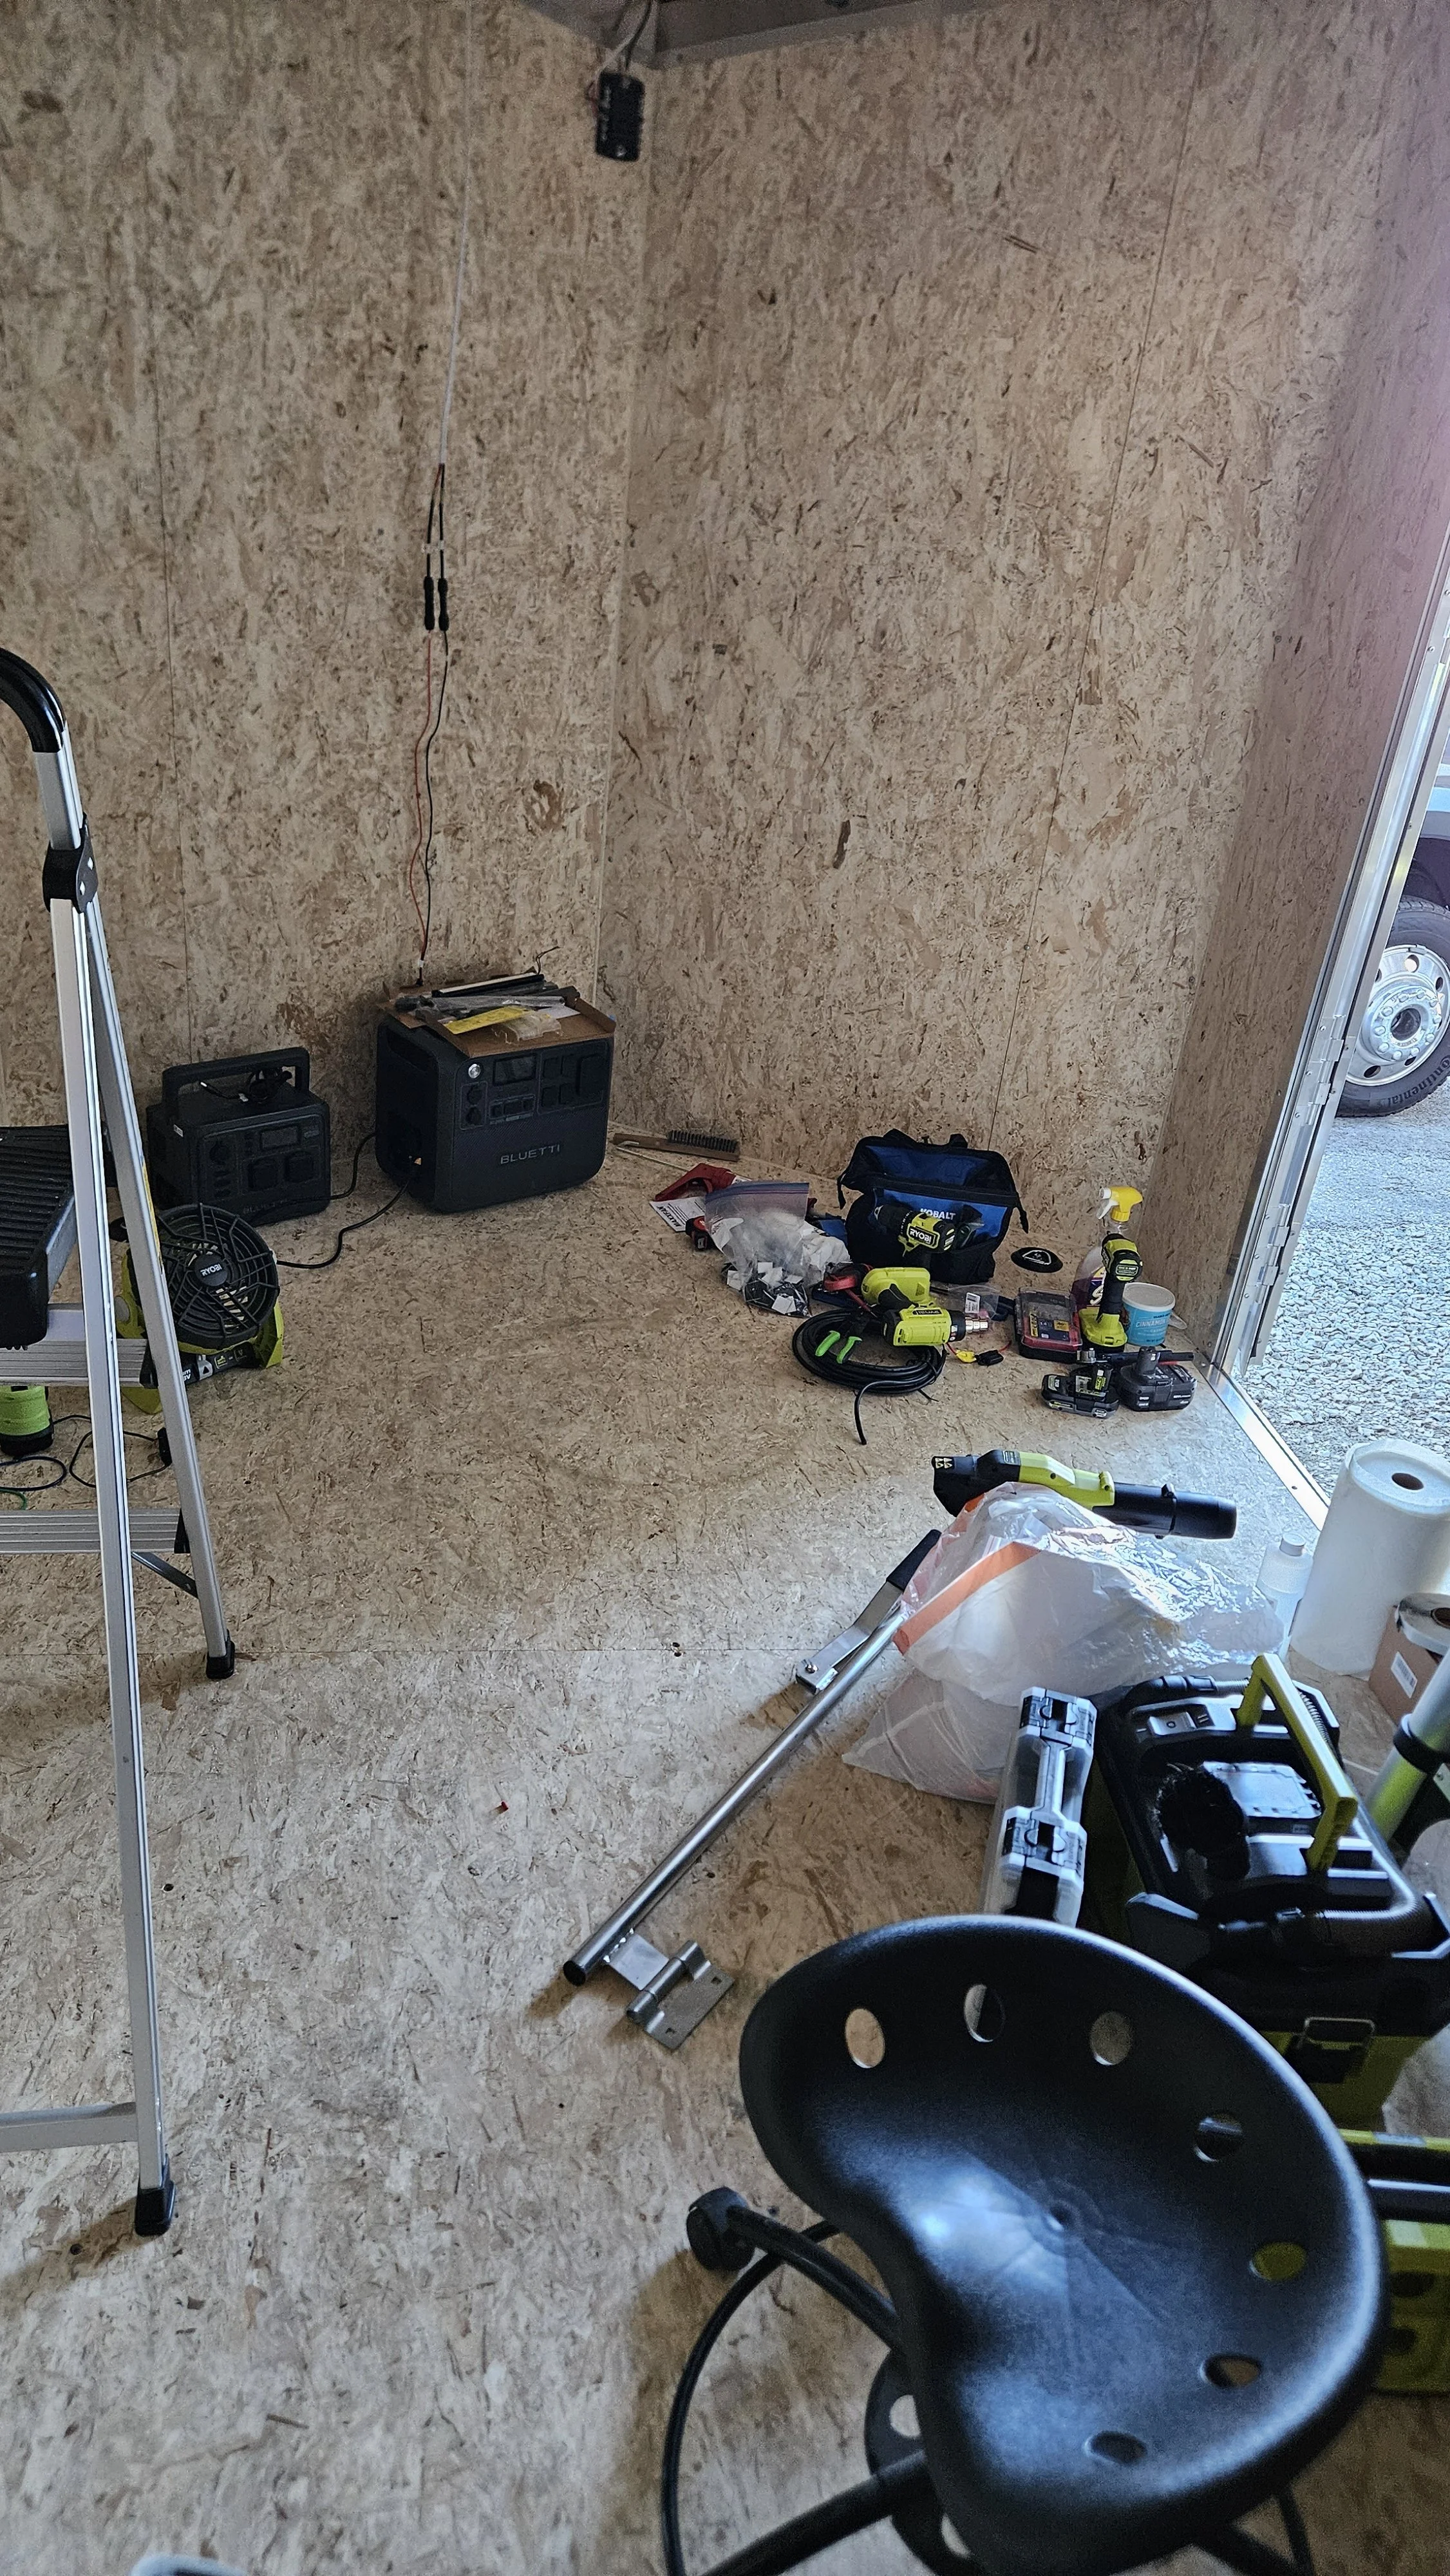
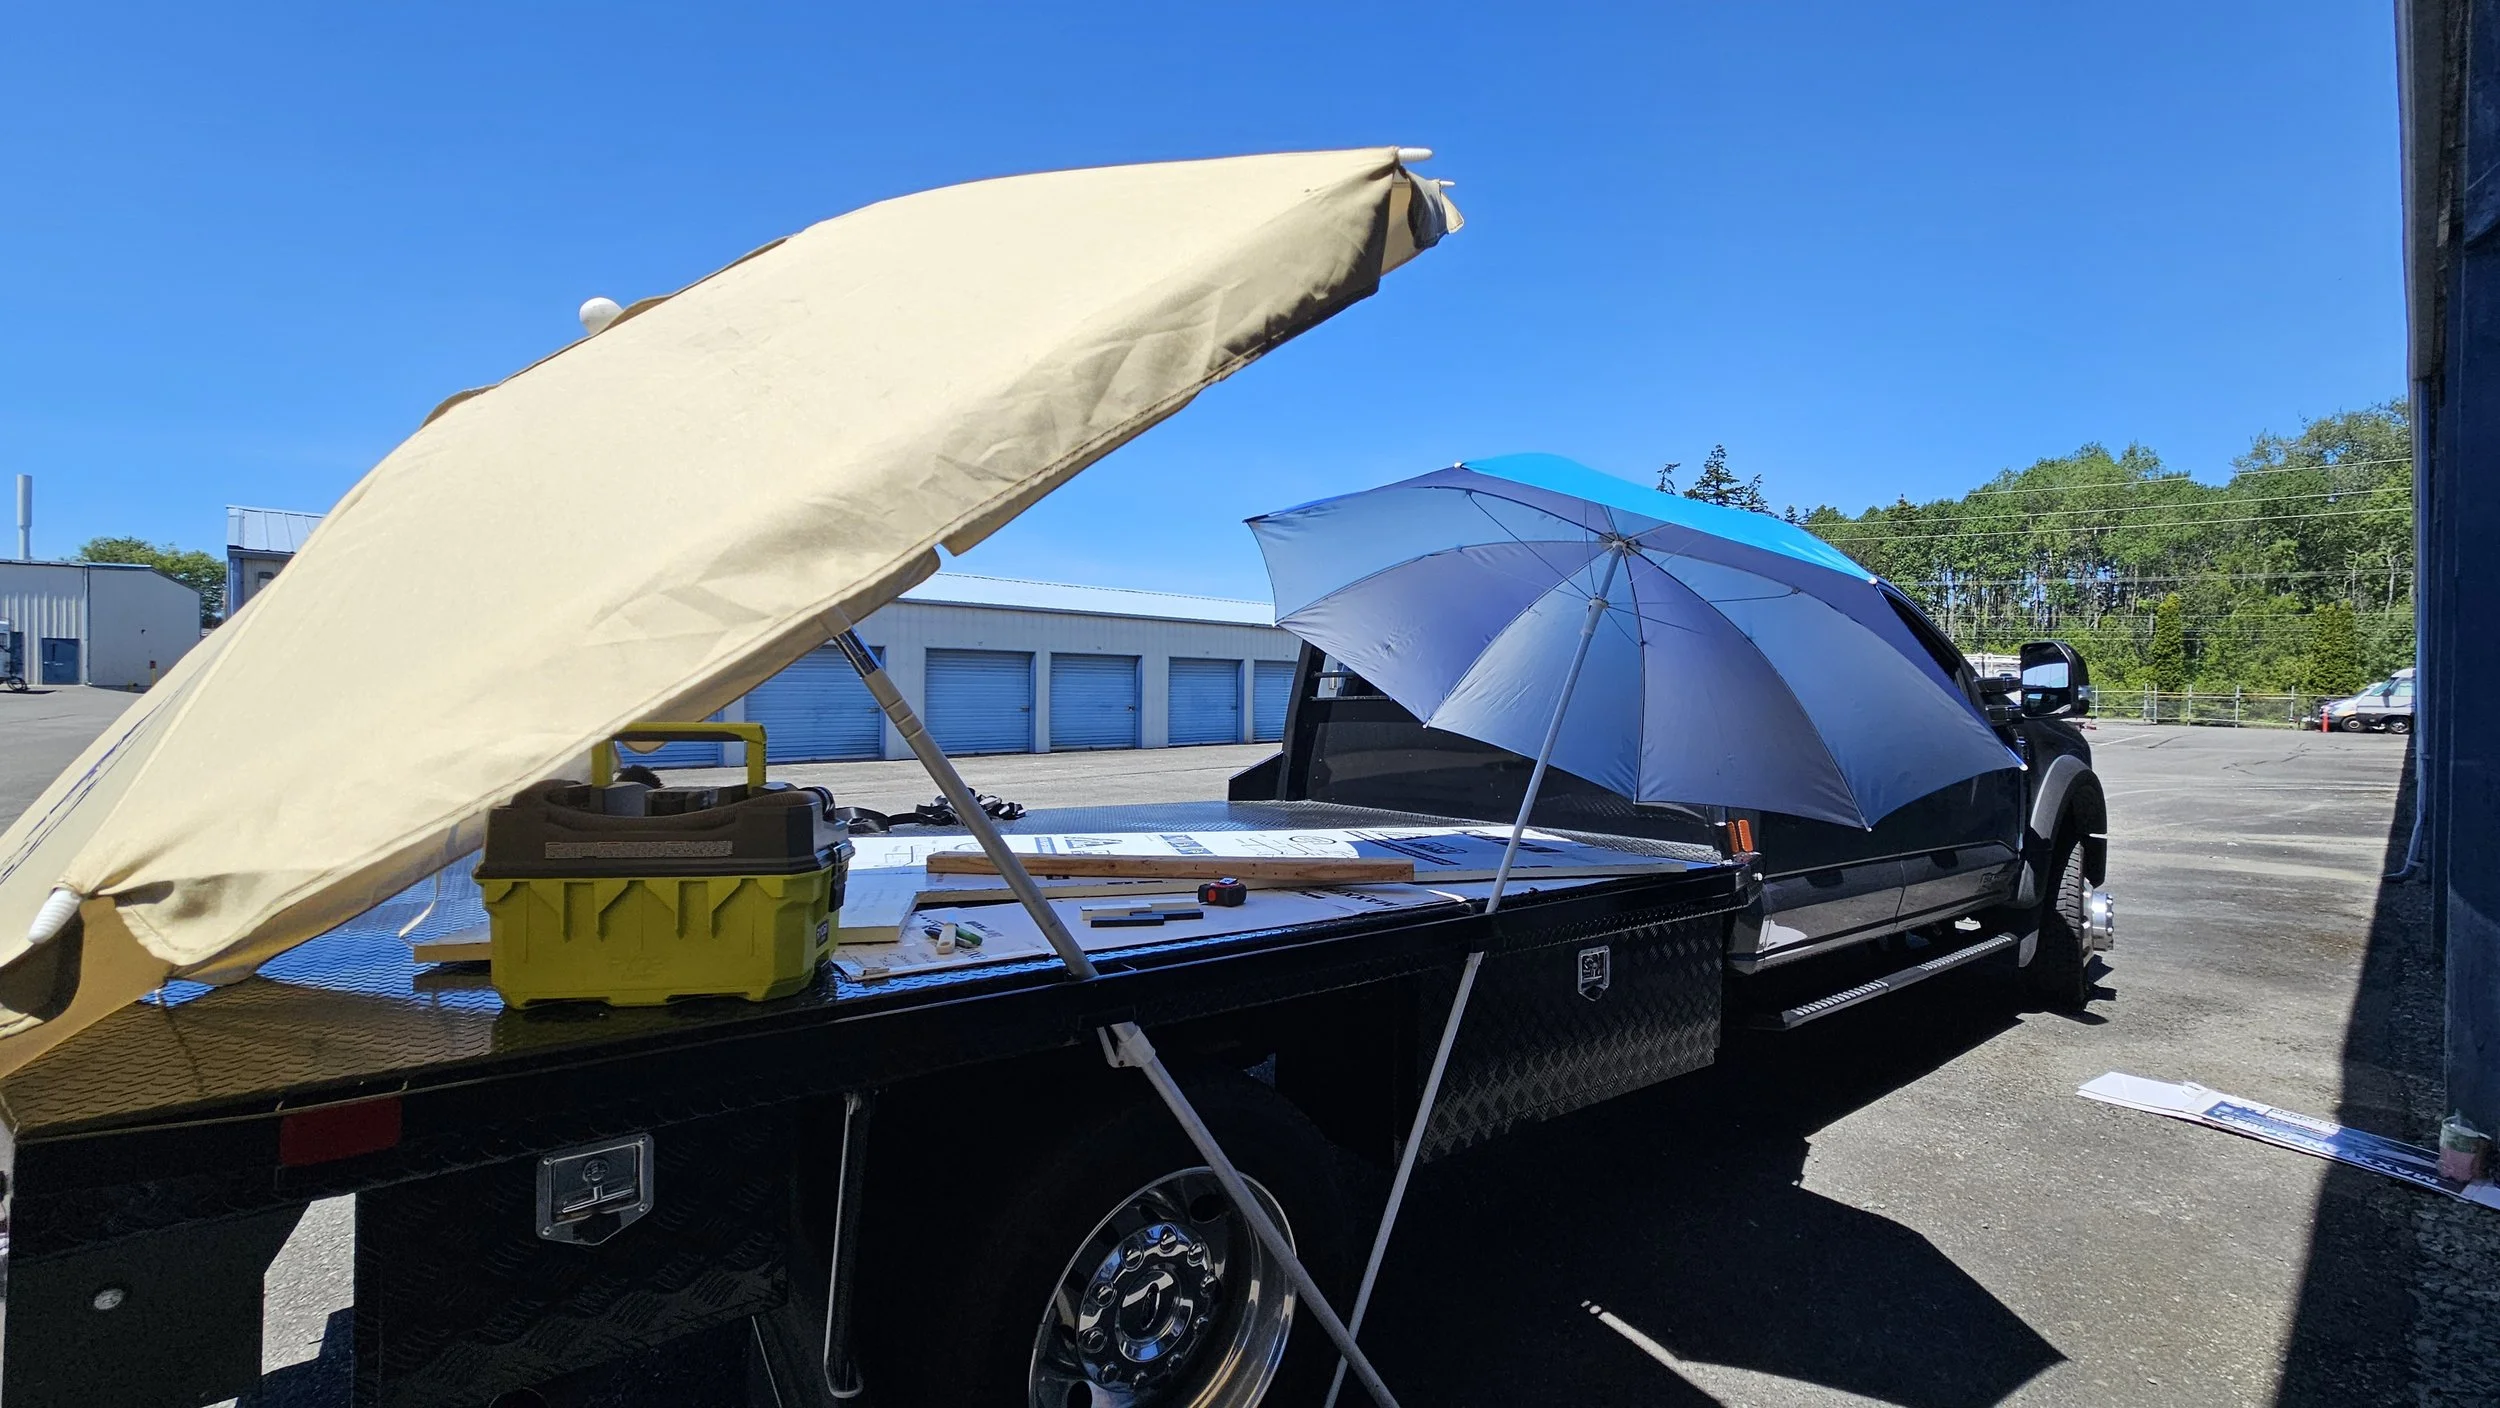
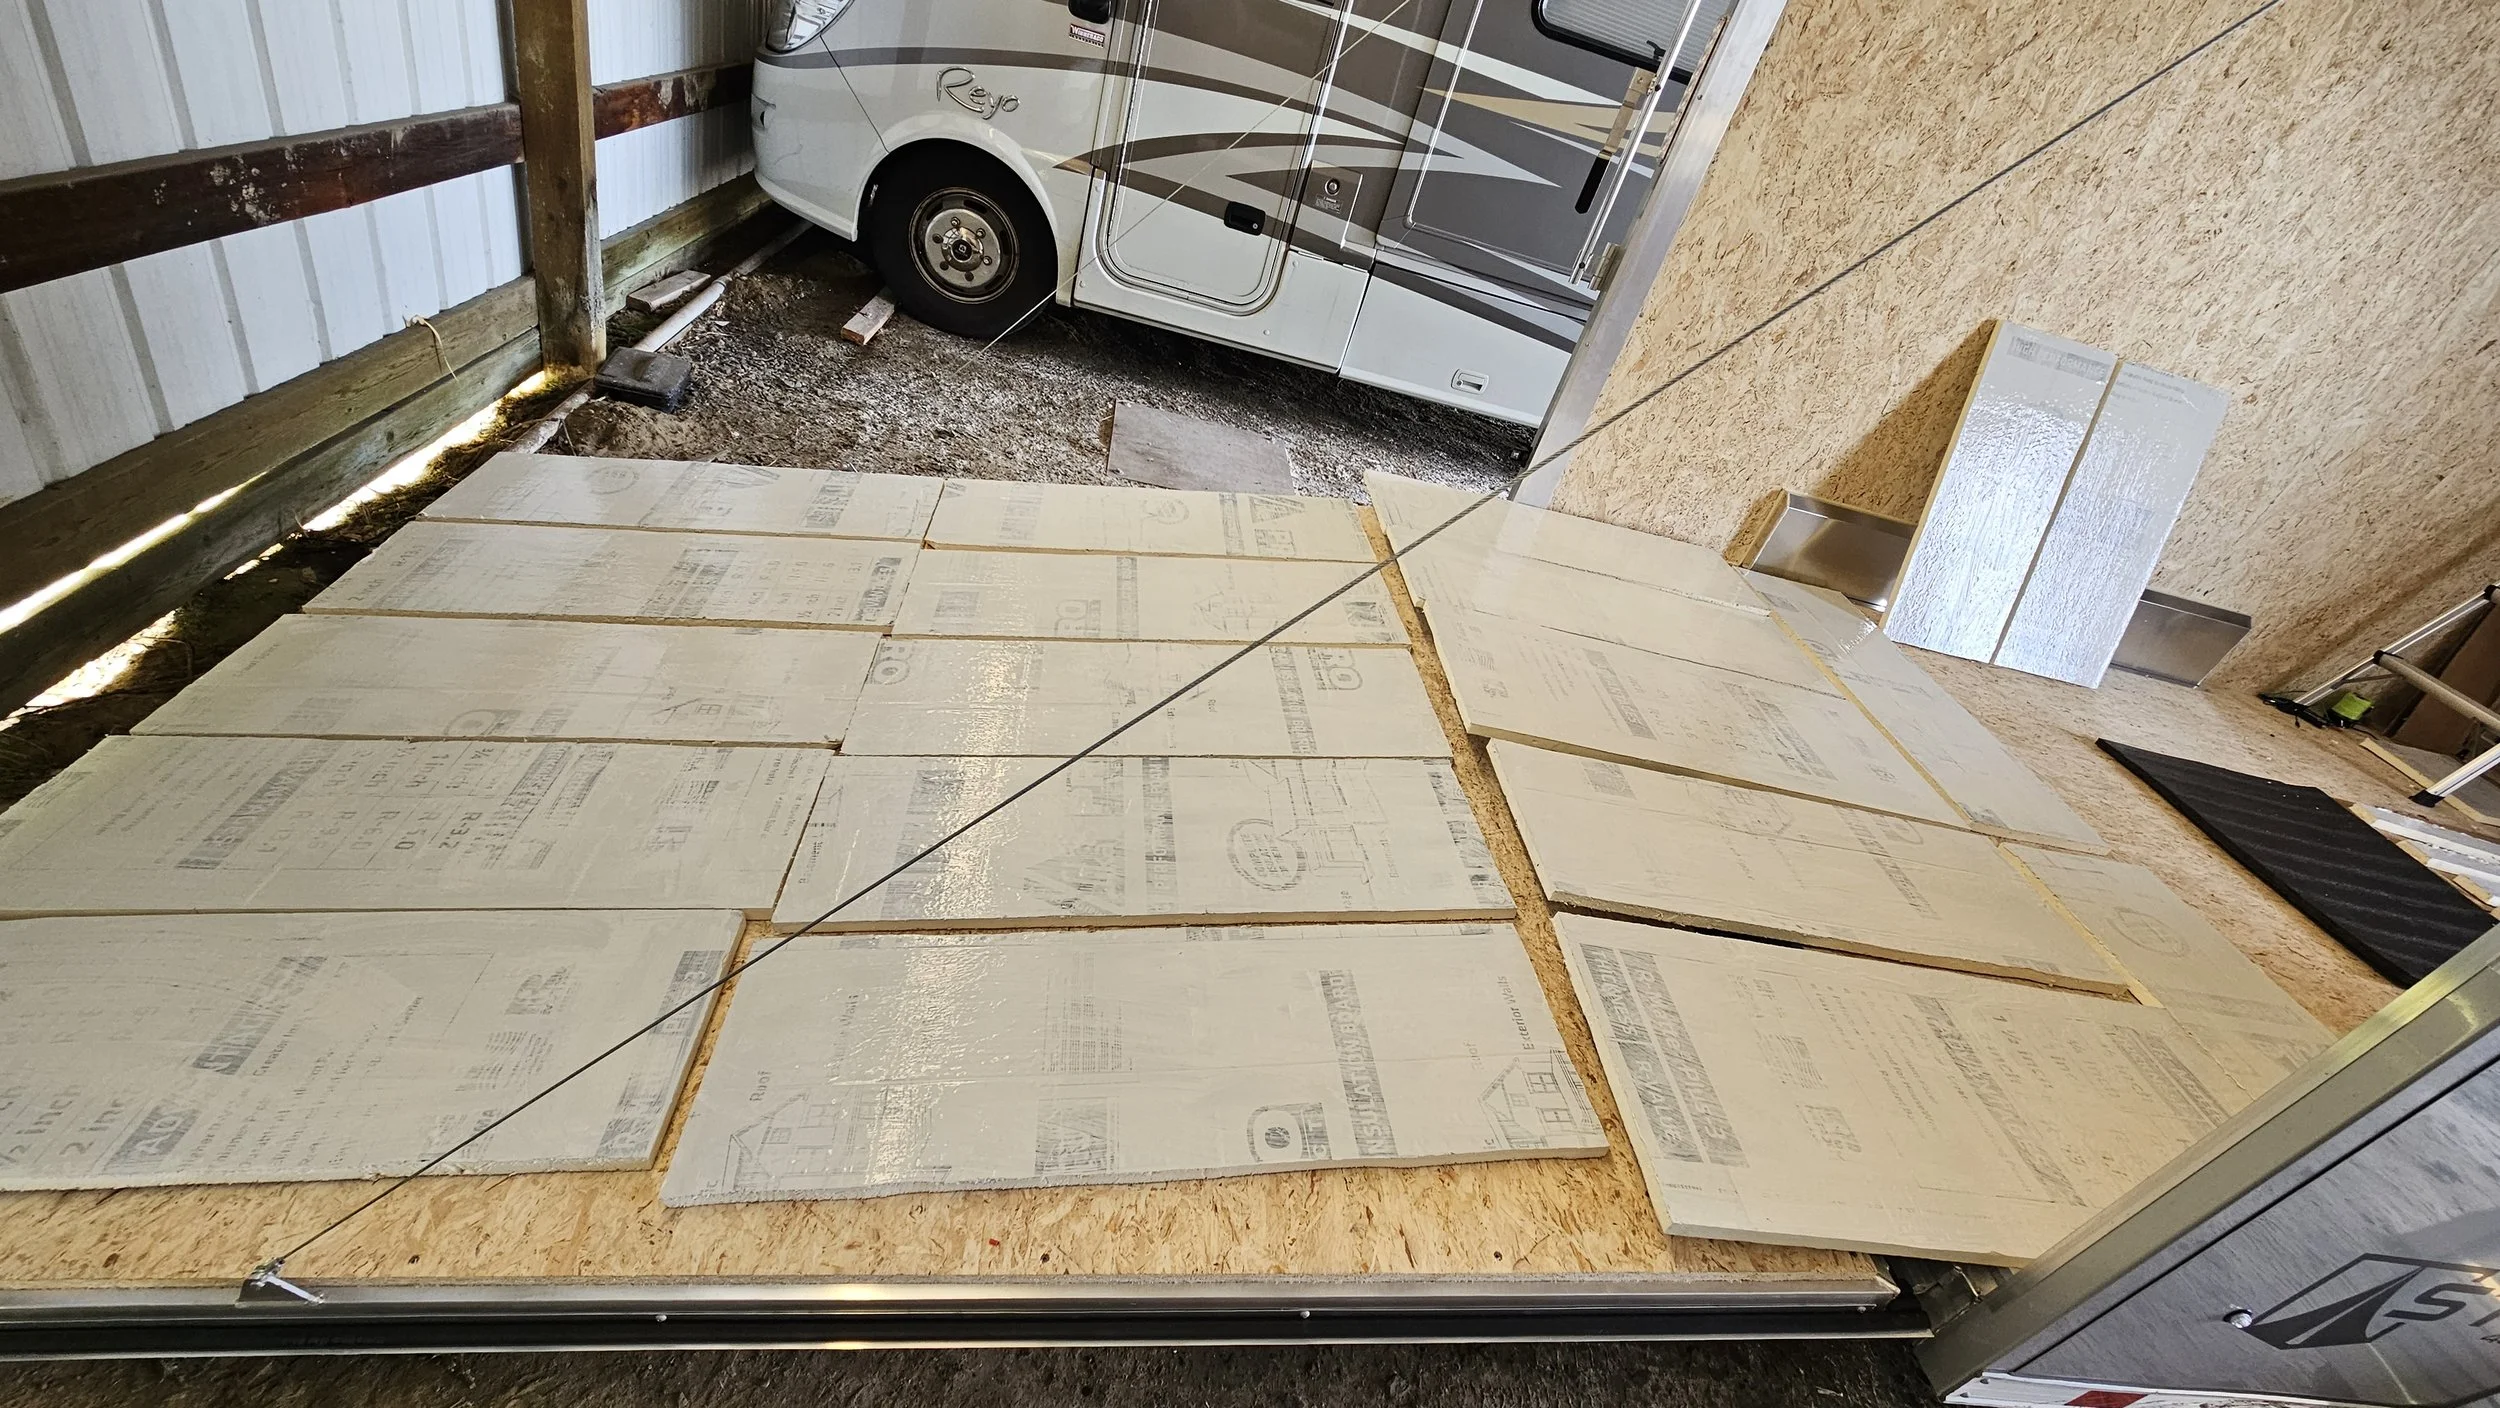
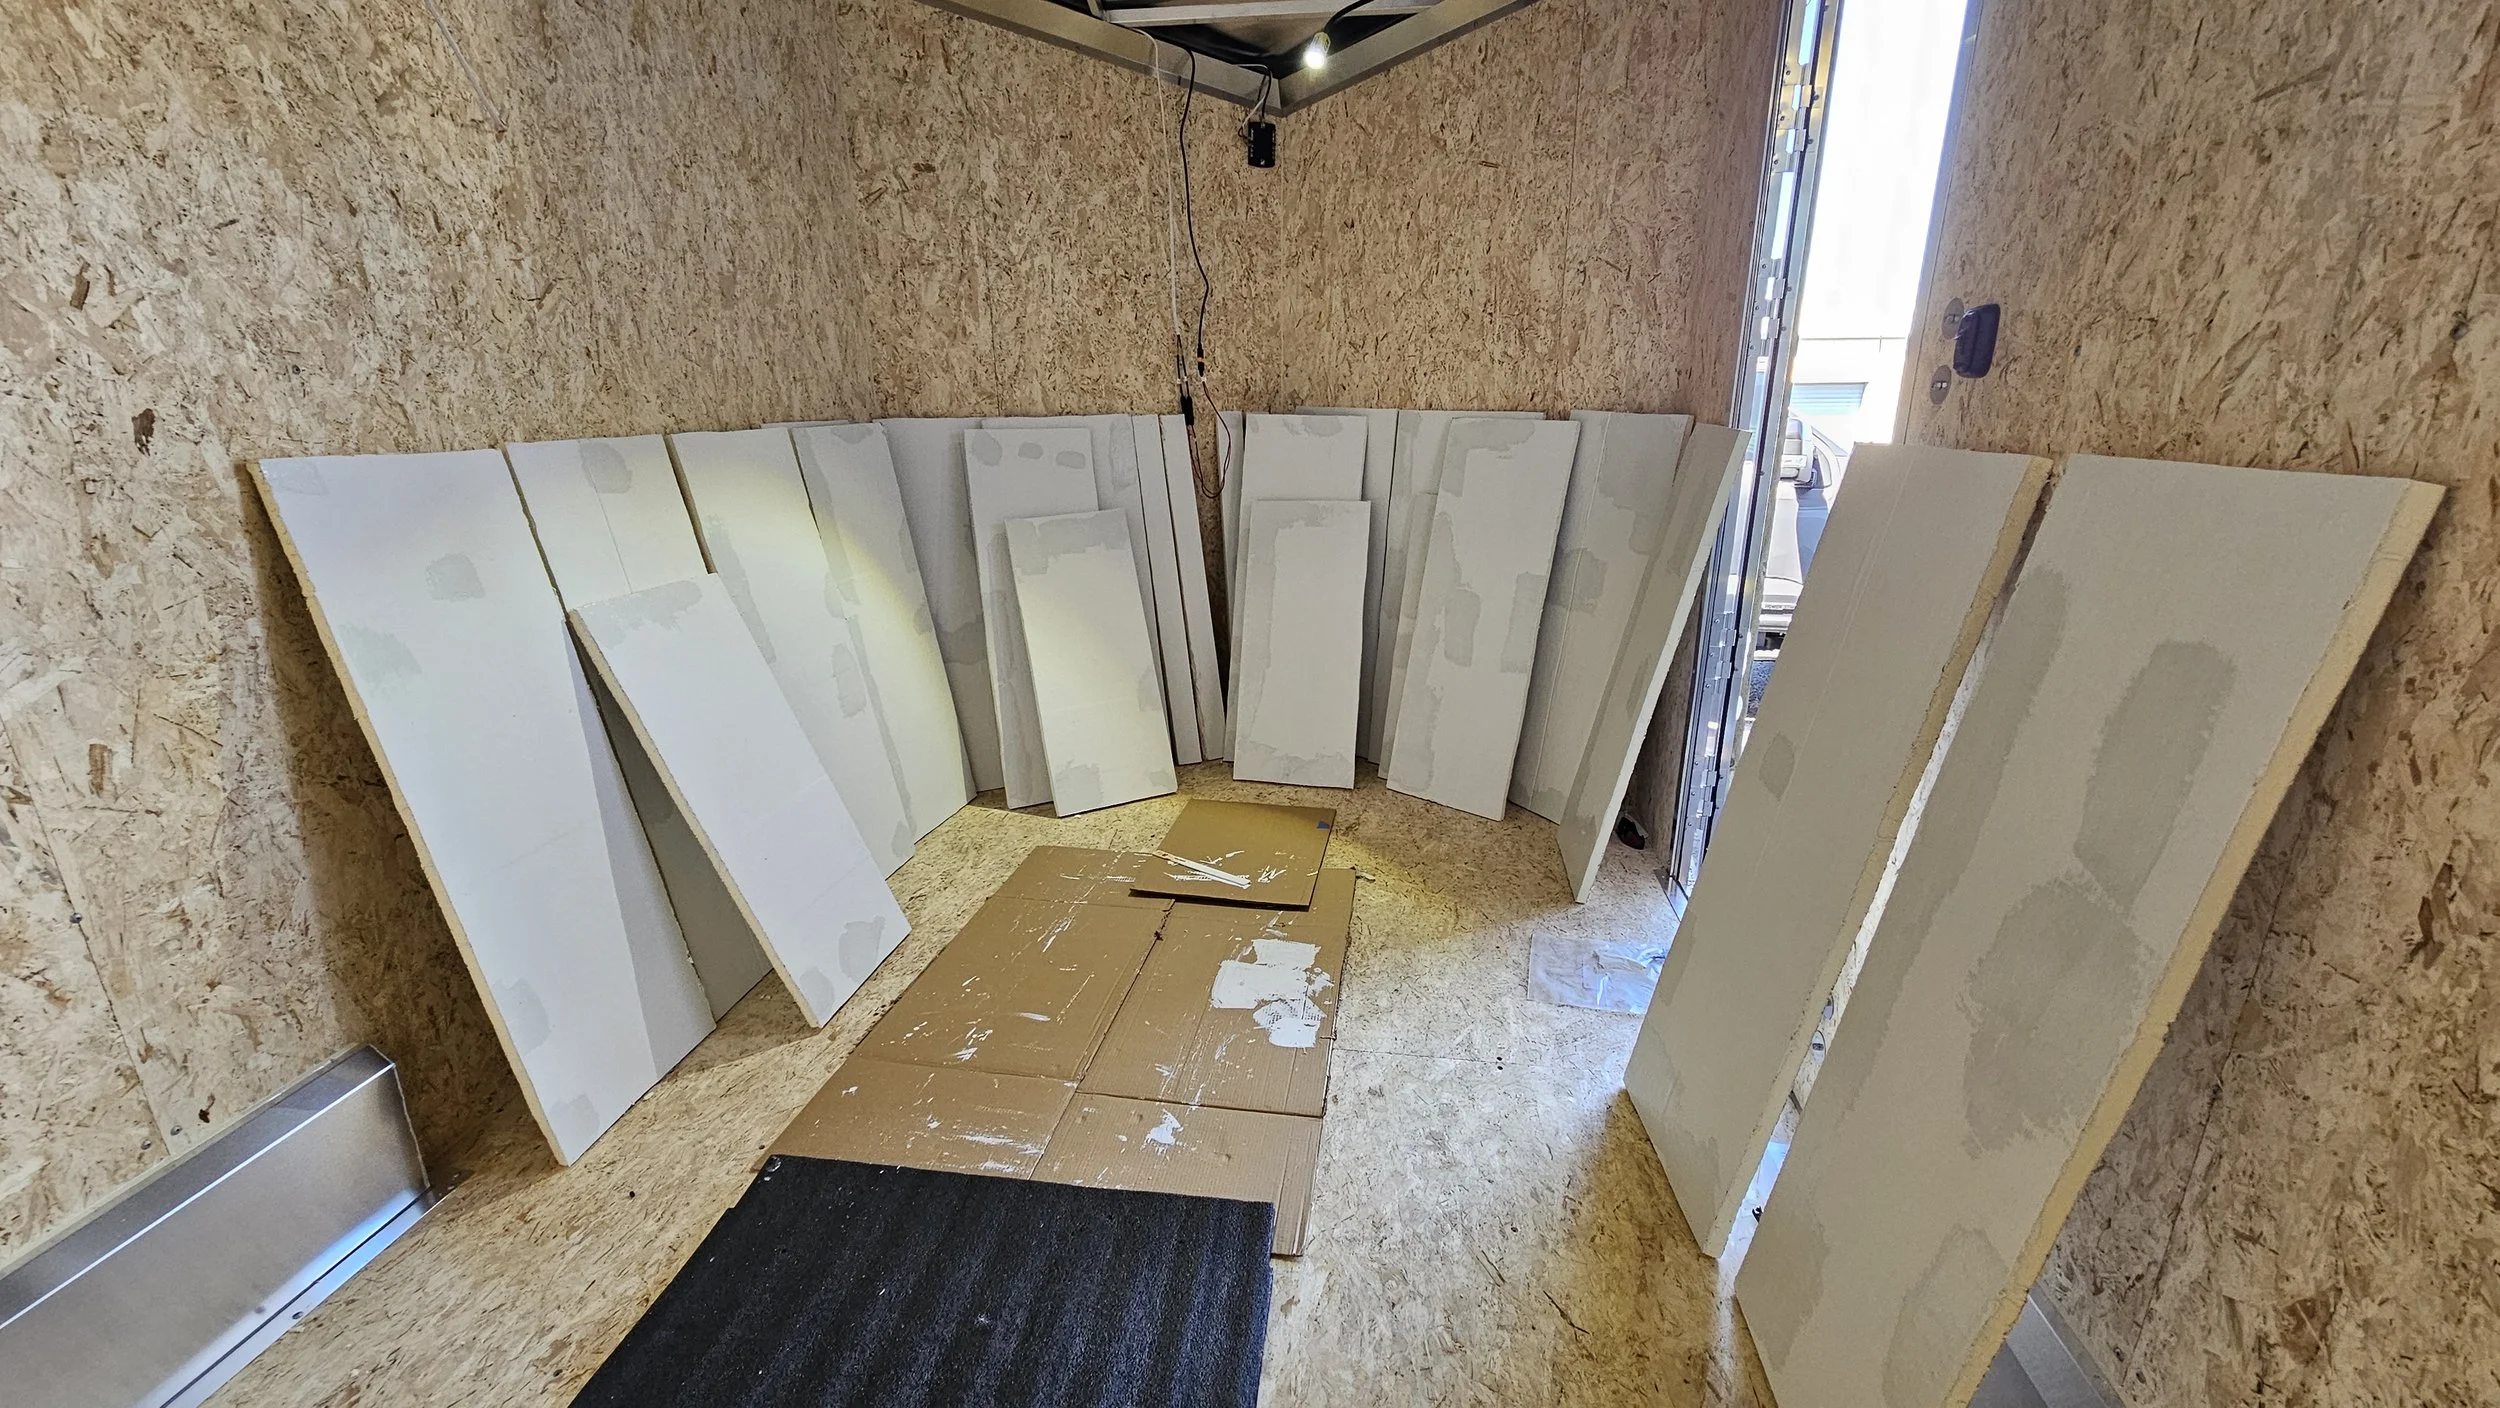
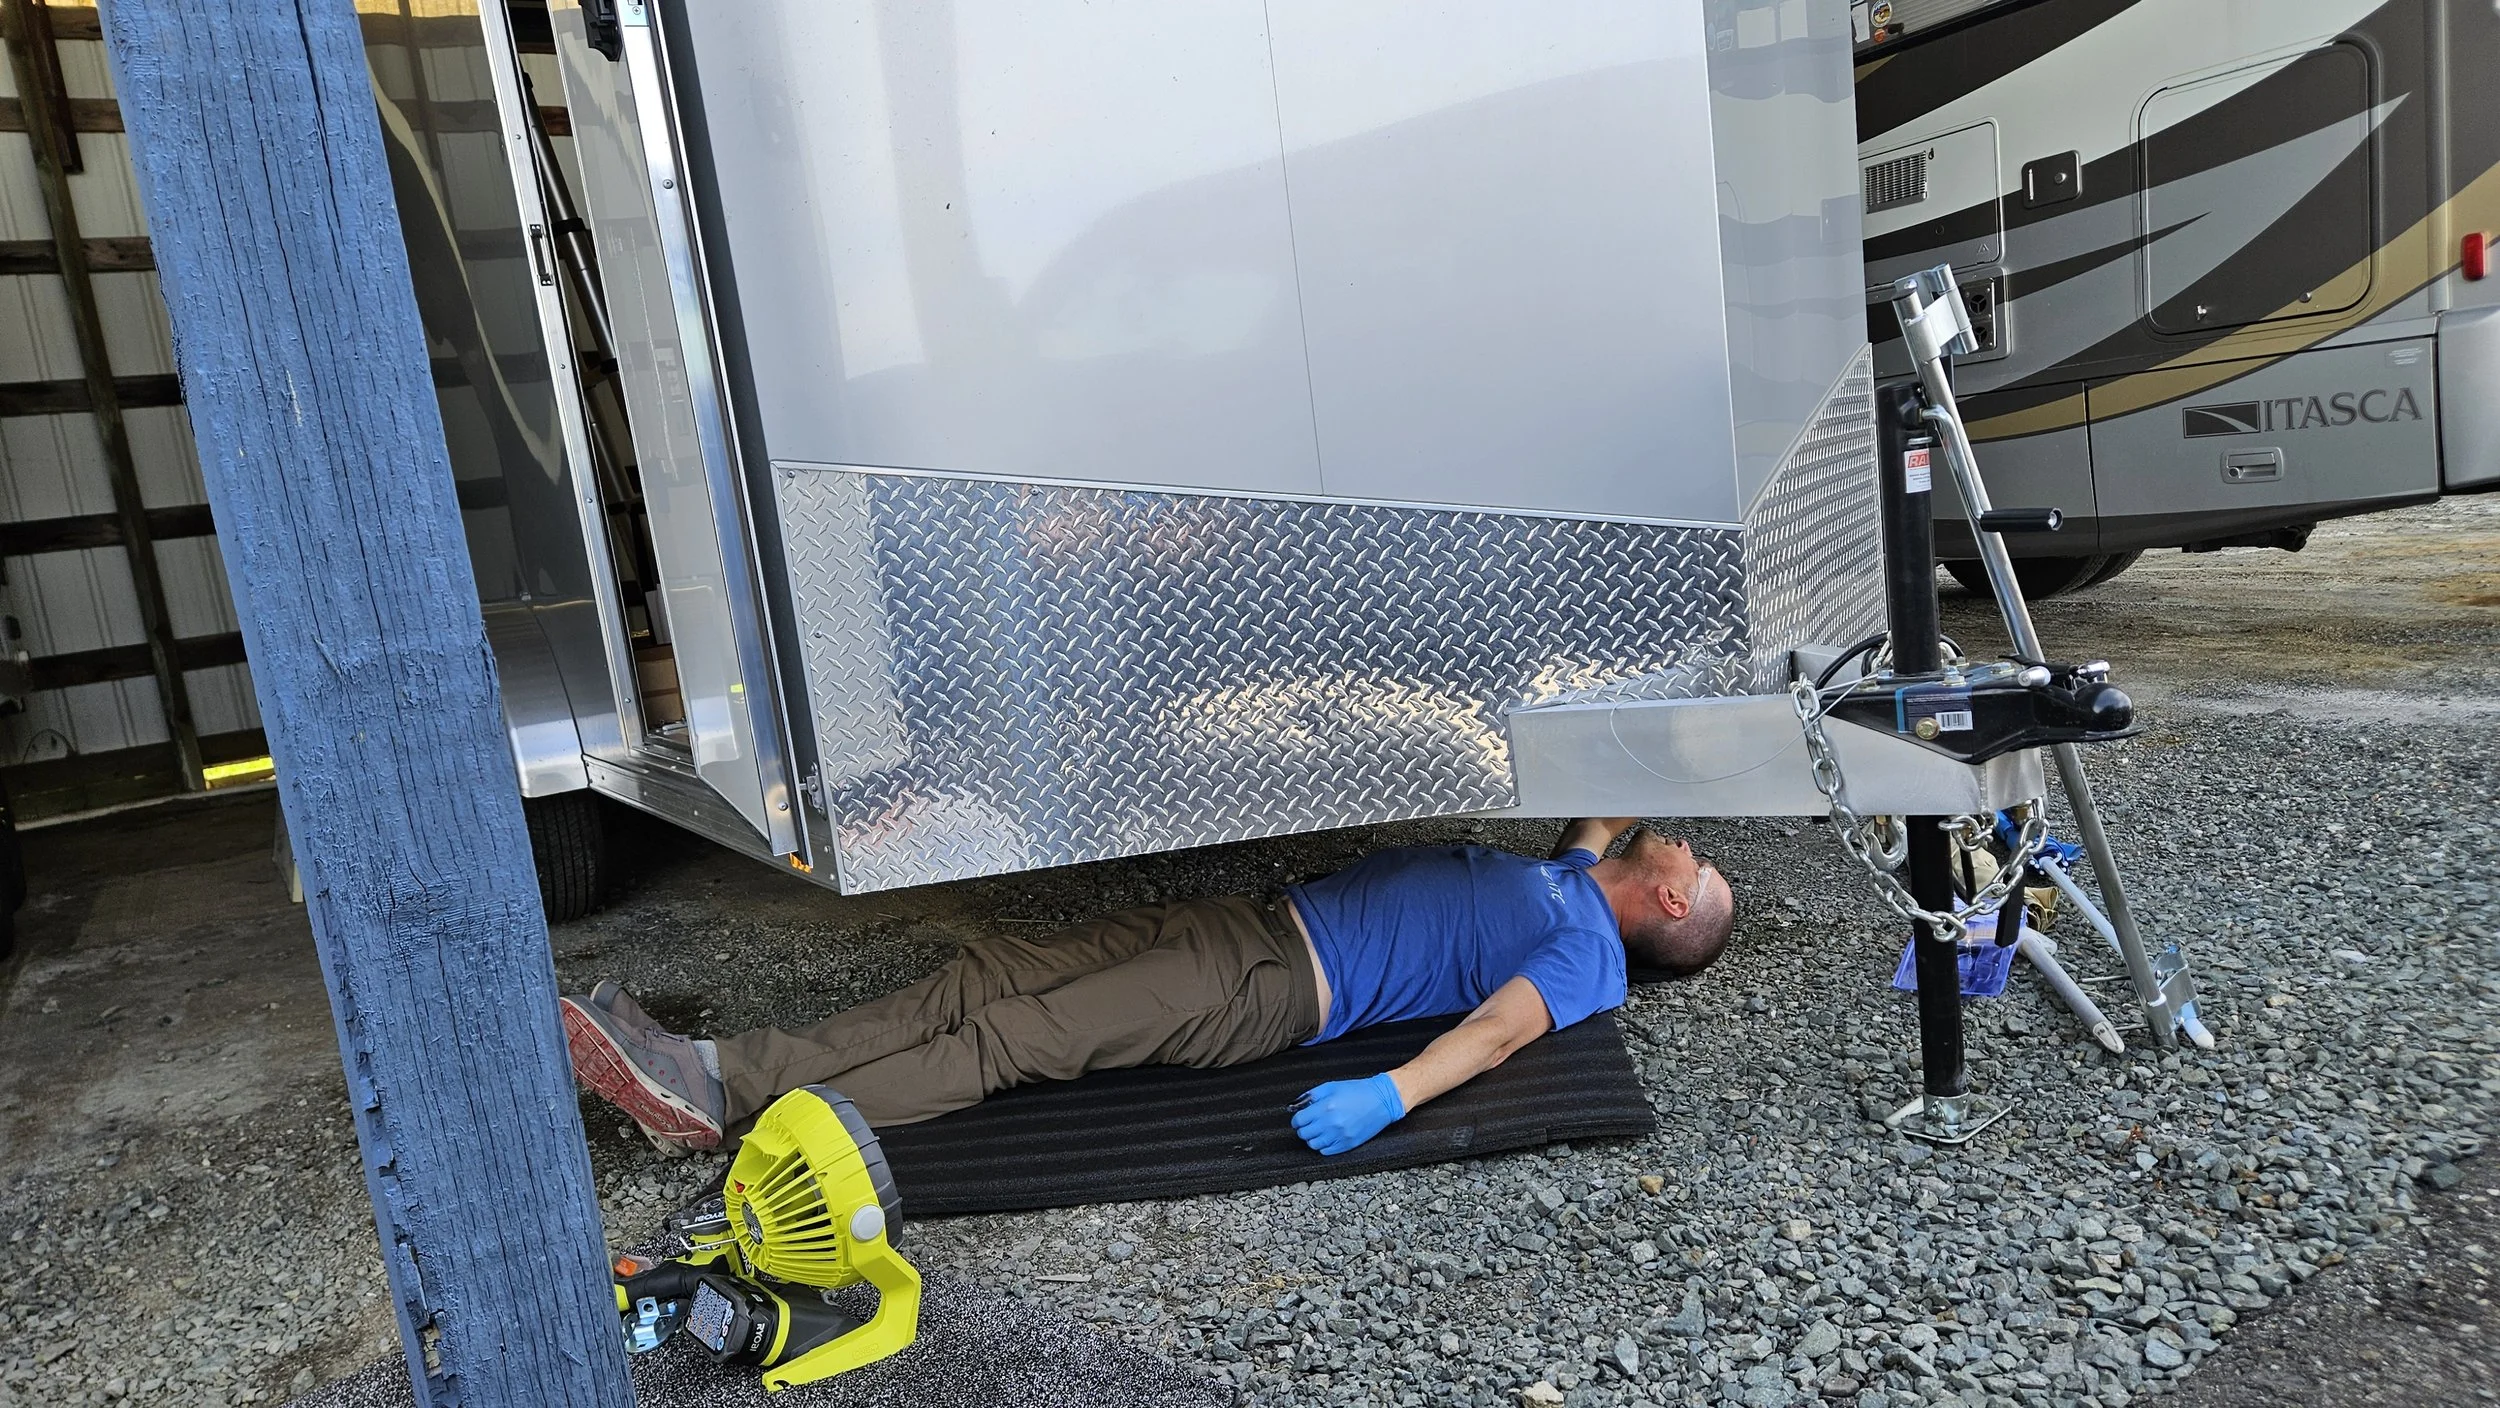
Greg spray painted underneath the trailer to seal the underside of the wood flooring.
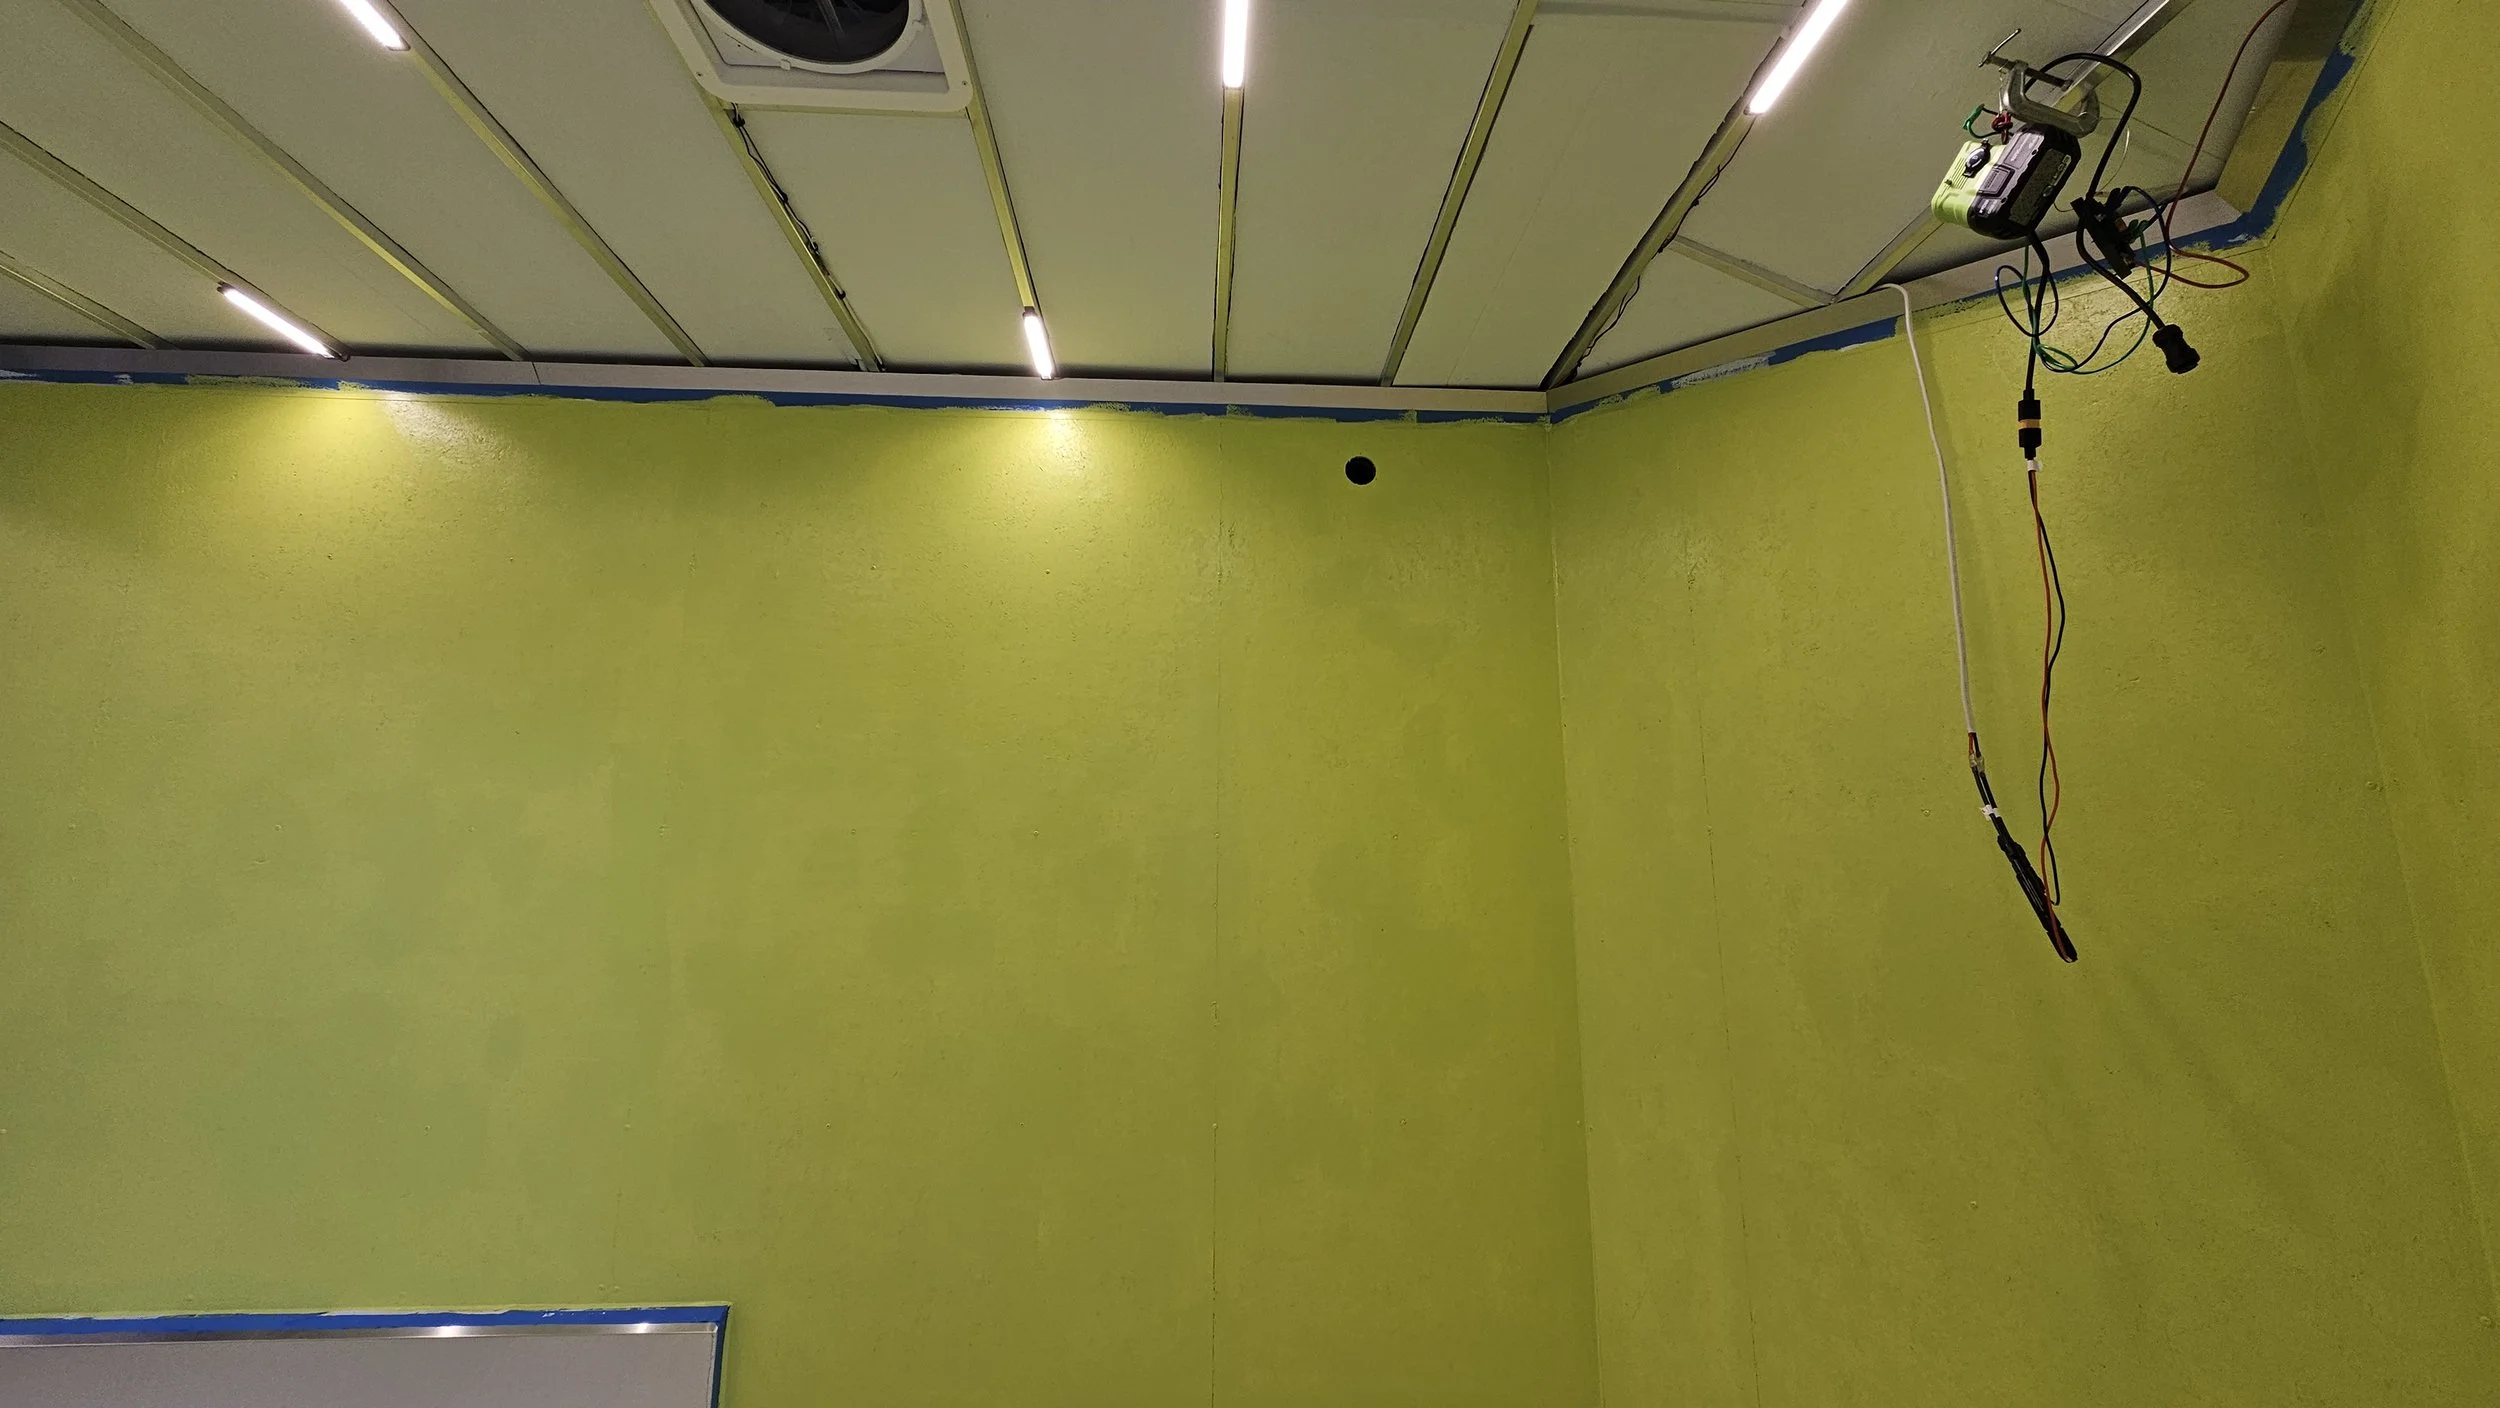
Next was painting the walls, installing more lighting (strip lighting on the ceiling), and installing the insulation panels on the ceiling.
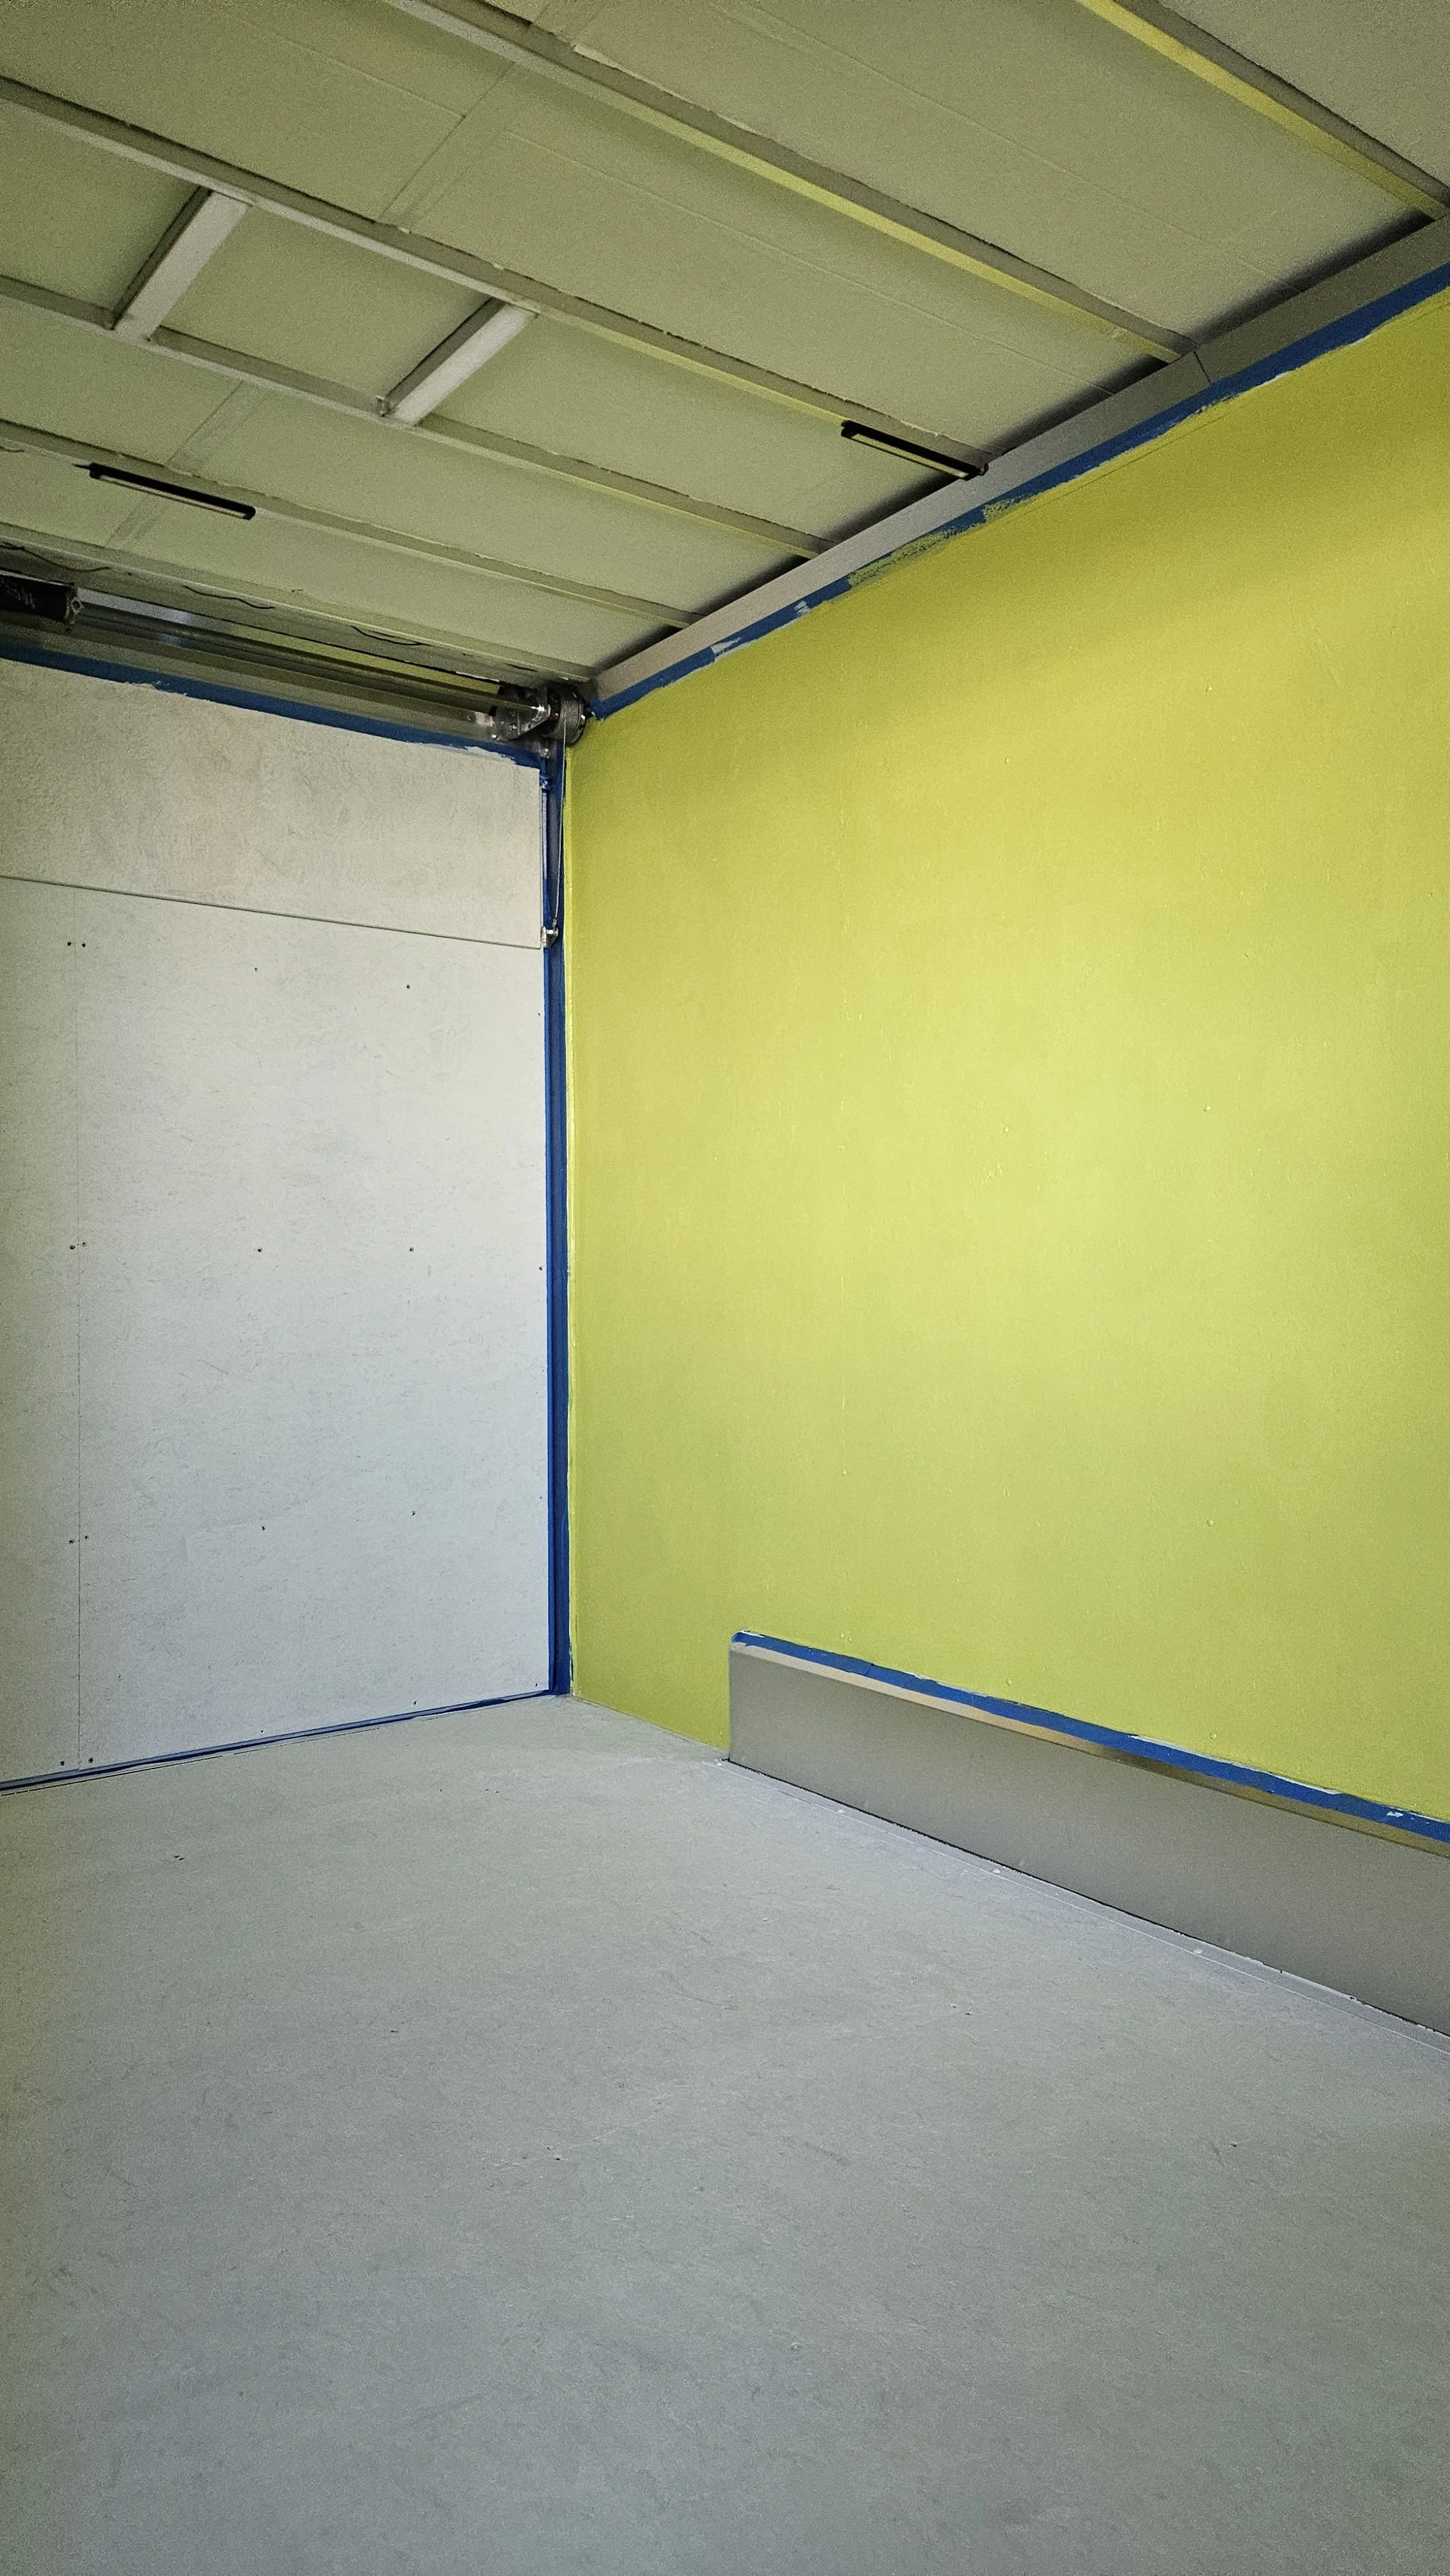
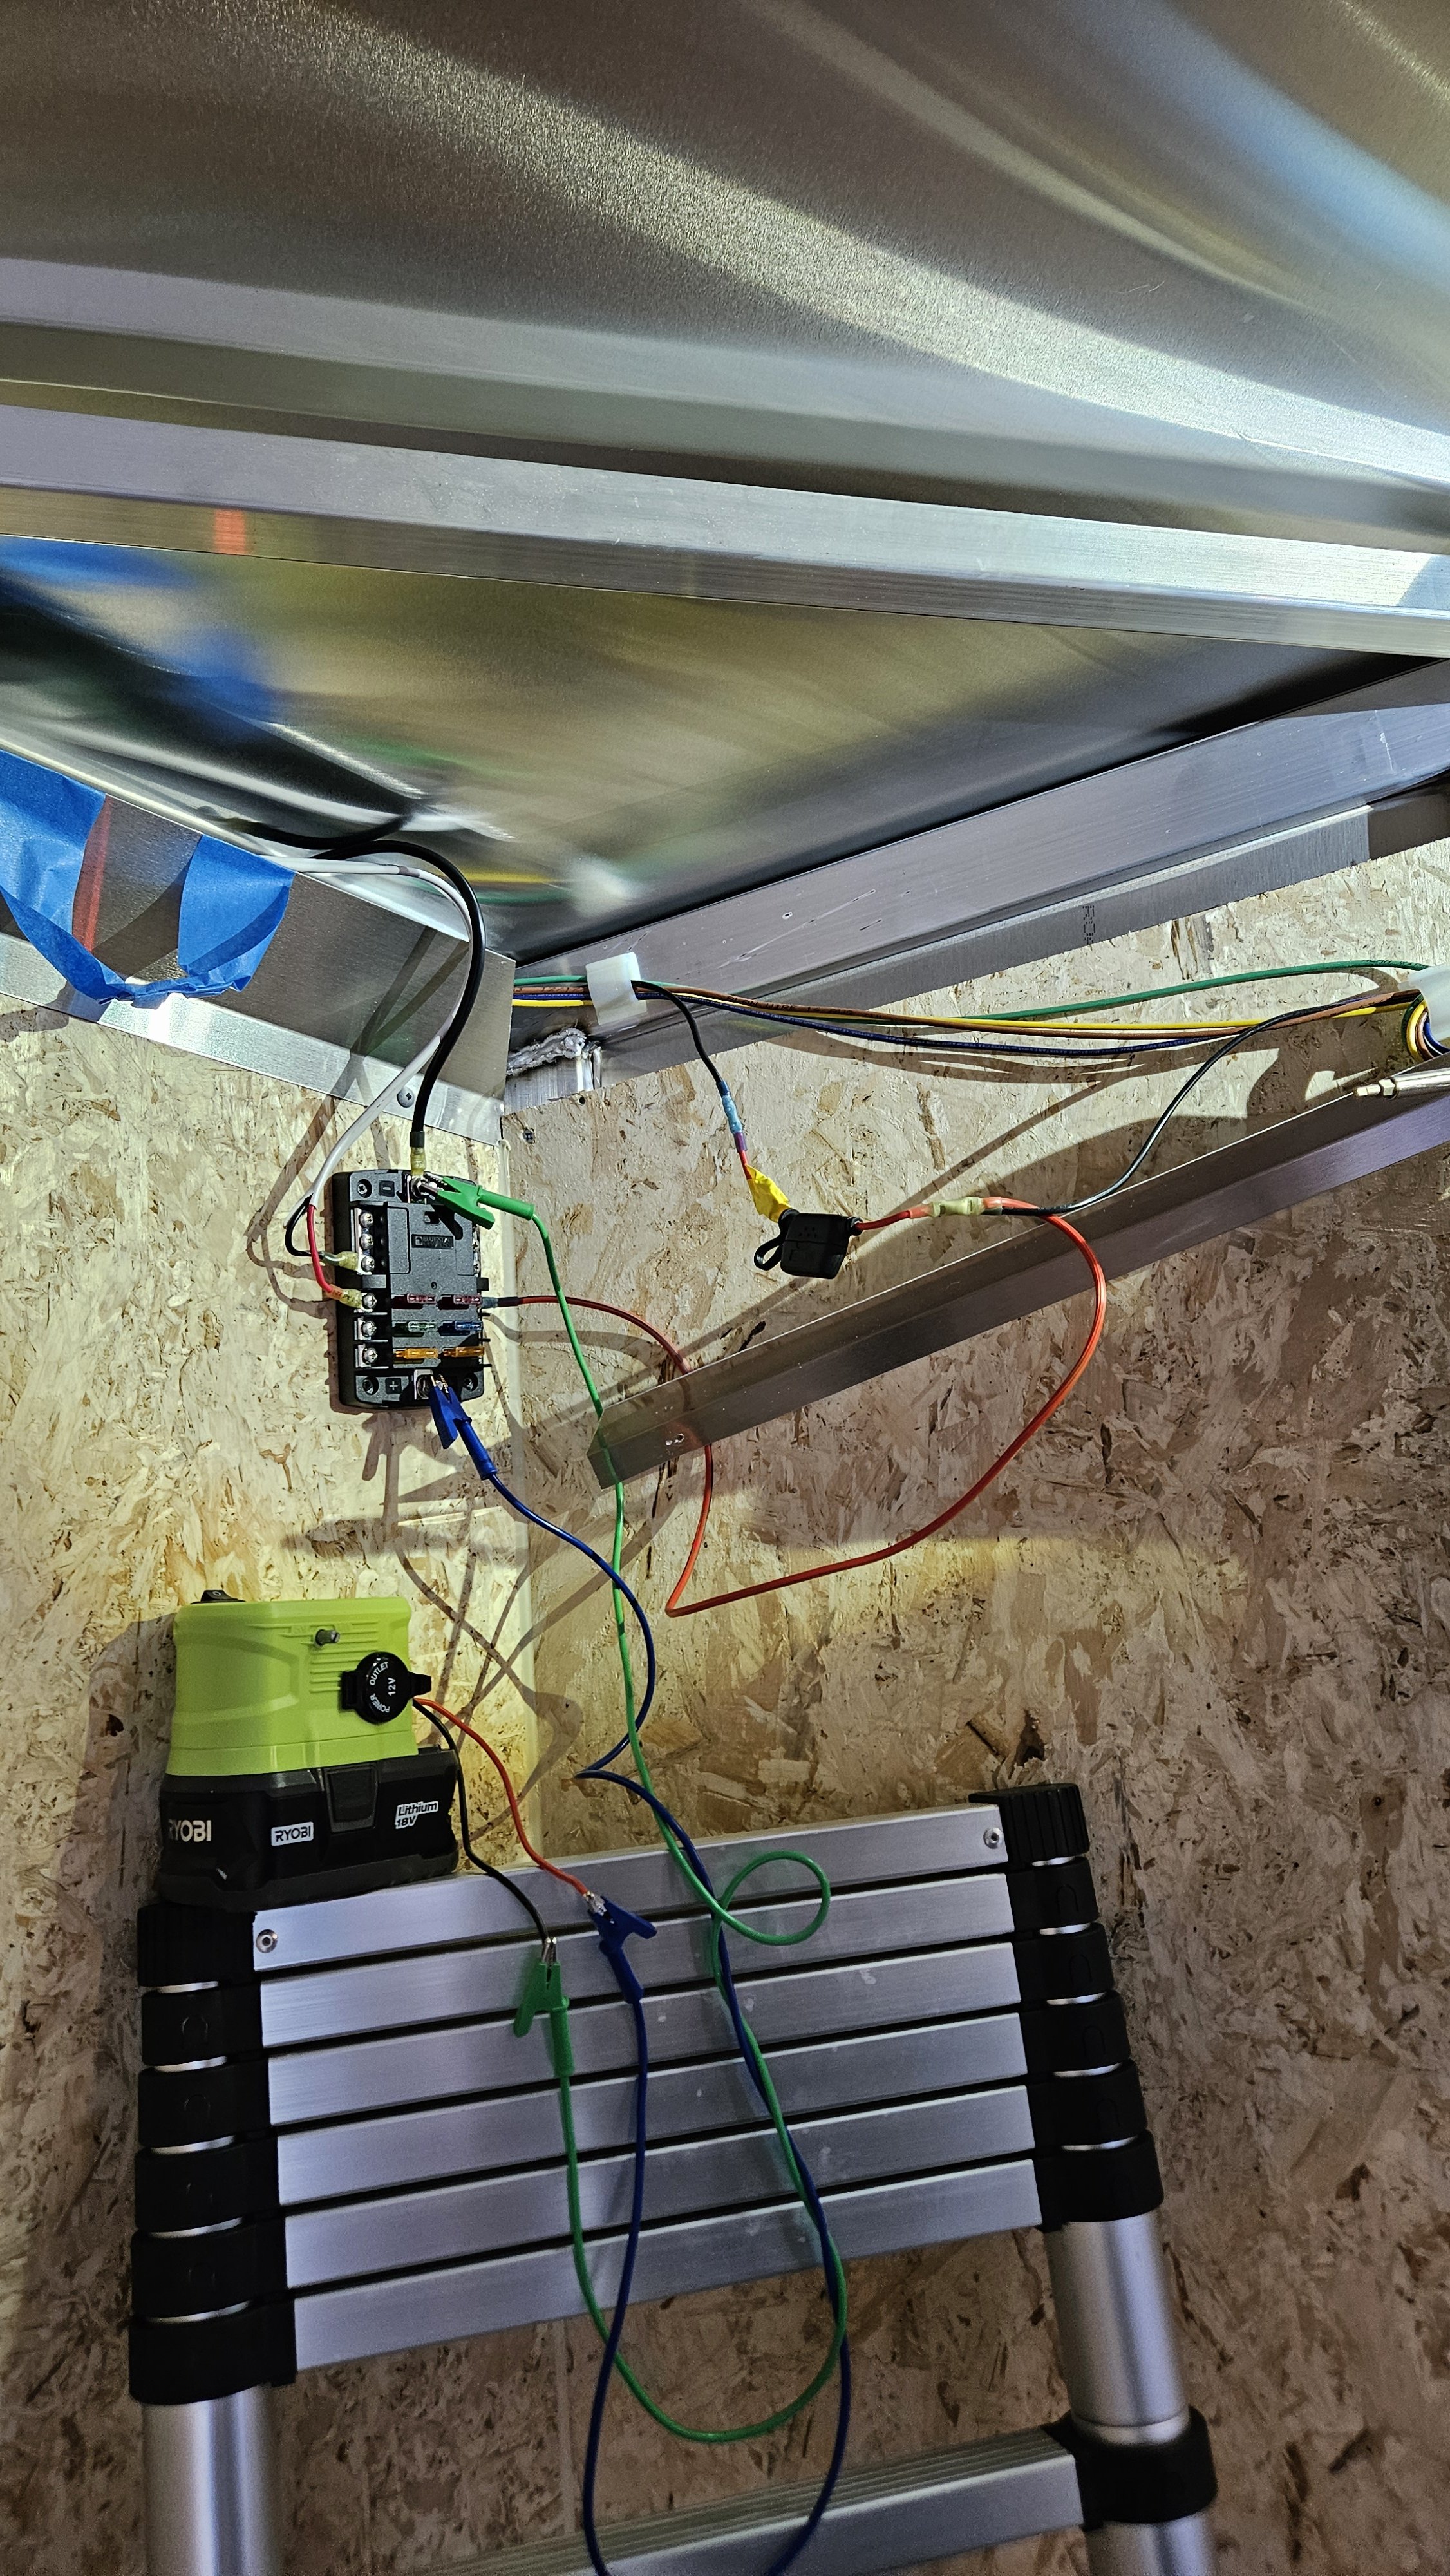
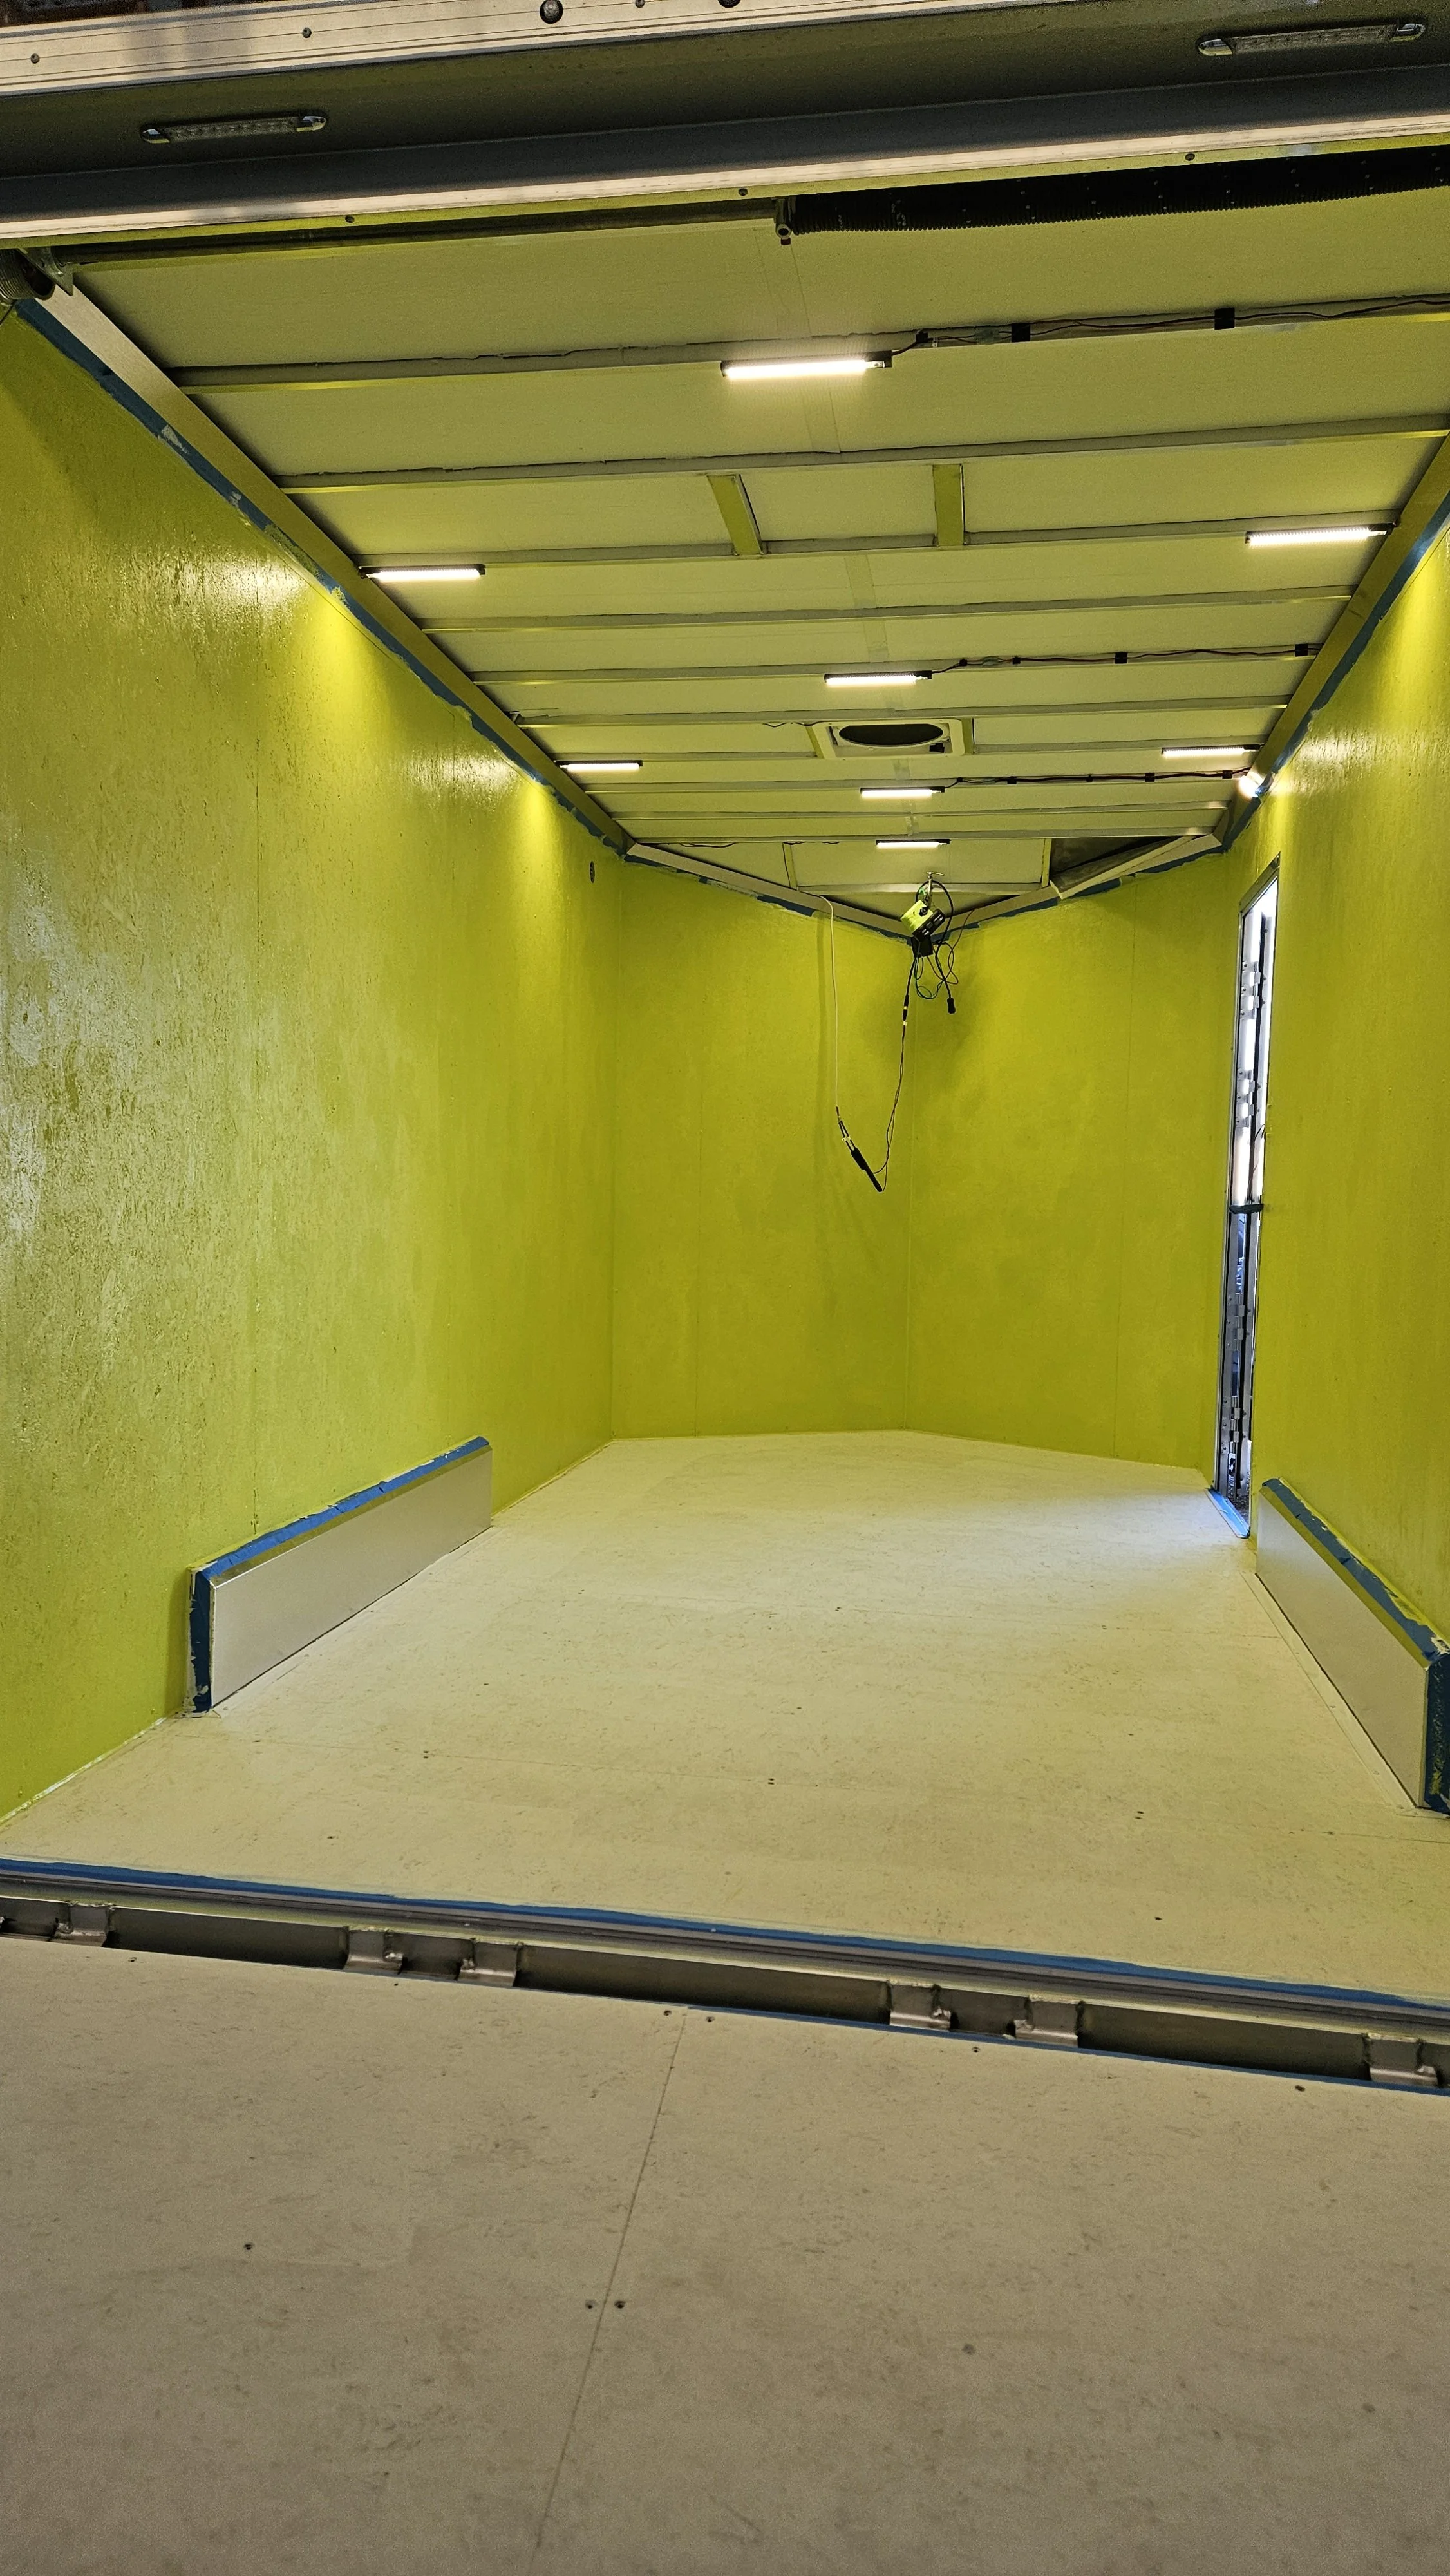
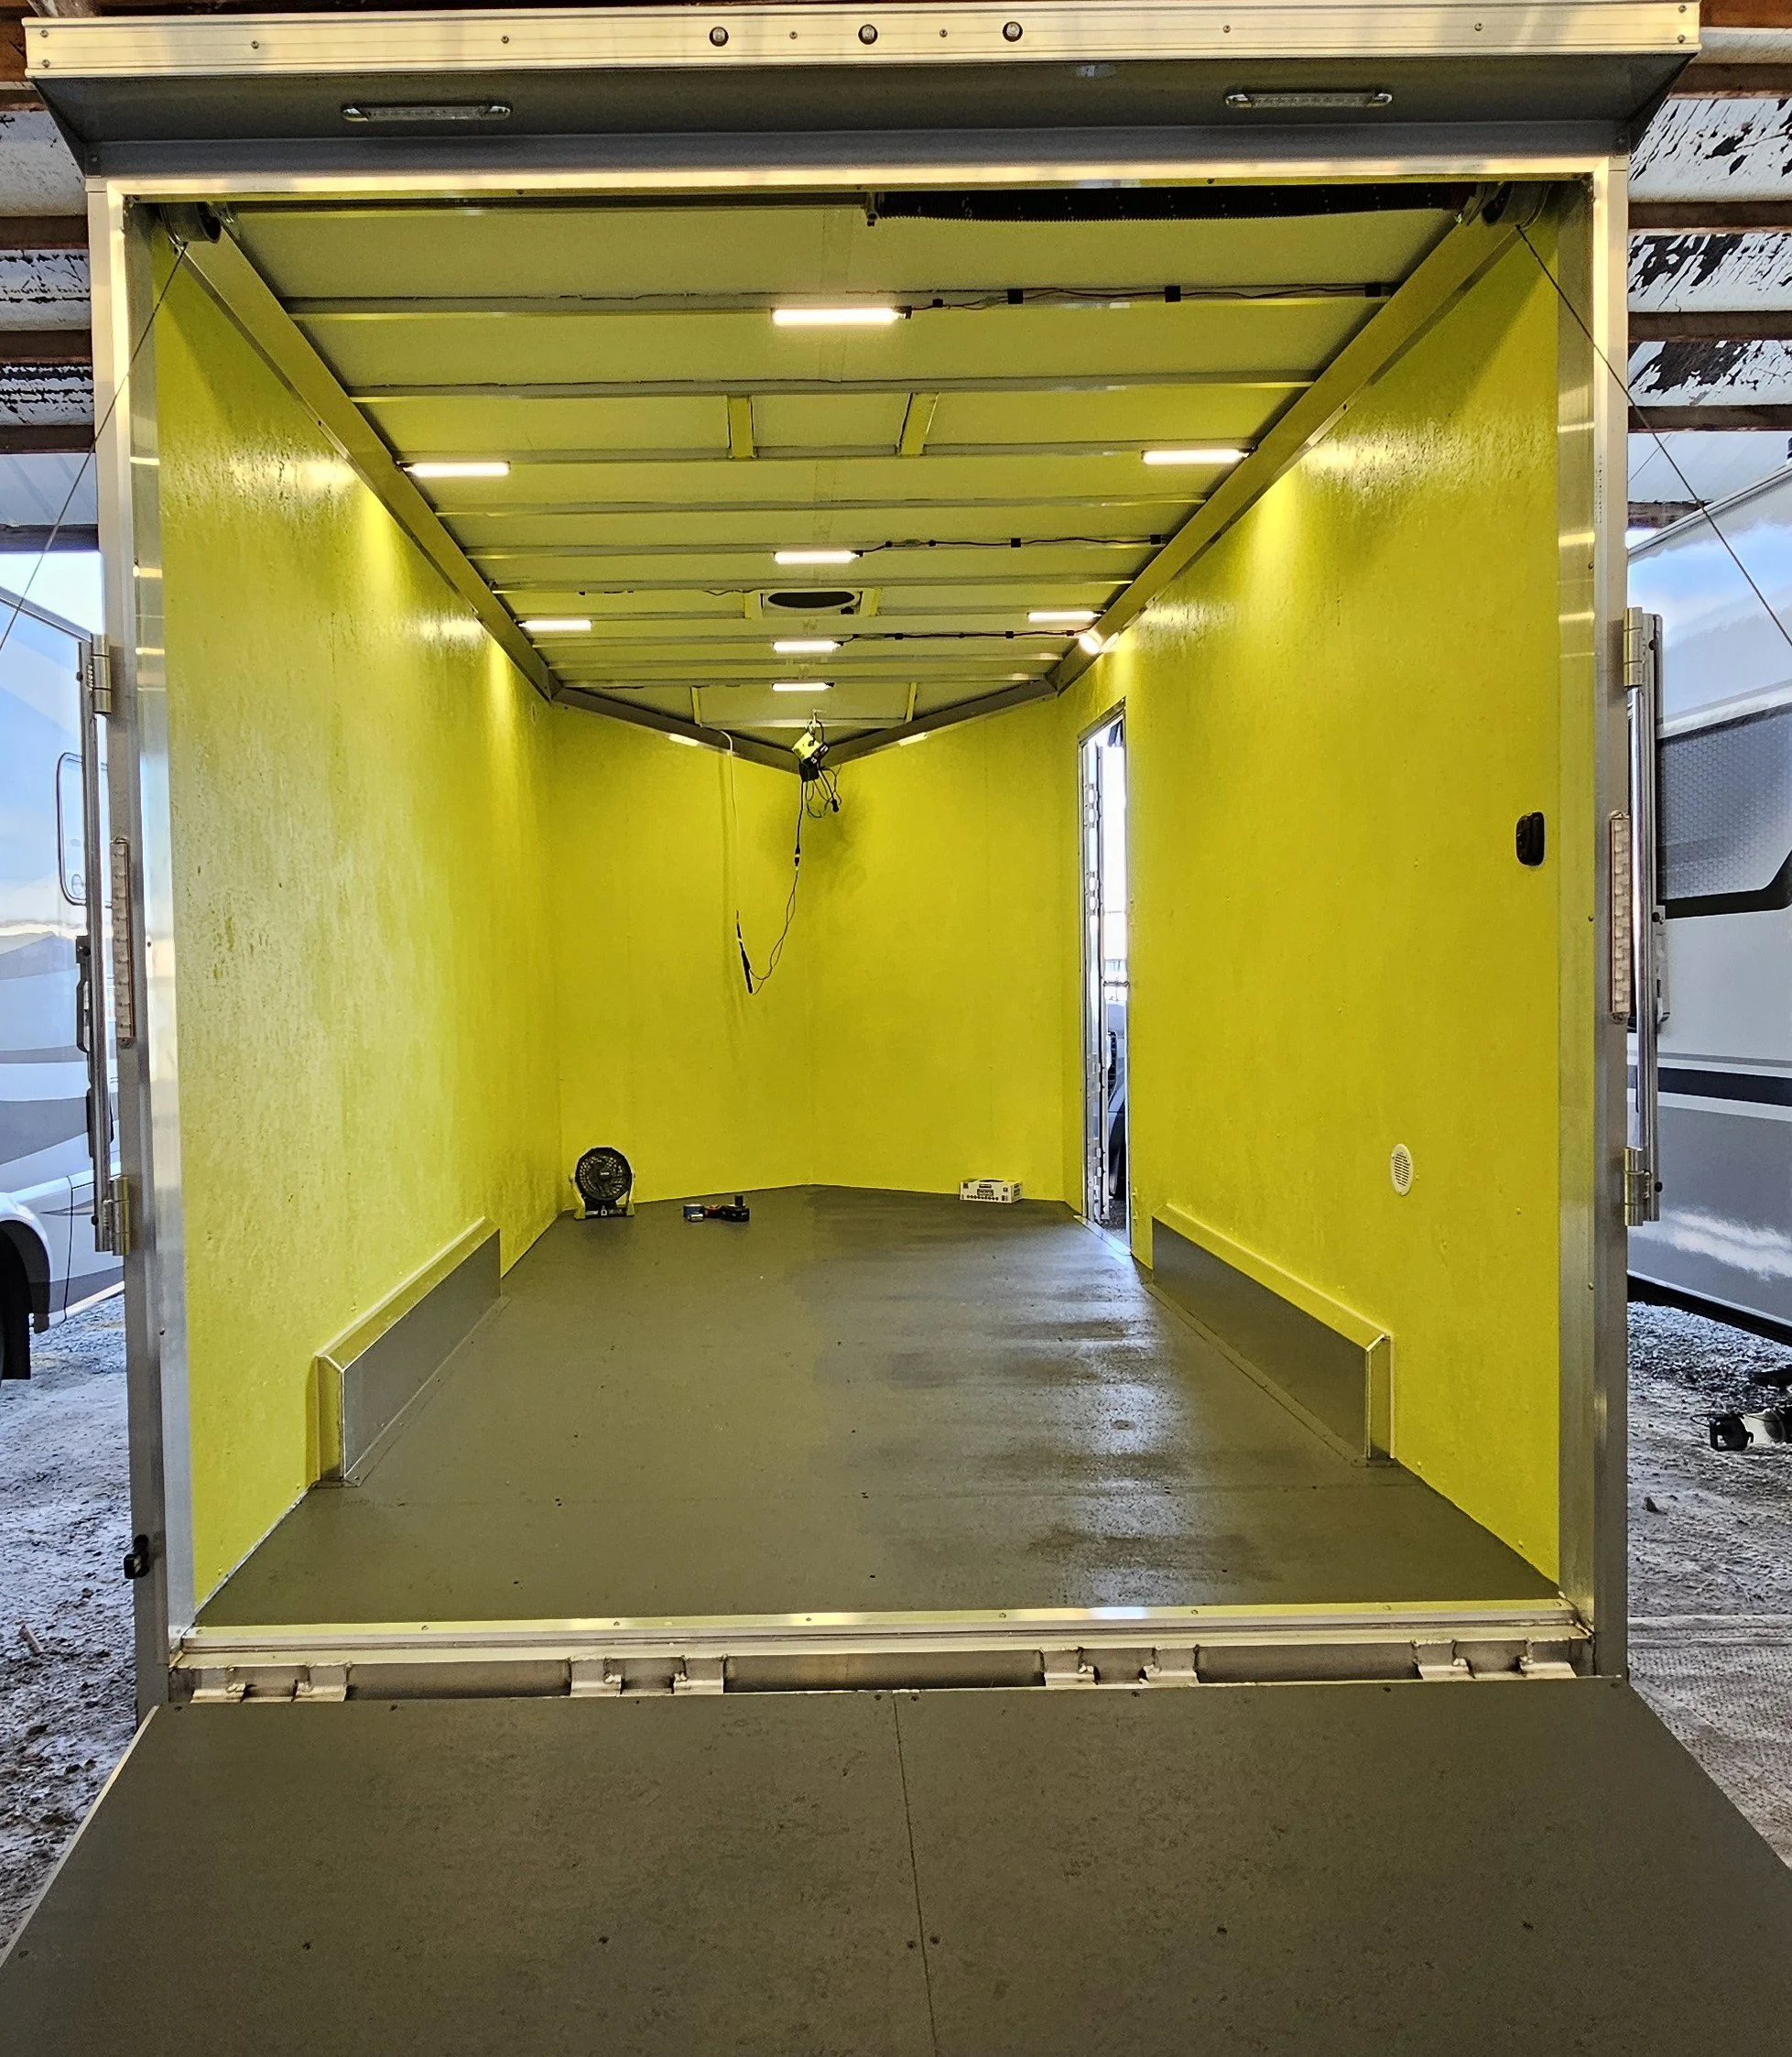
The floor and back door were painted.
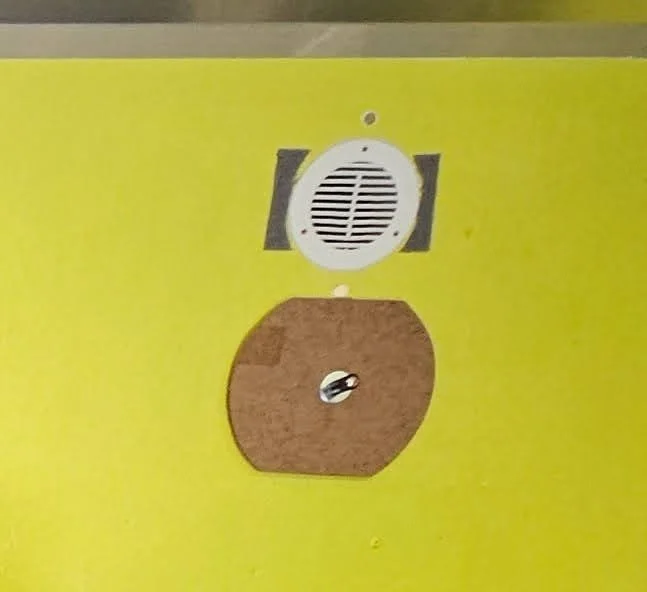
We added an additional vent toward the front of the trailer, just to help with airflow (there was already one on the other side, near the back). The wood piece will velcro to the gray to cover the white vent when we are on dirt roads so we don’t pull too much dirt into the trailer.
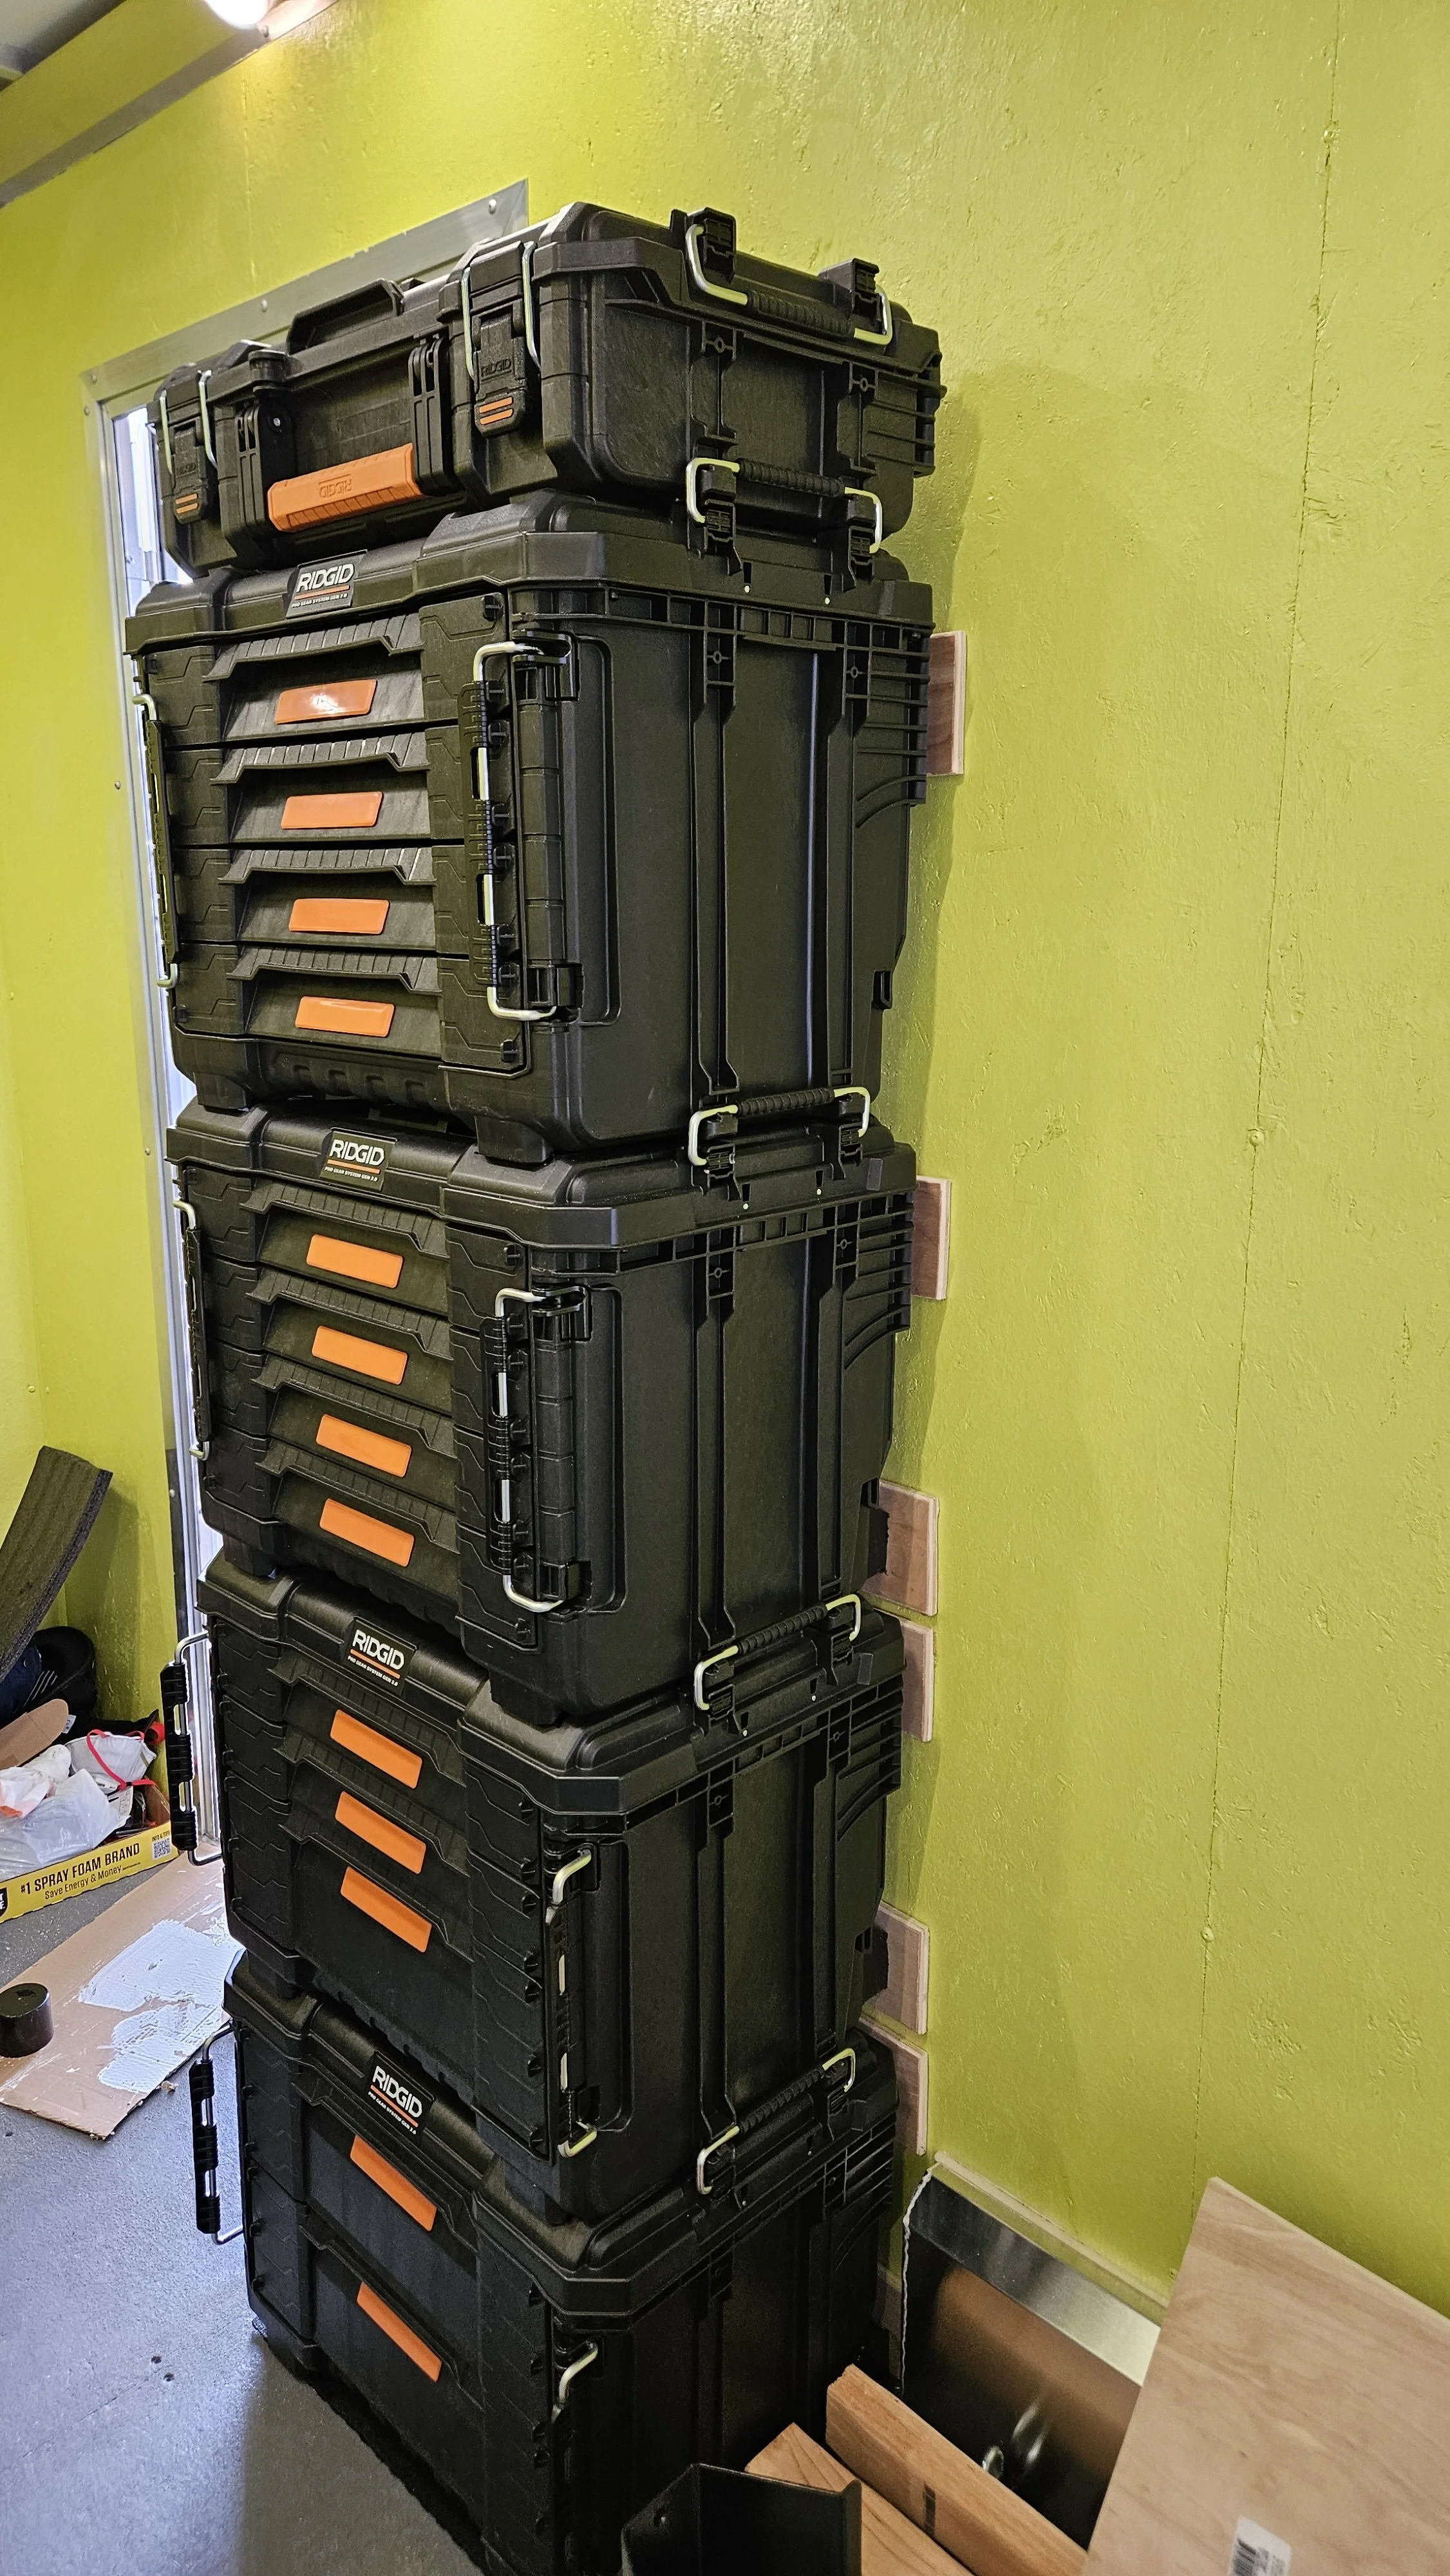
Tool boxes were installed (attached to the wall).
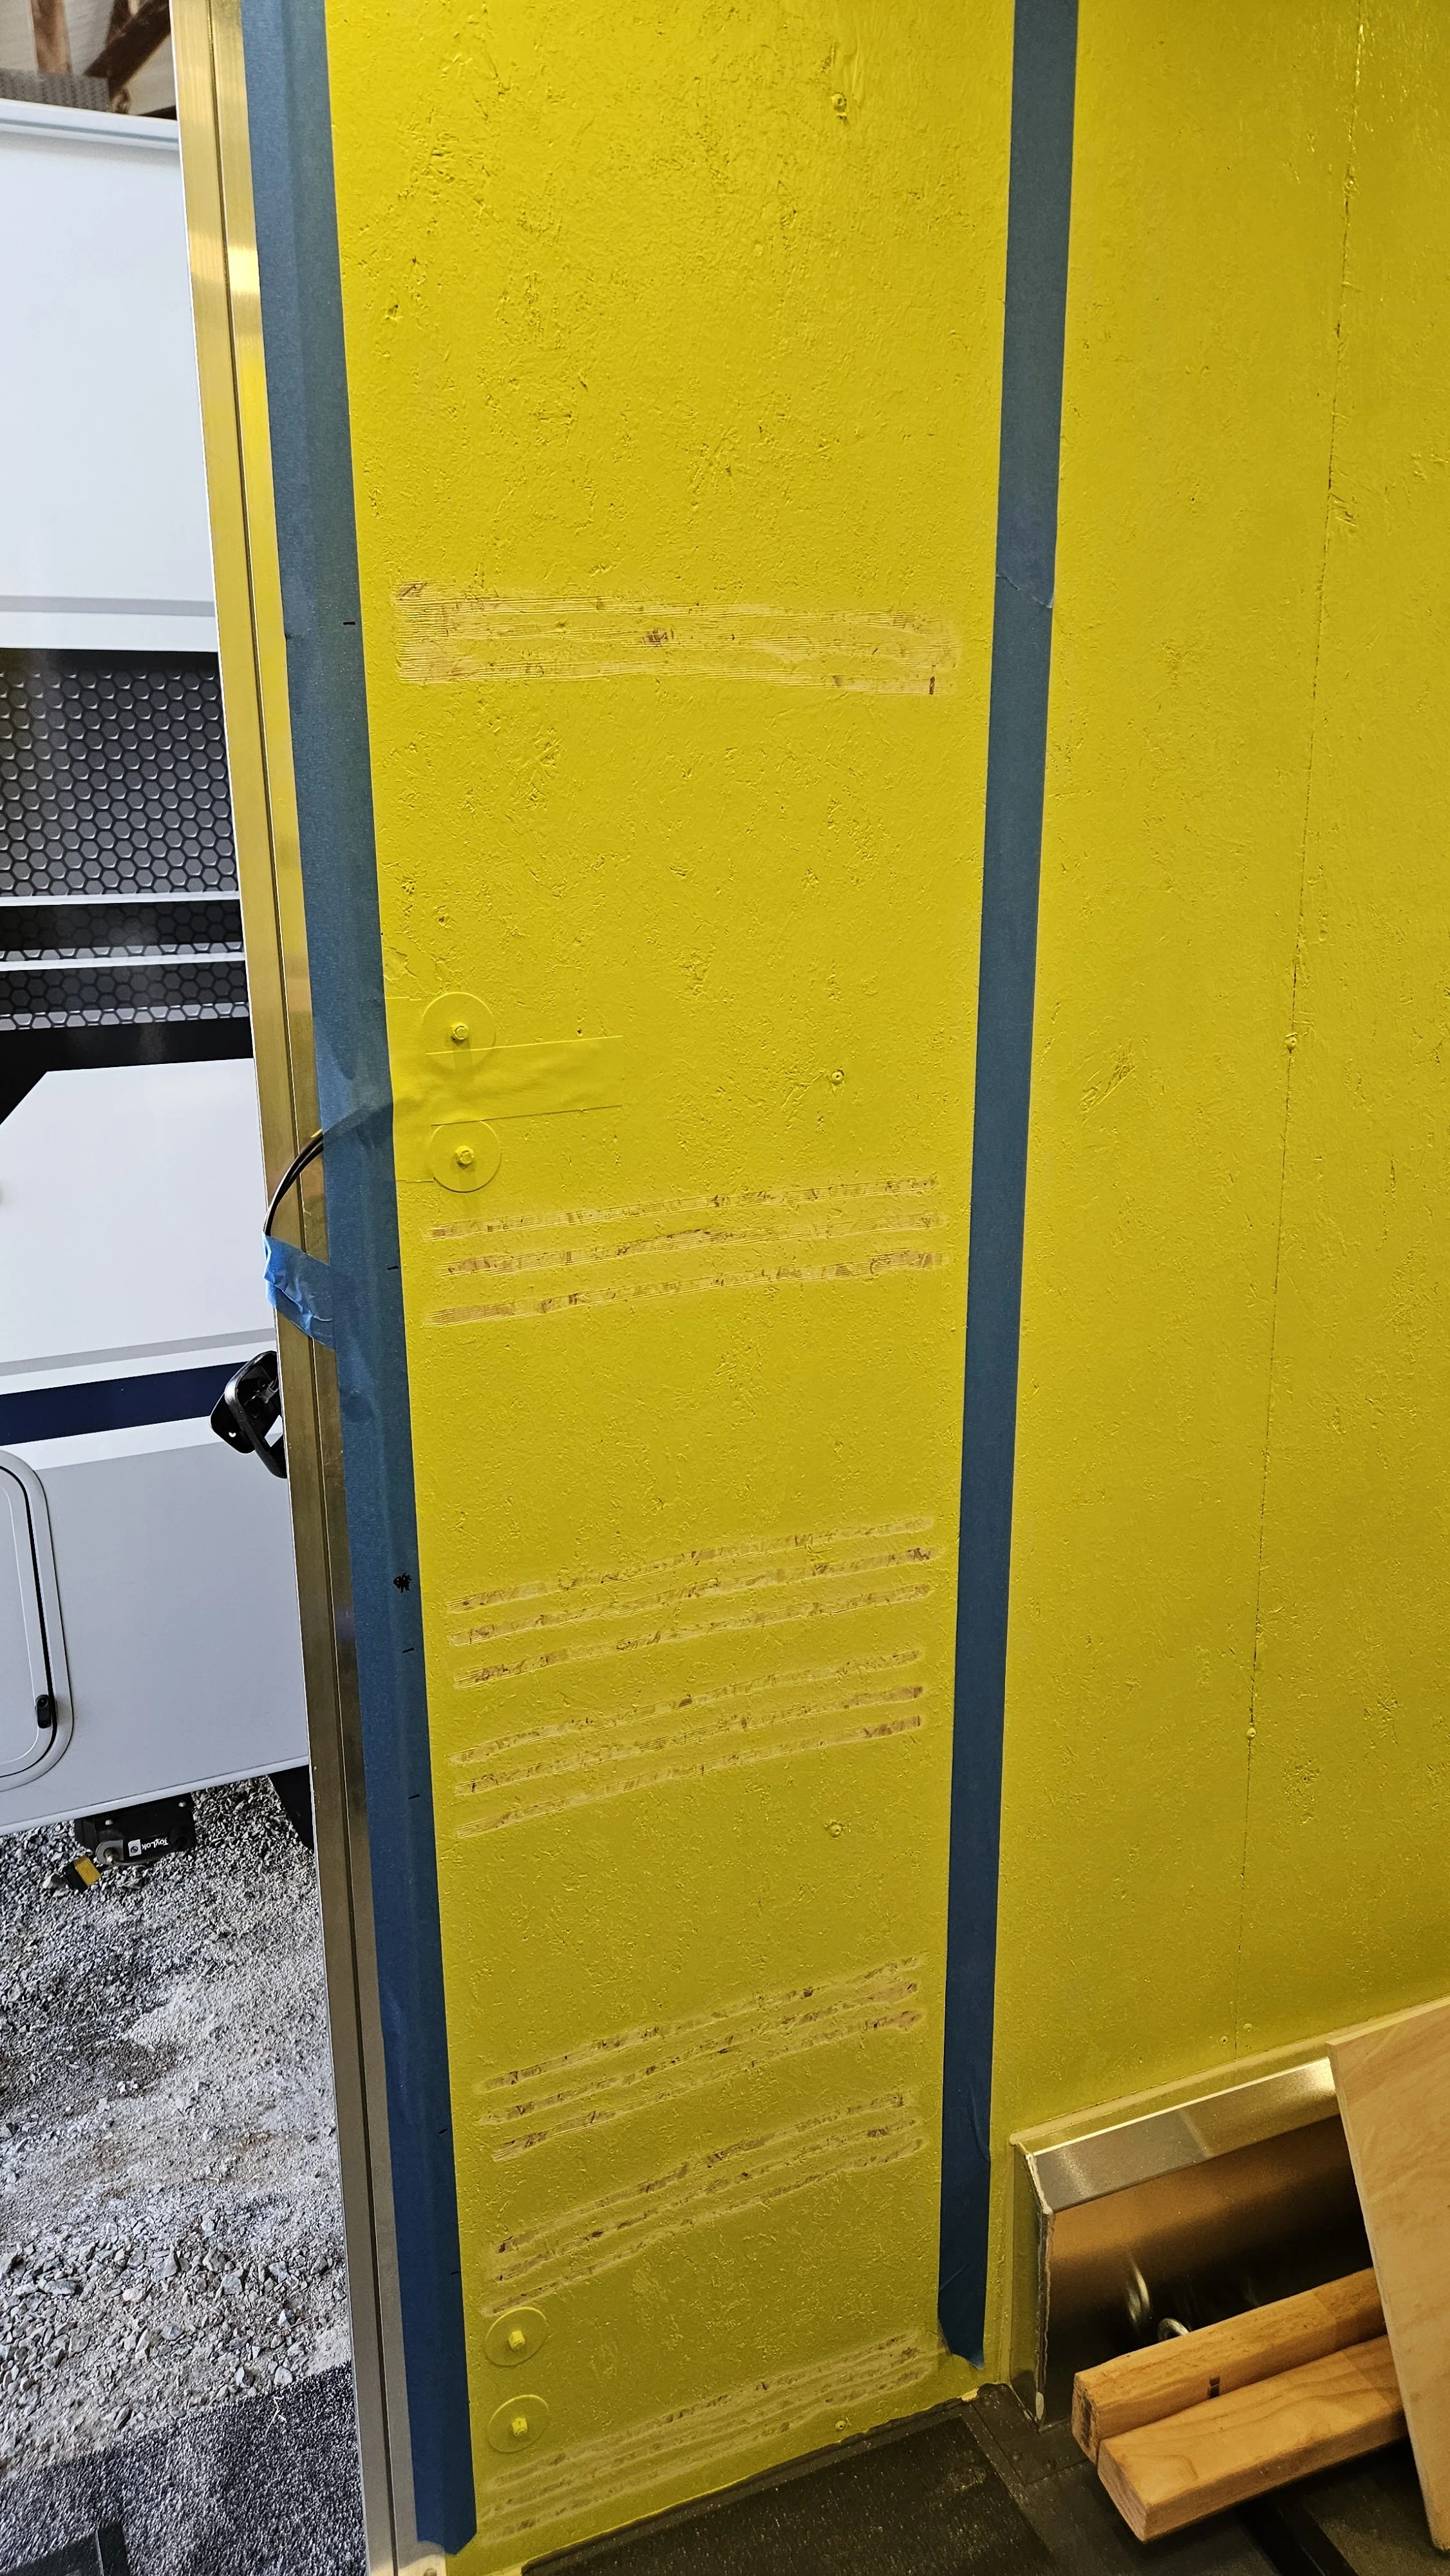
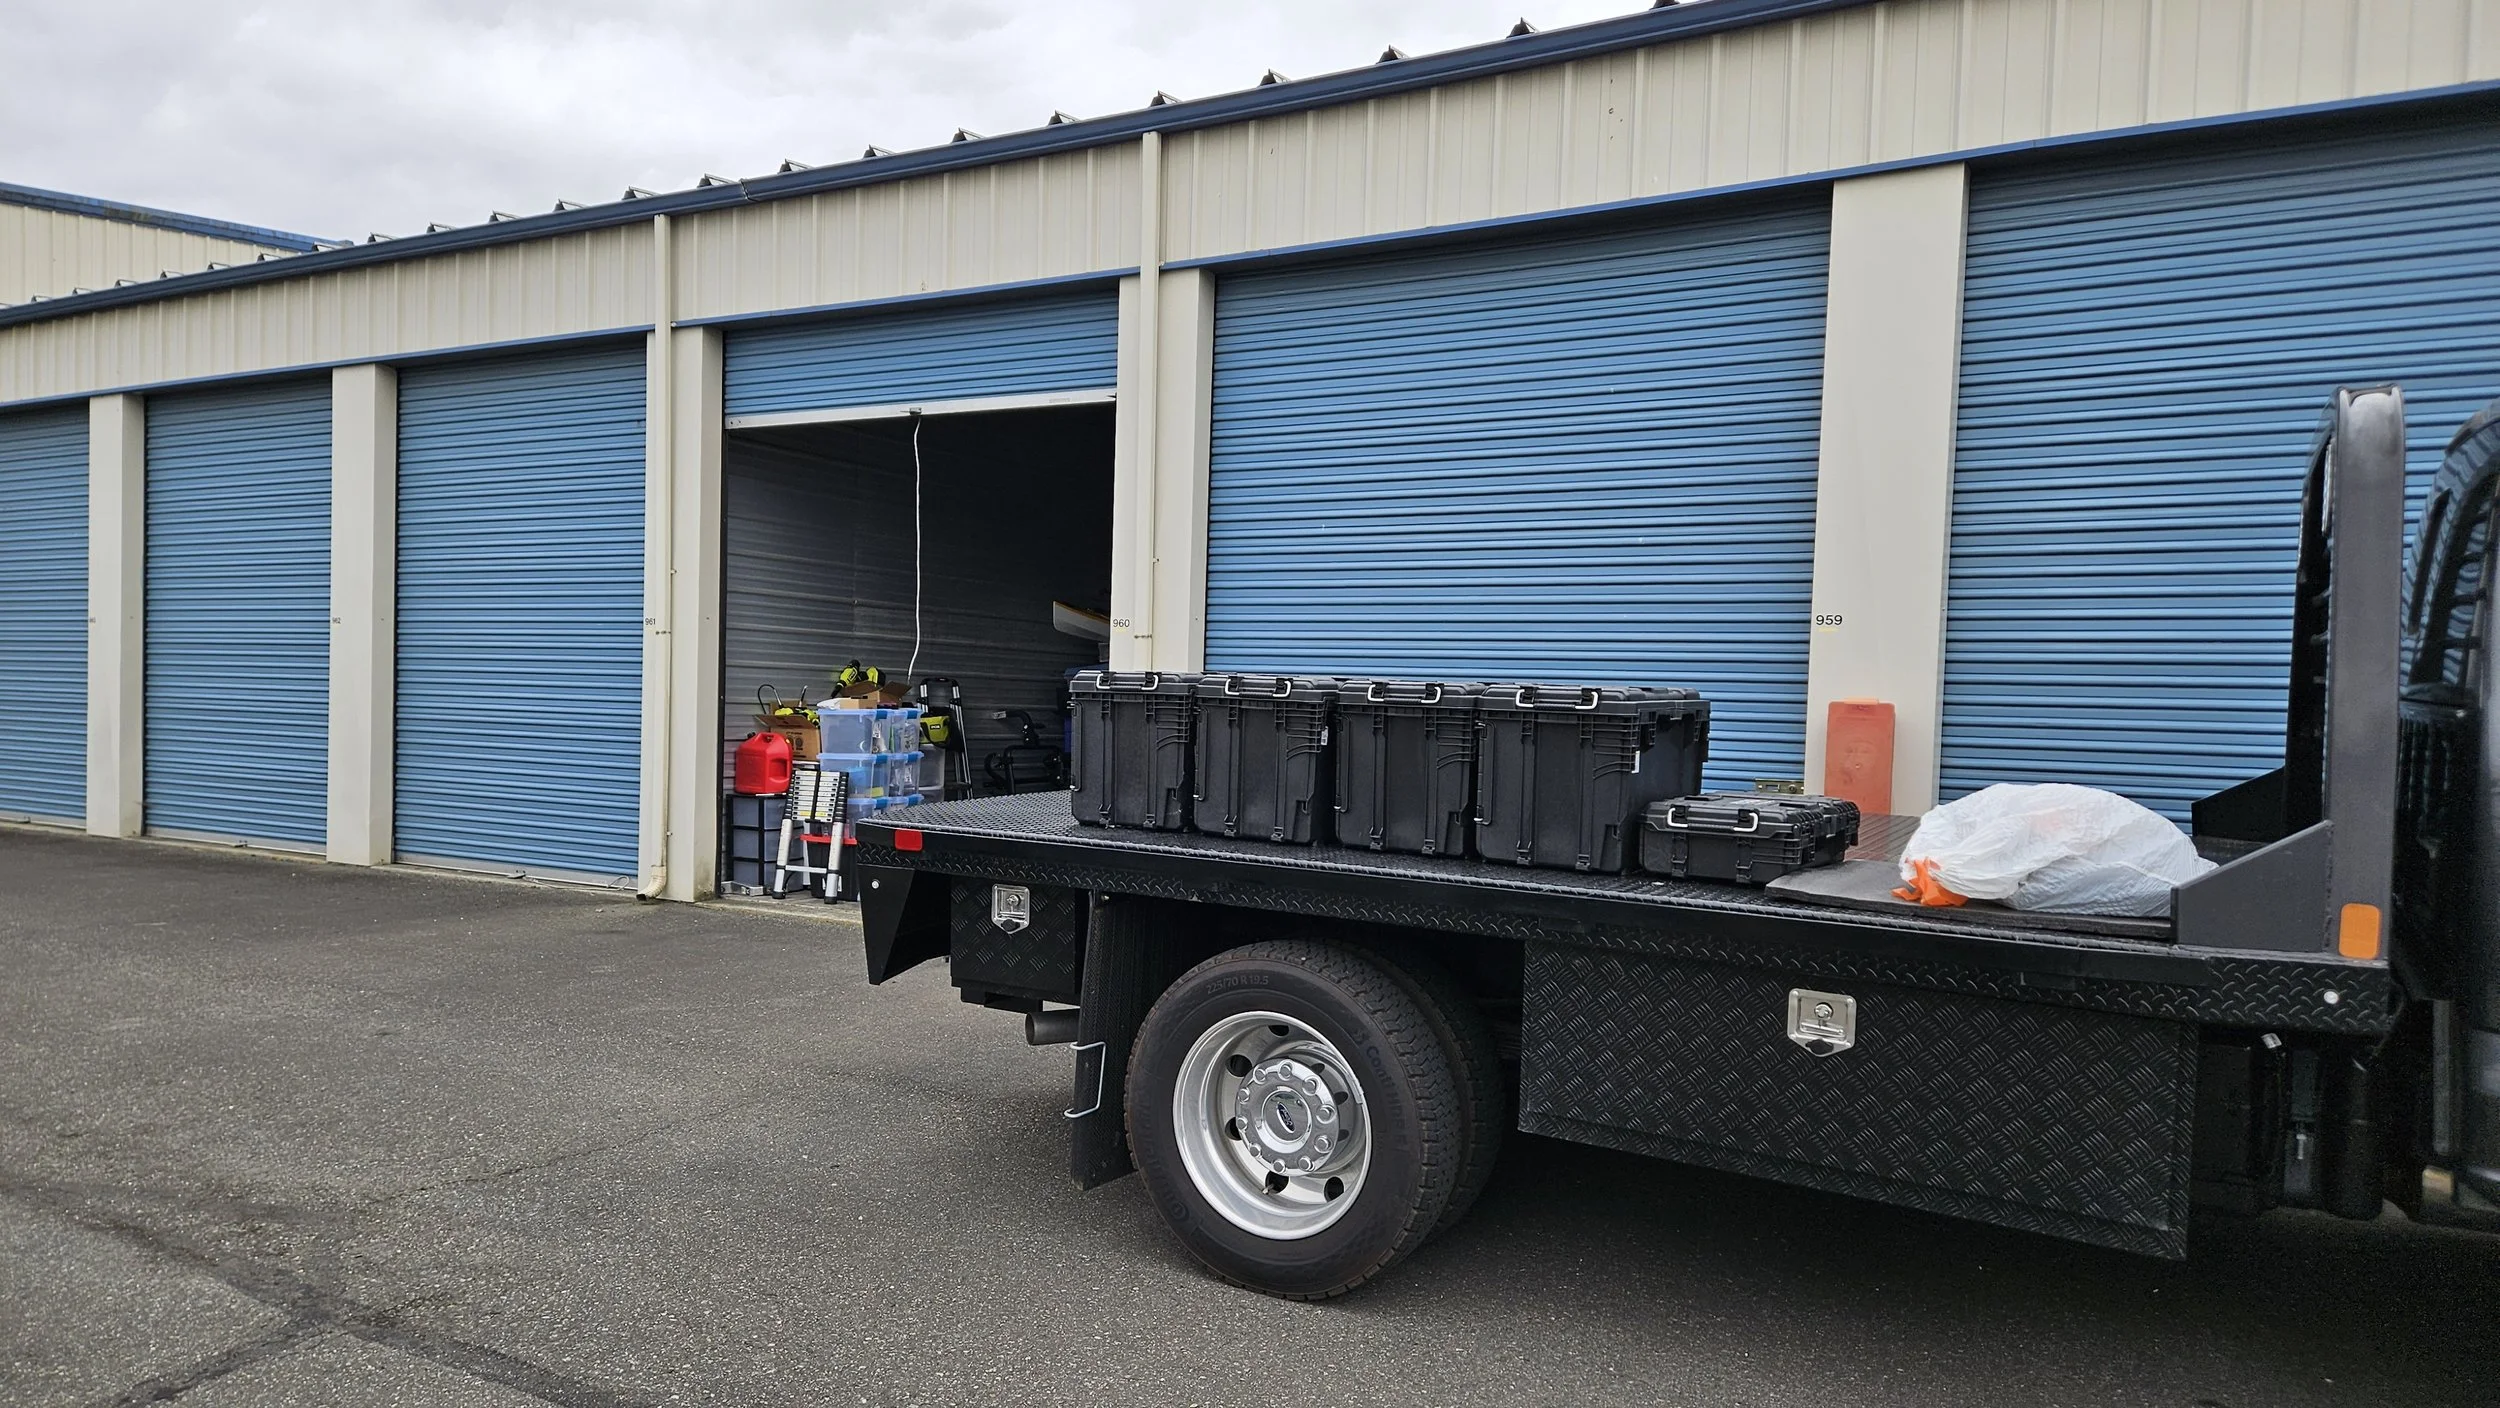
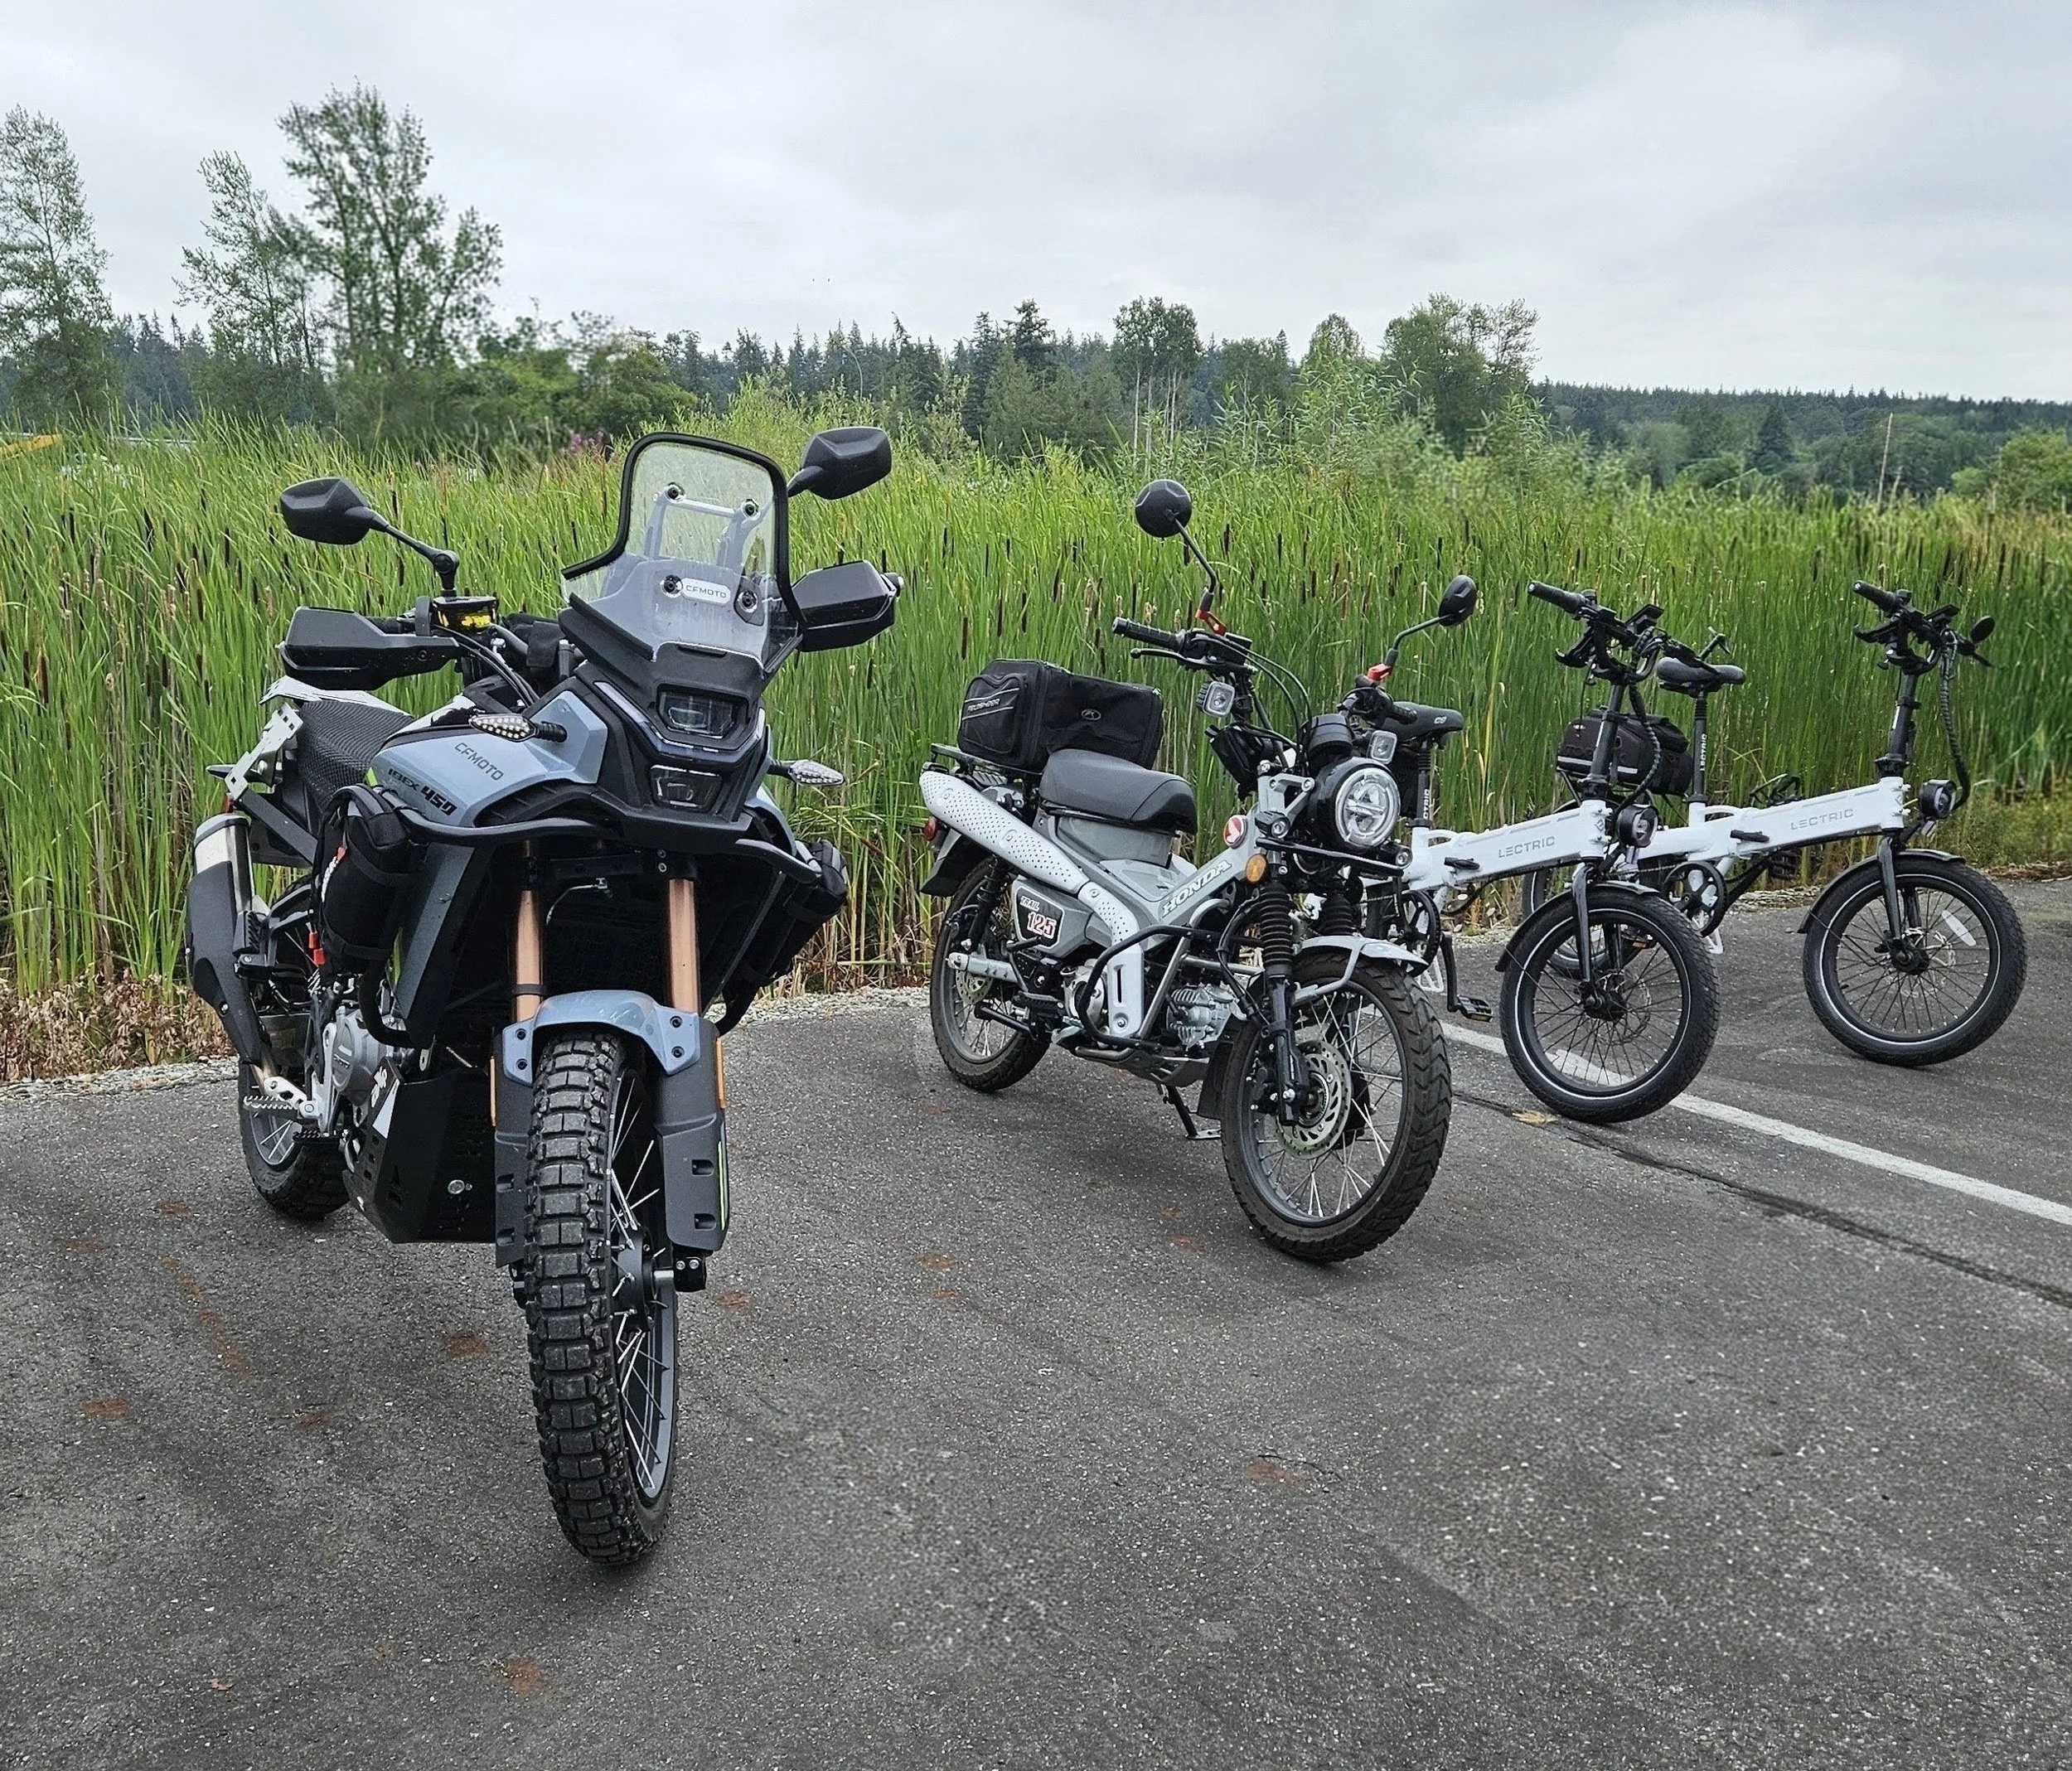
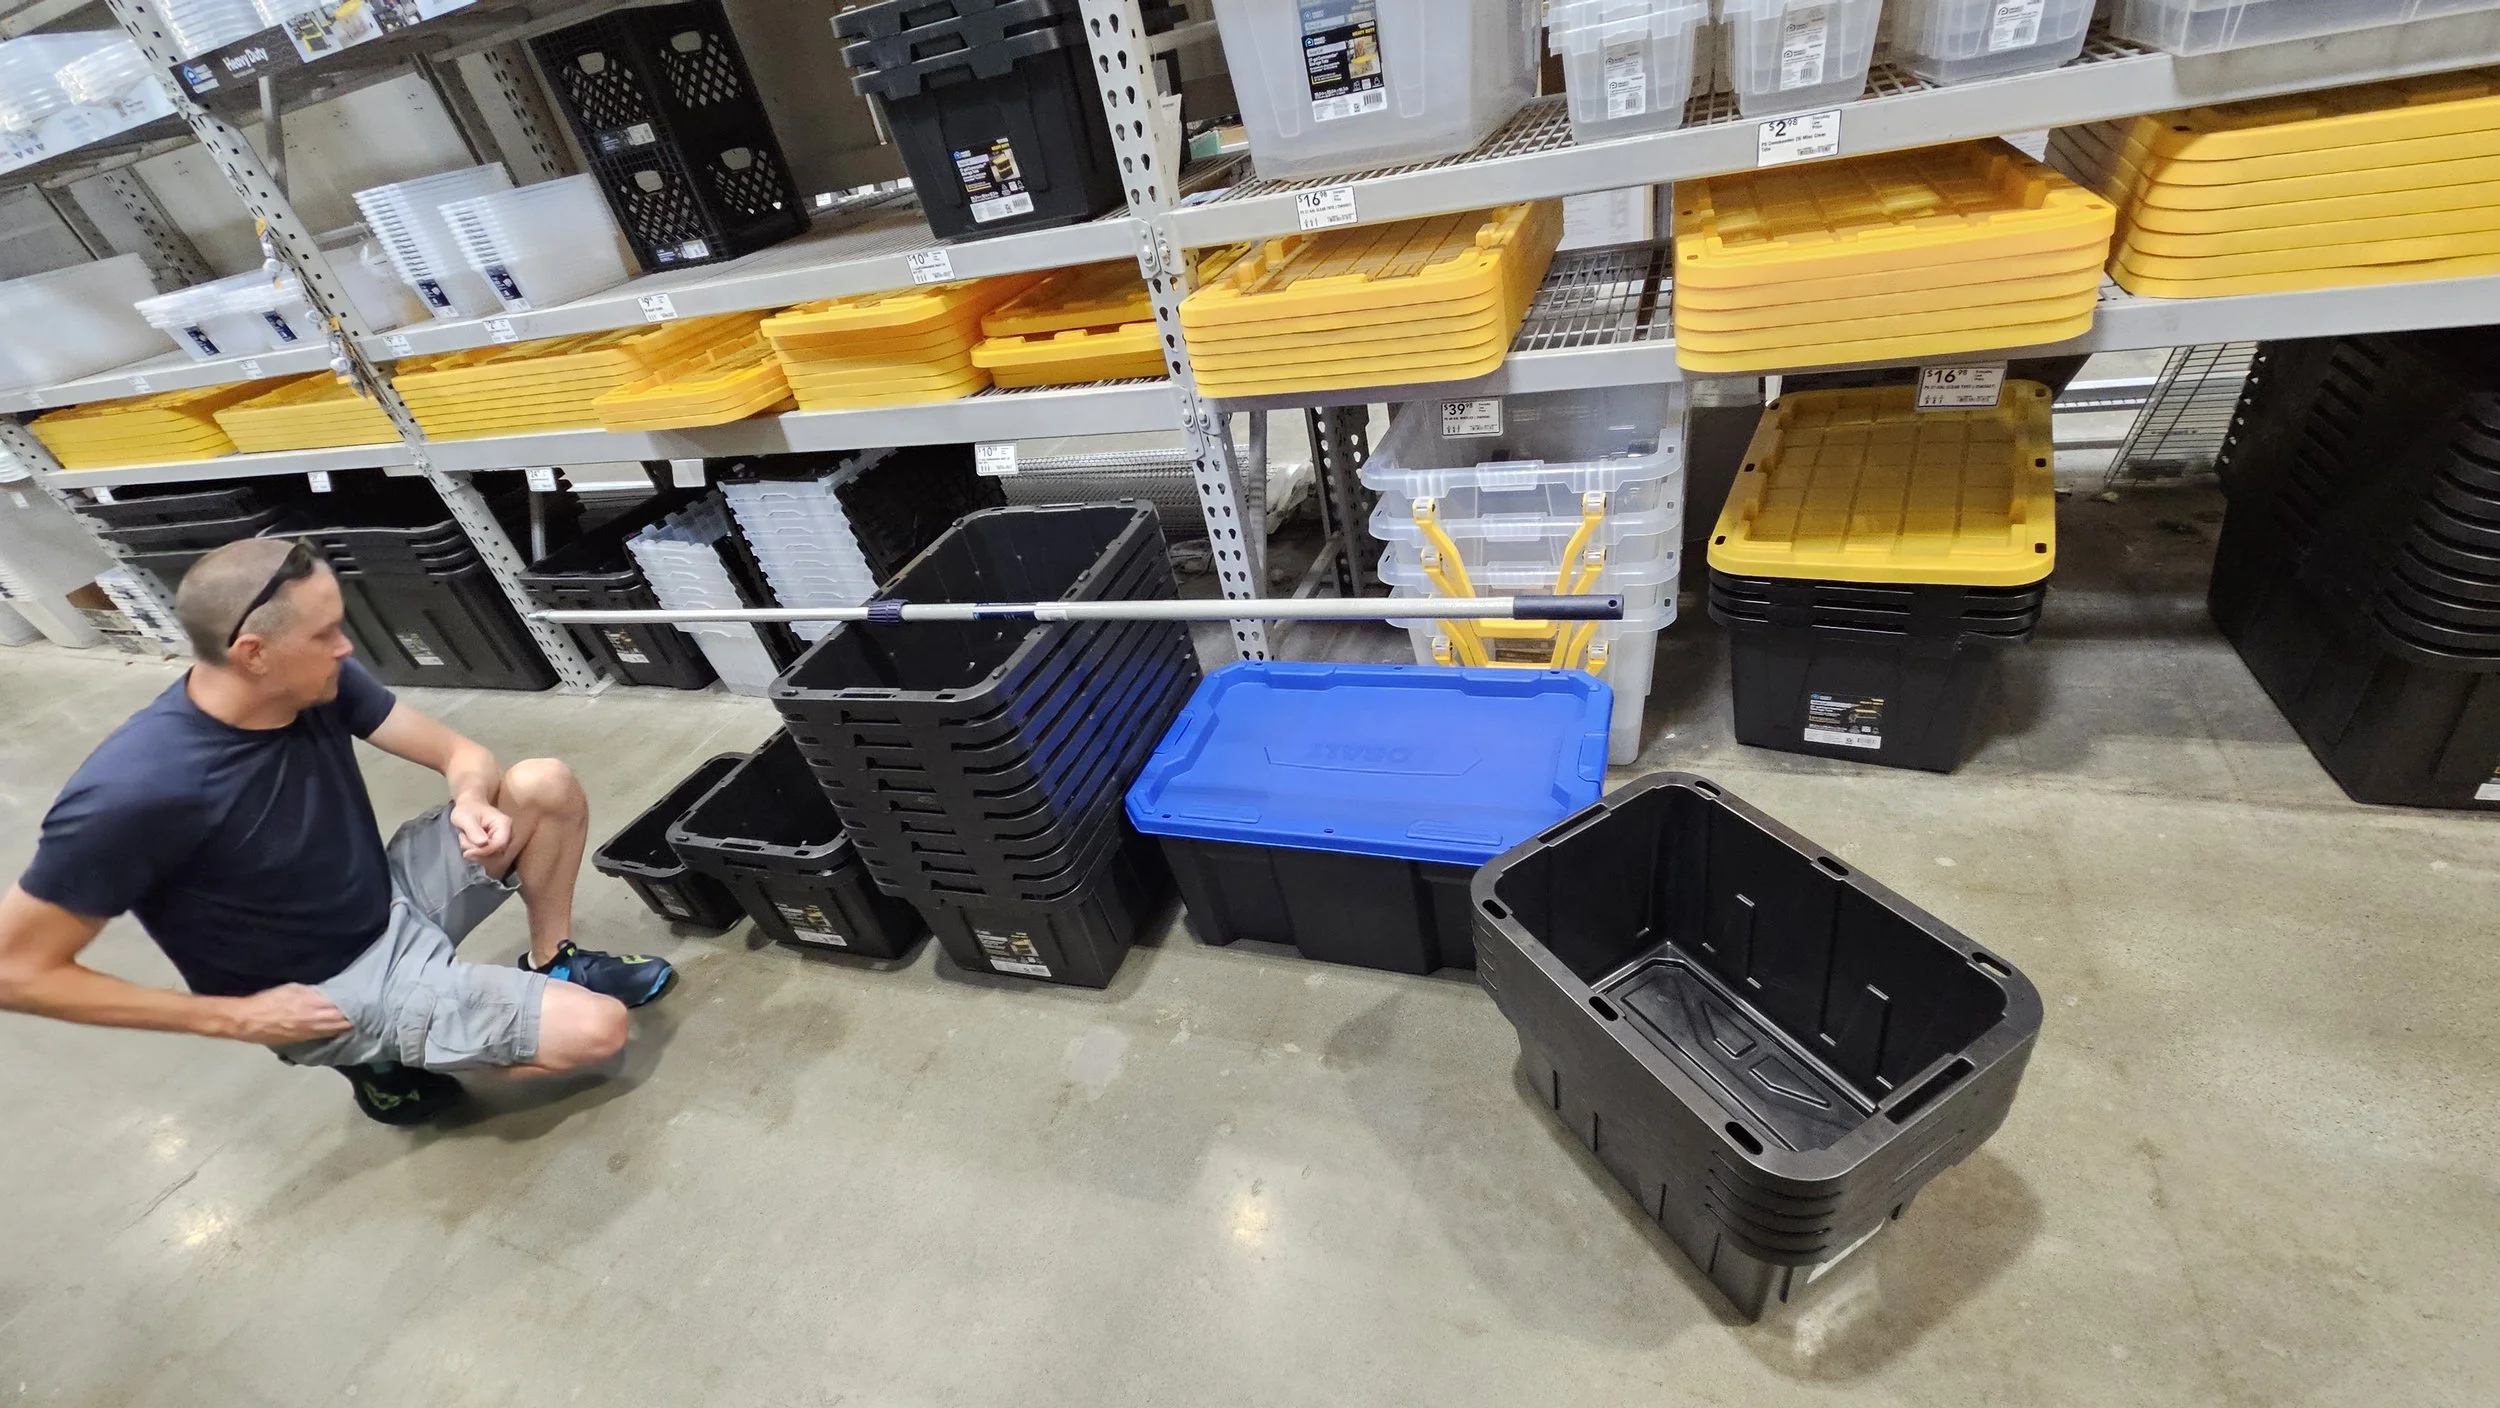
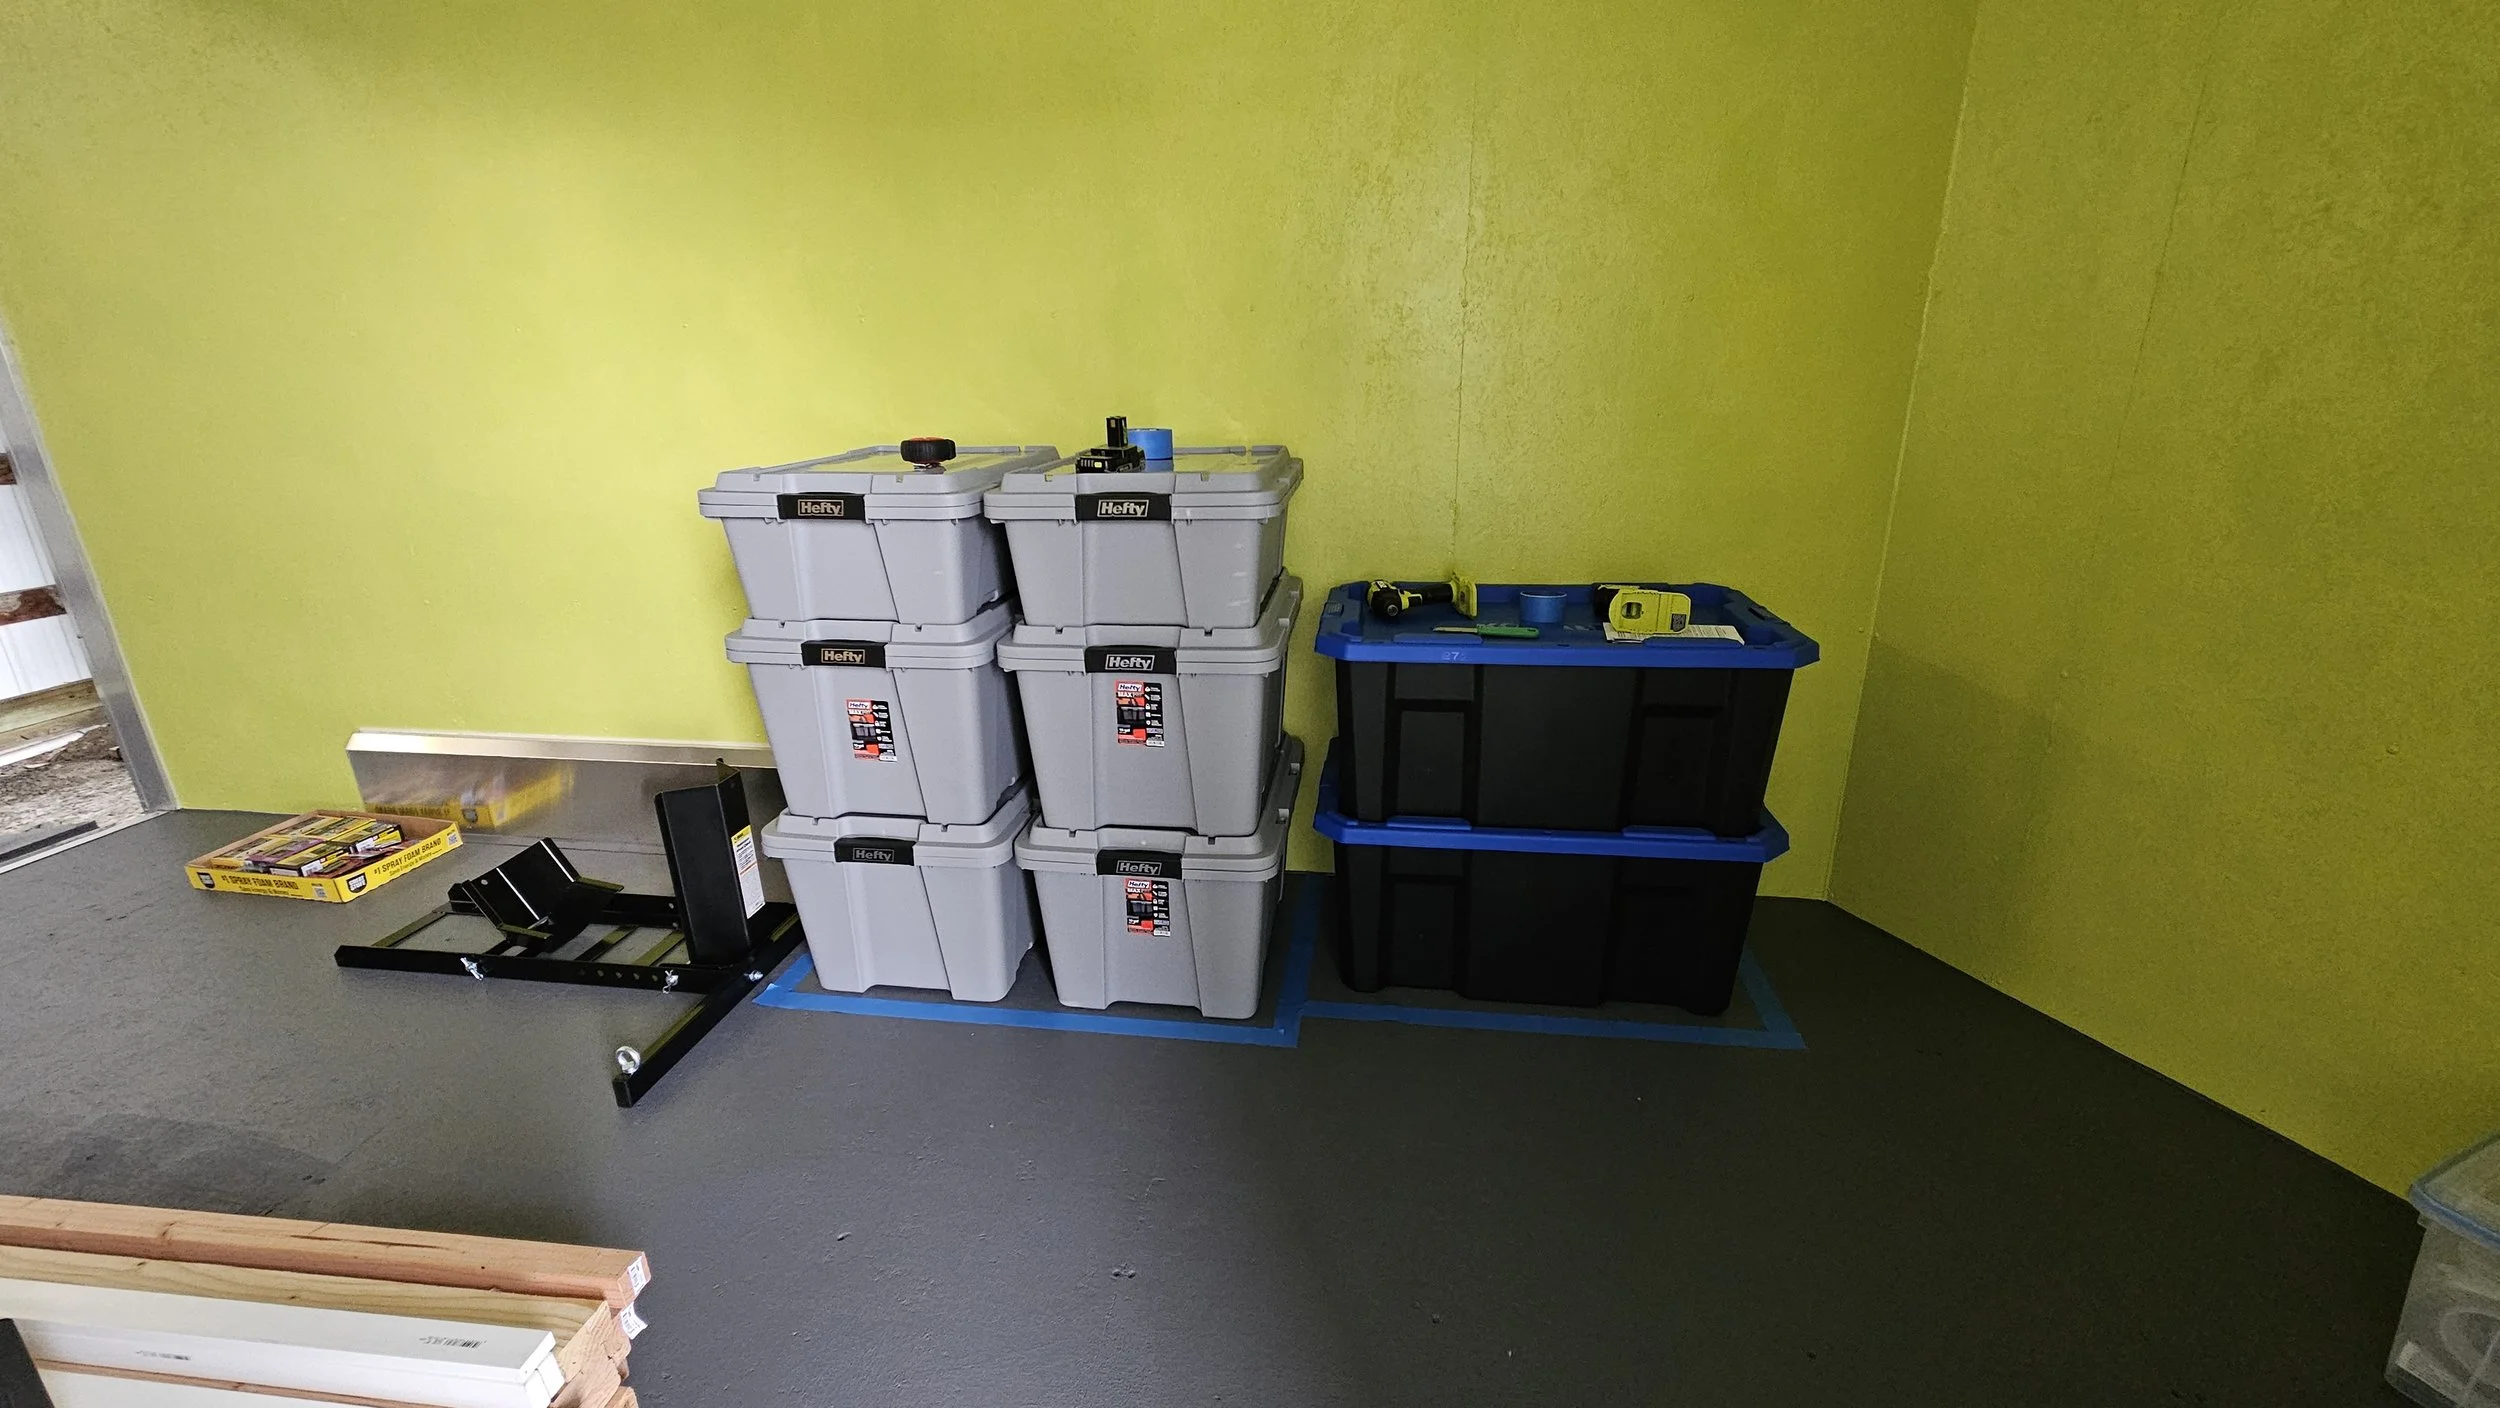
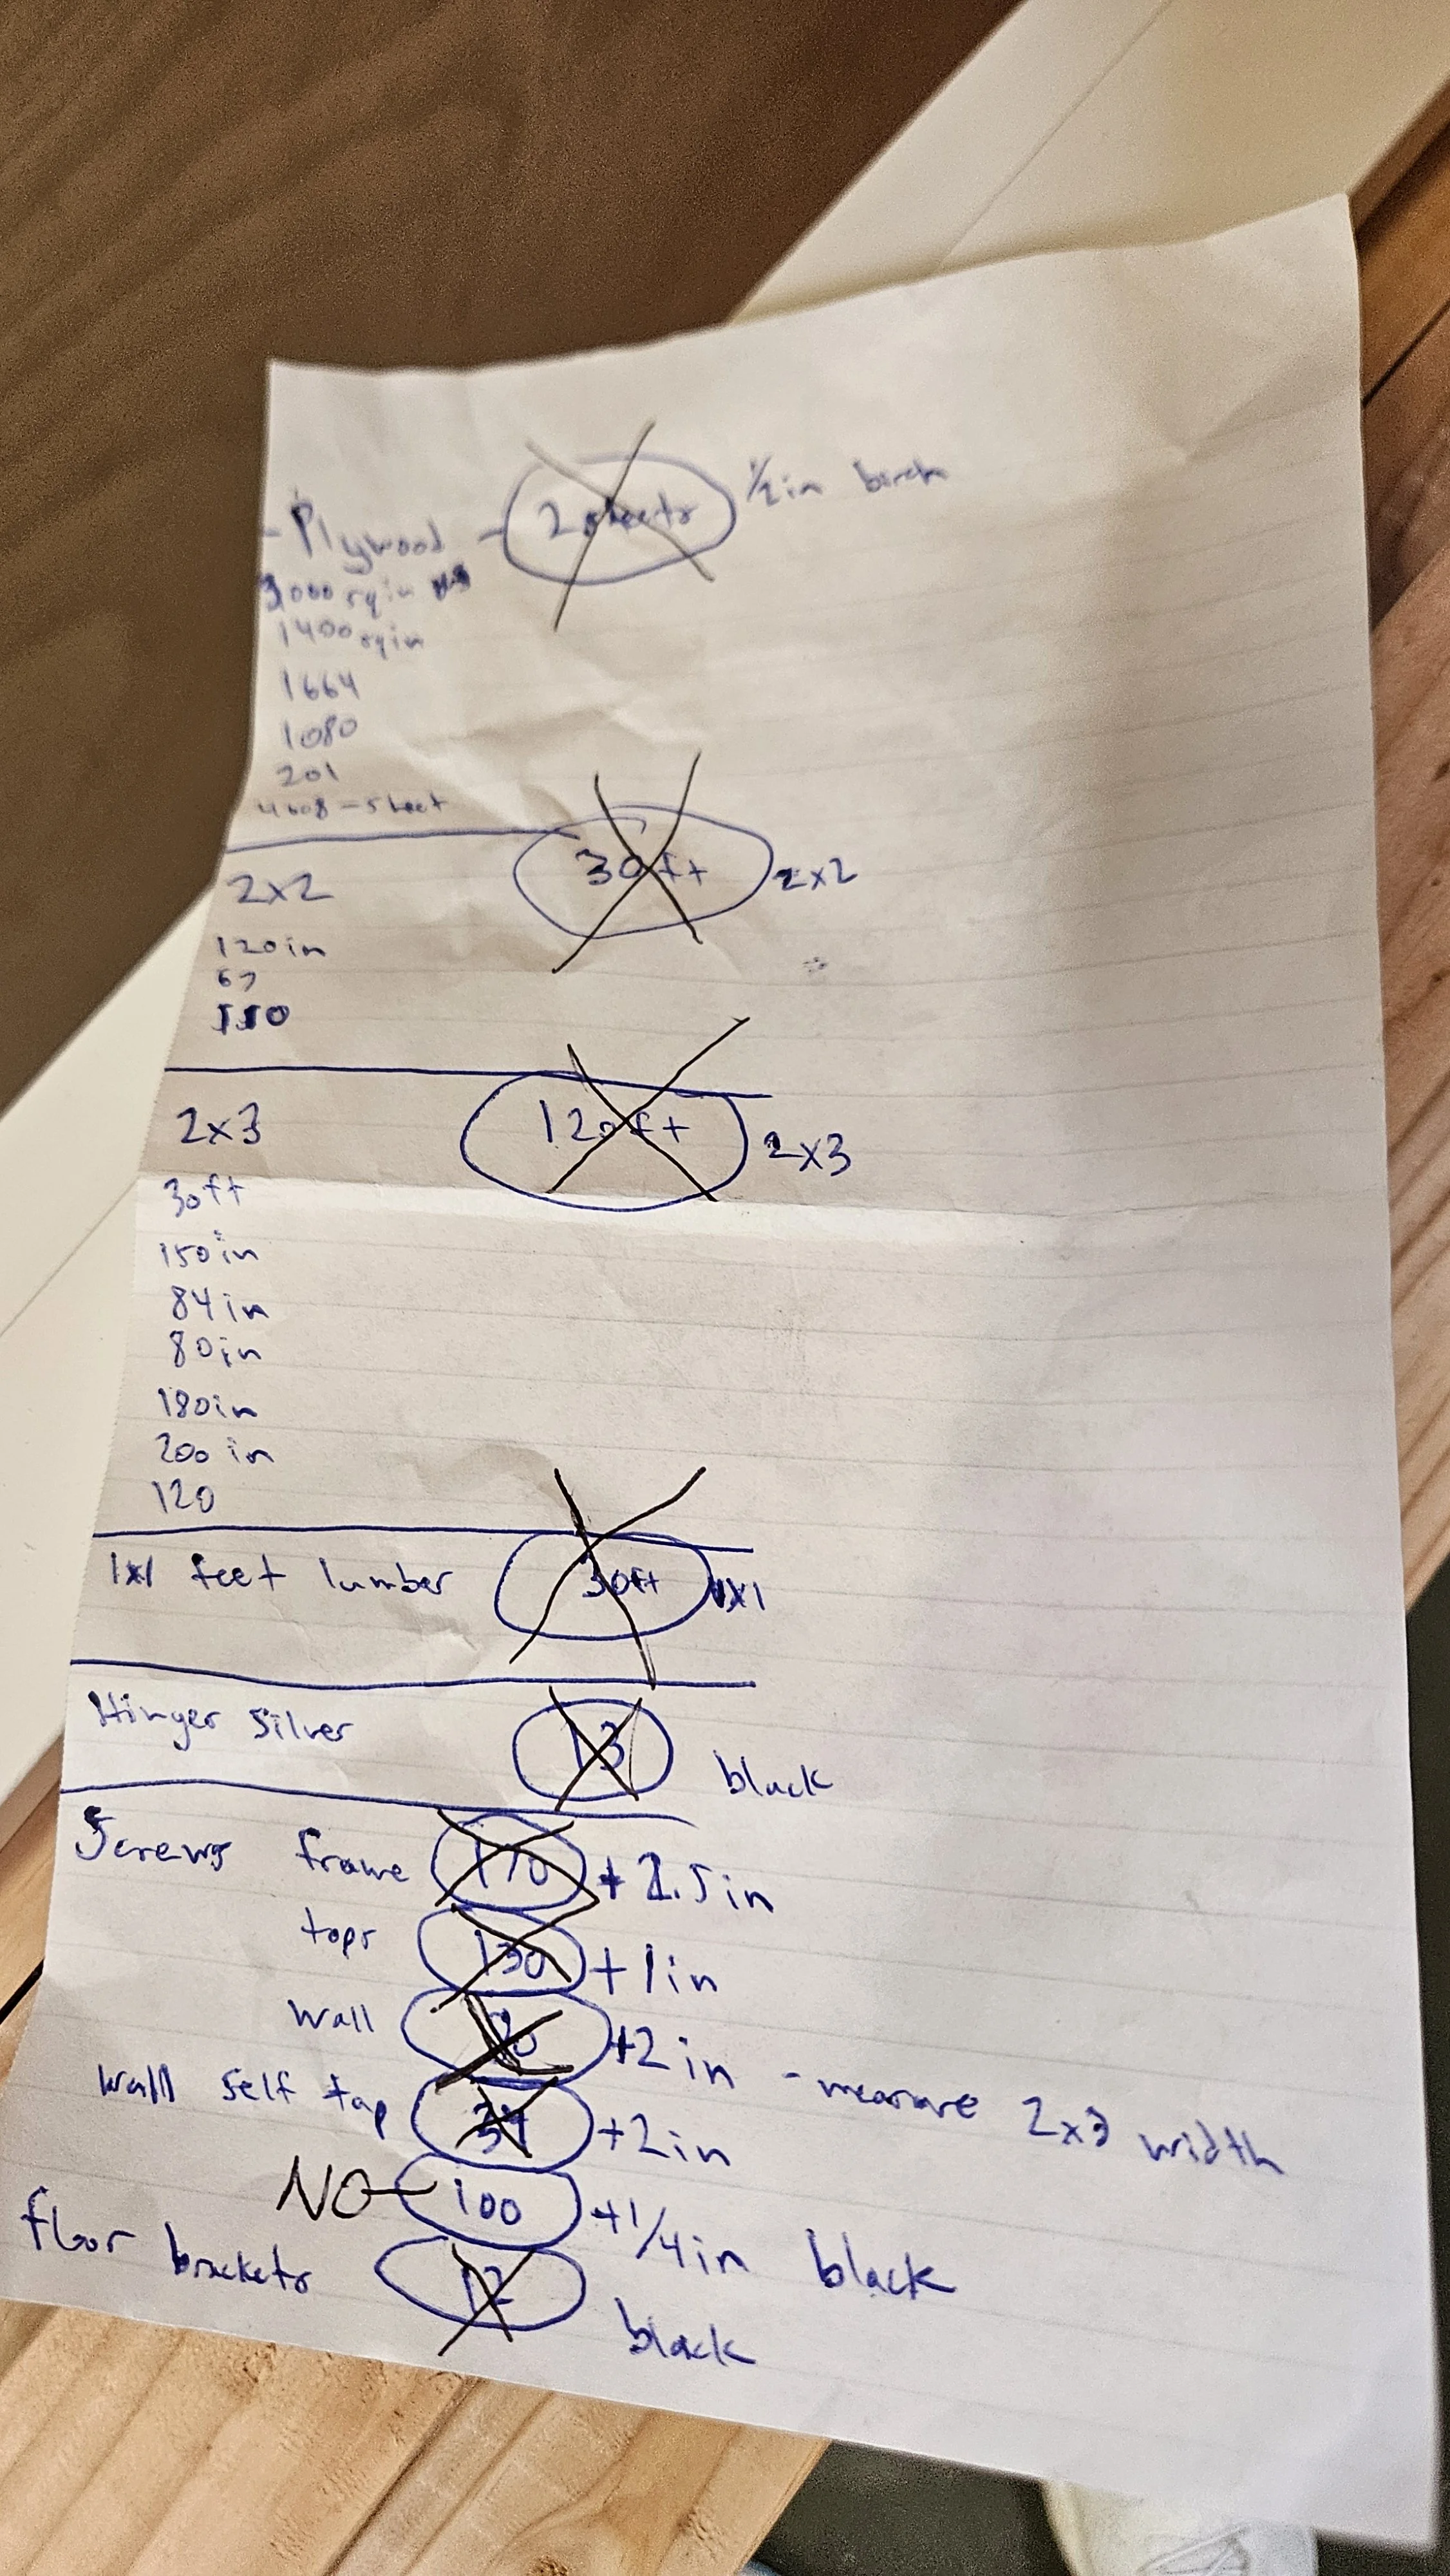
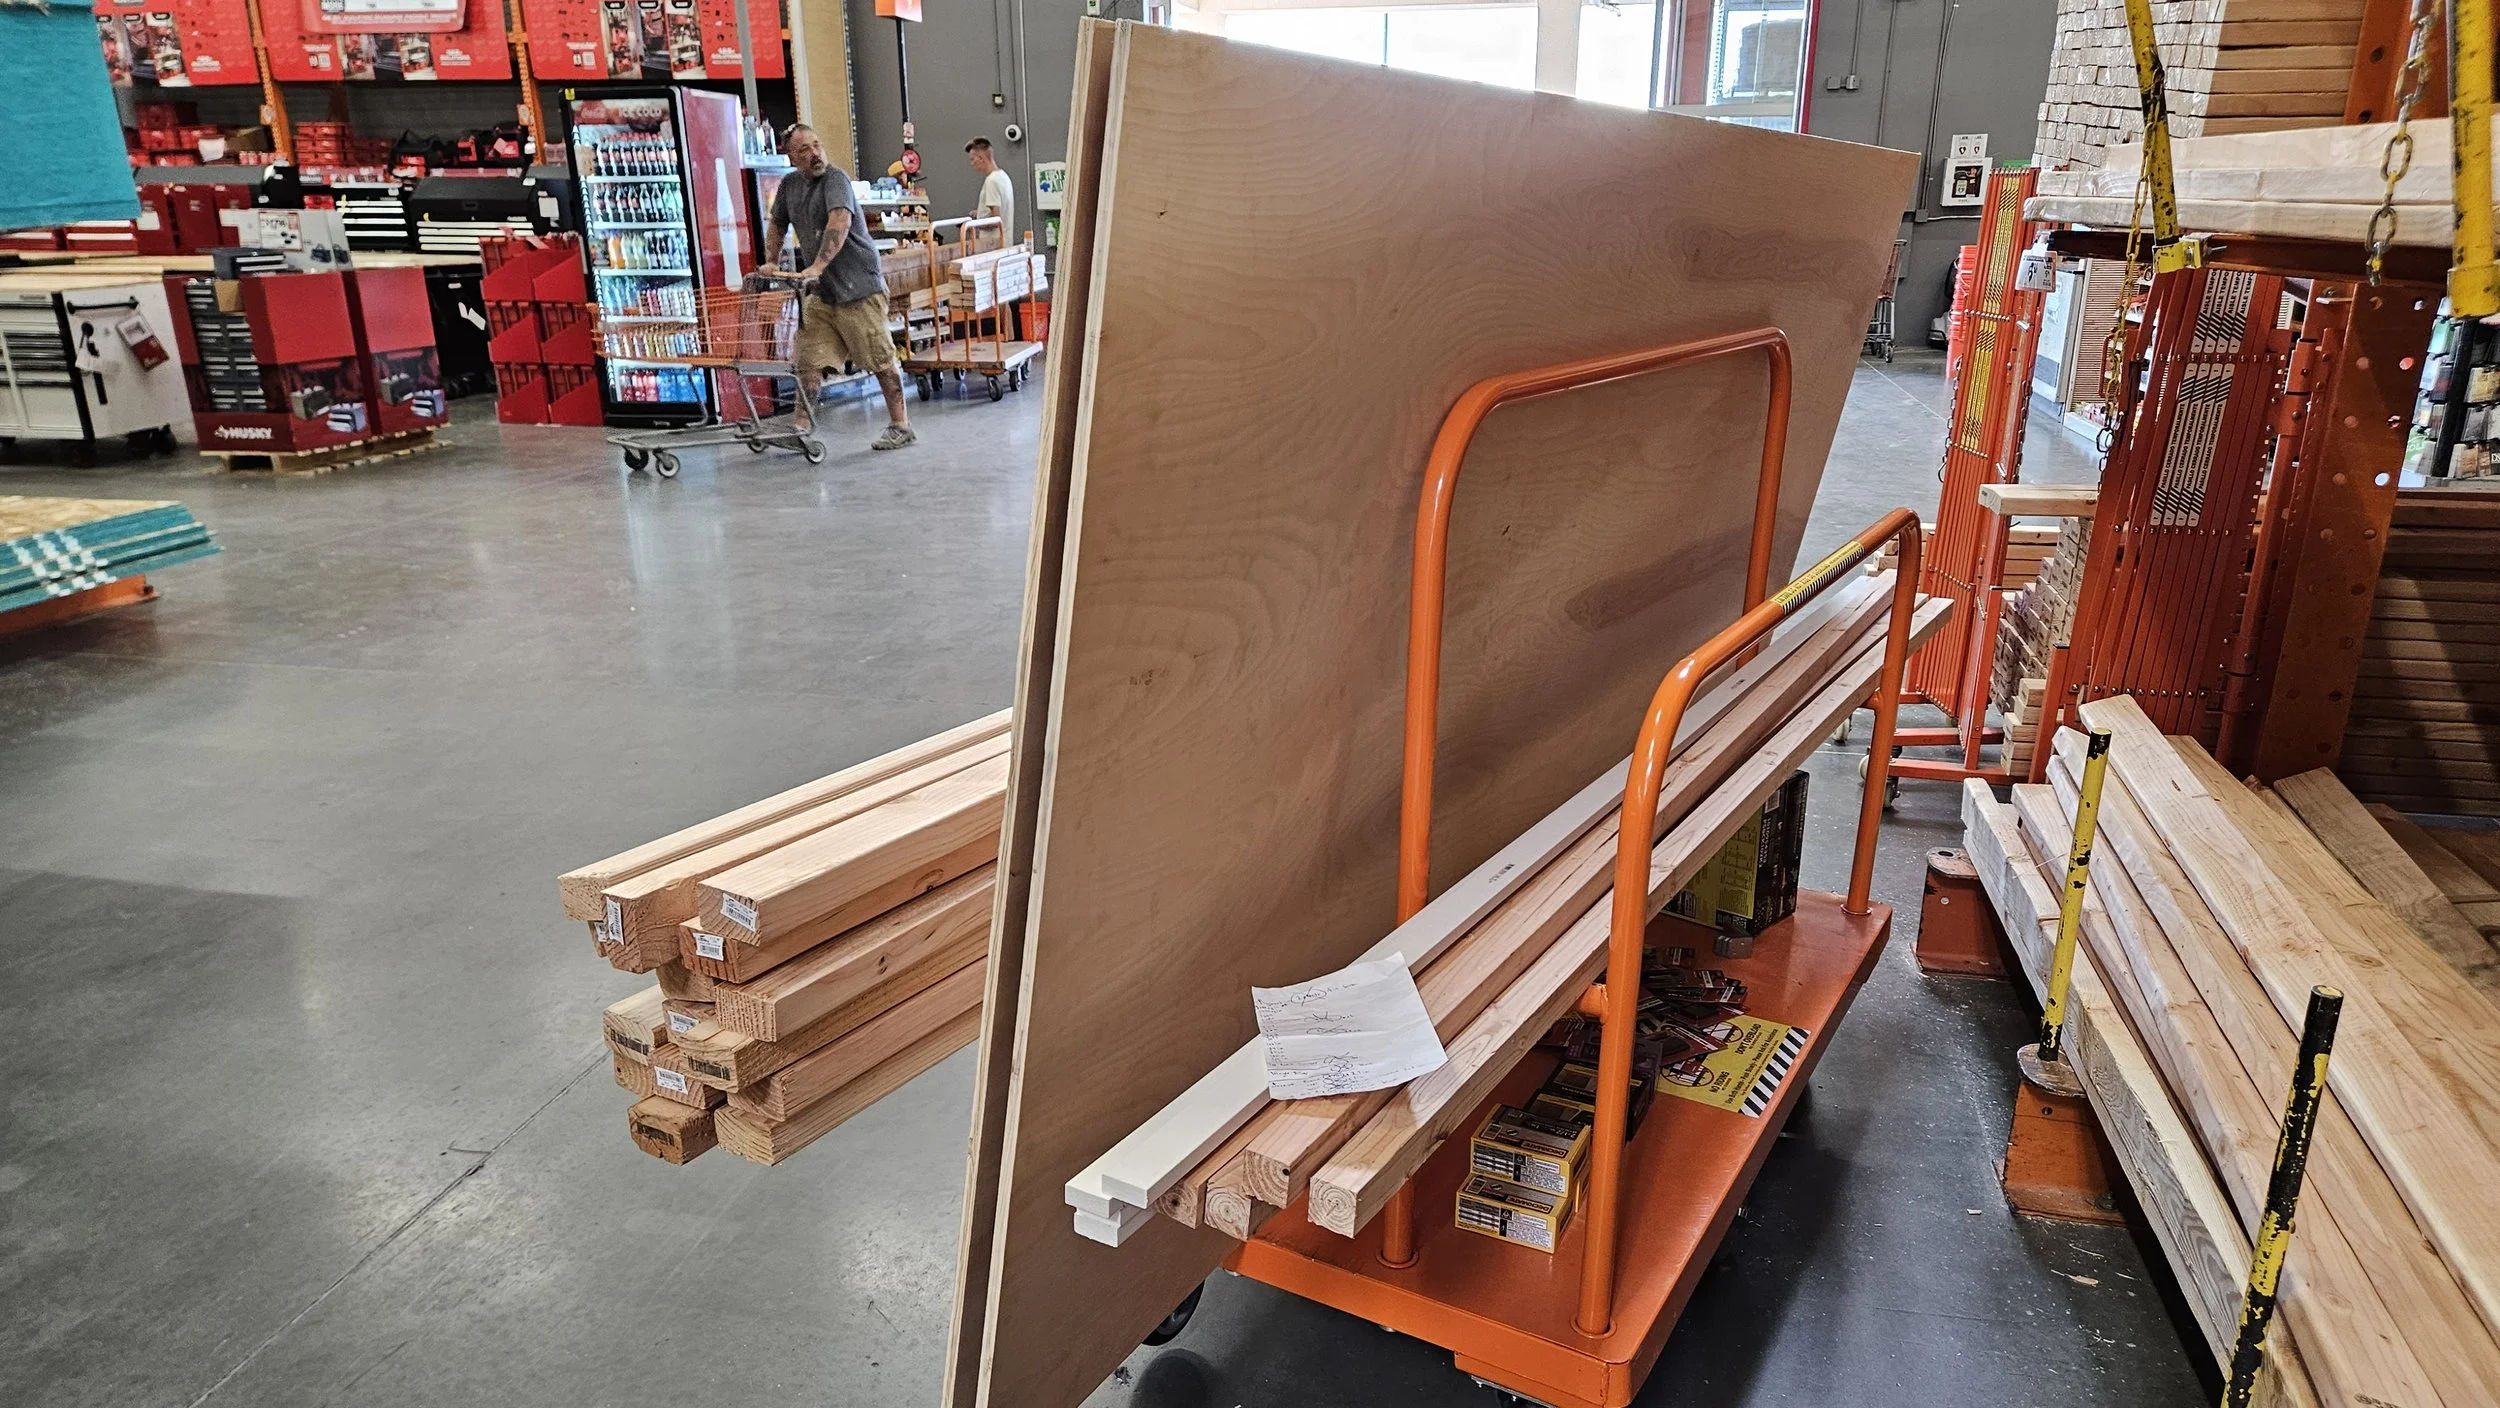
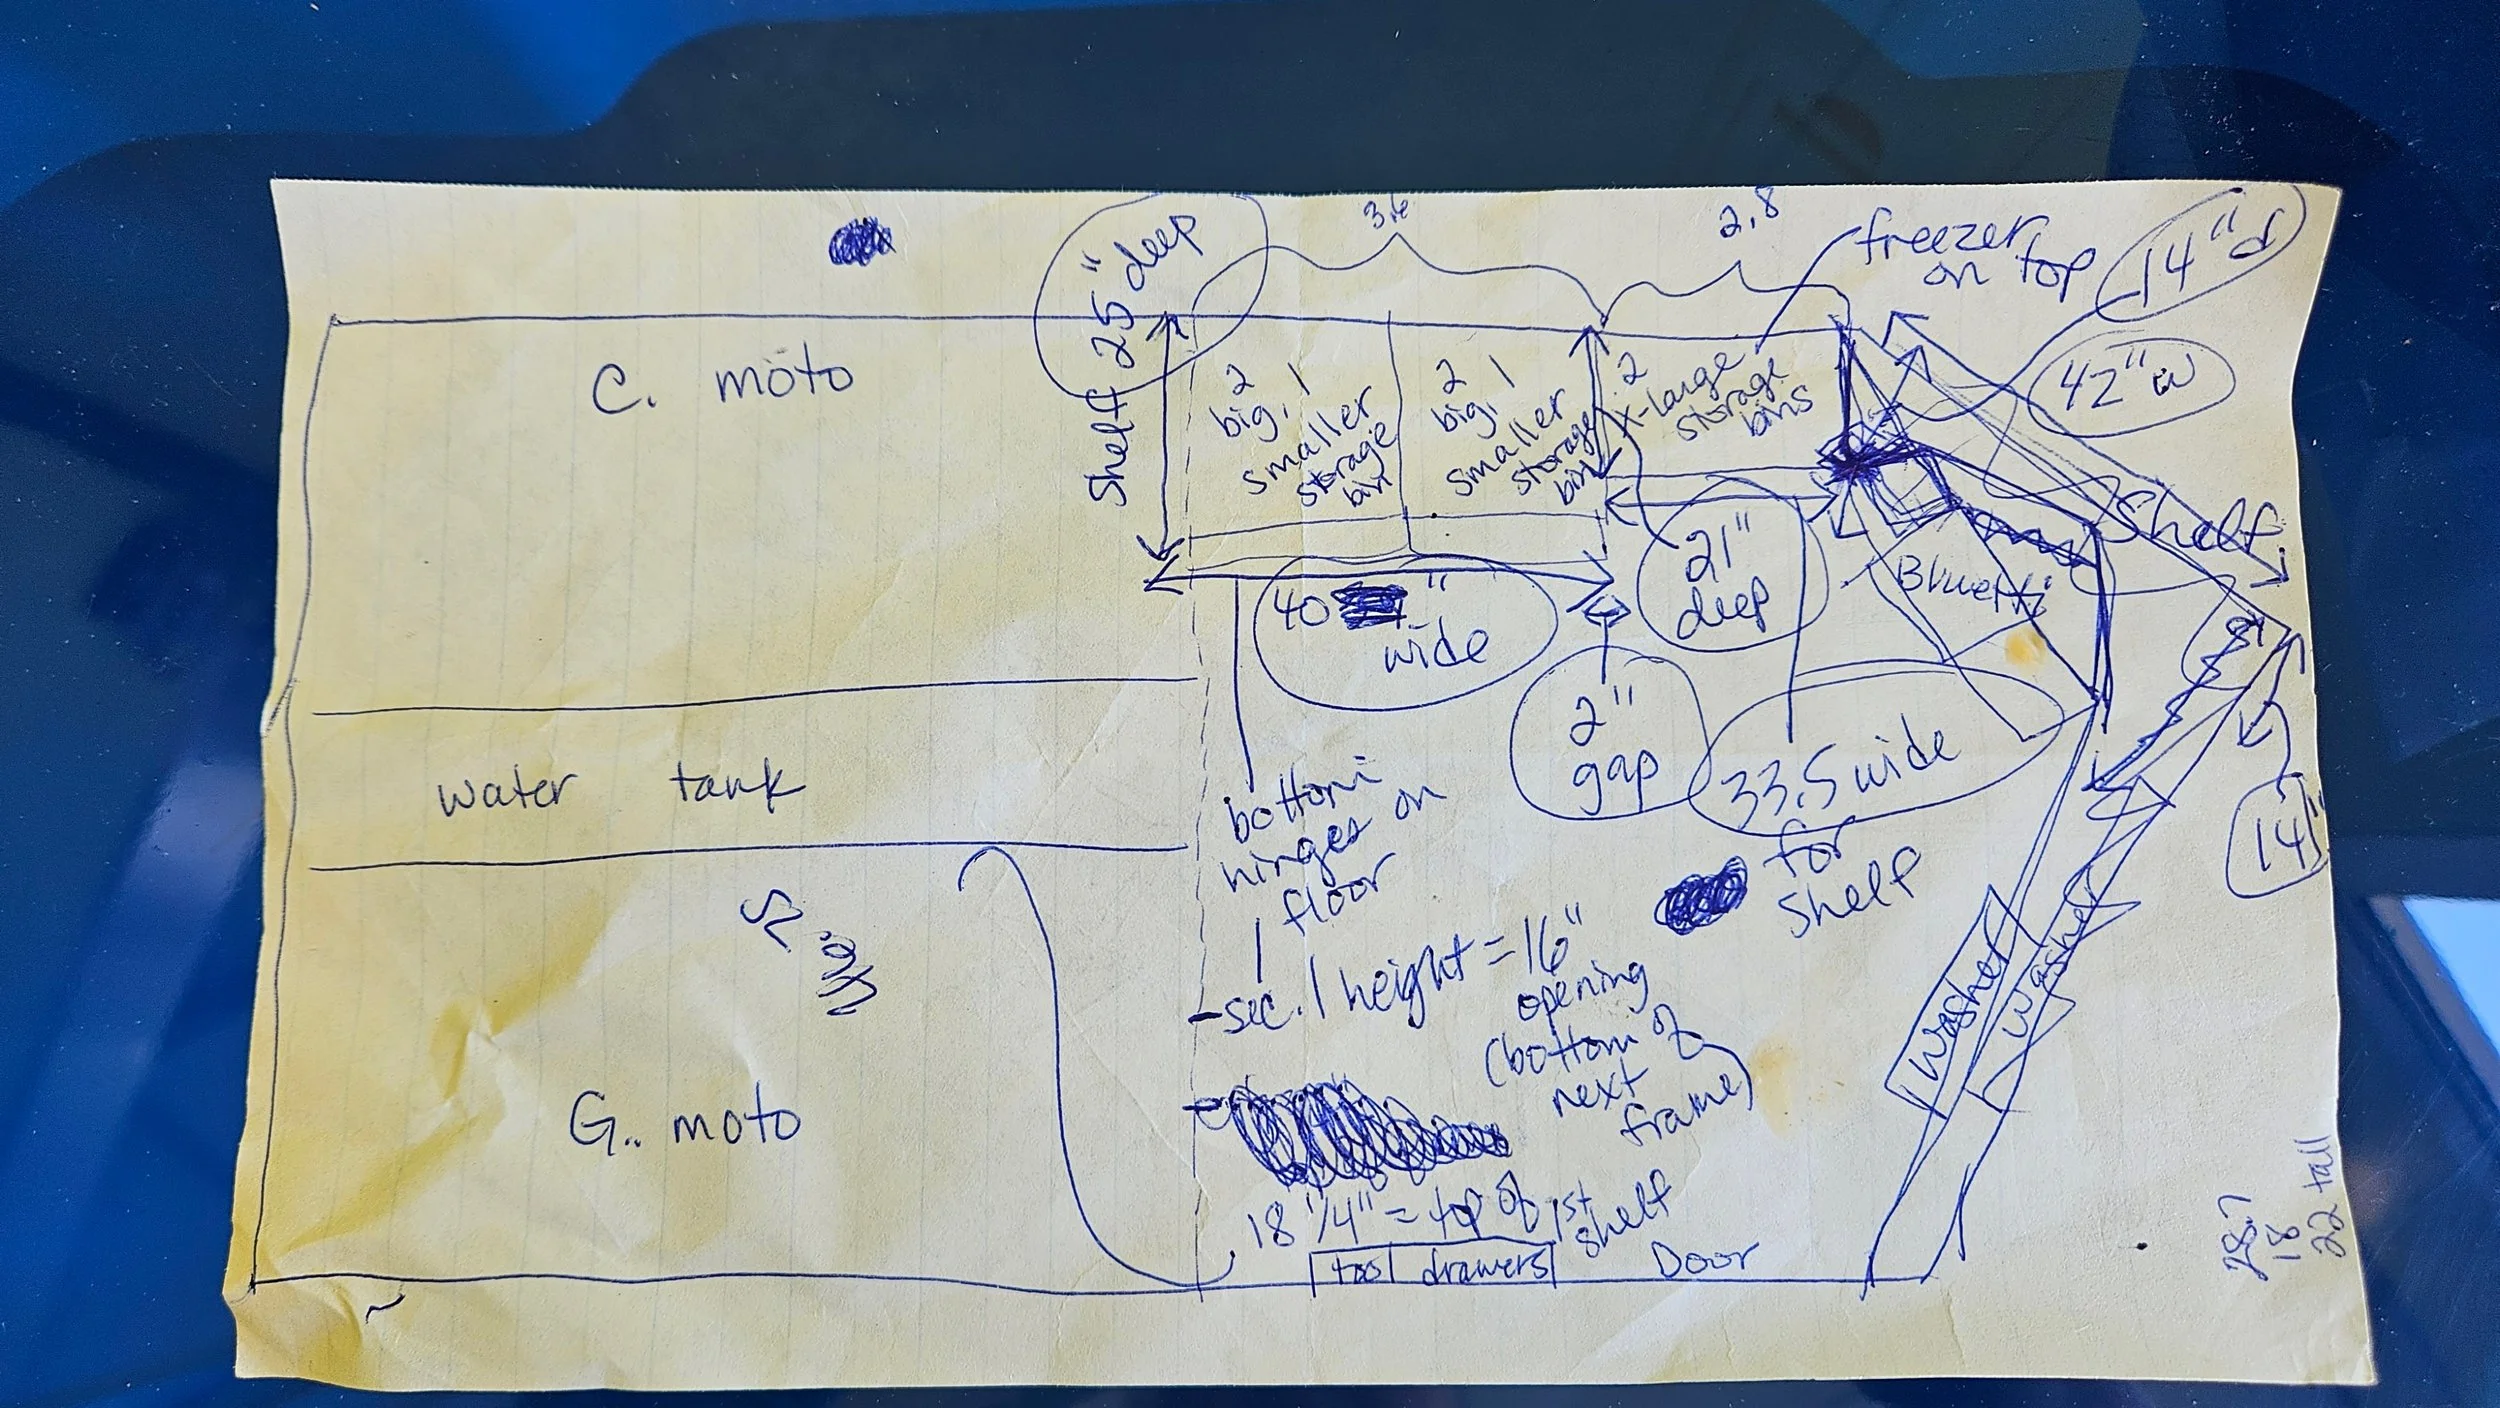
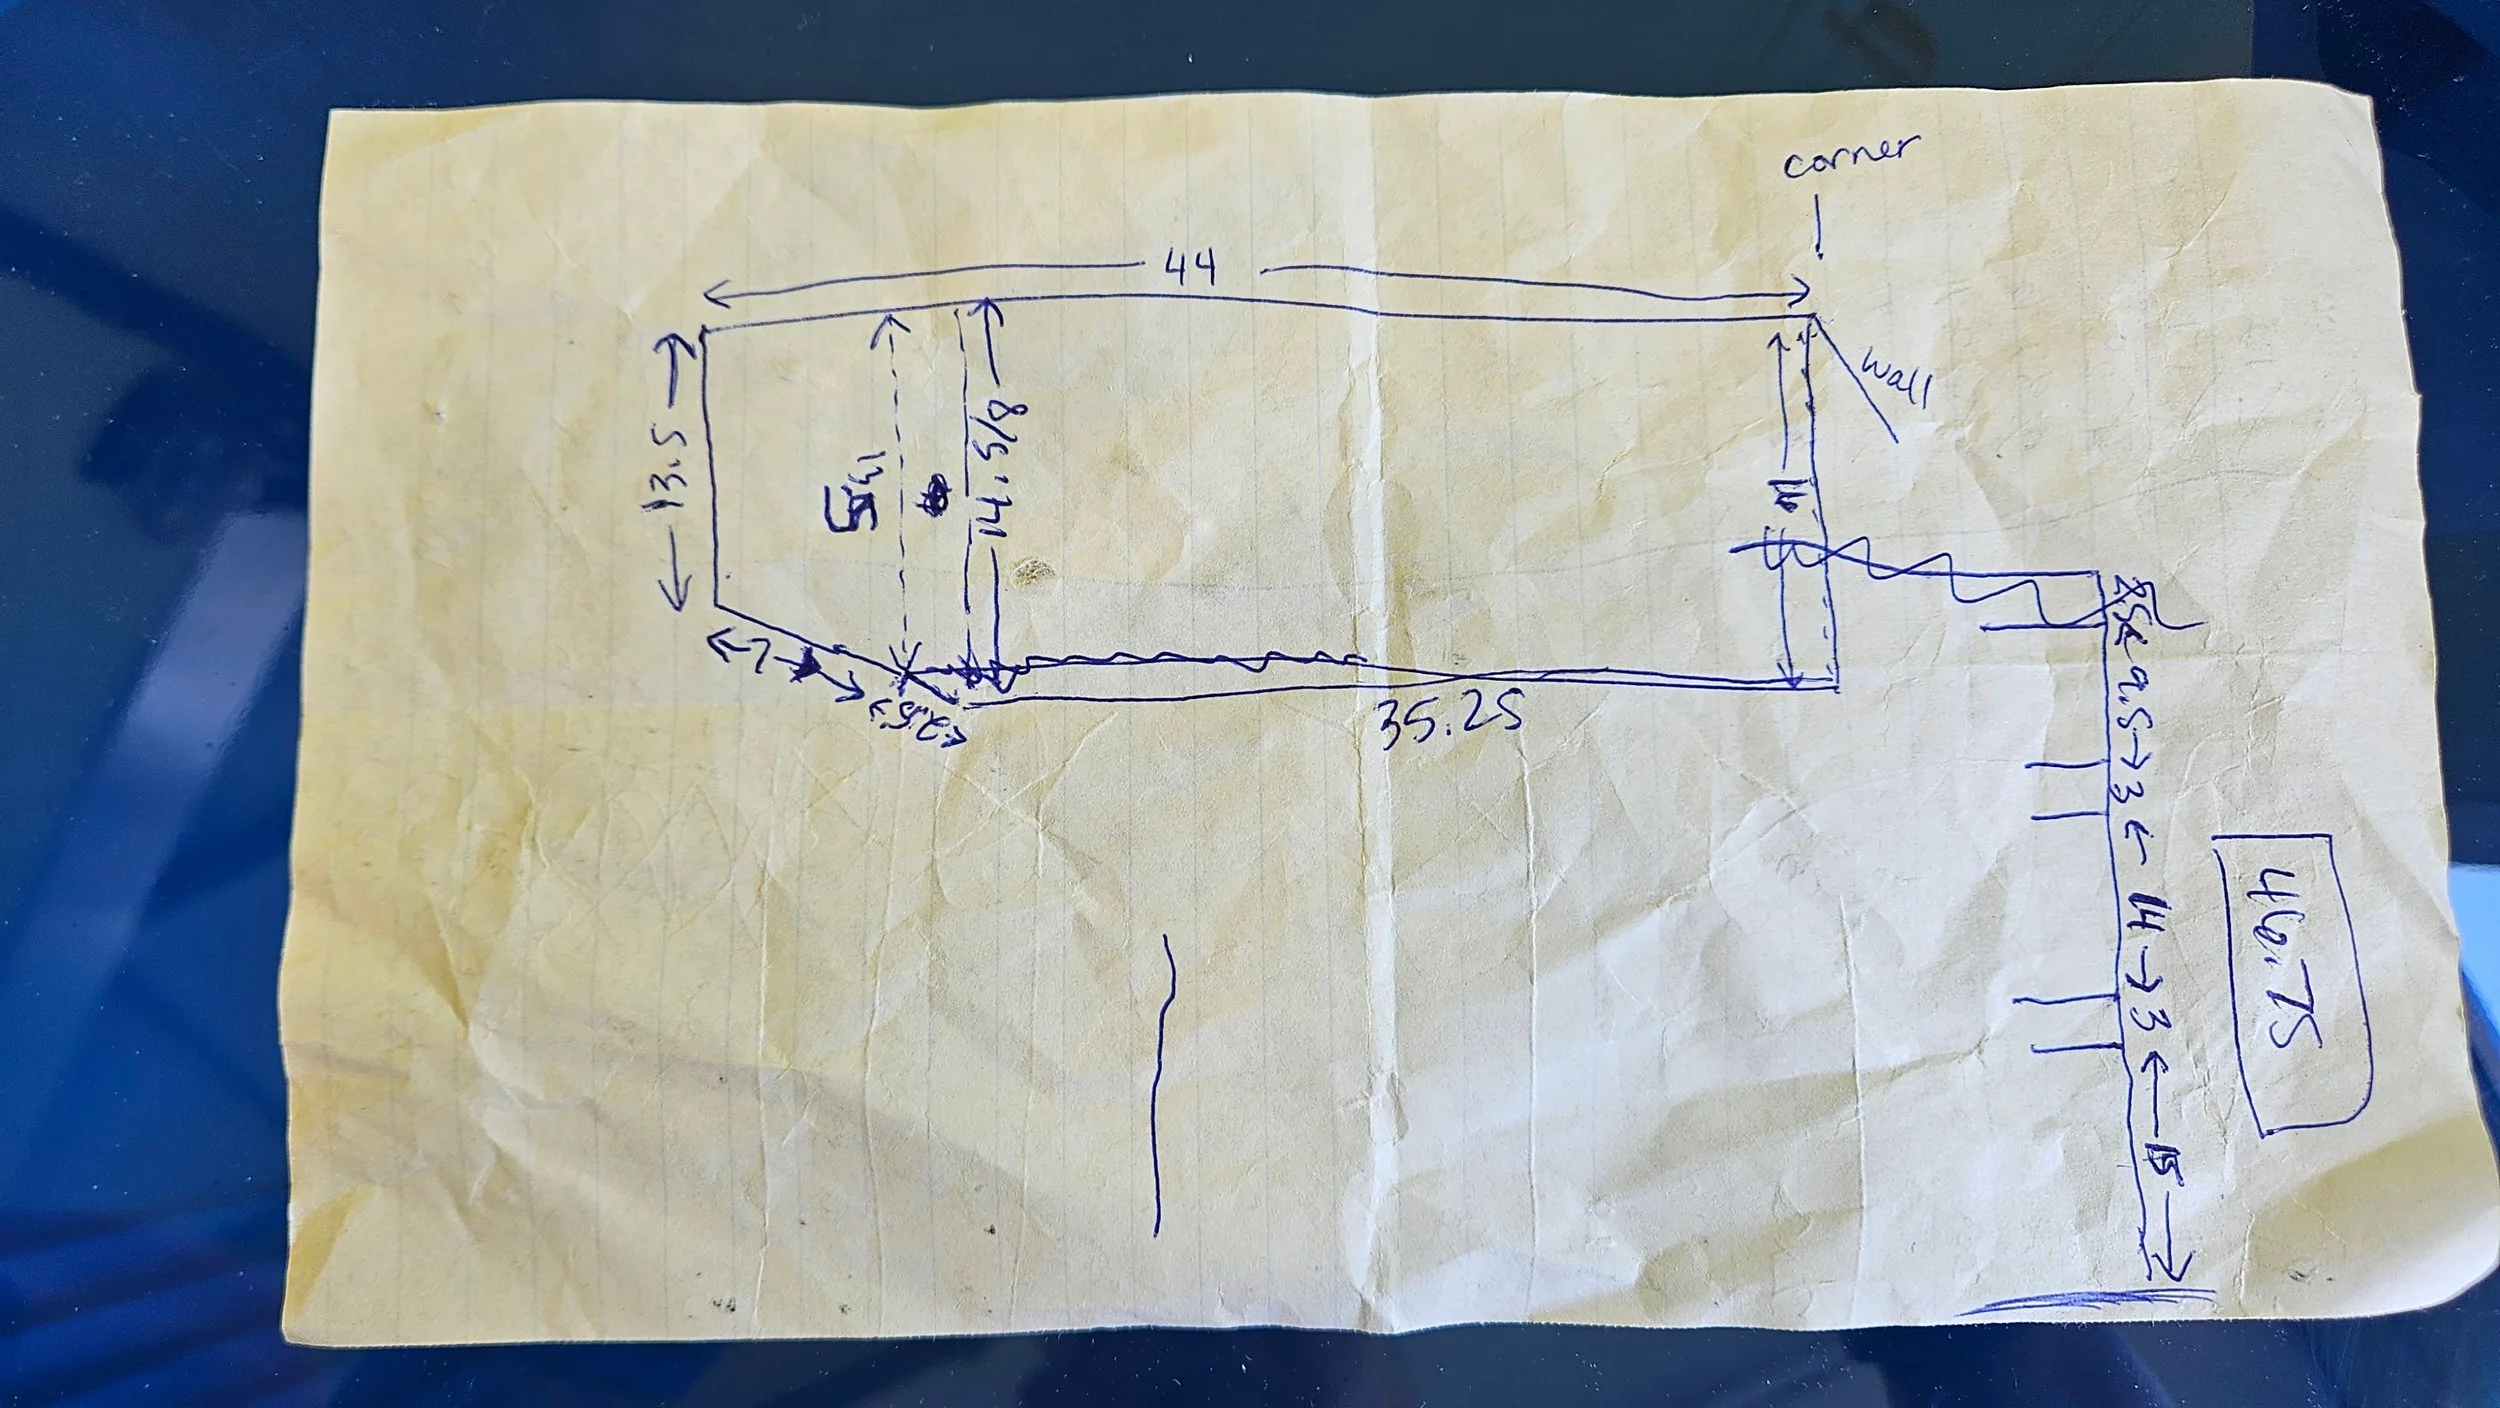
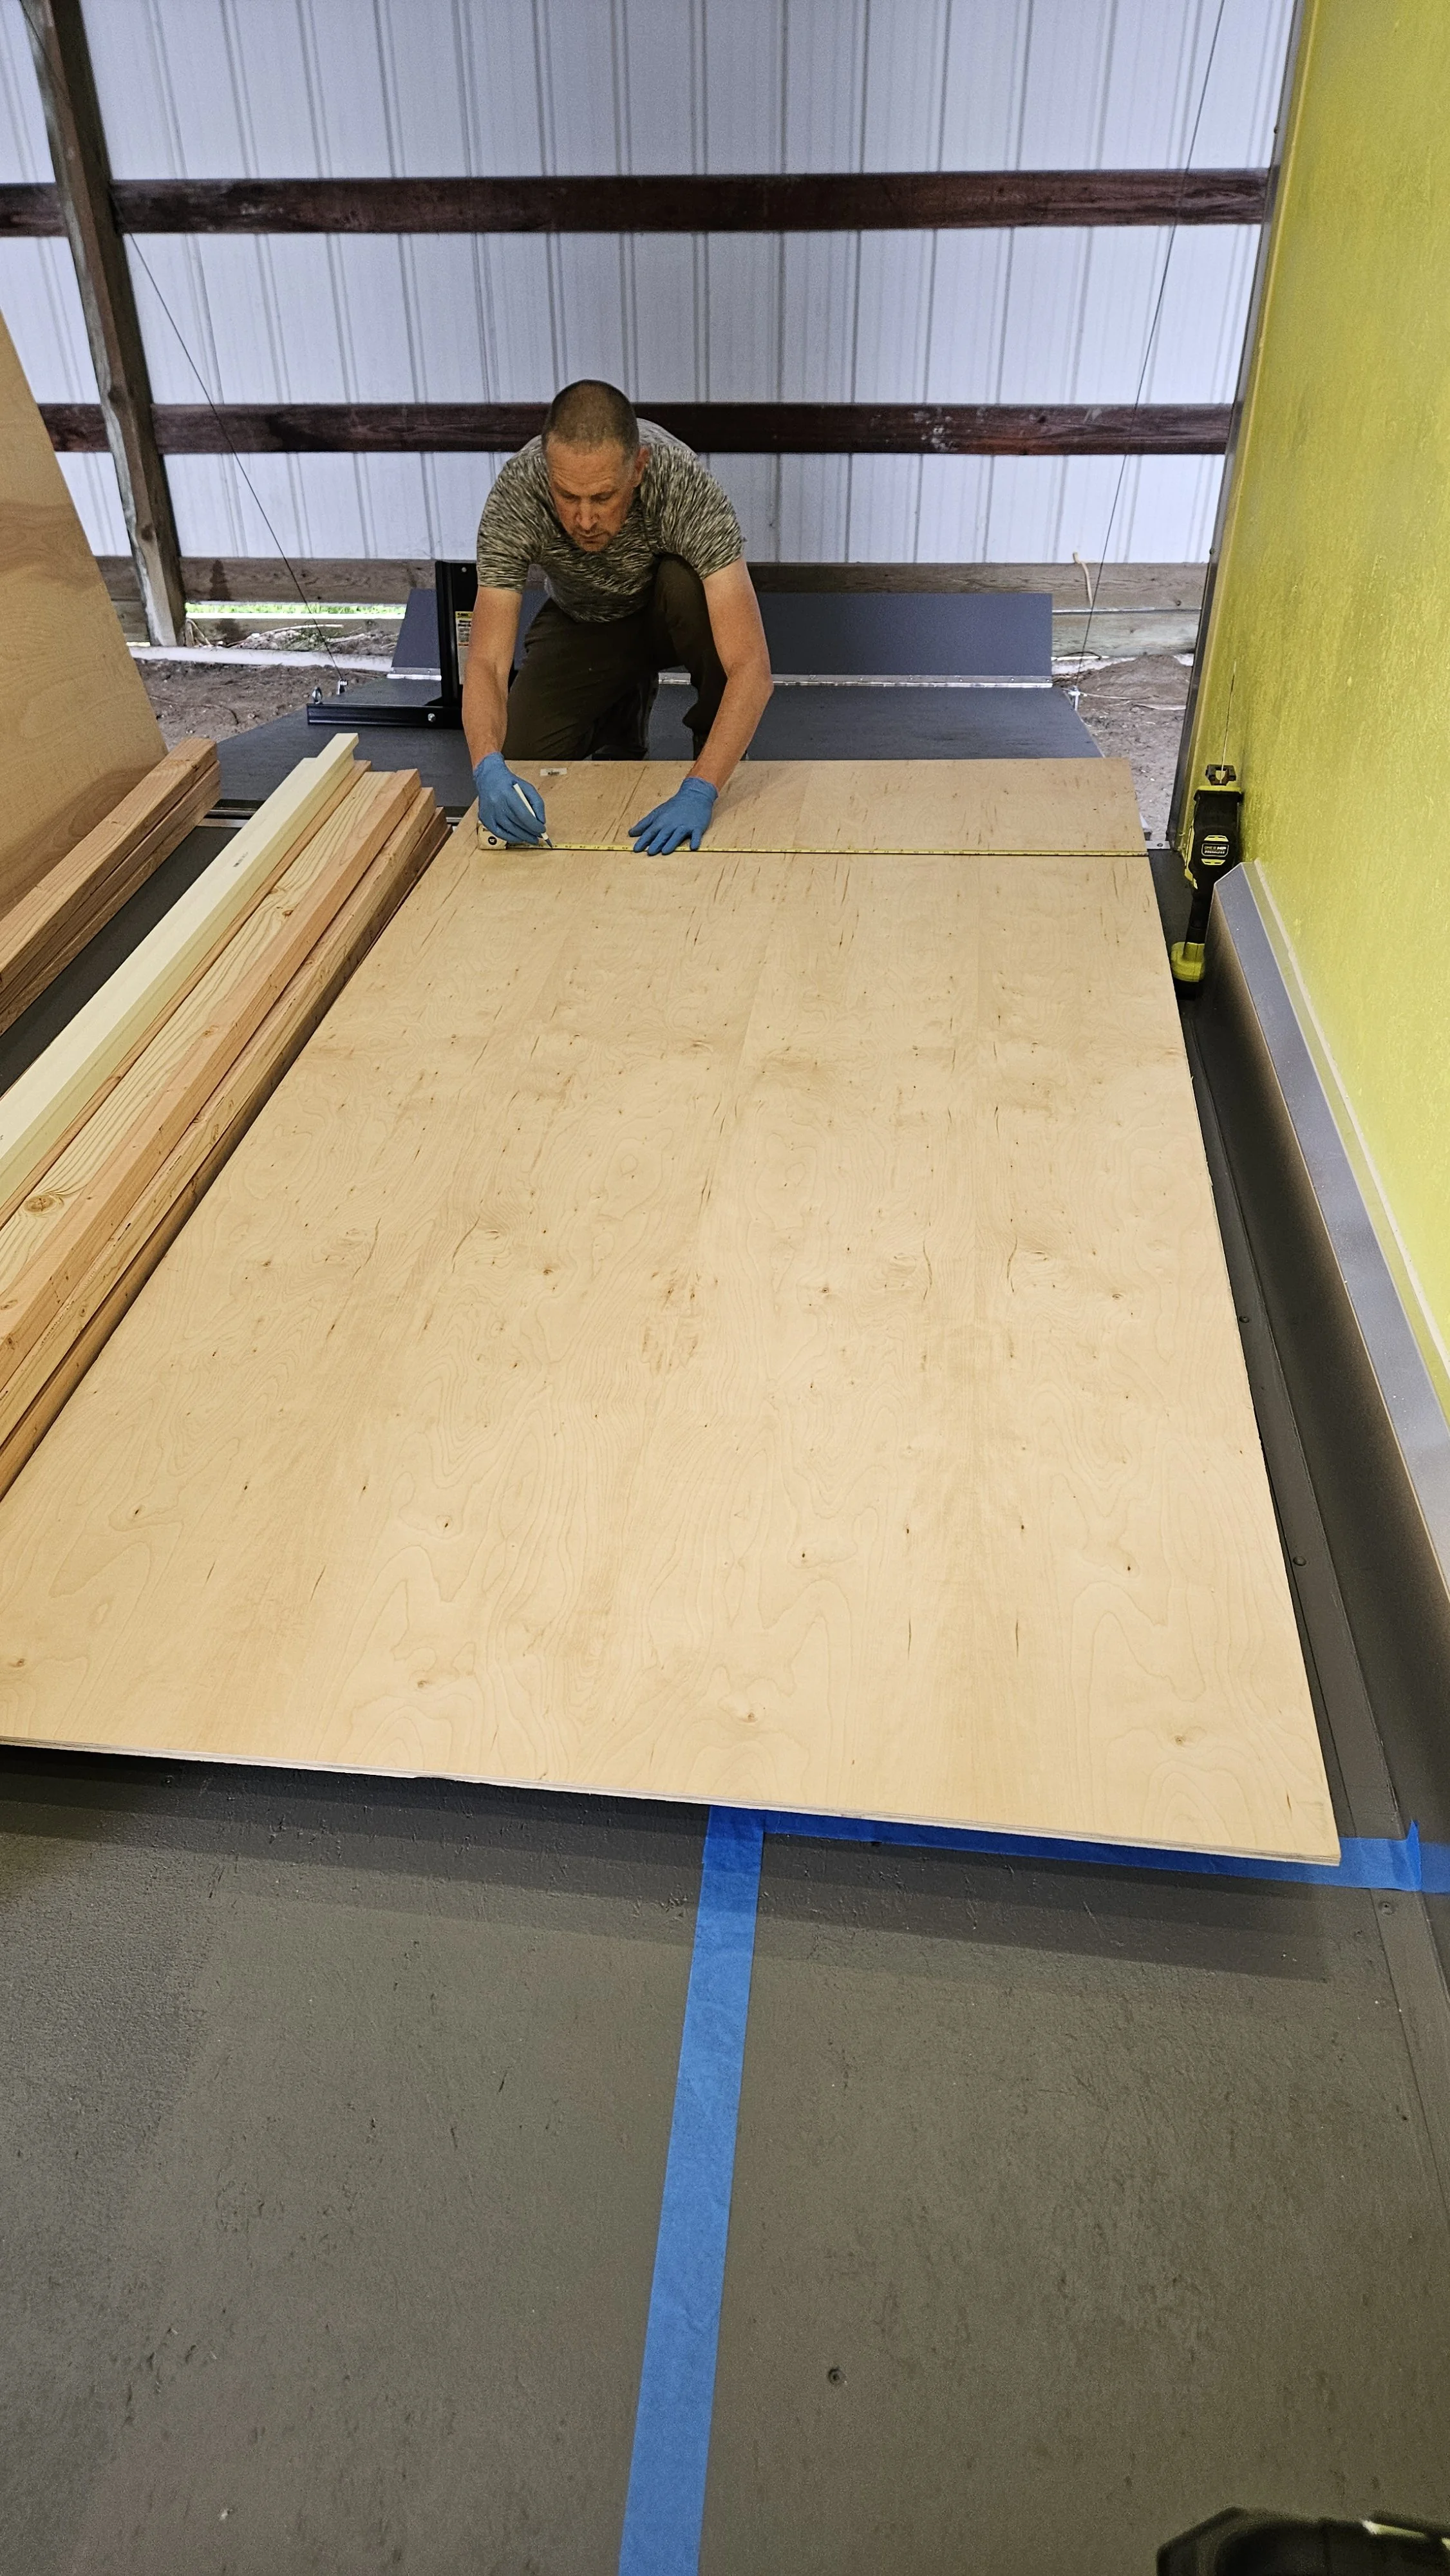
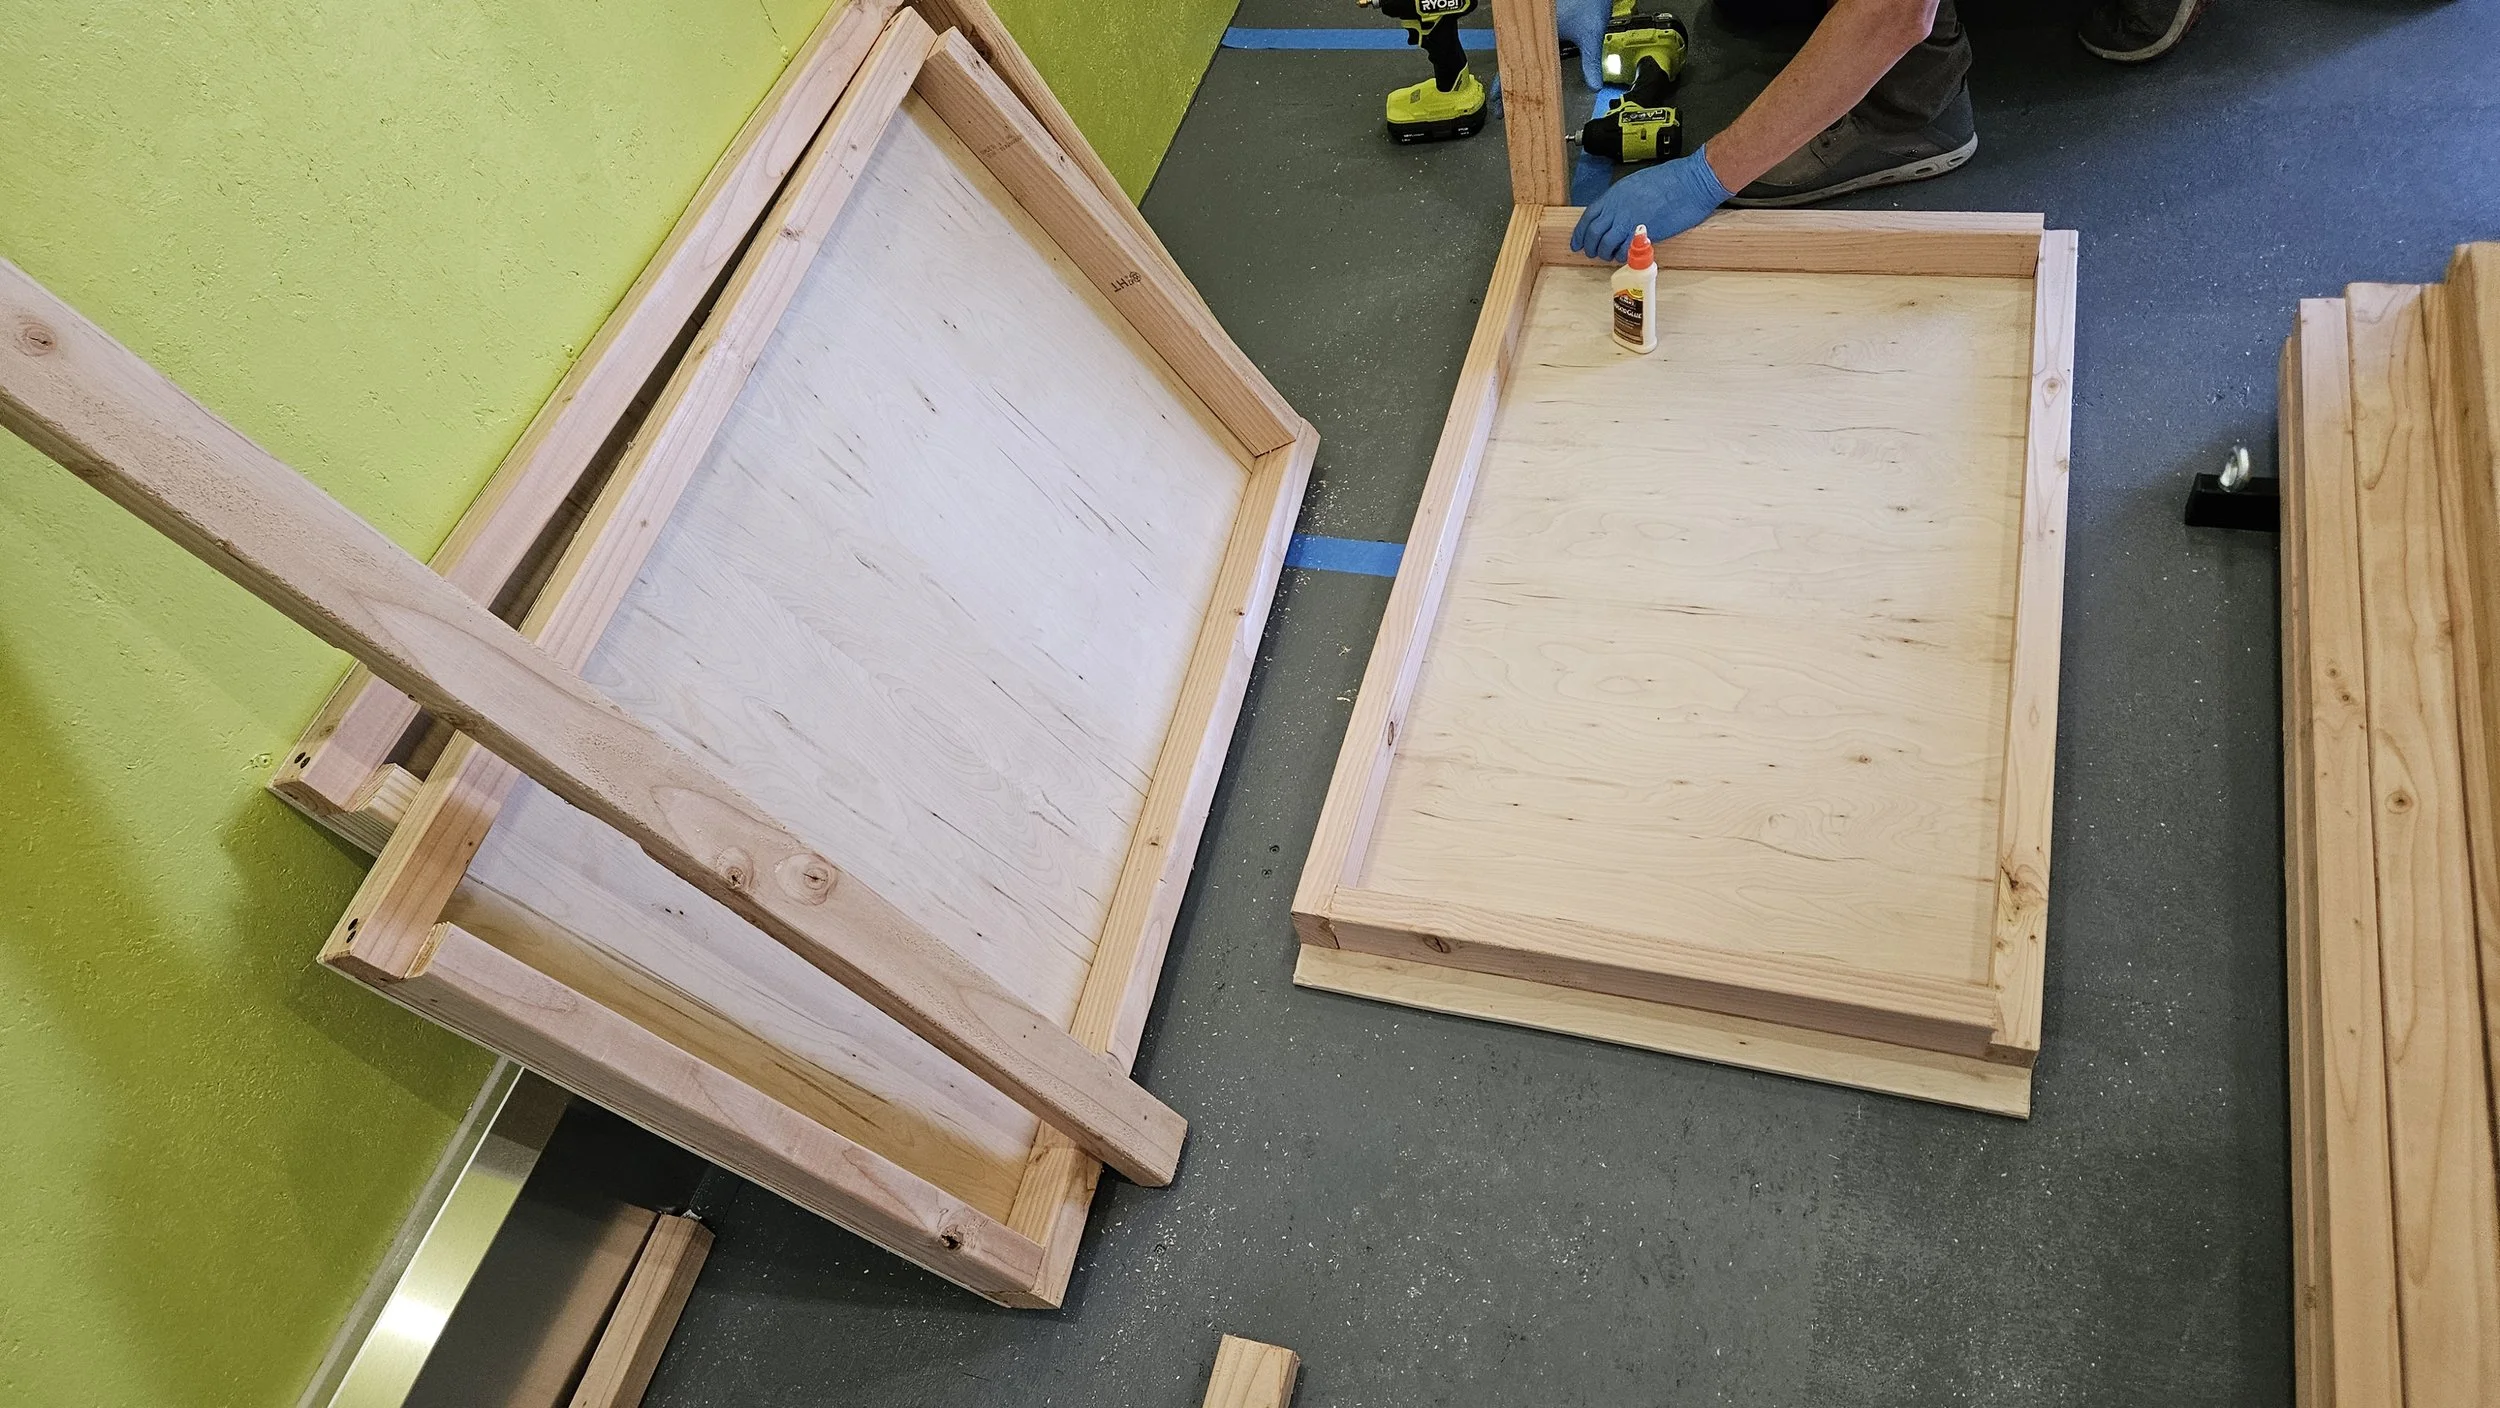
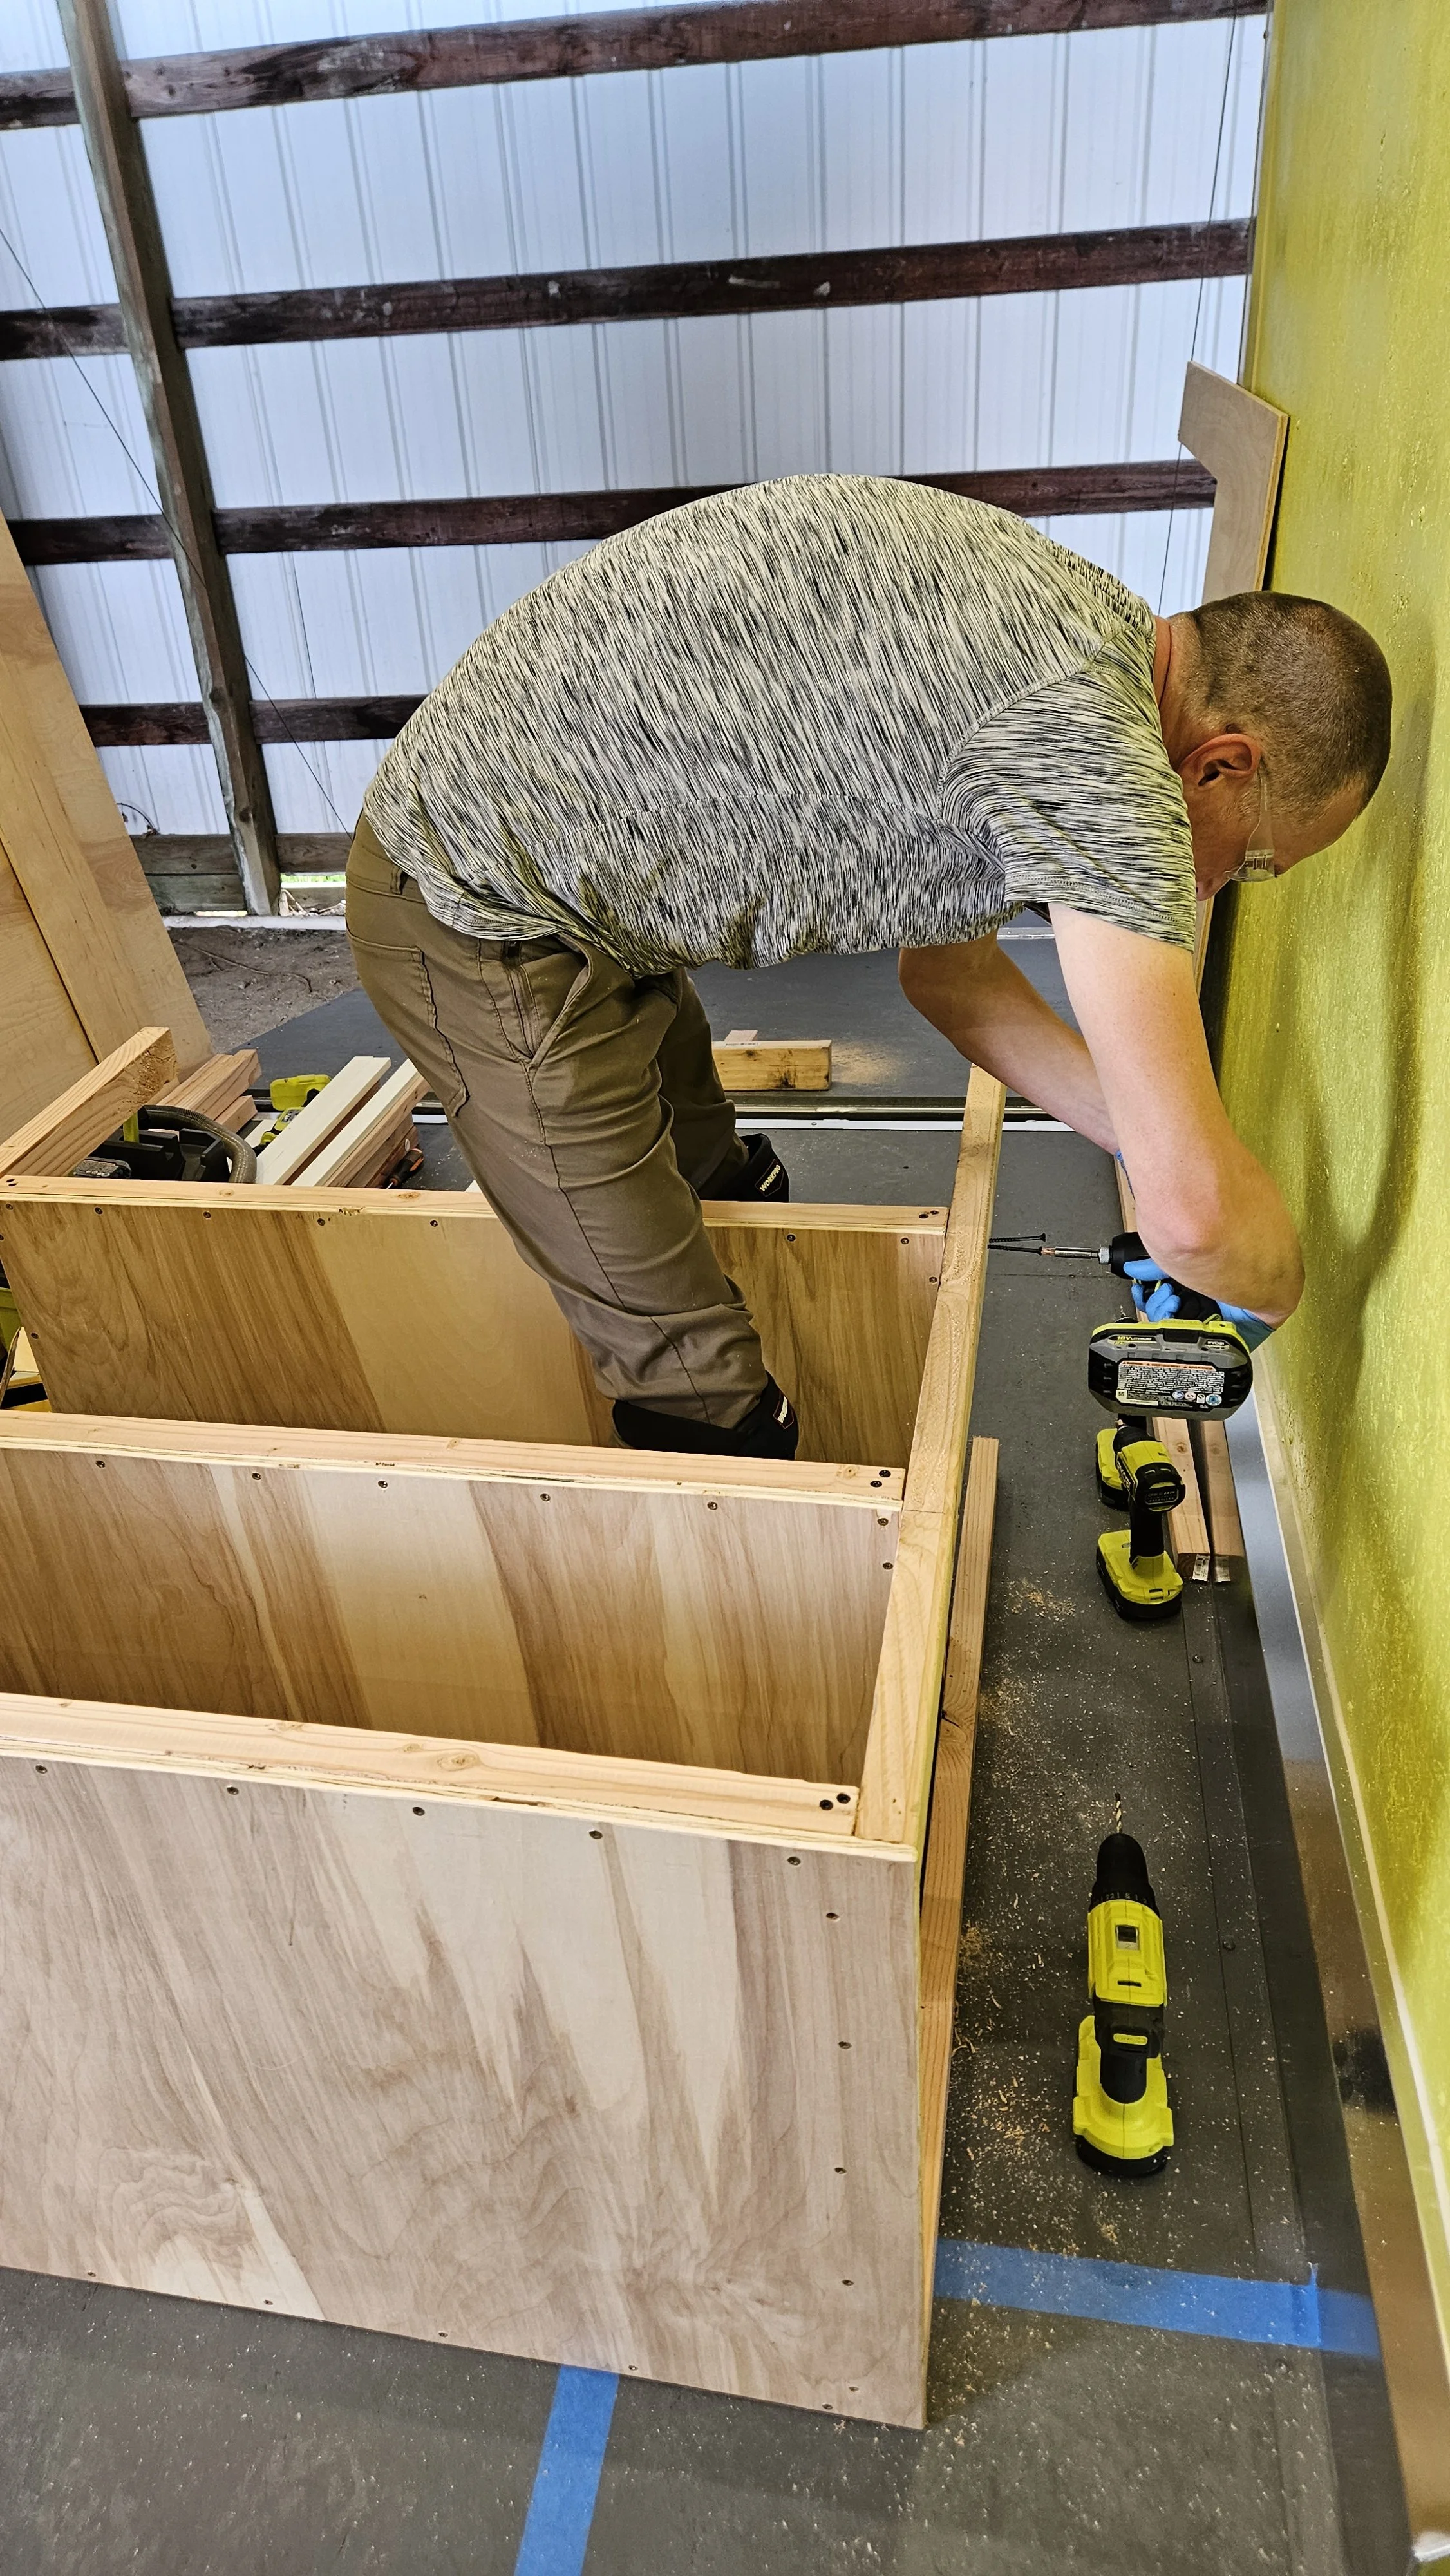
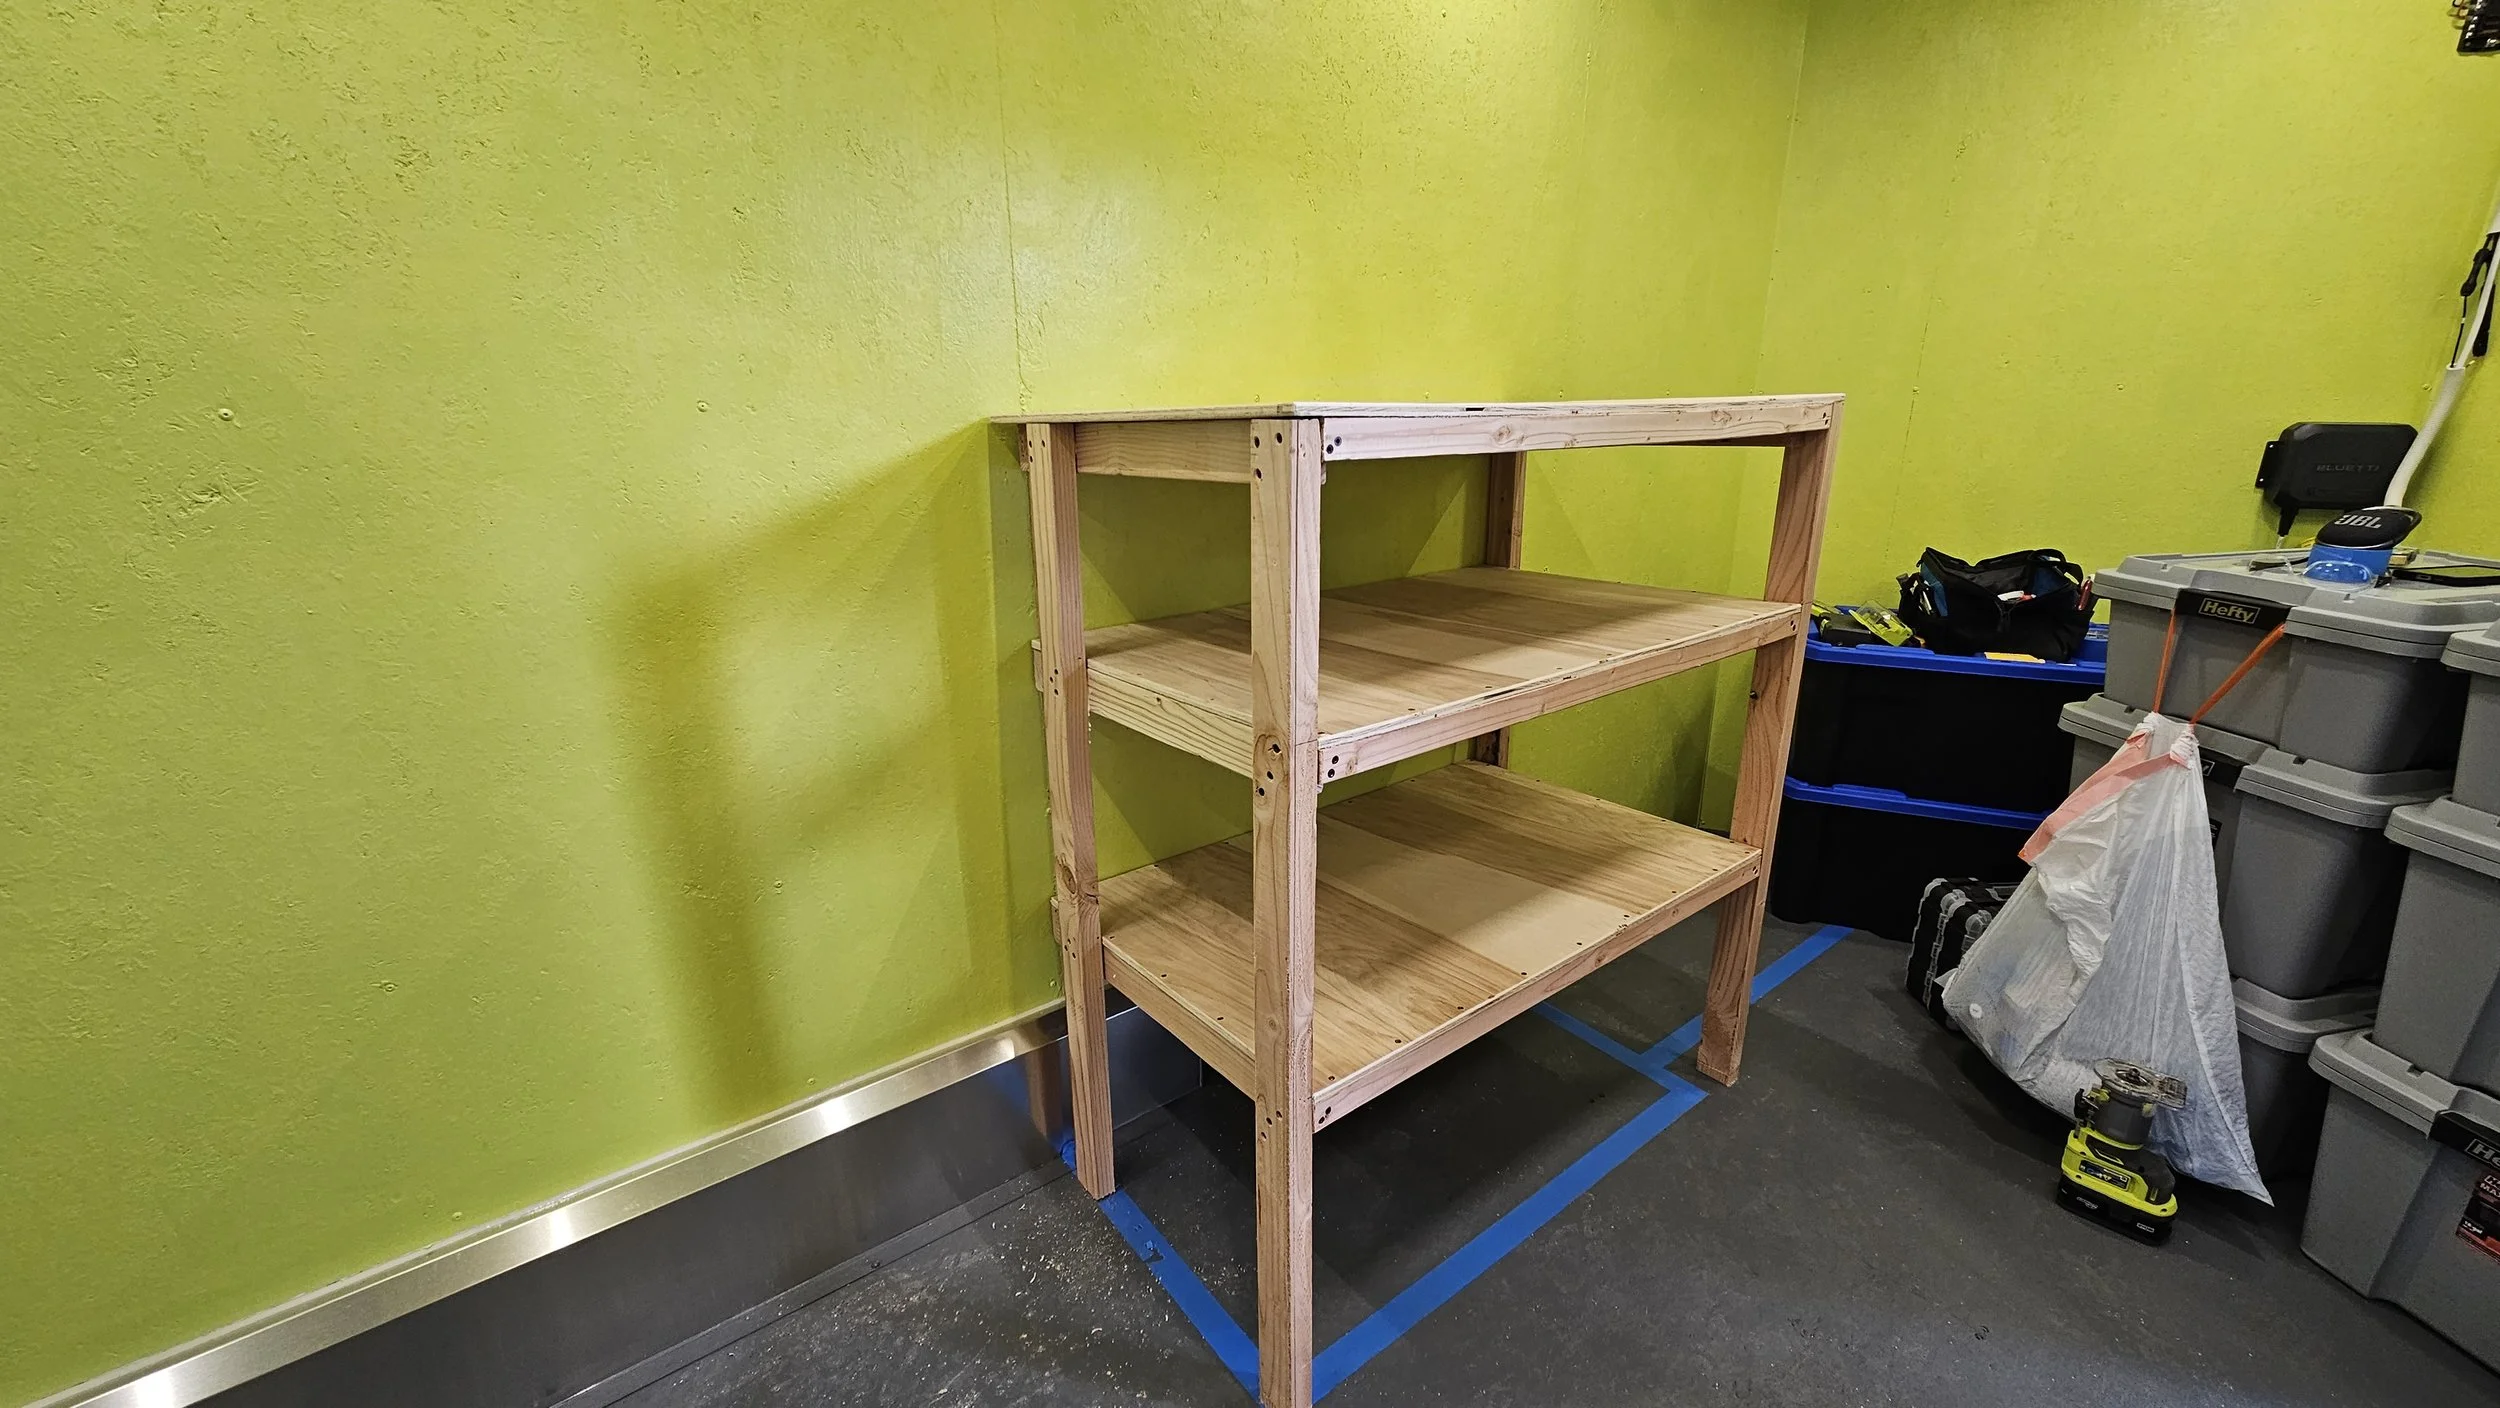
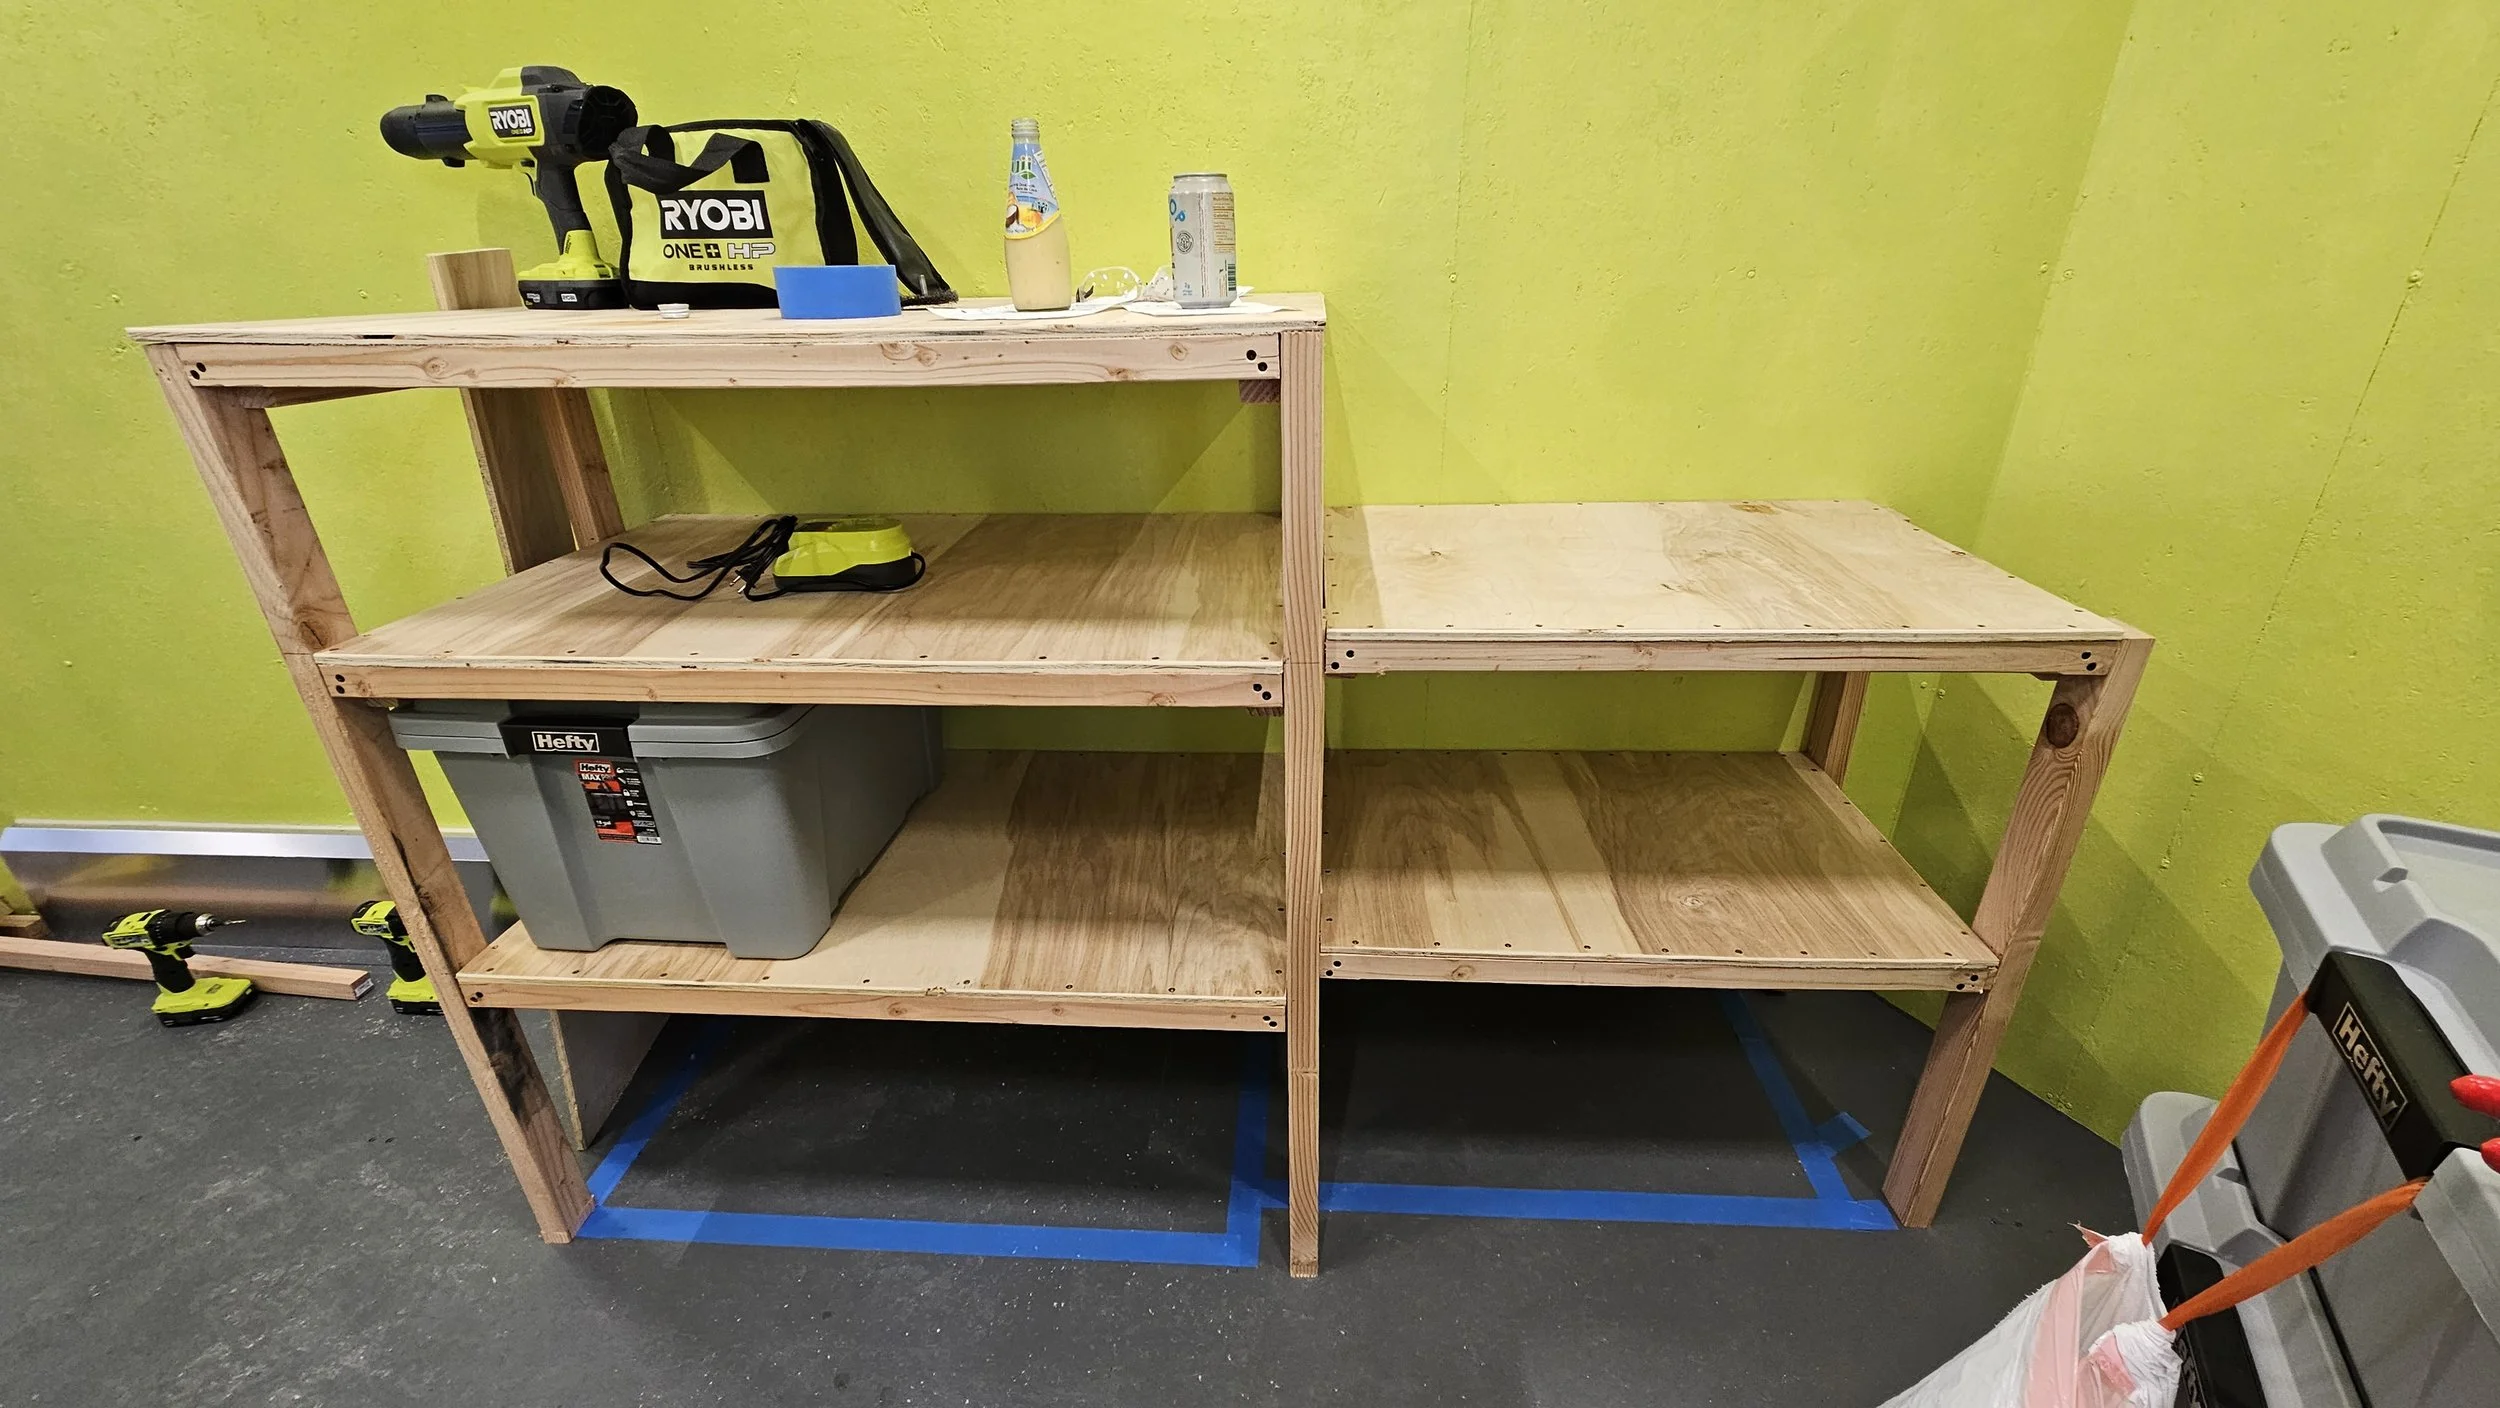
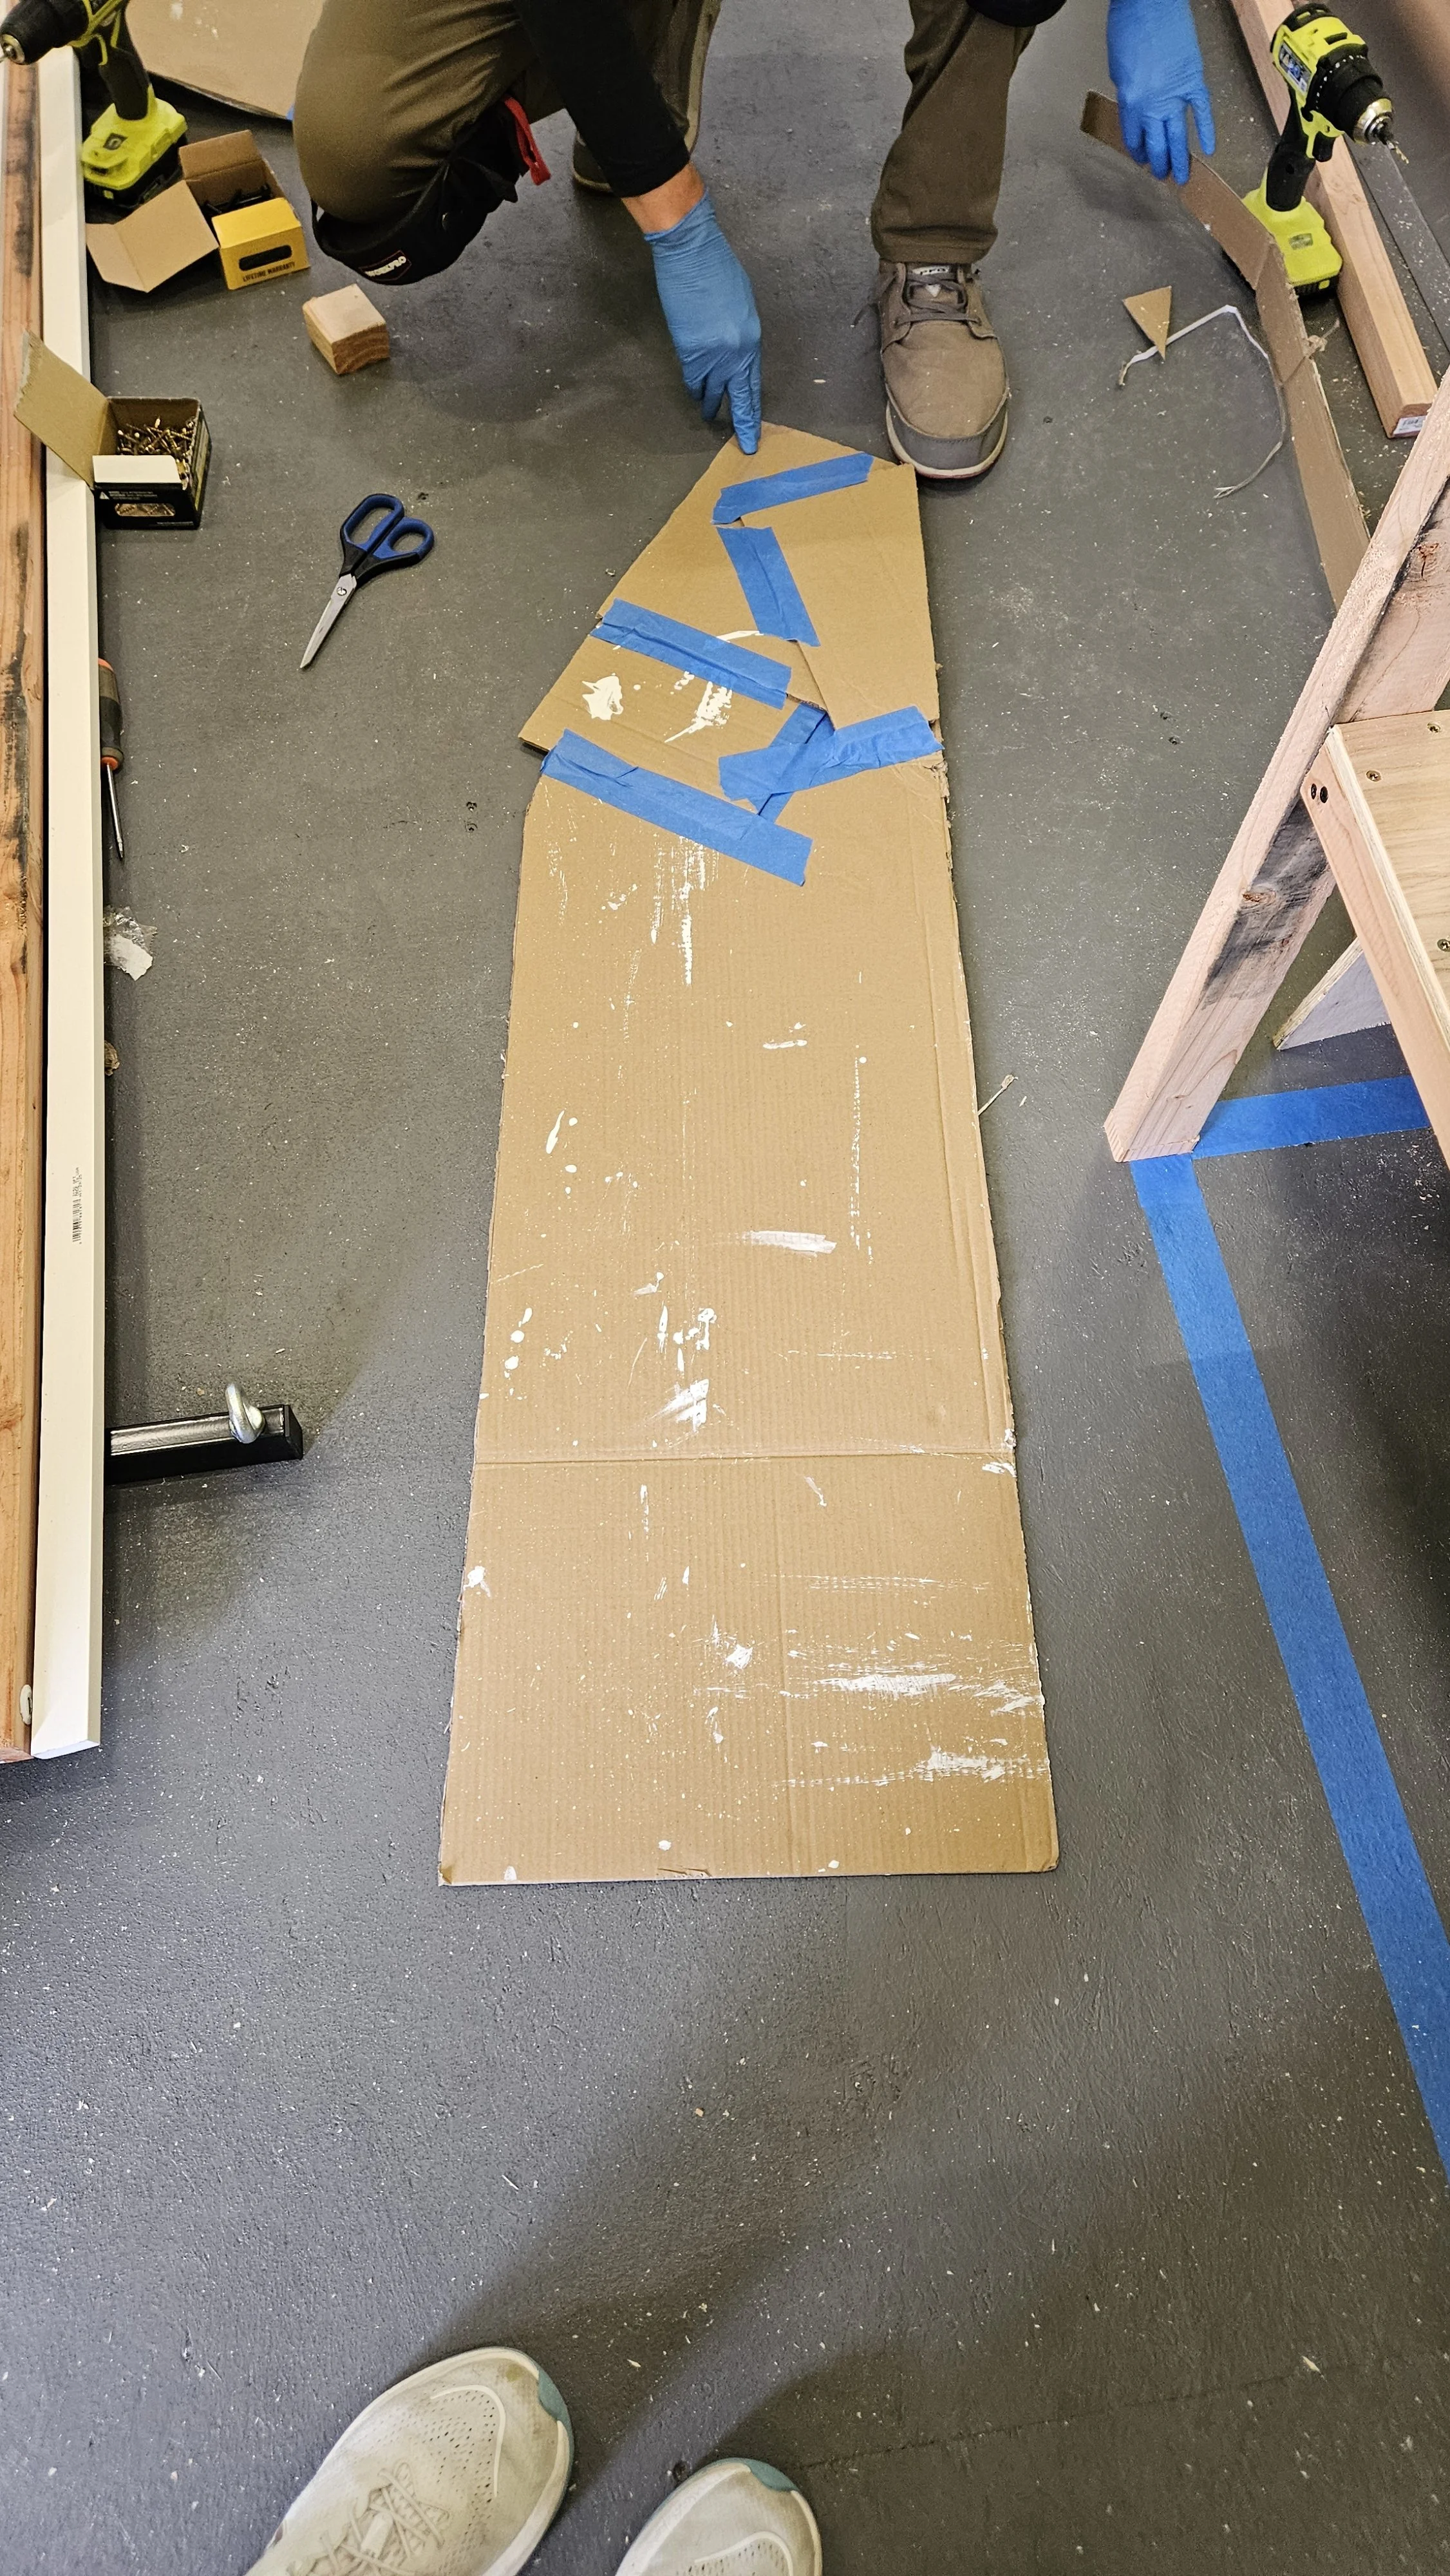
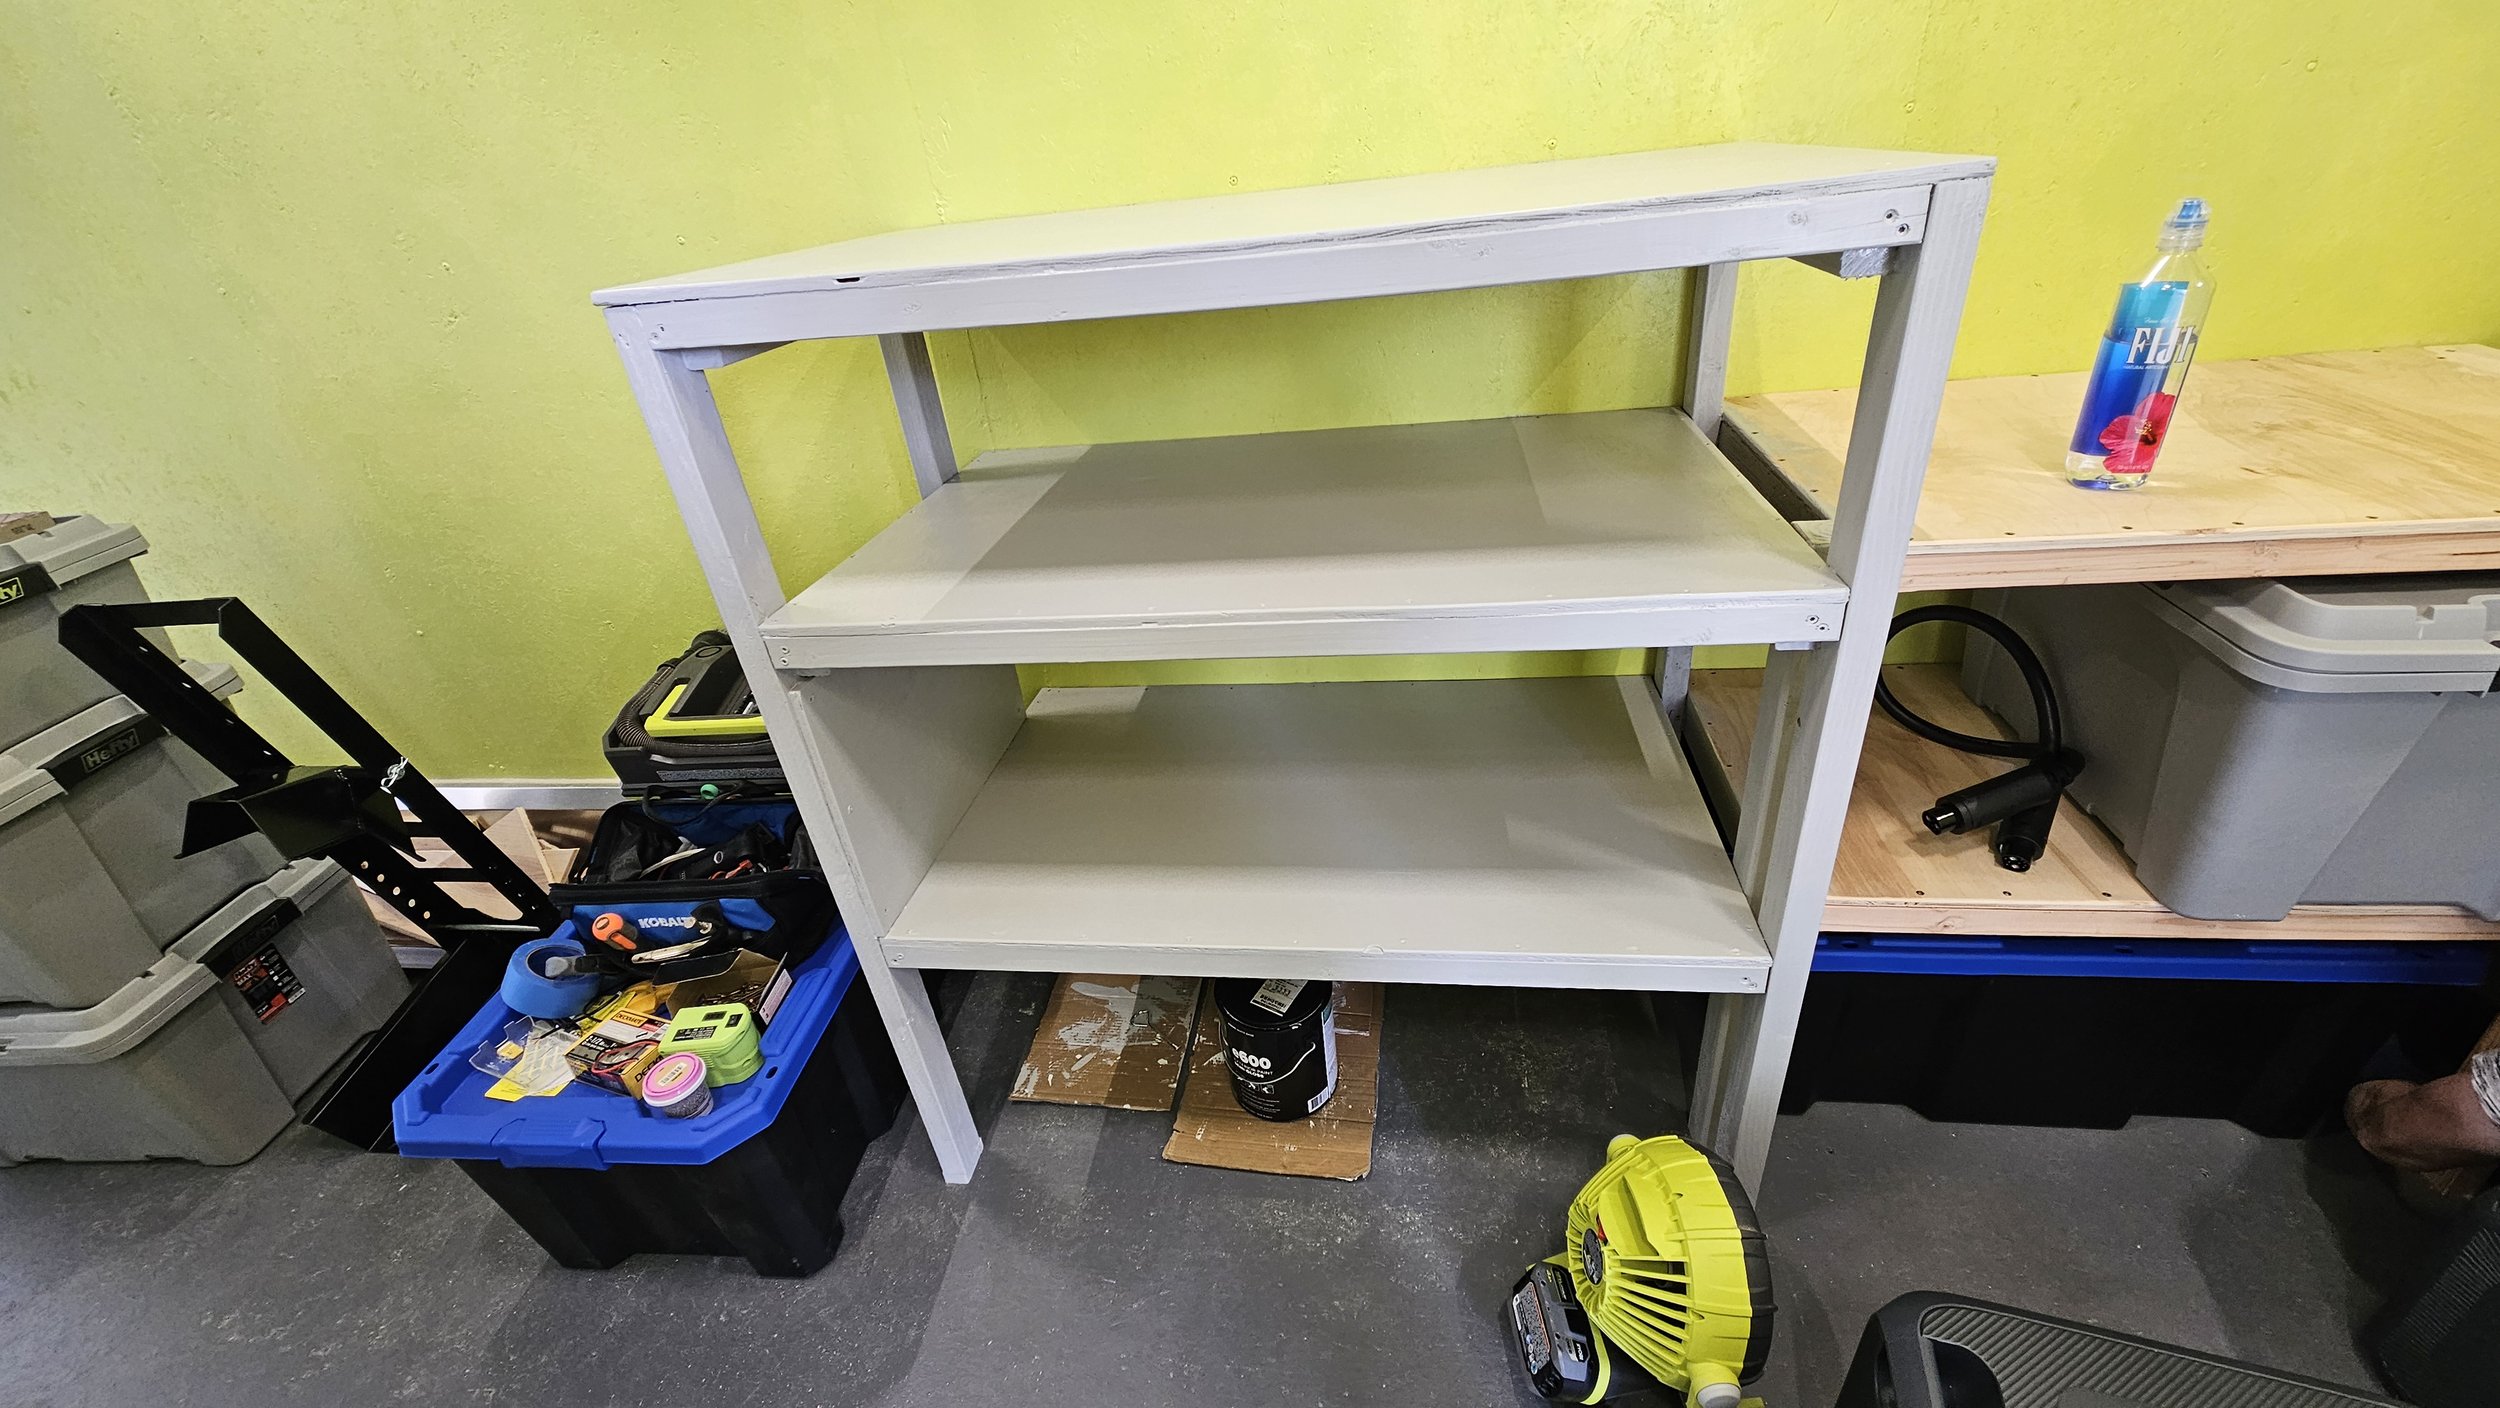
Next up was building shelving for storage bins. The task began with choosing the size of storage bins we wanted to have. This was a fun hour or so in the store discussing sizes, quality of bins, types of lids, and even color! Another job was visiting Home Depot (we should have purchased stock before we started this build!) to buy all the wood. Then all the work to cut, sand, build, and paint the shelves. Along the way we needed to bring the motorcycles in to determine exactly where the shelves should be attached (video below).
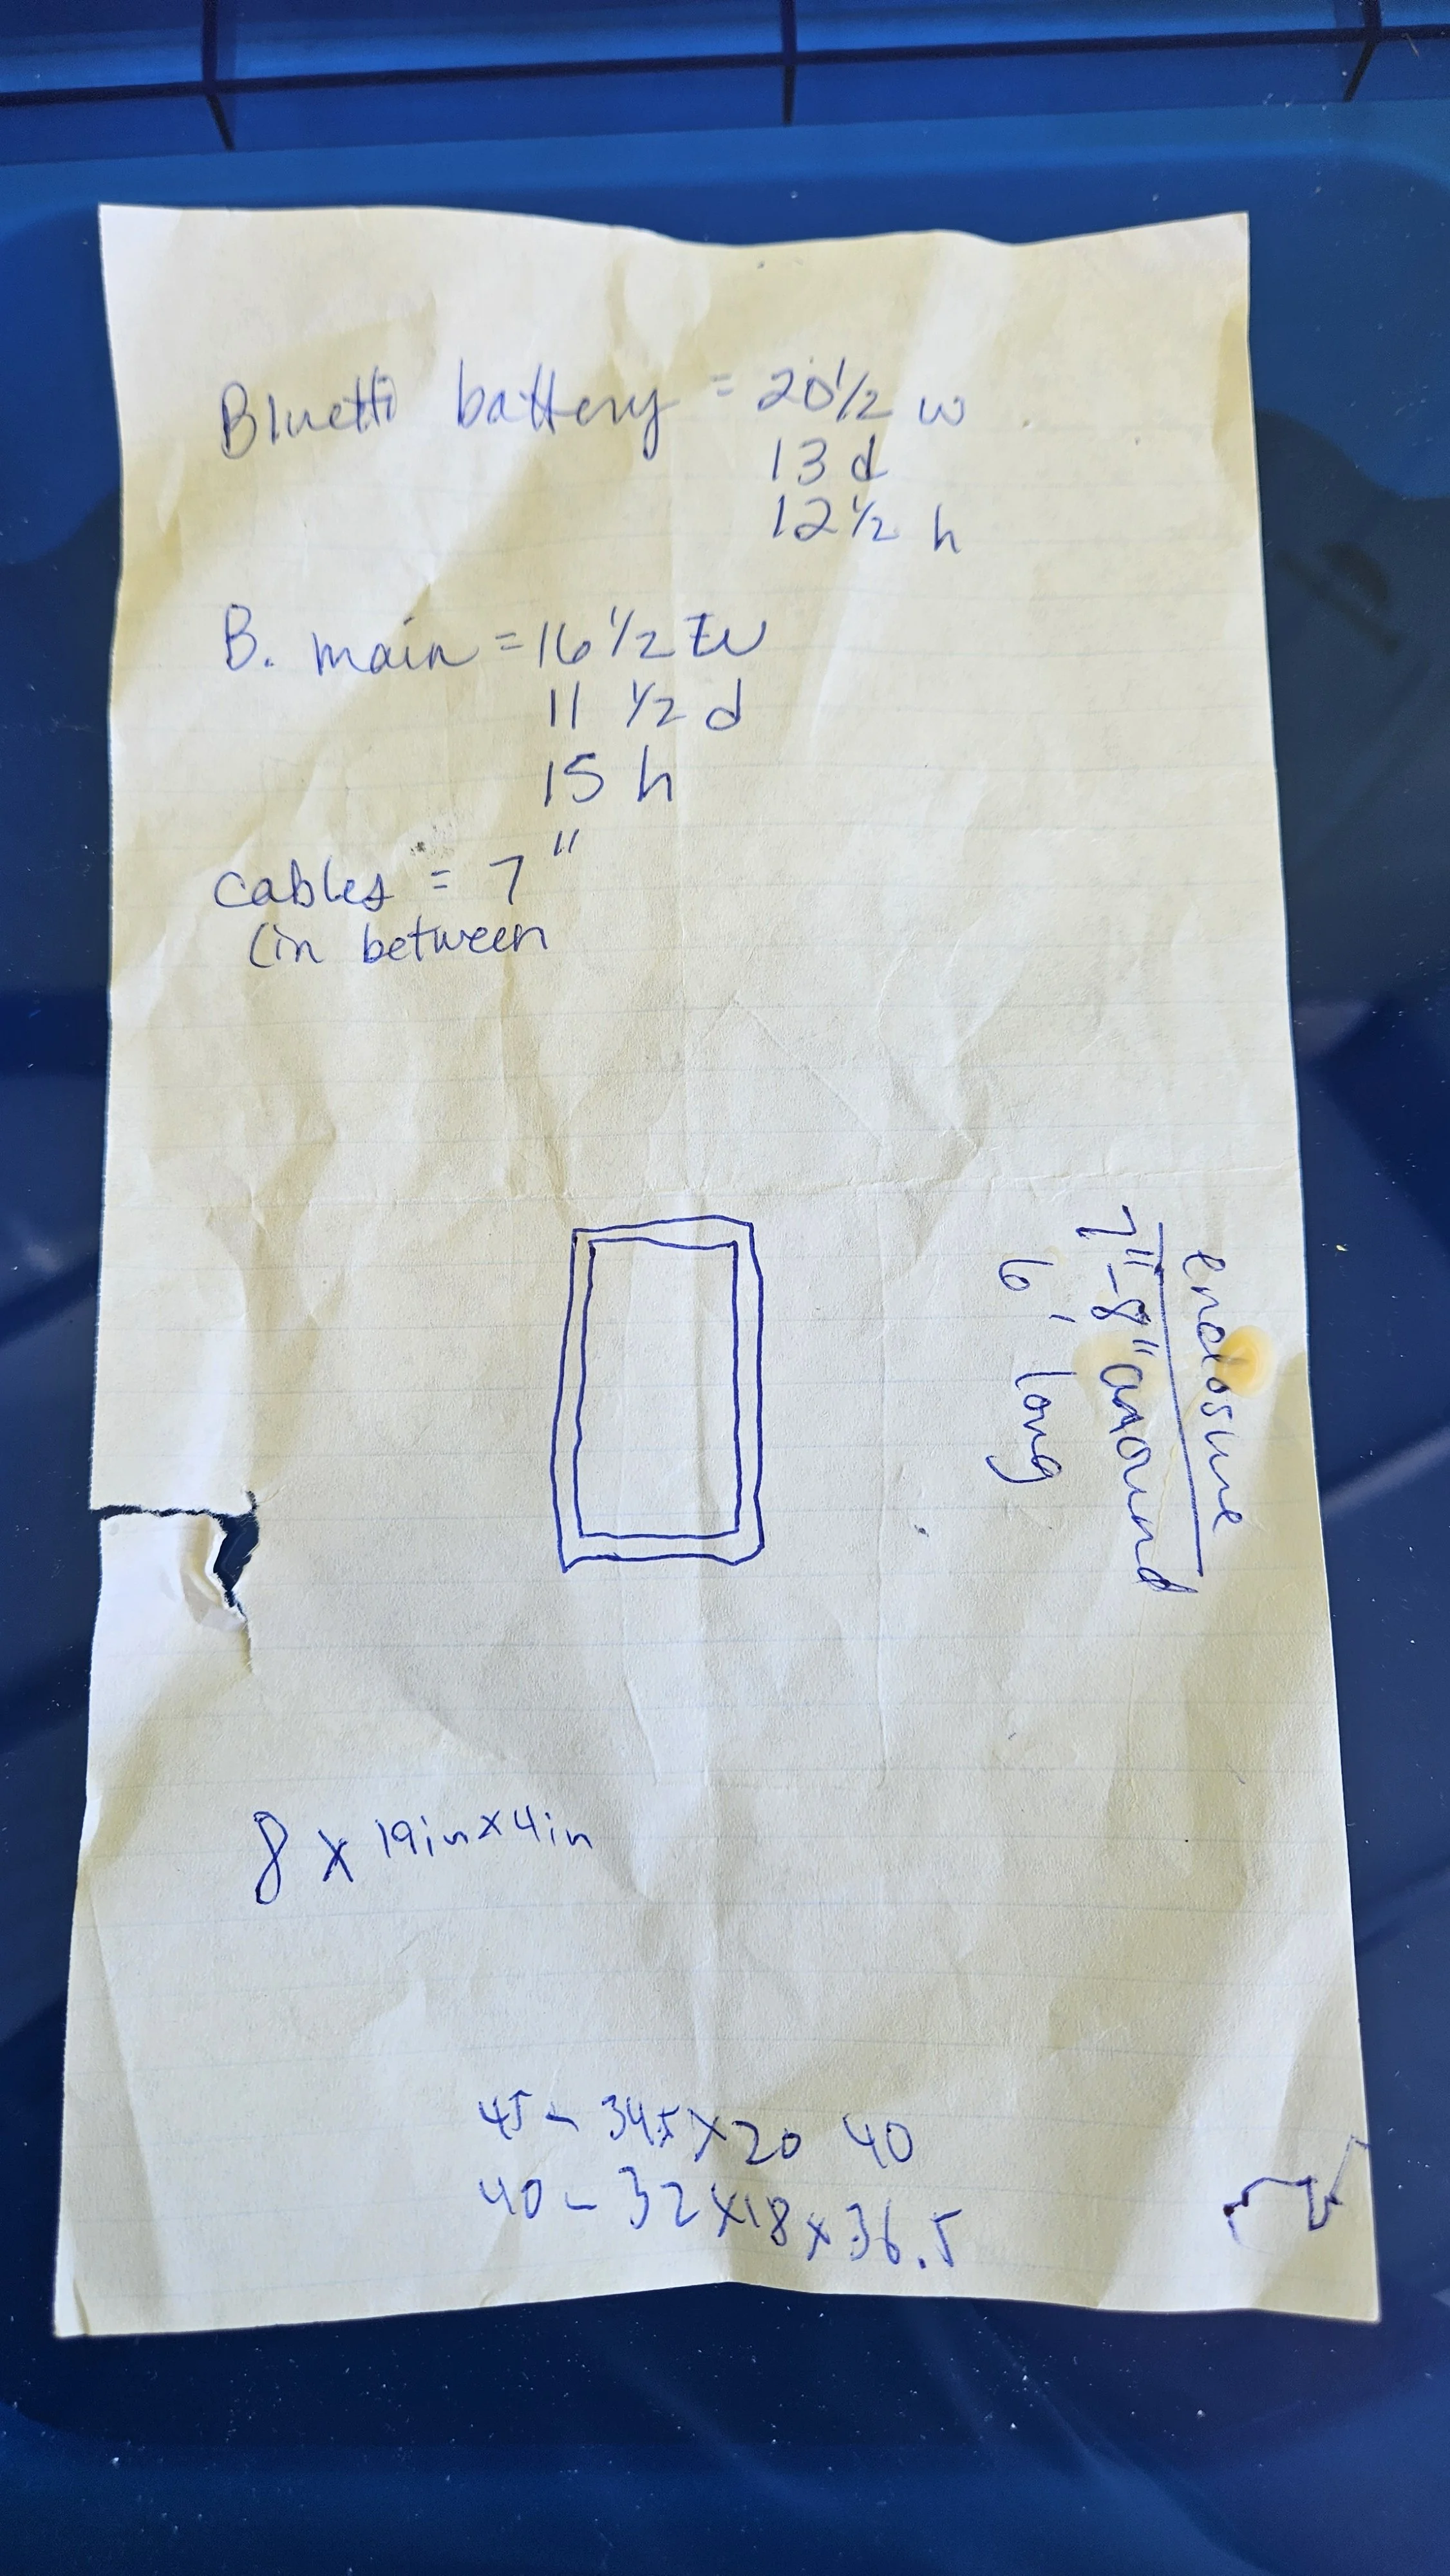
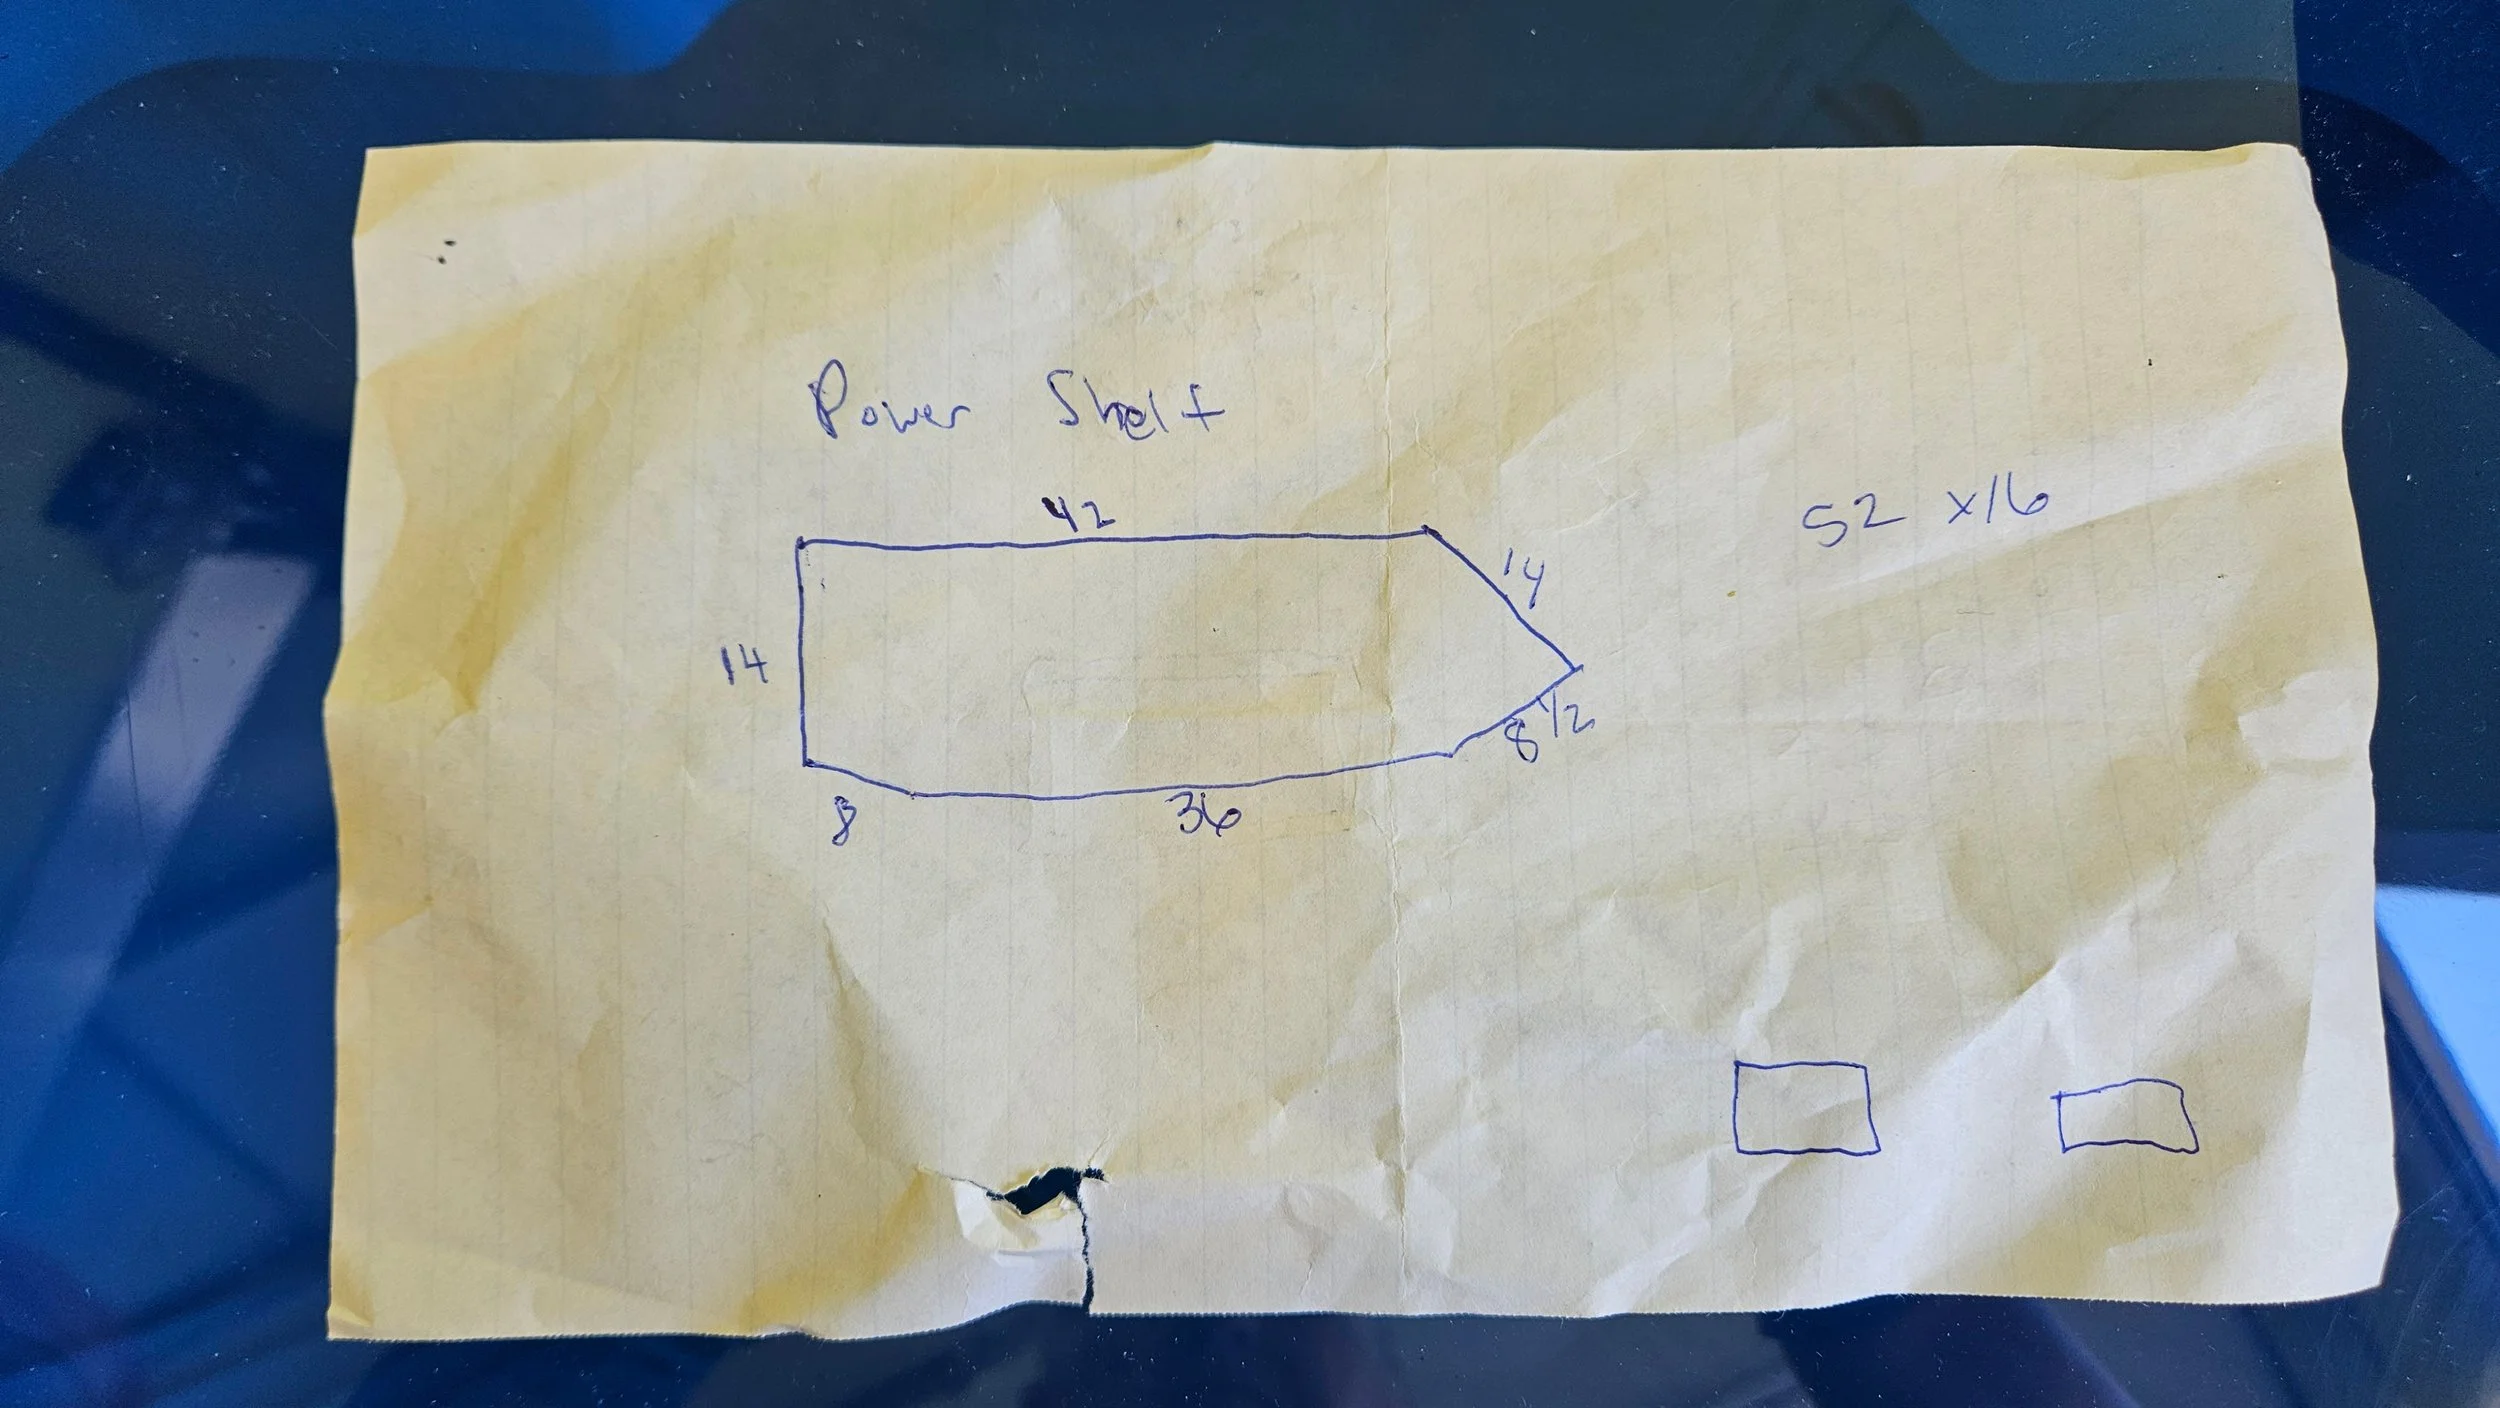
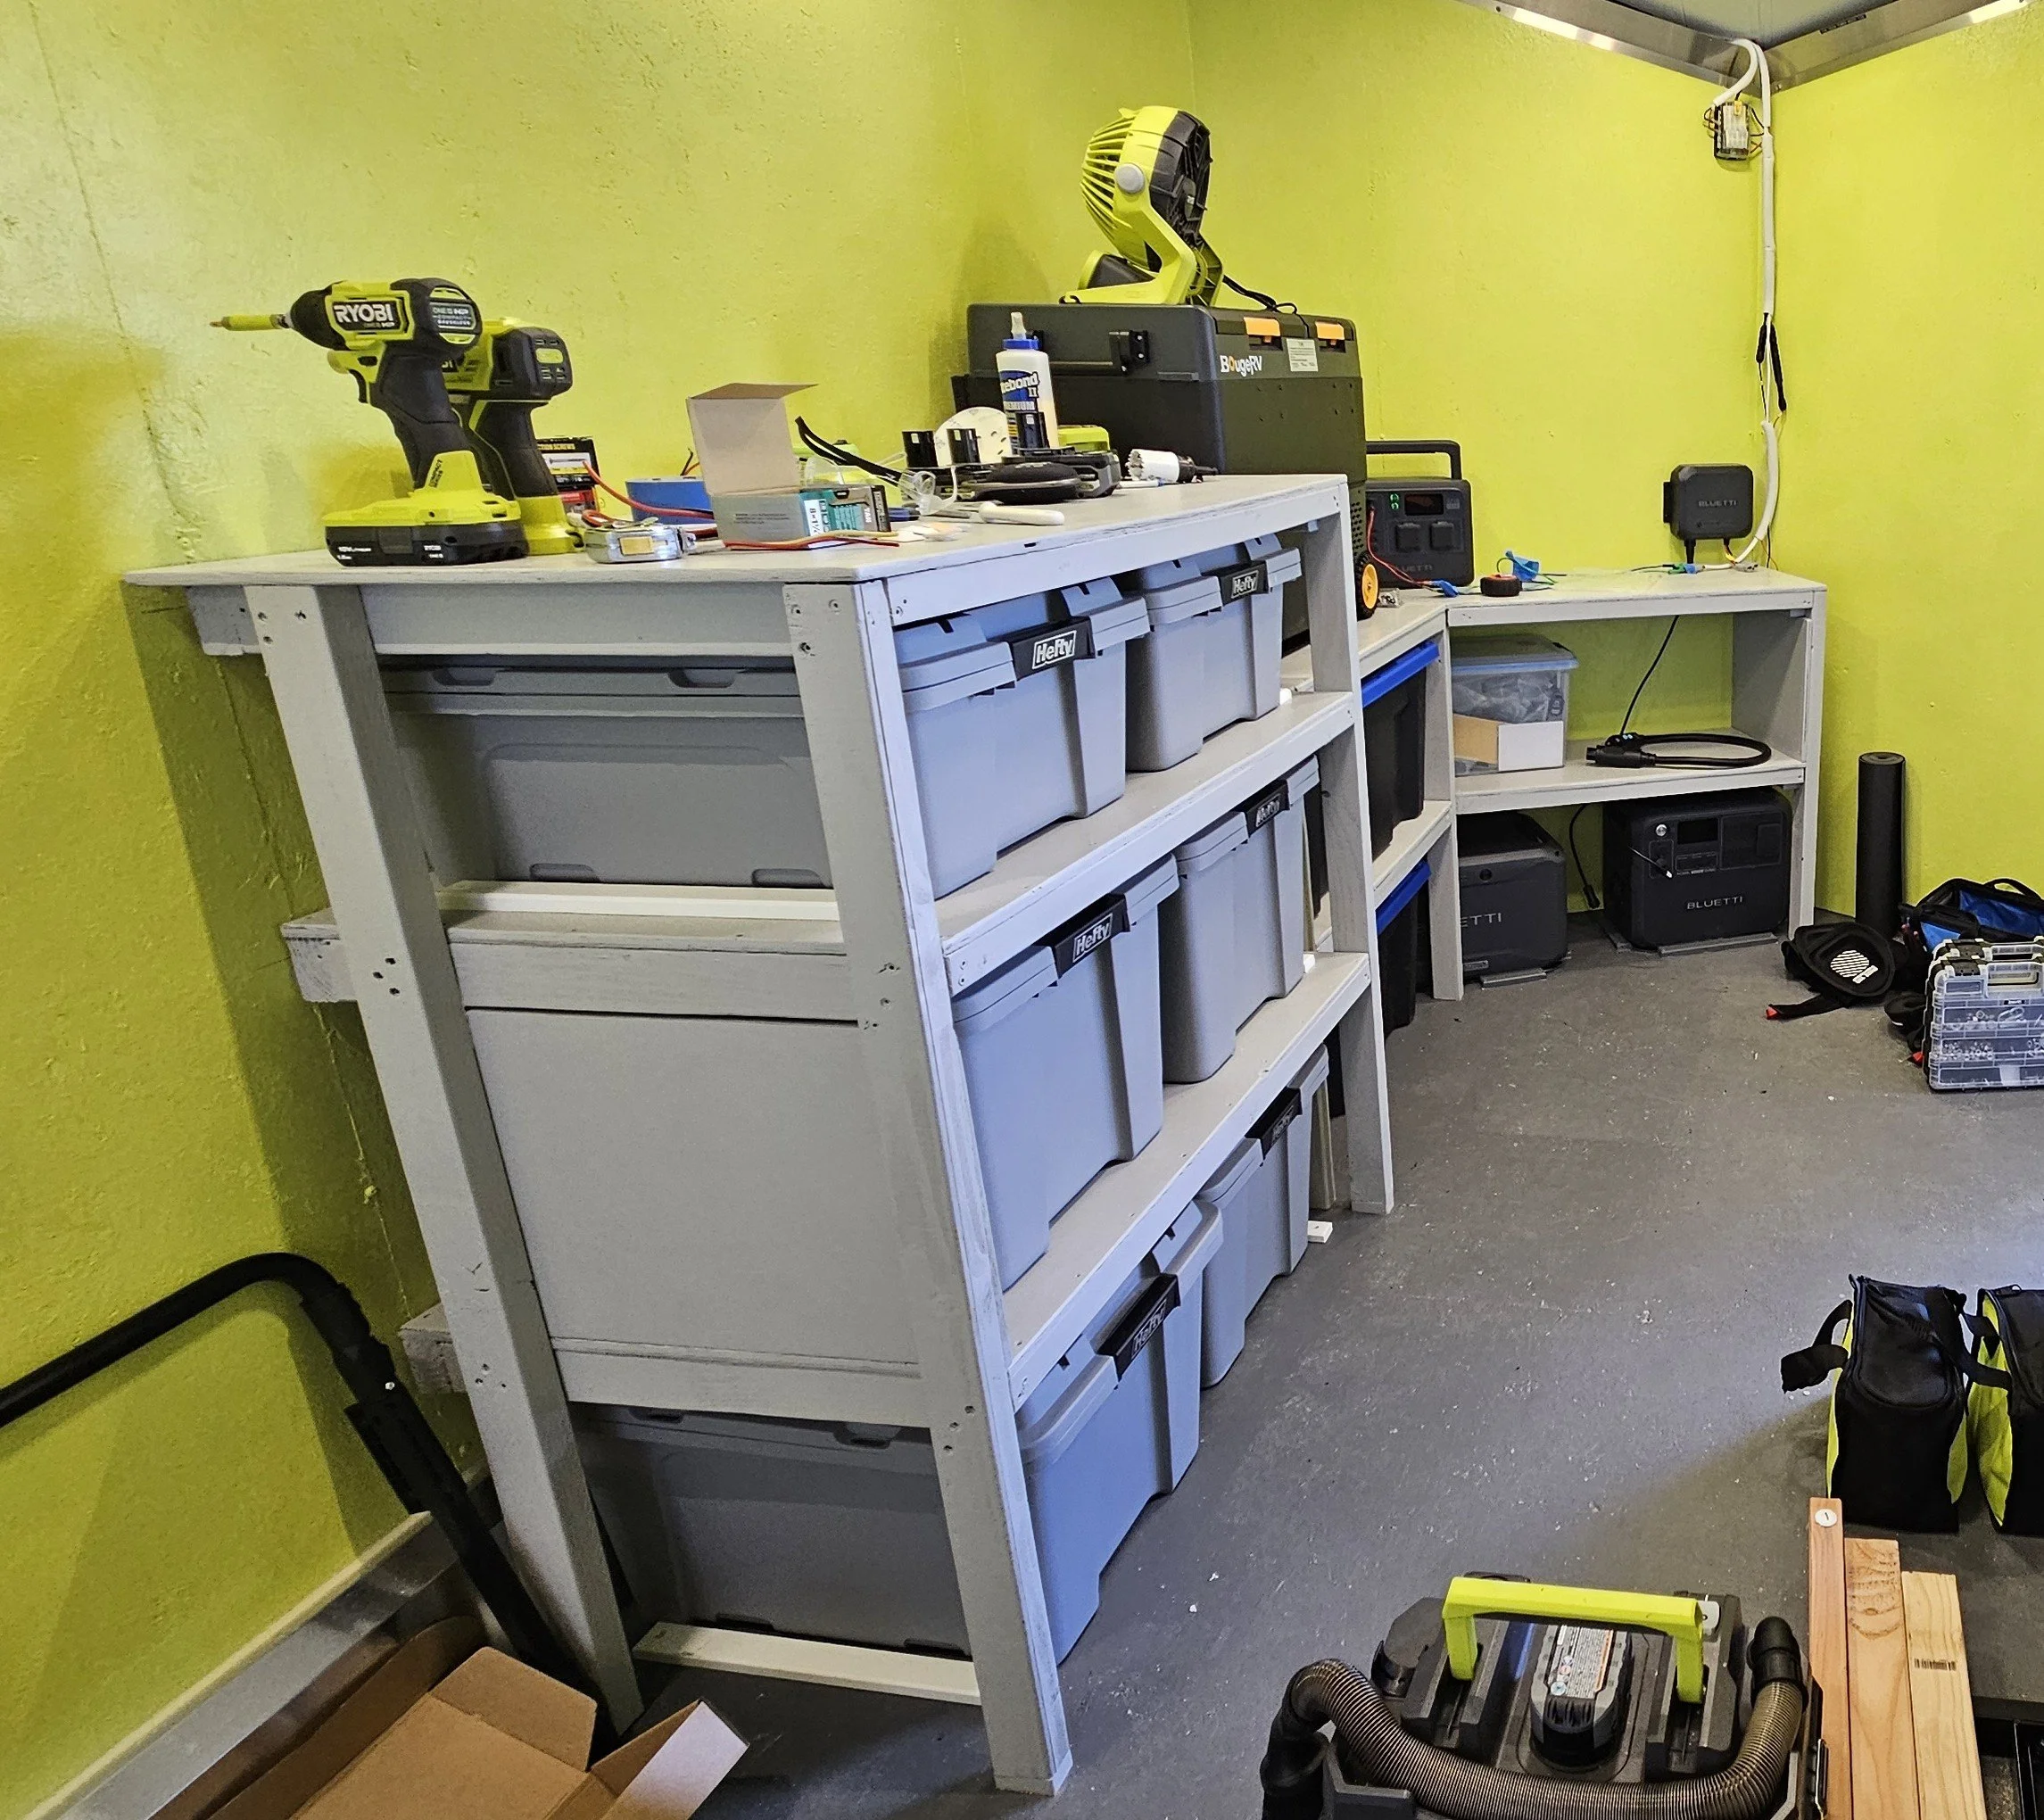
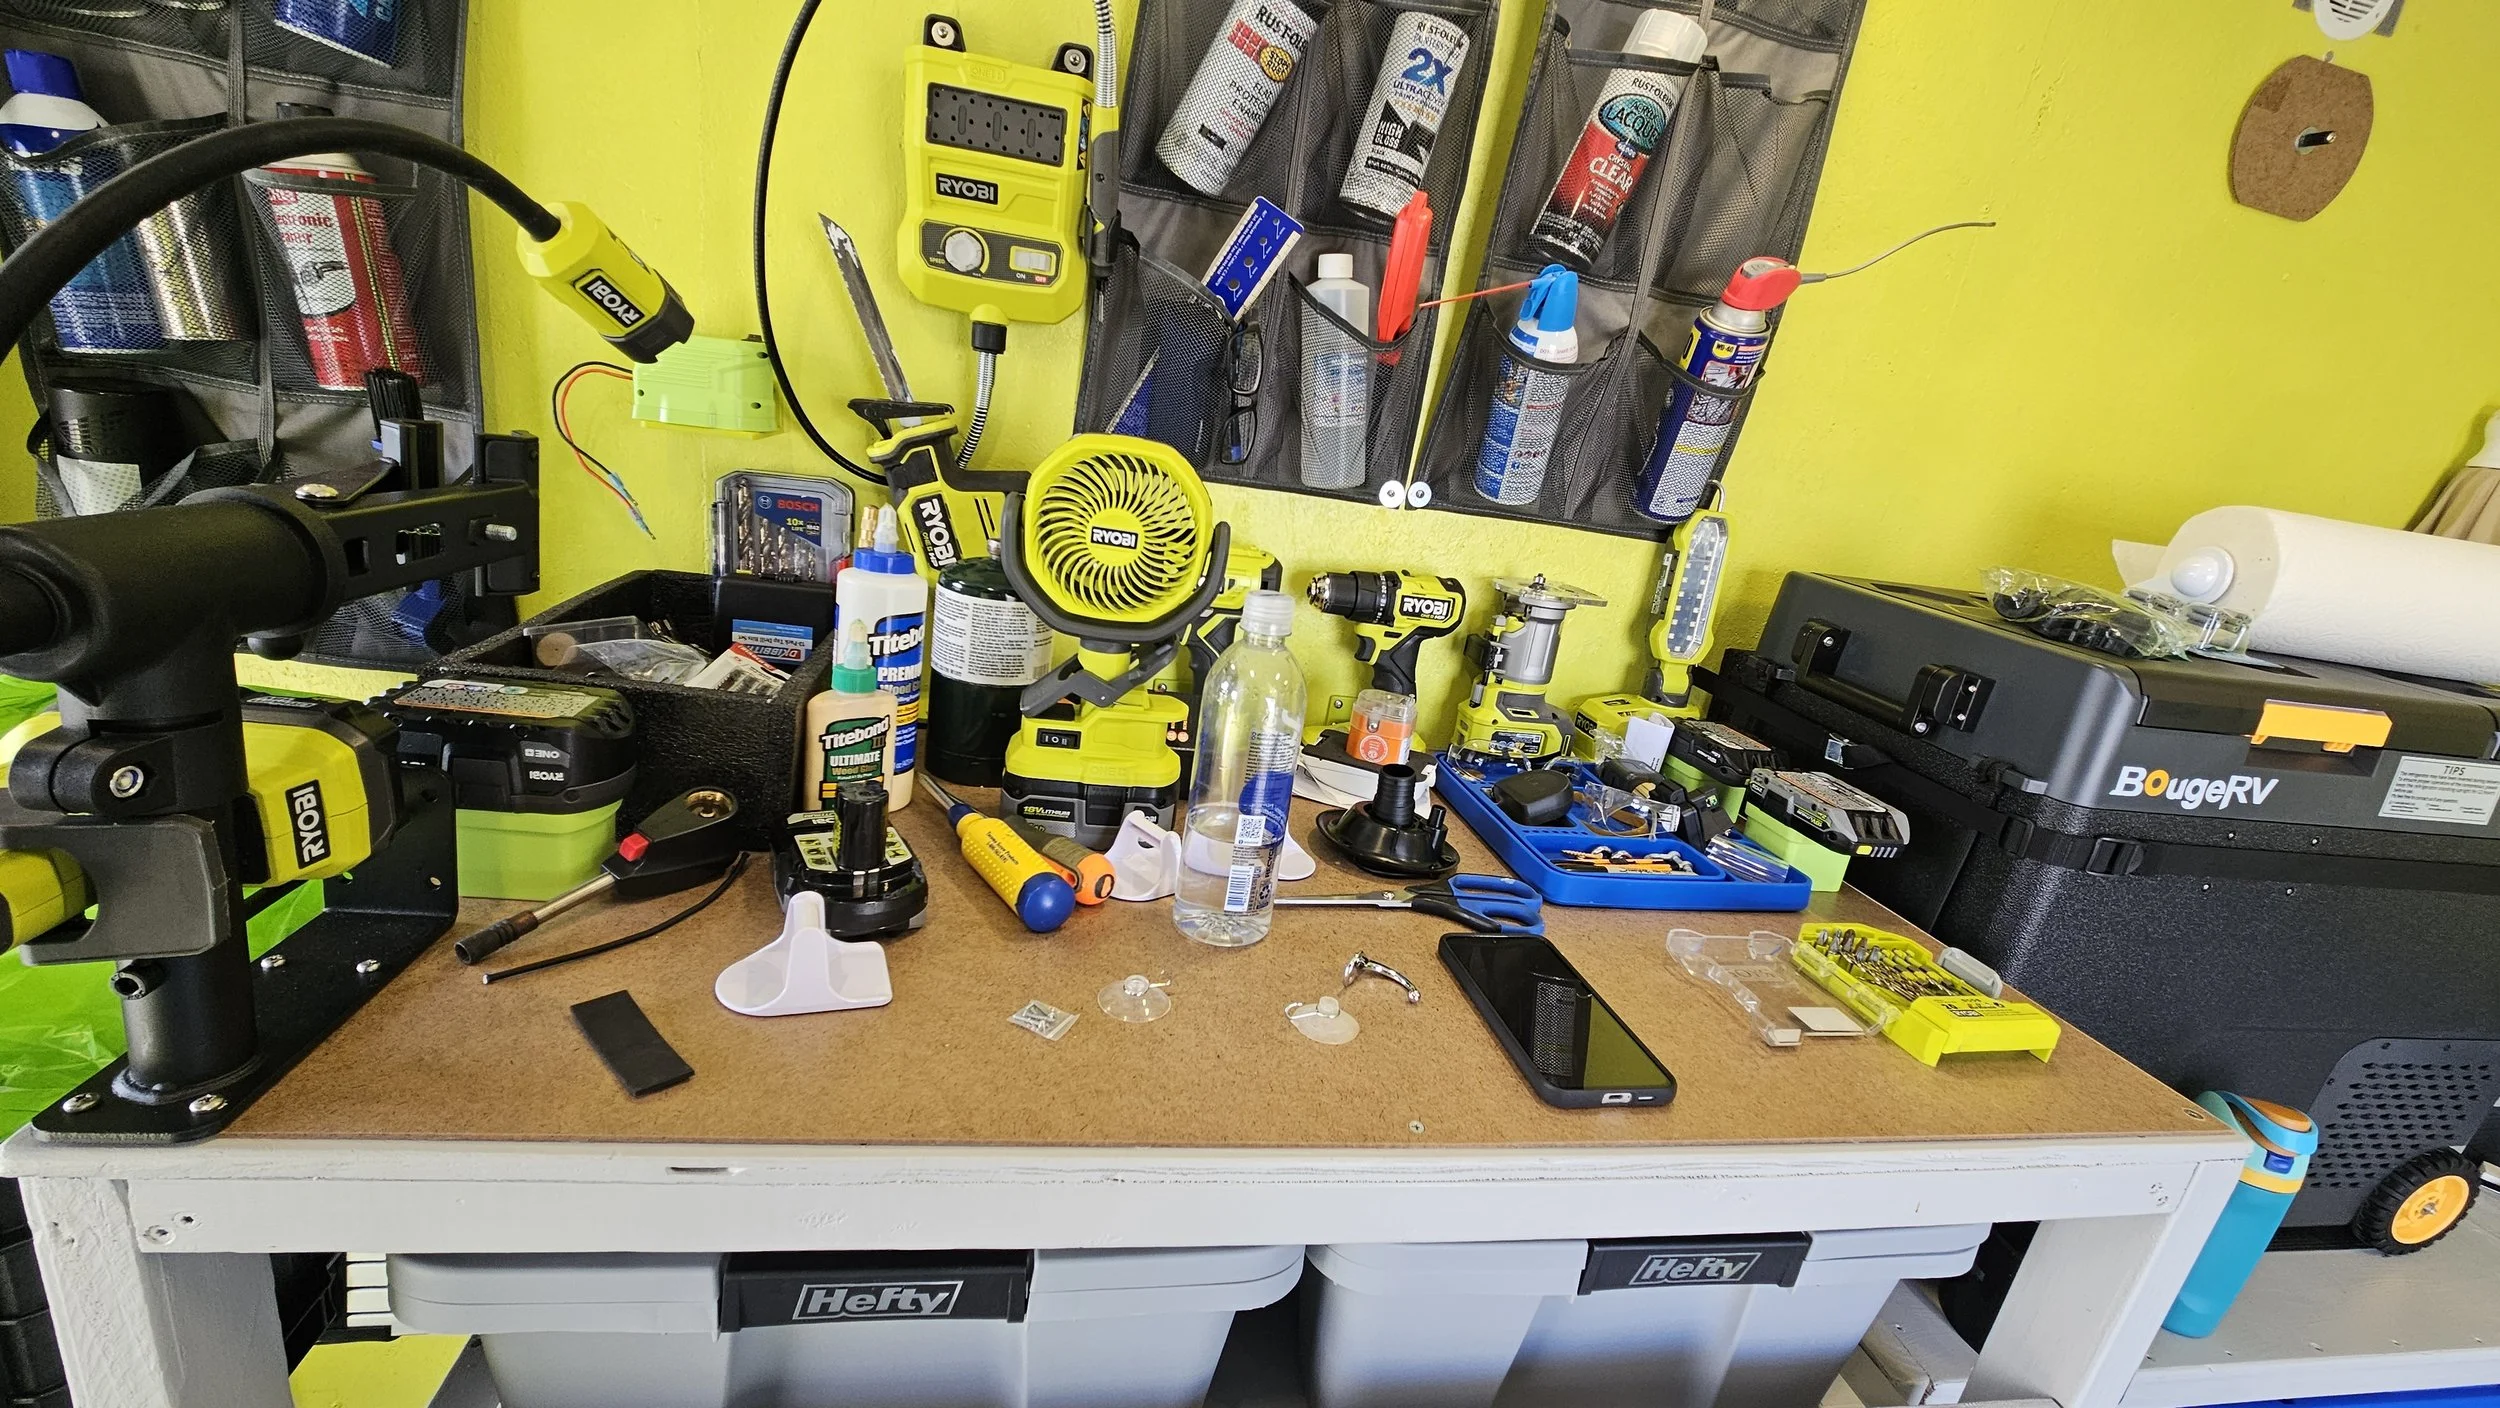
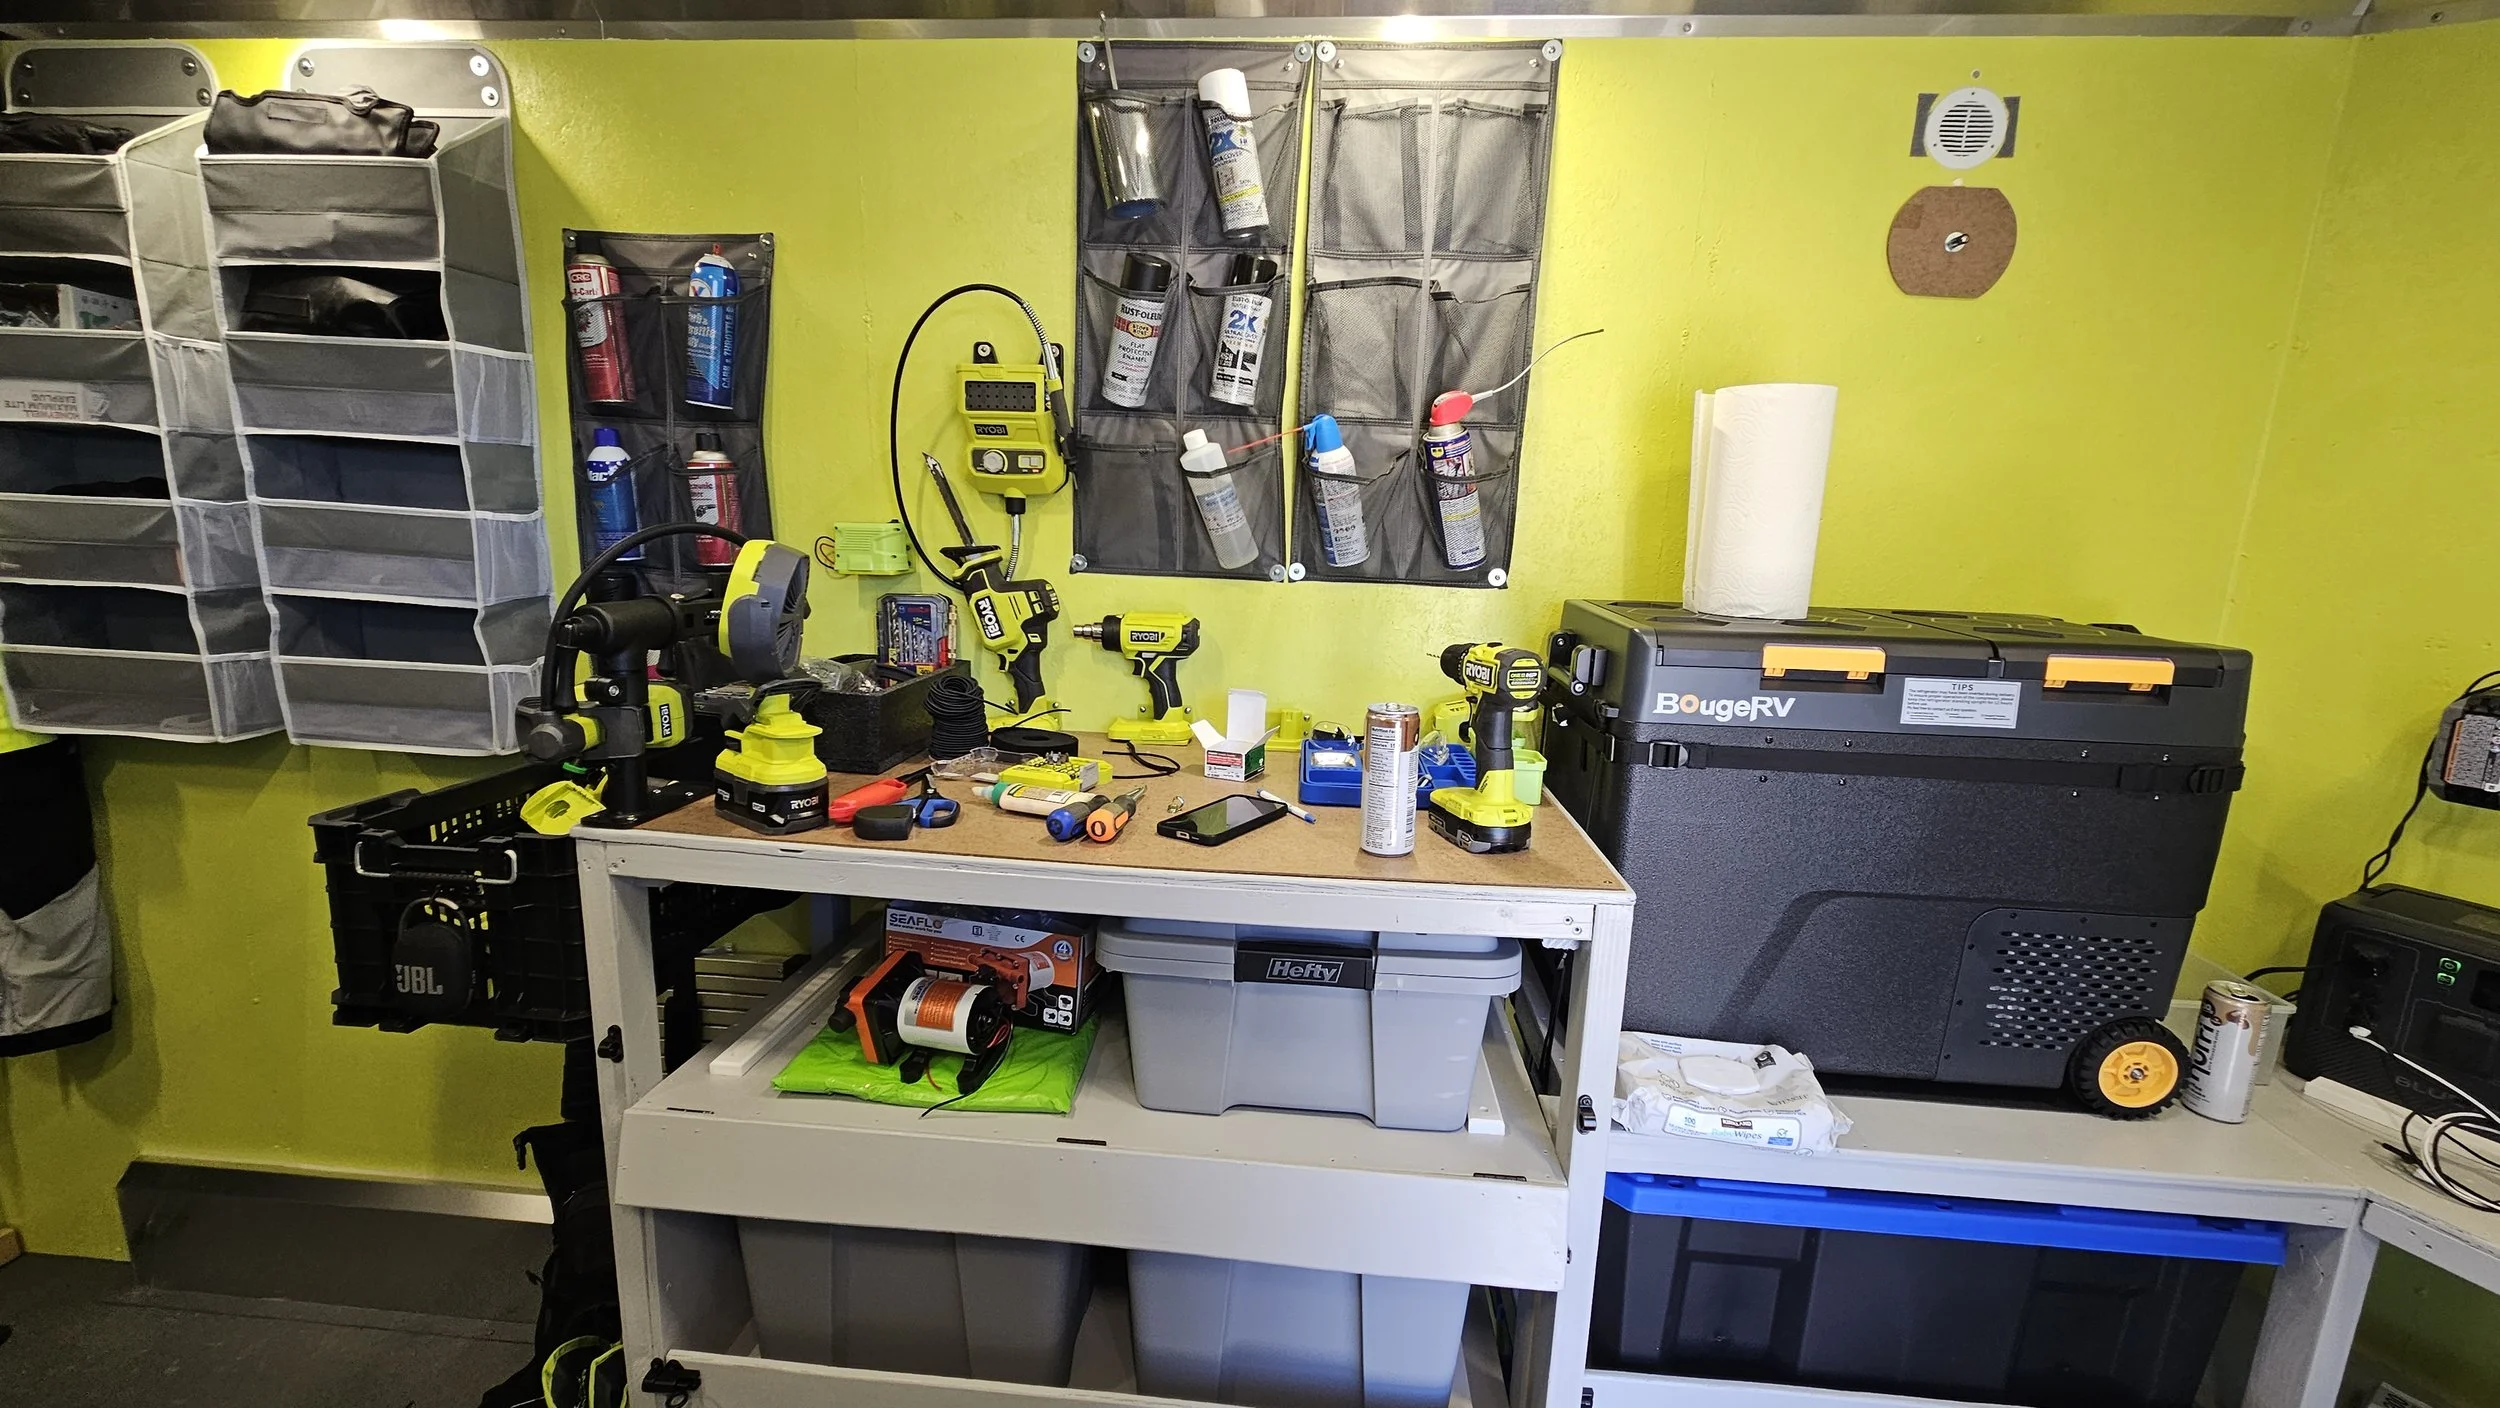
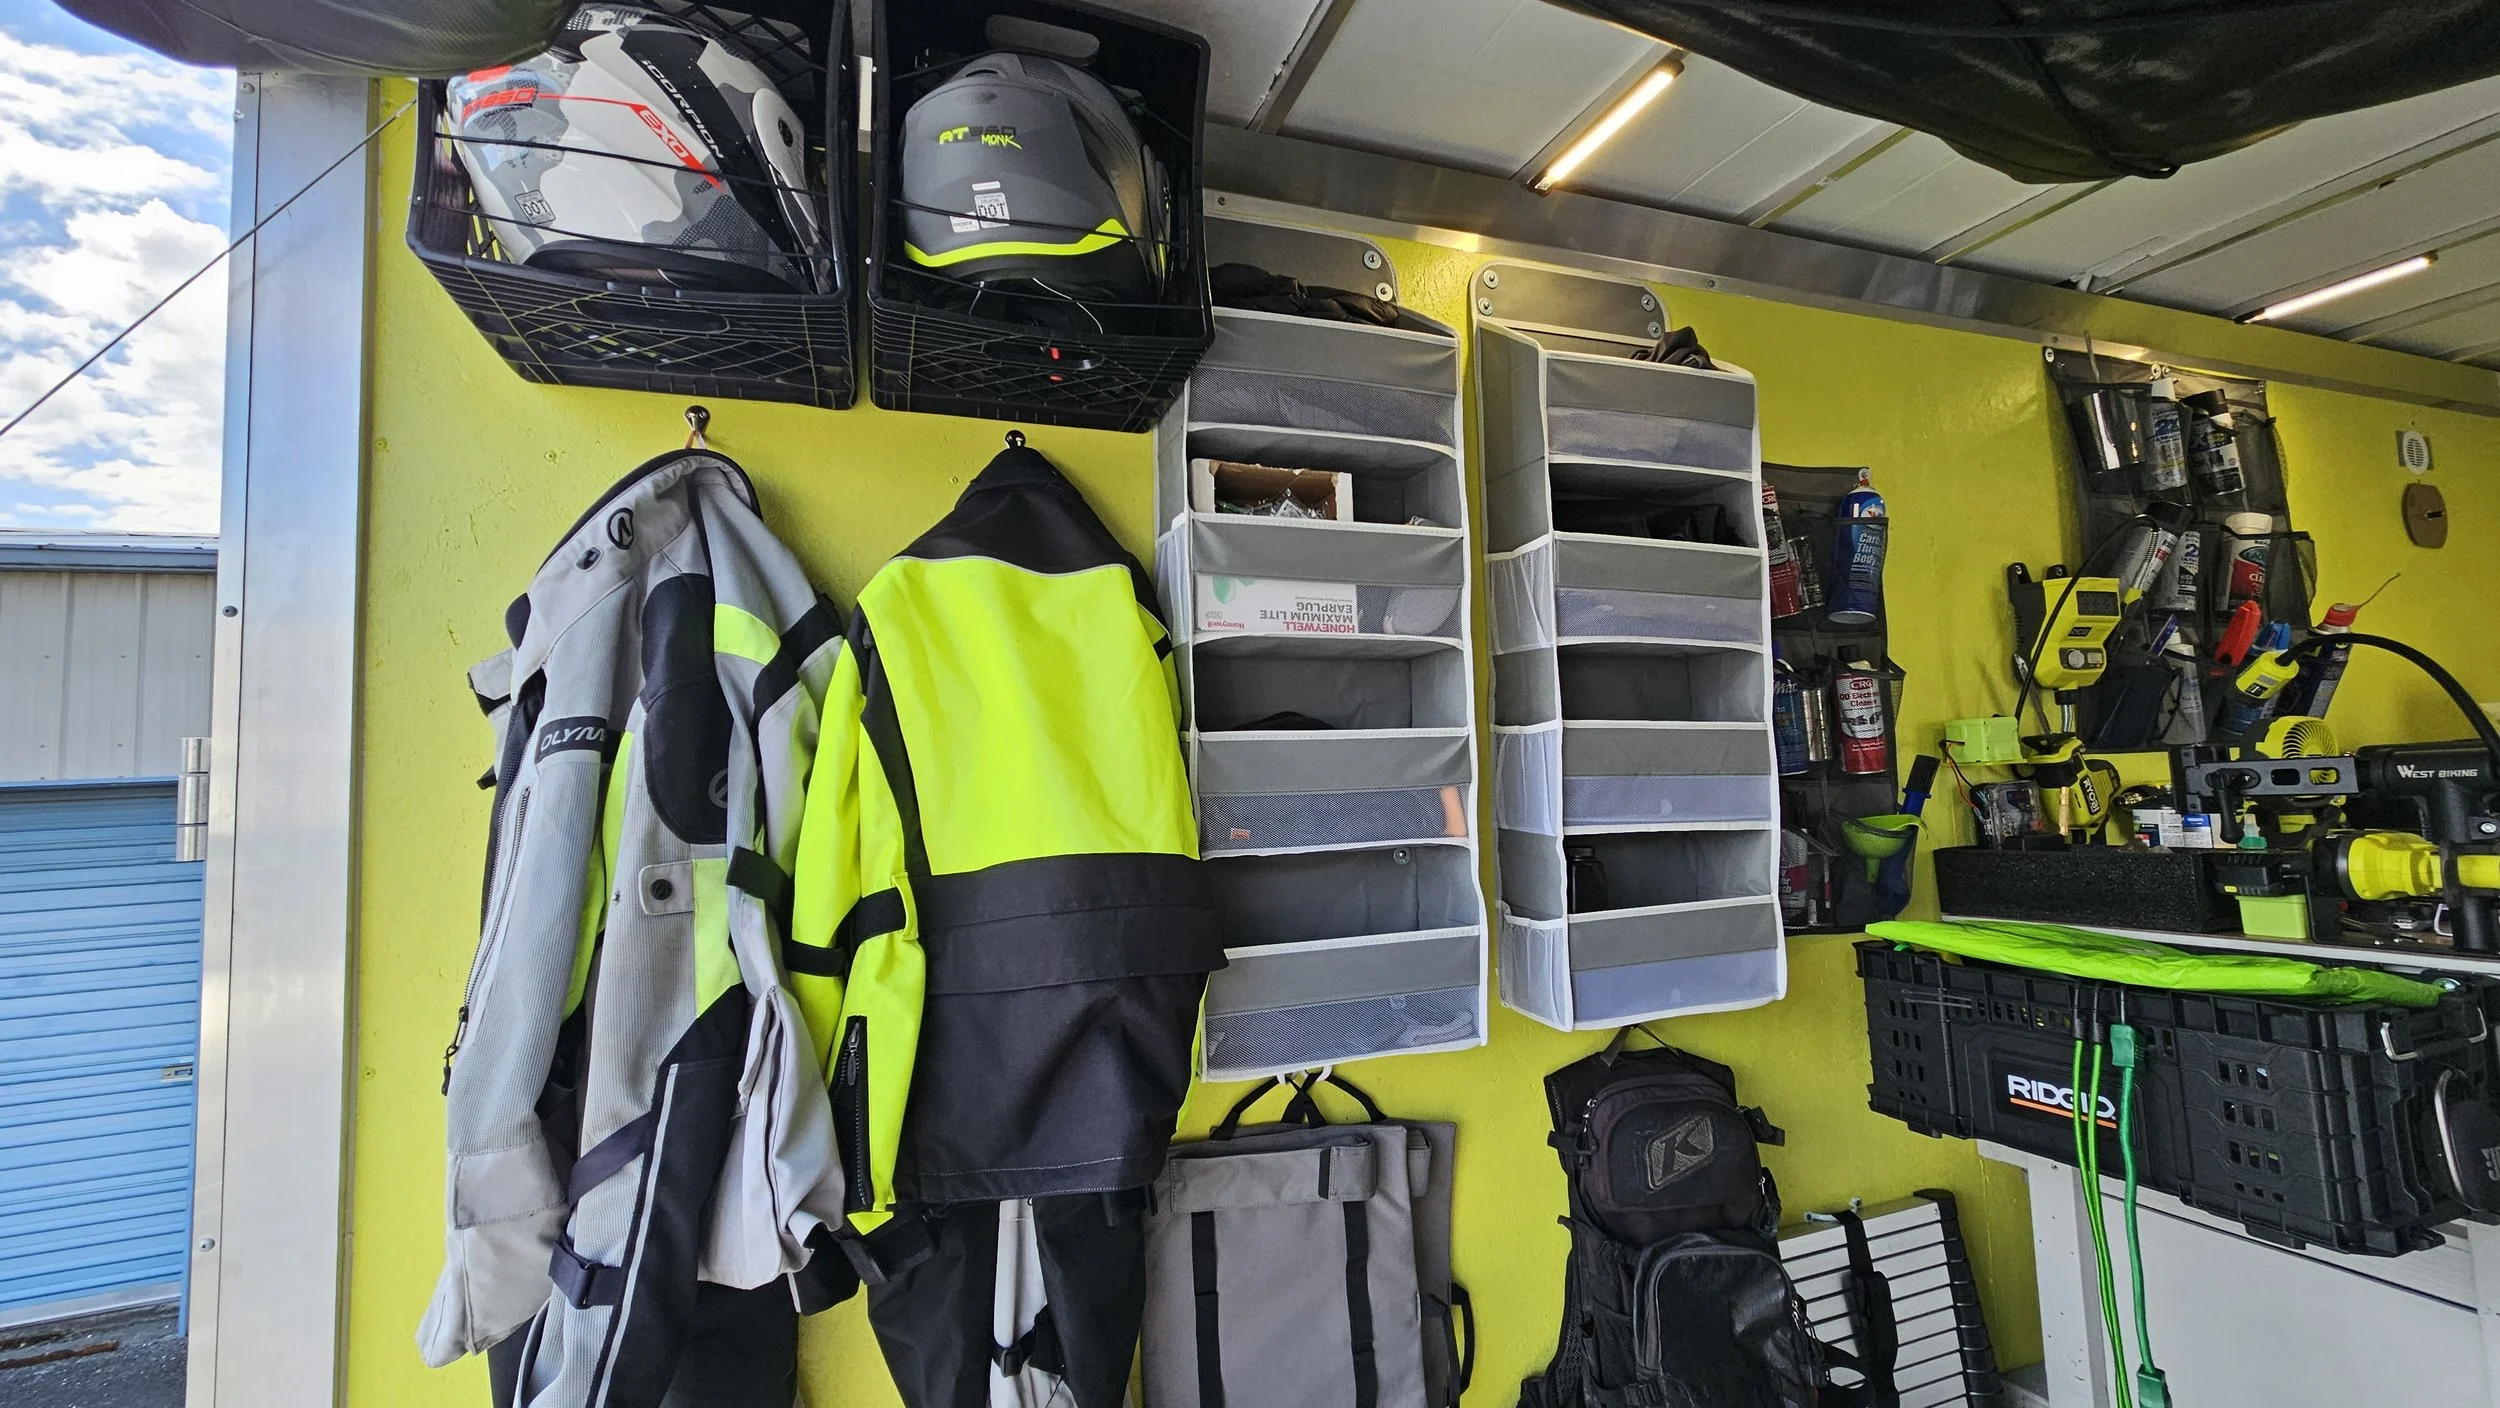
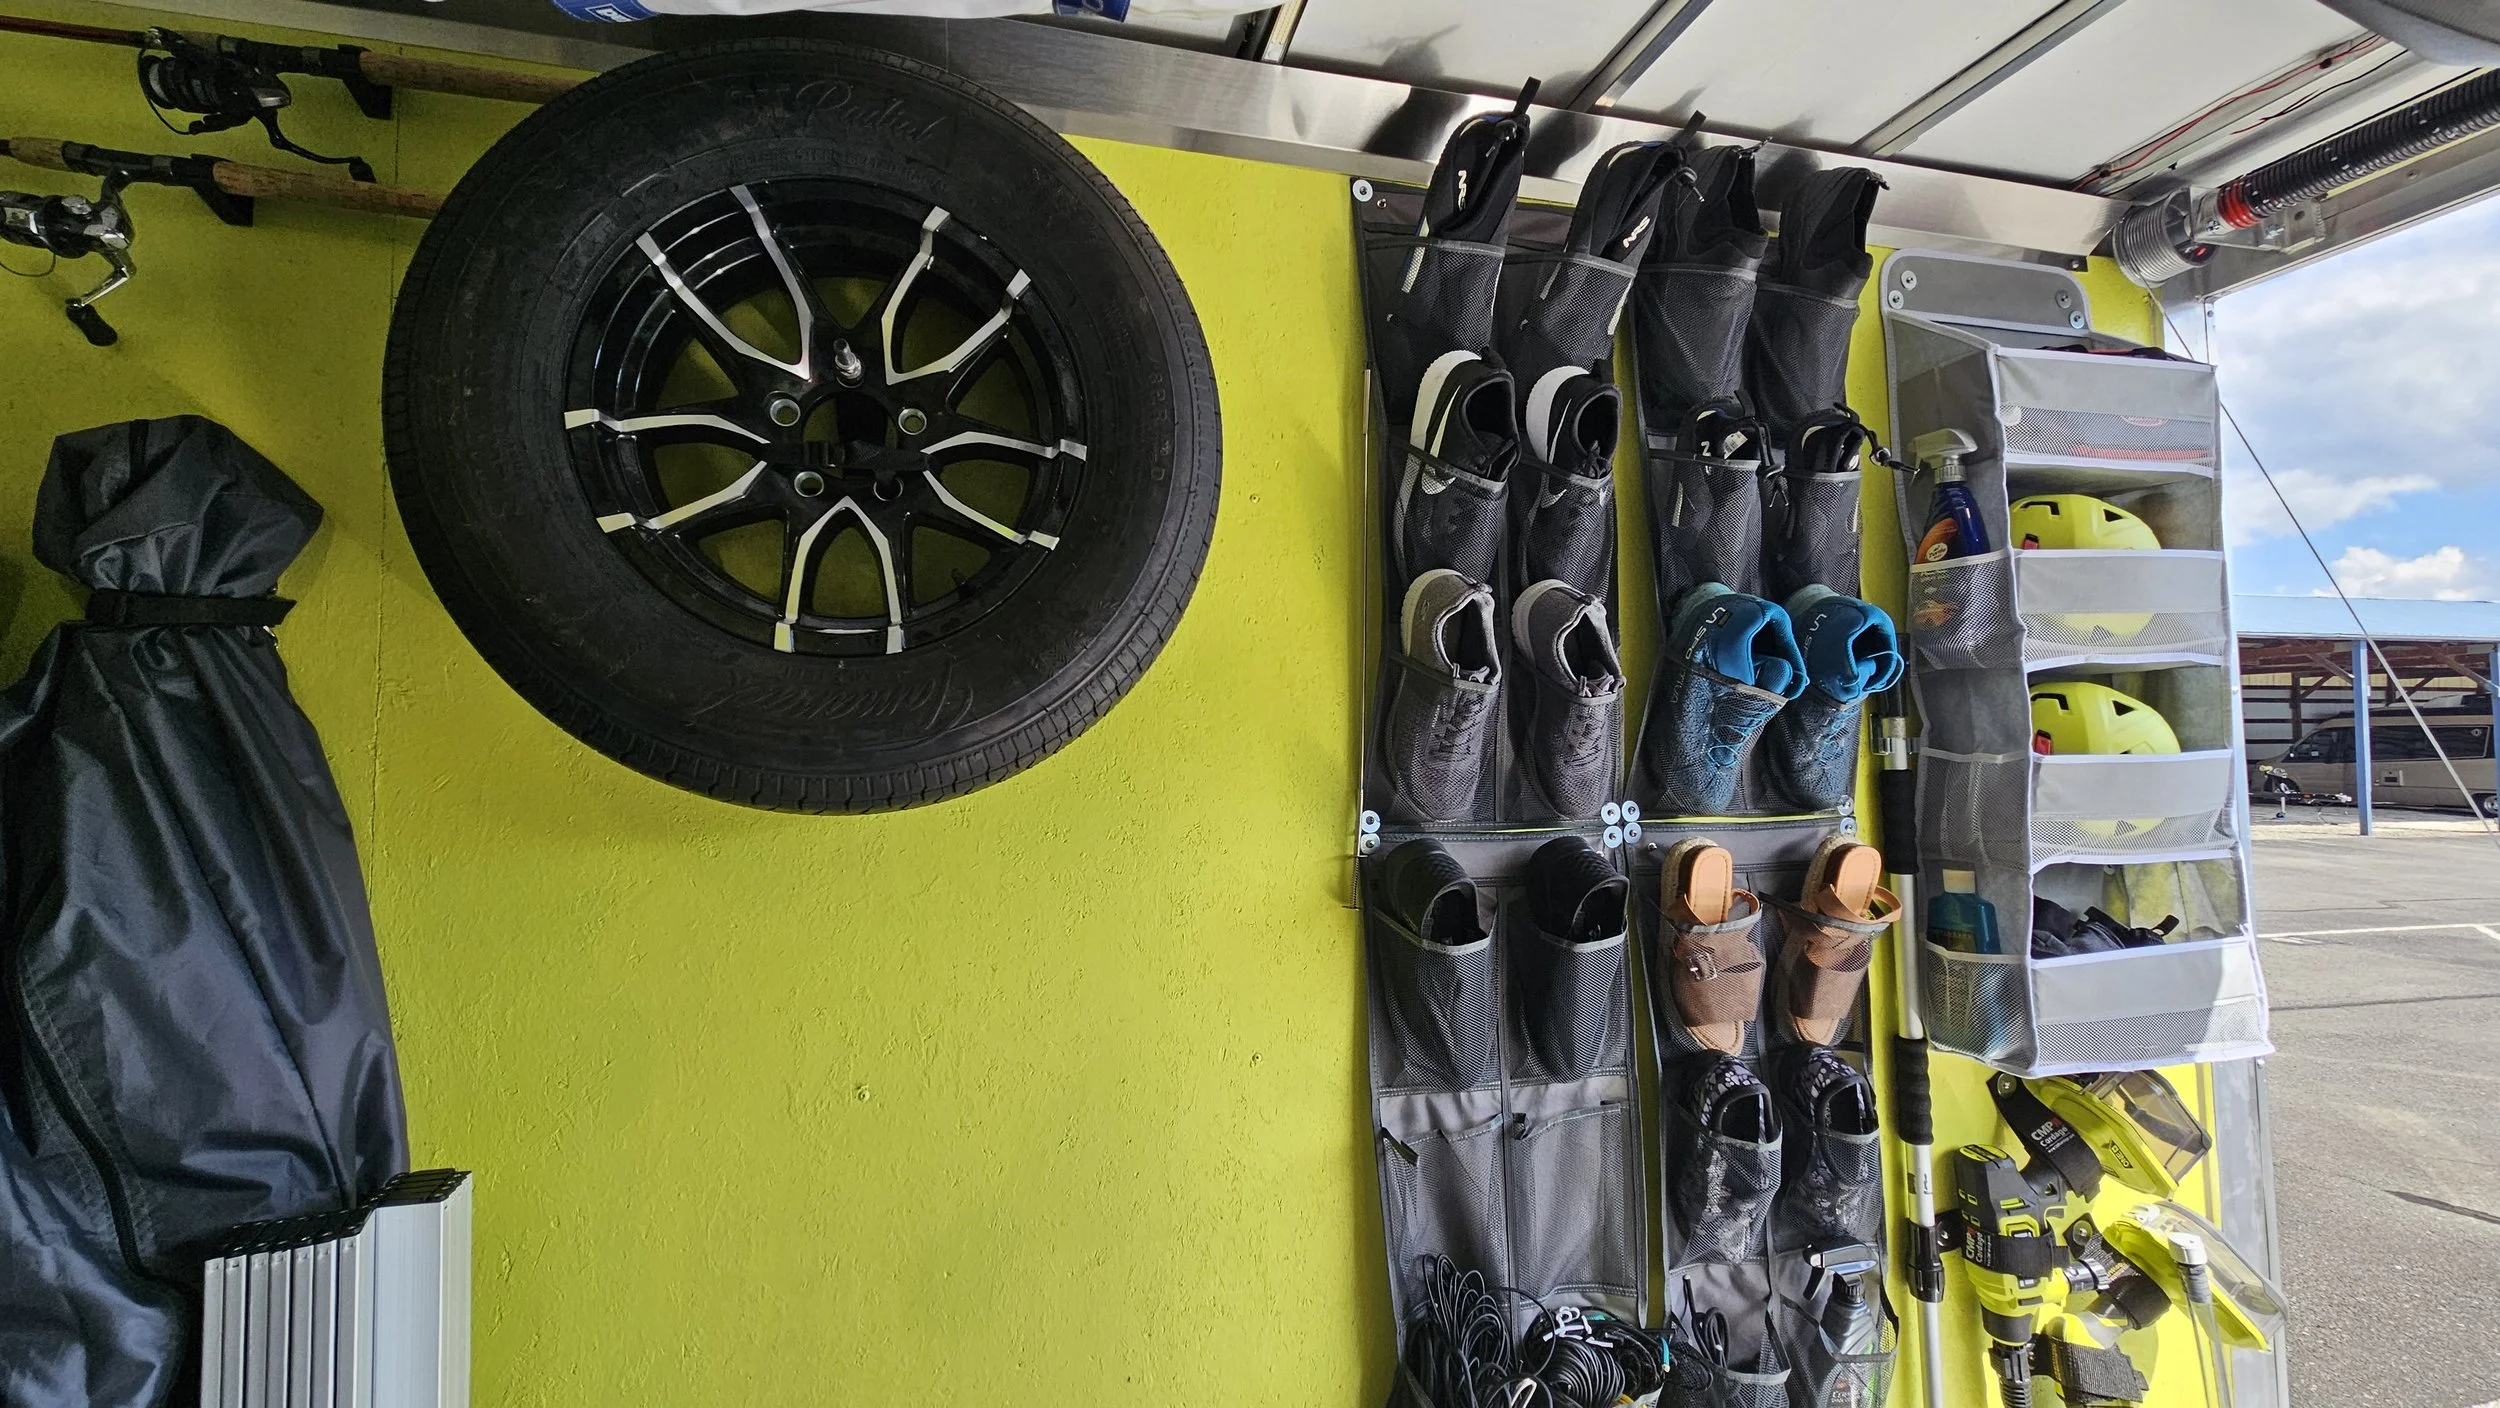
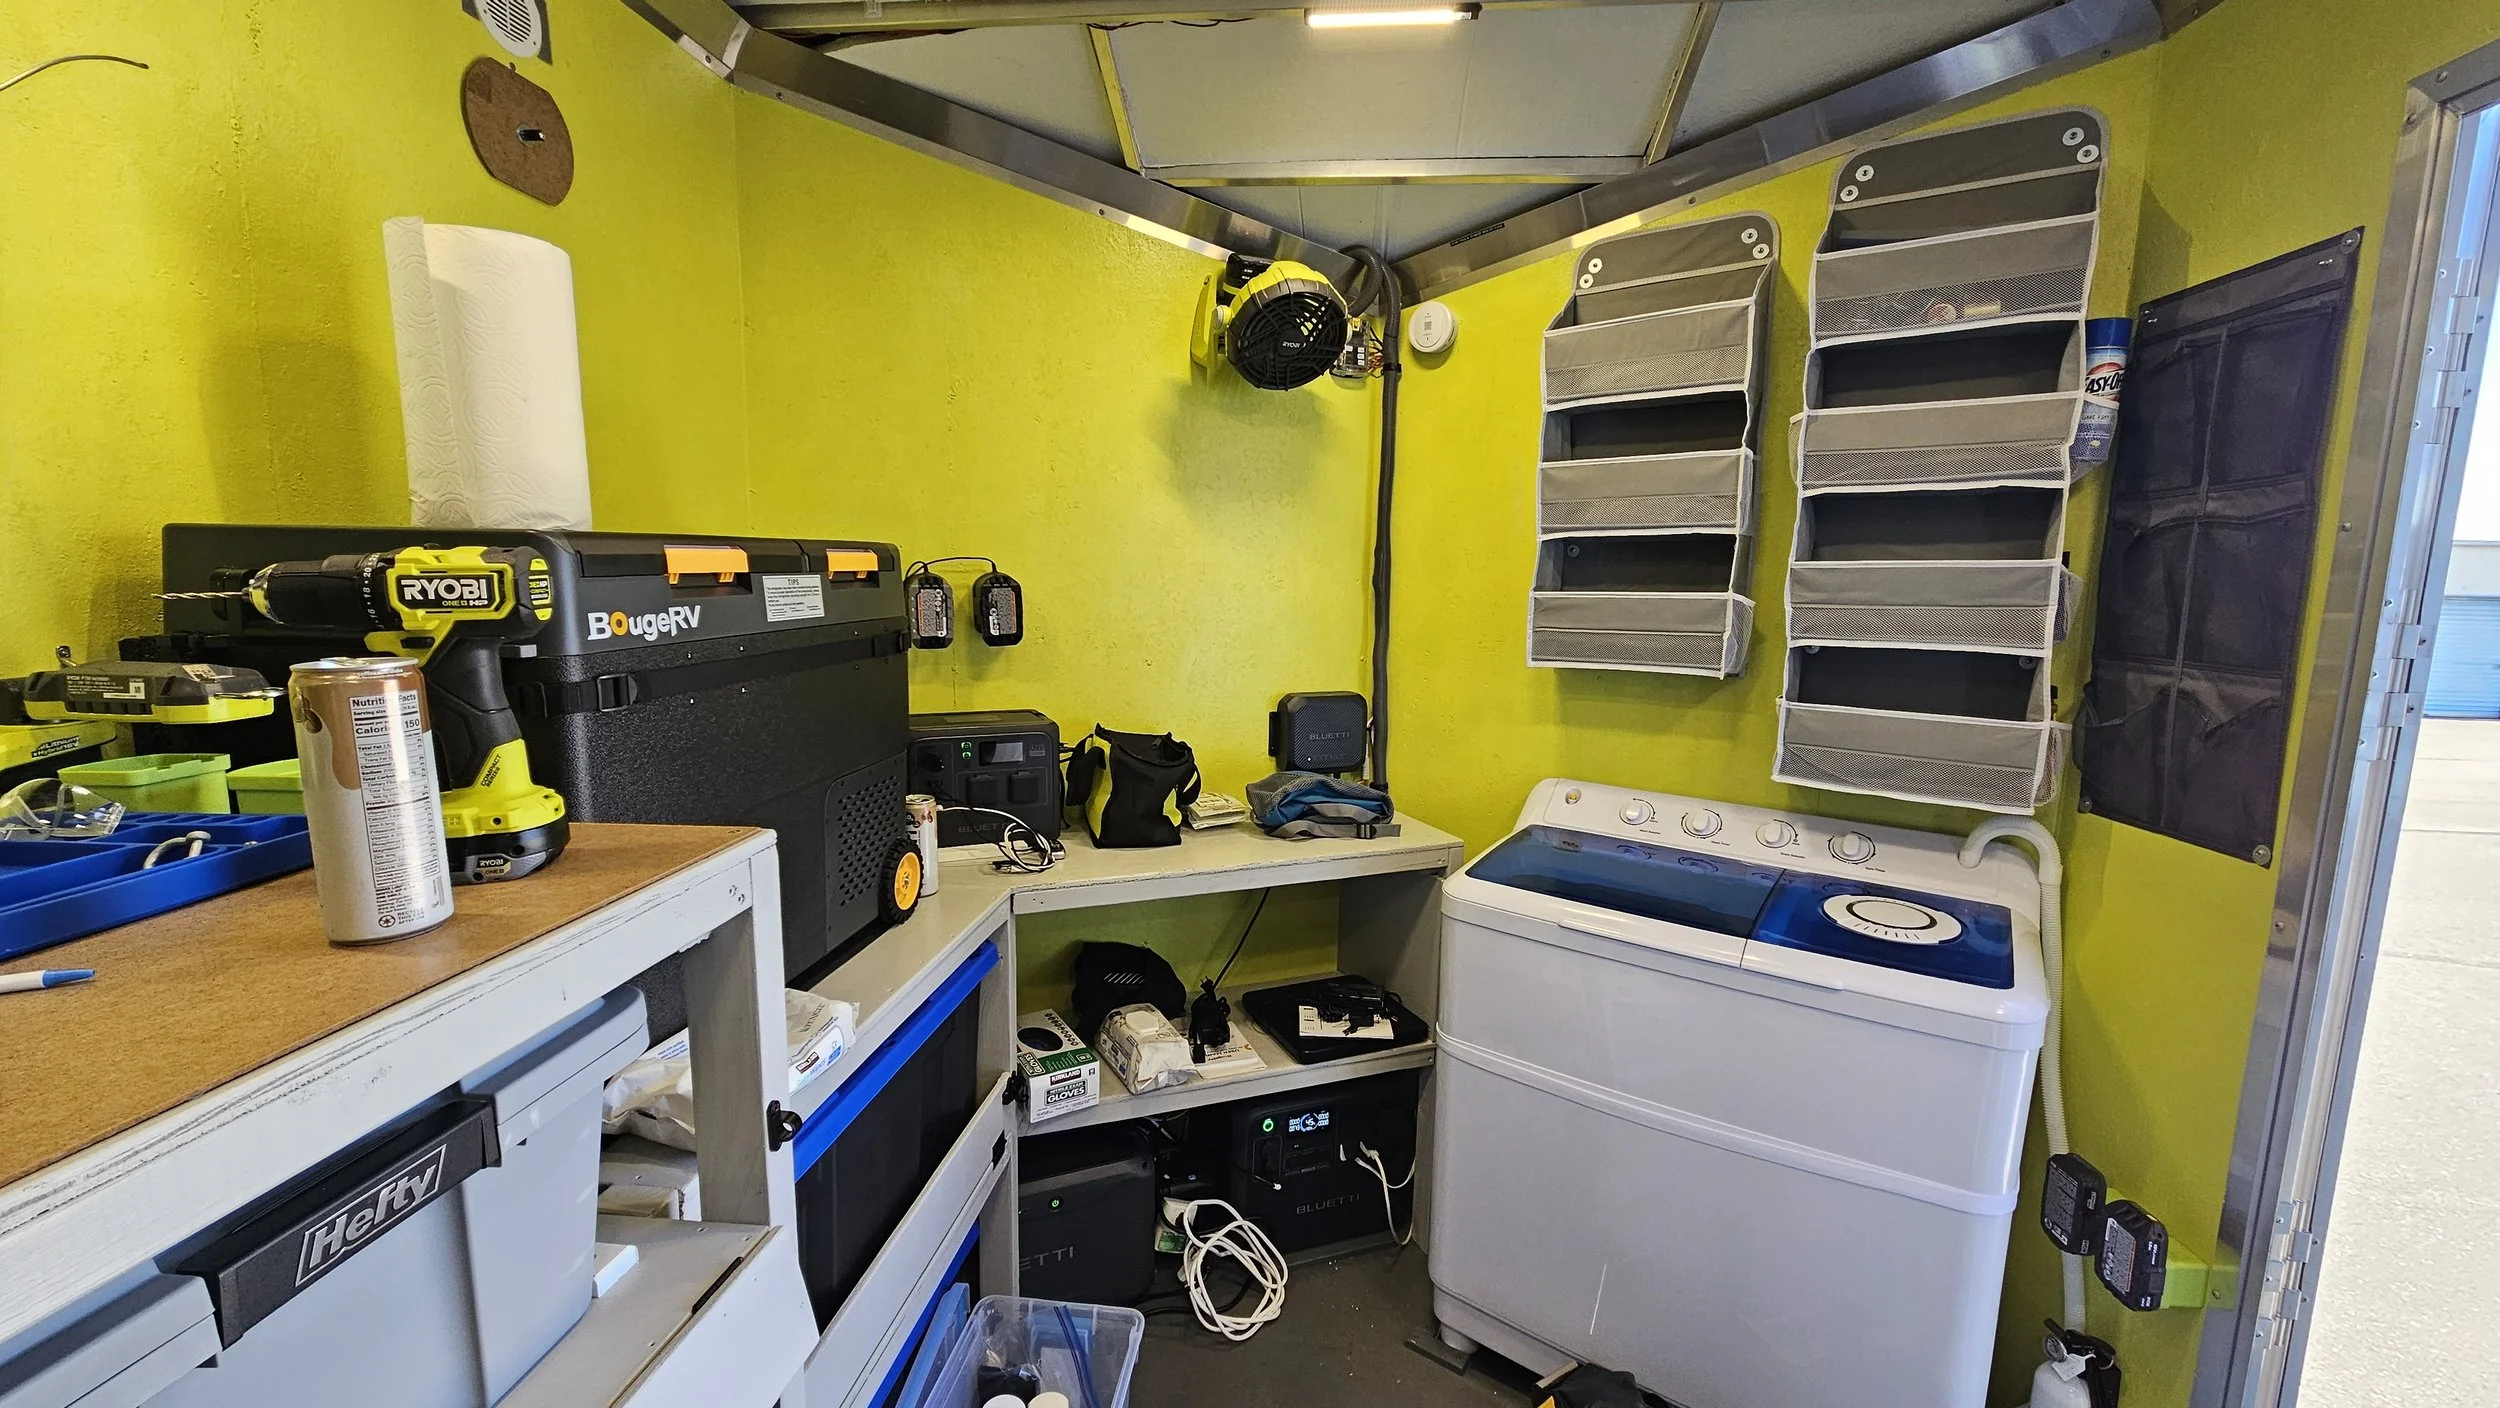
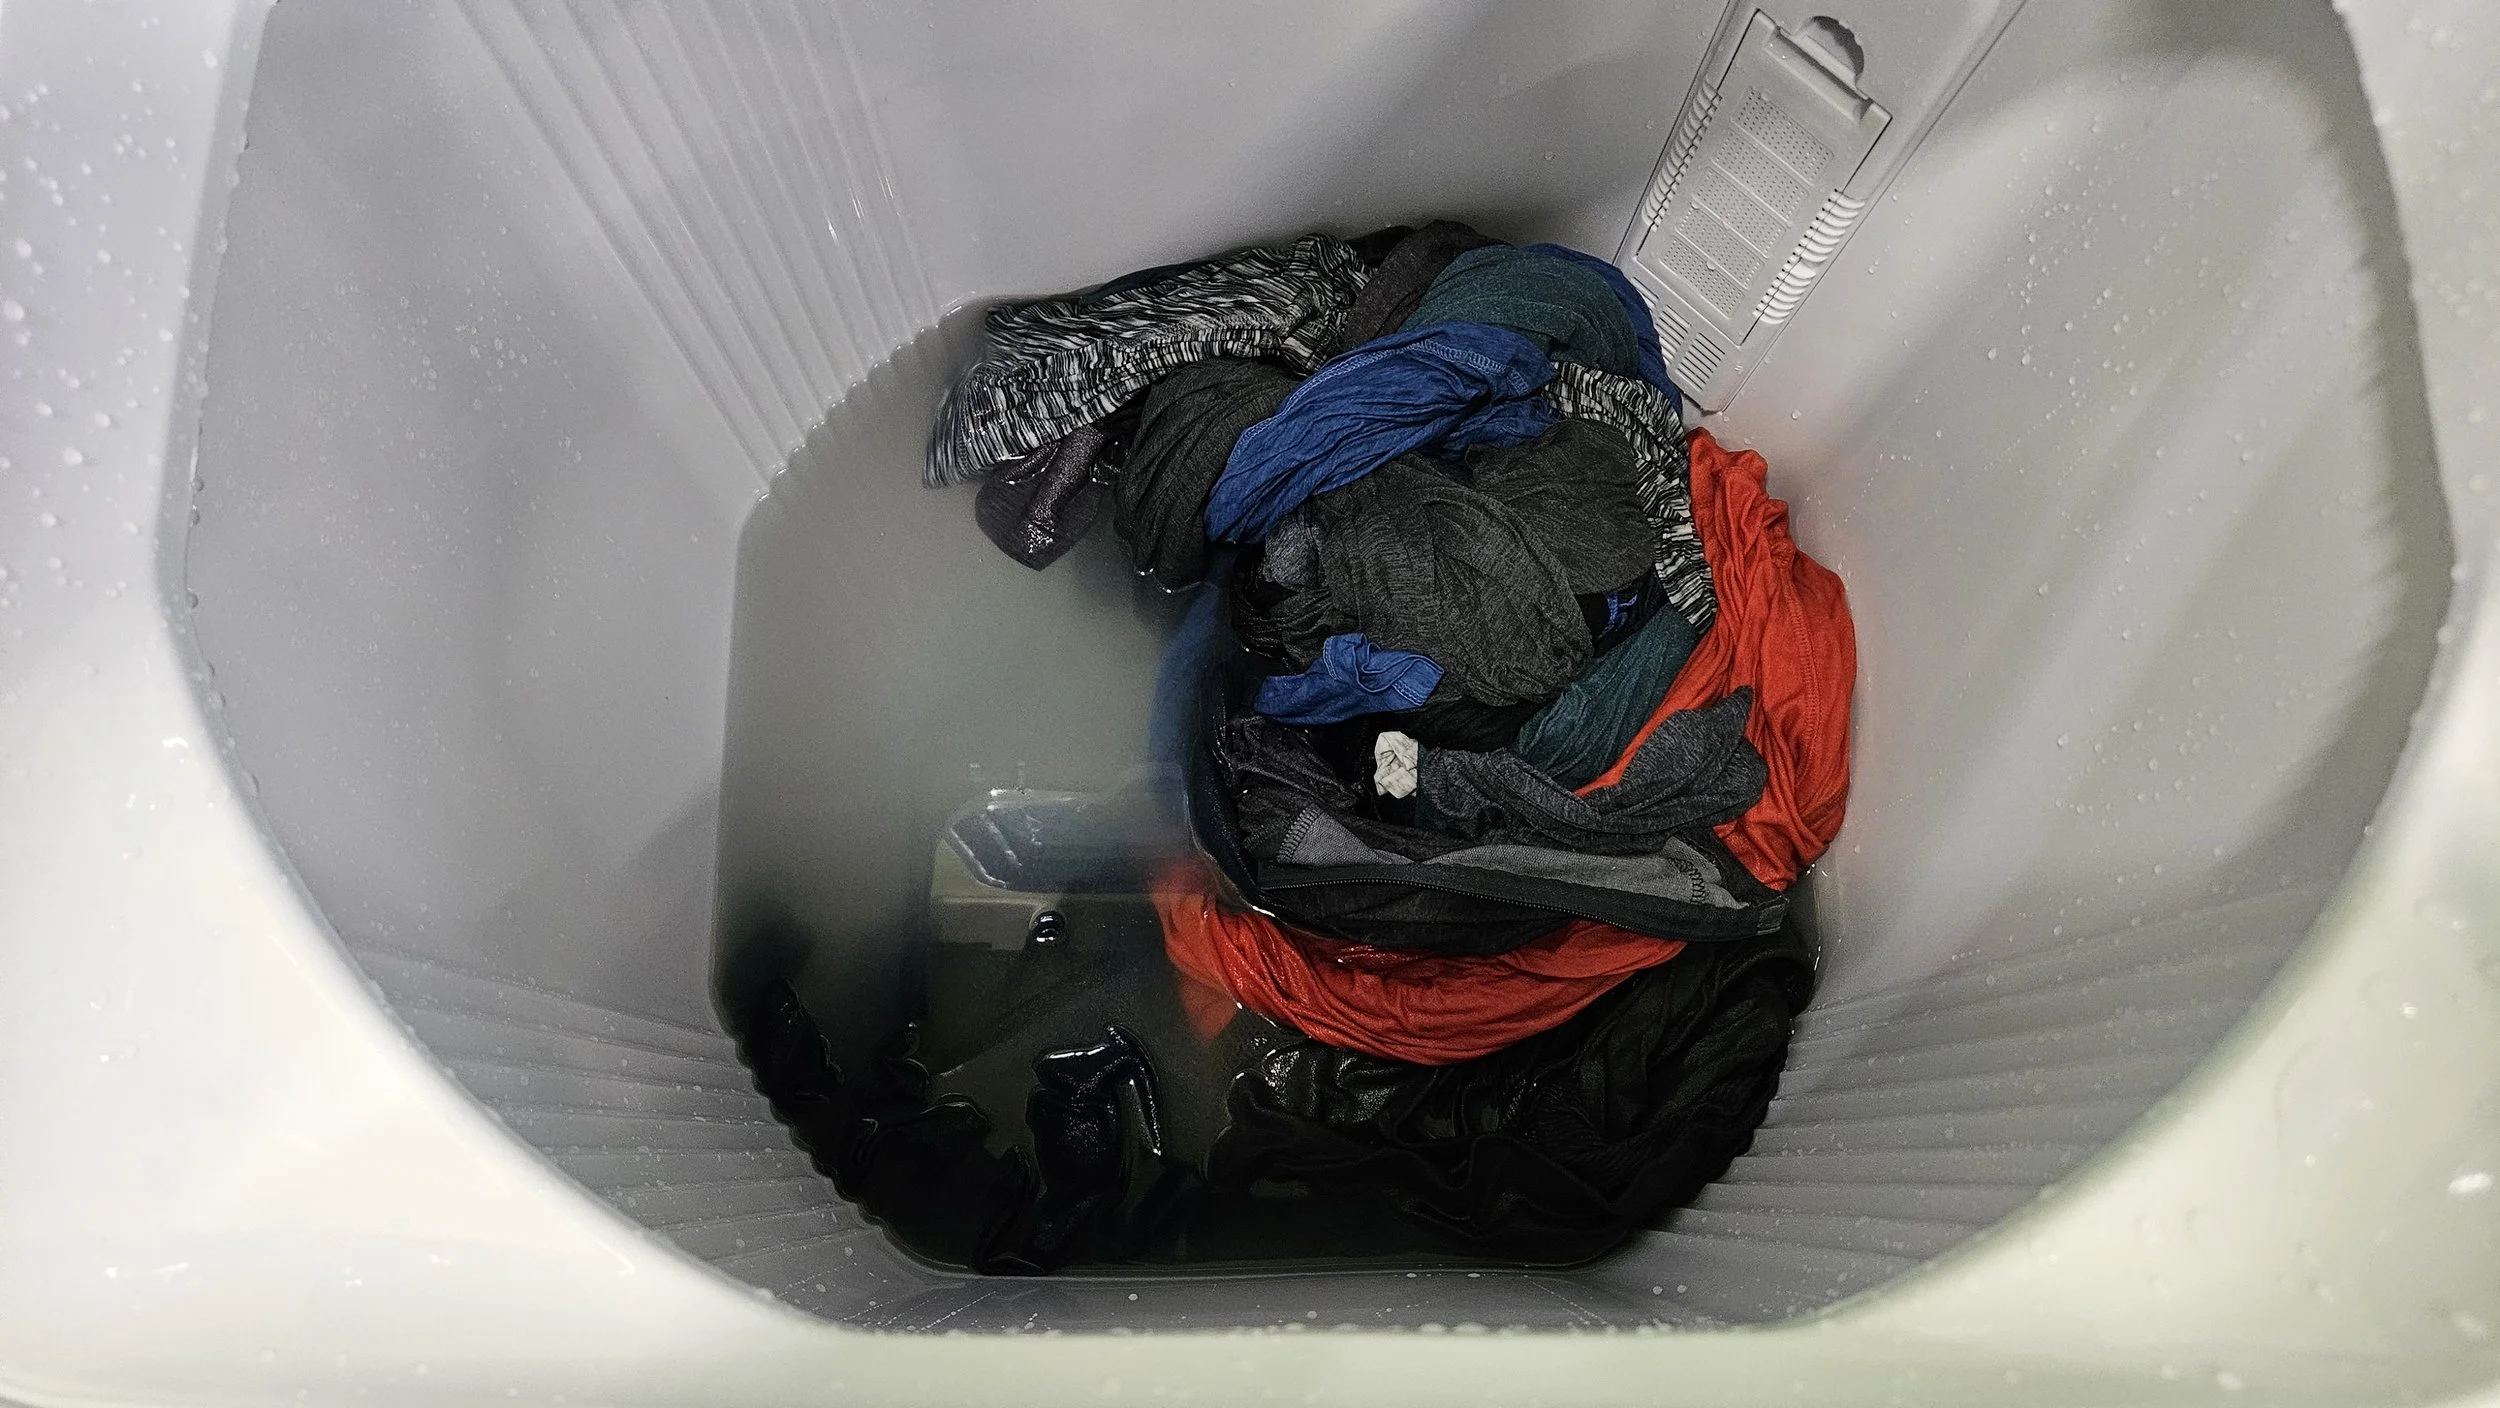
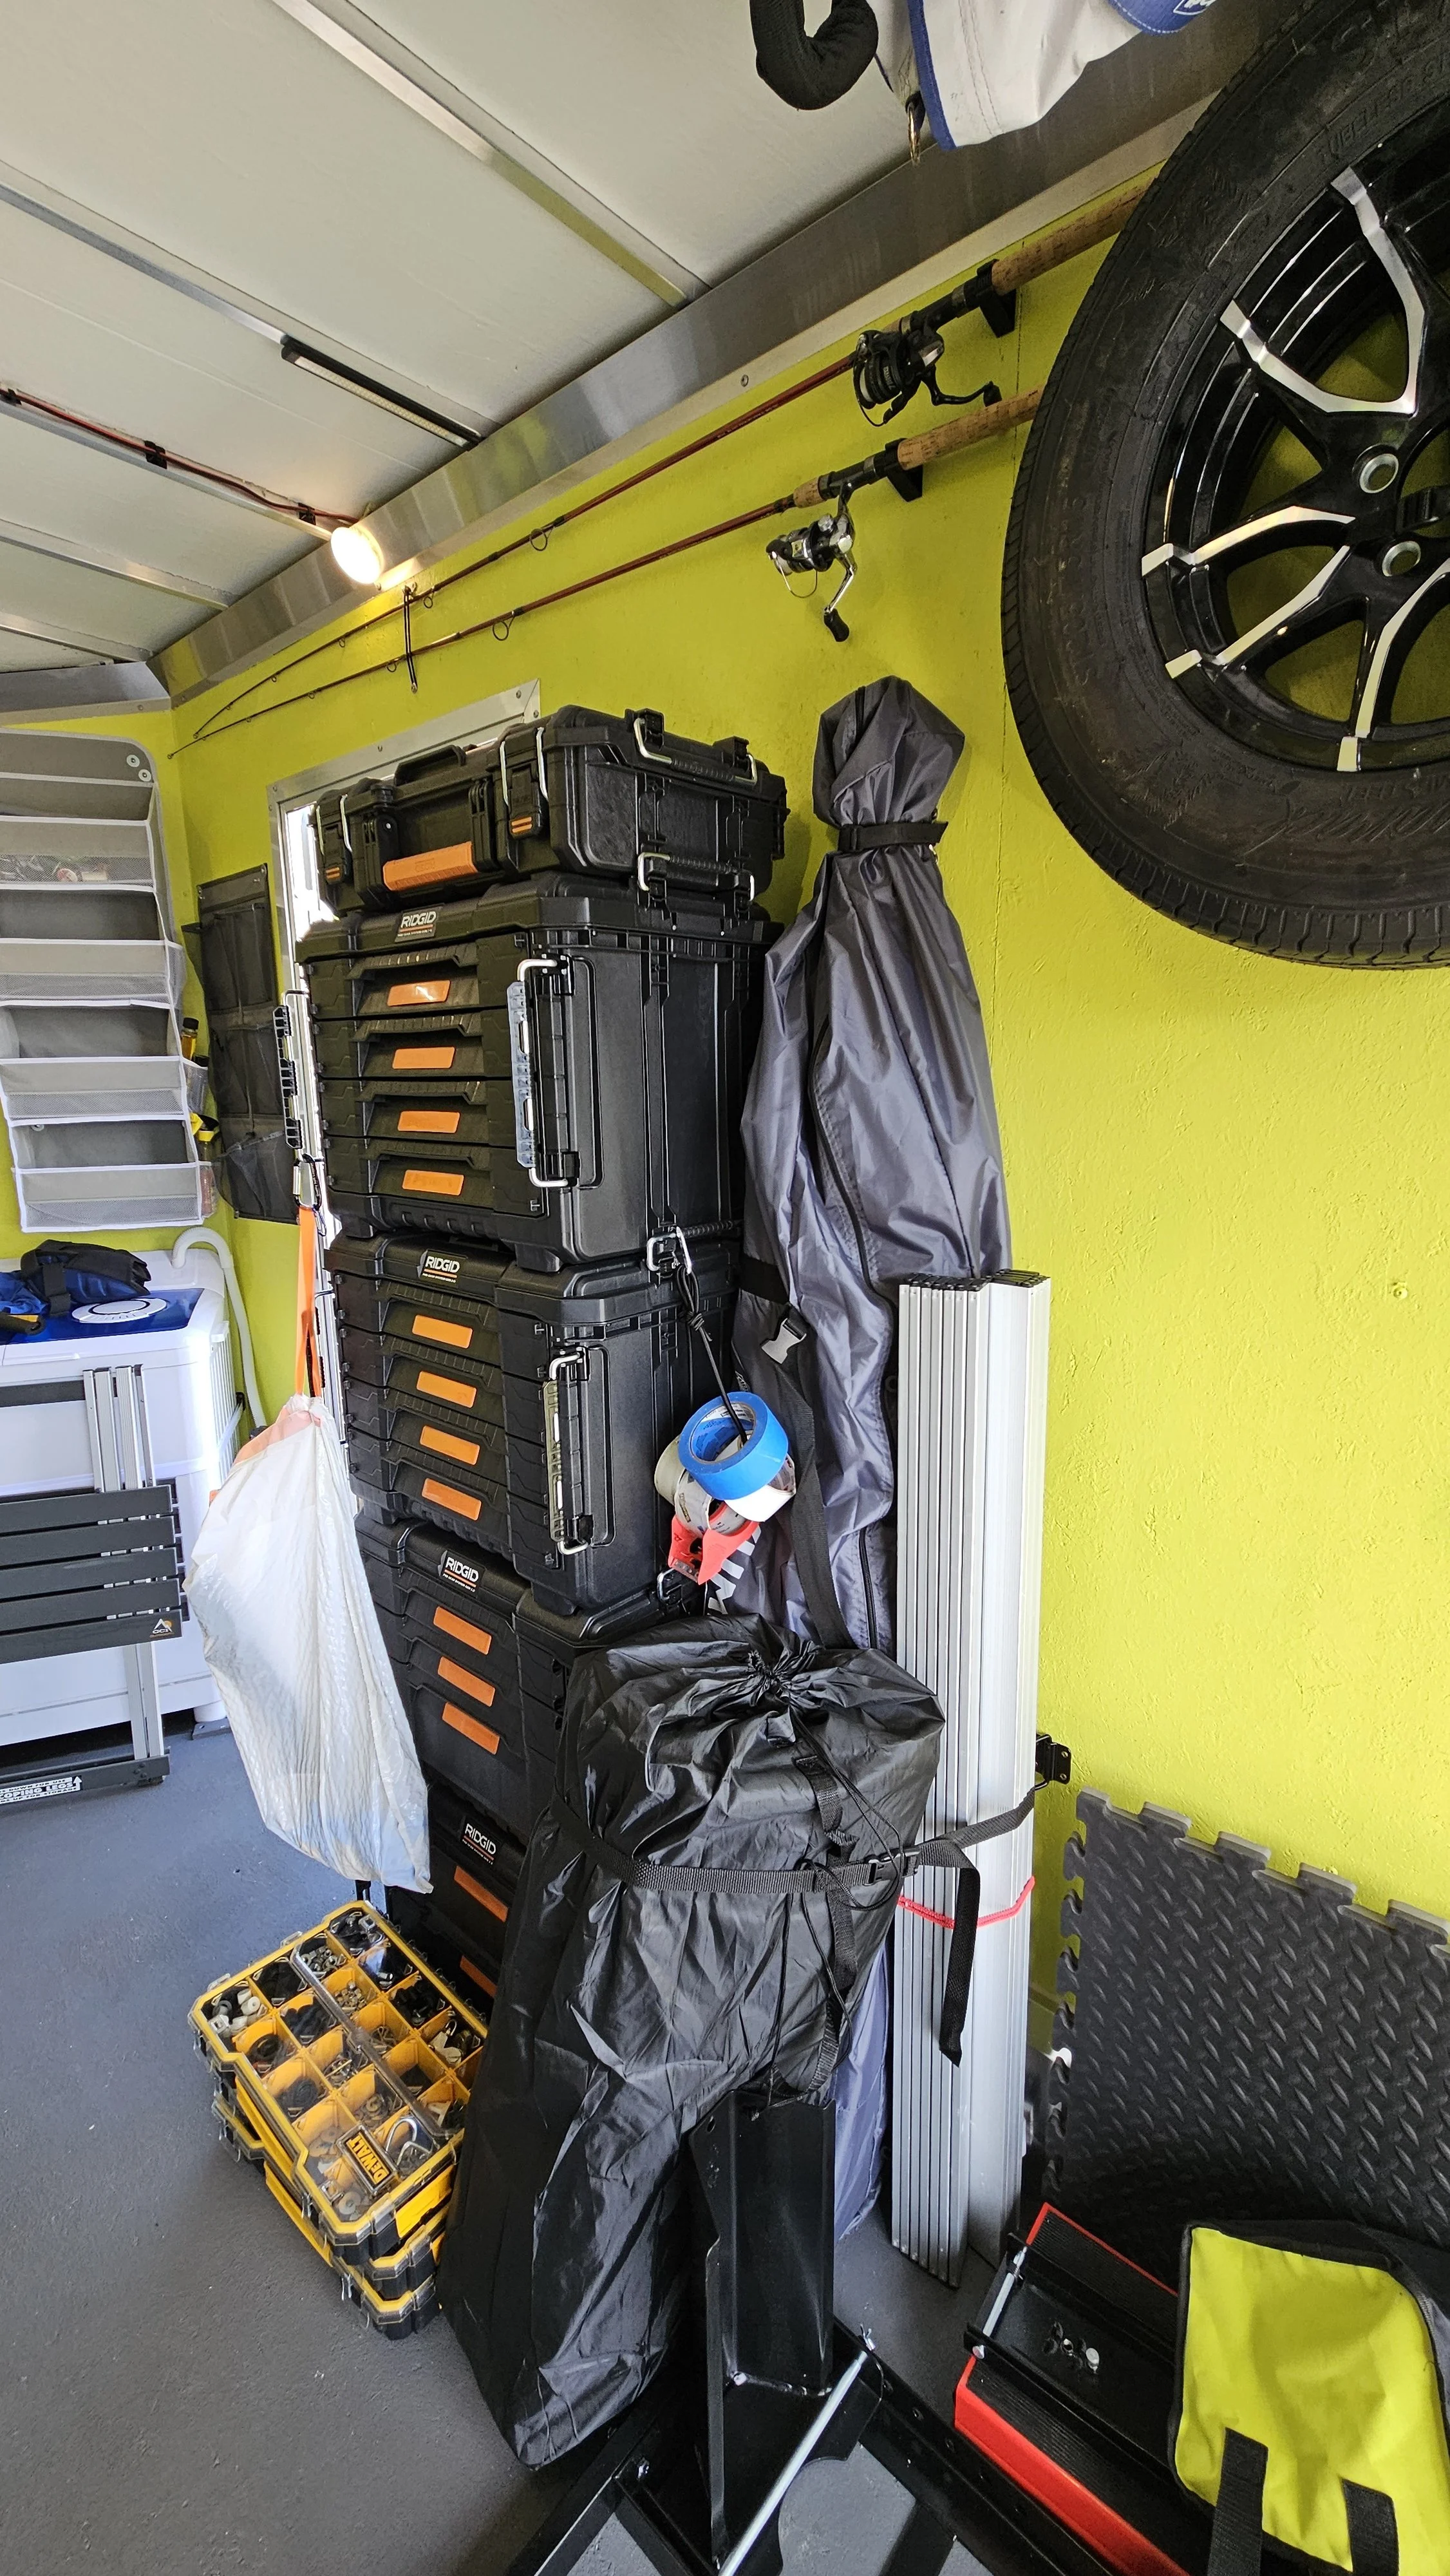
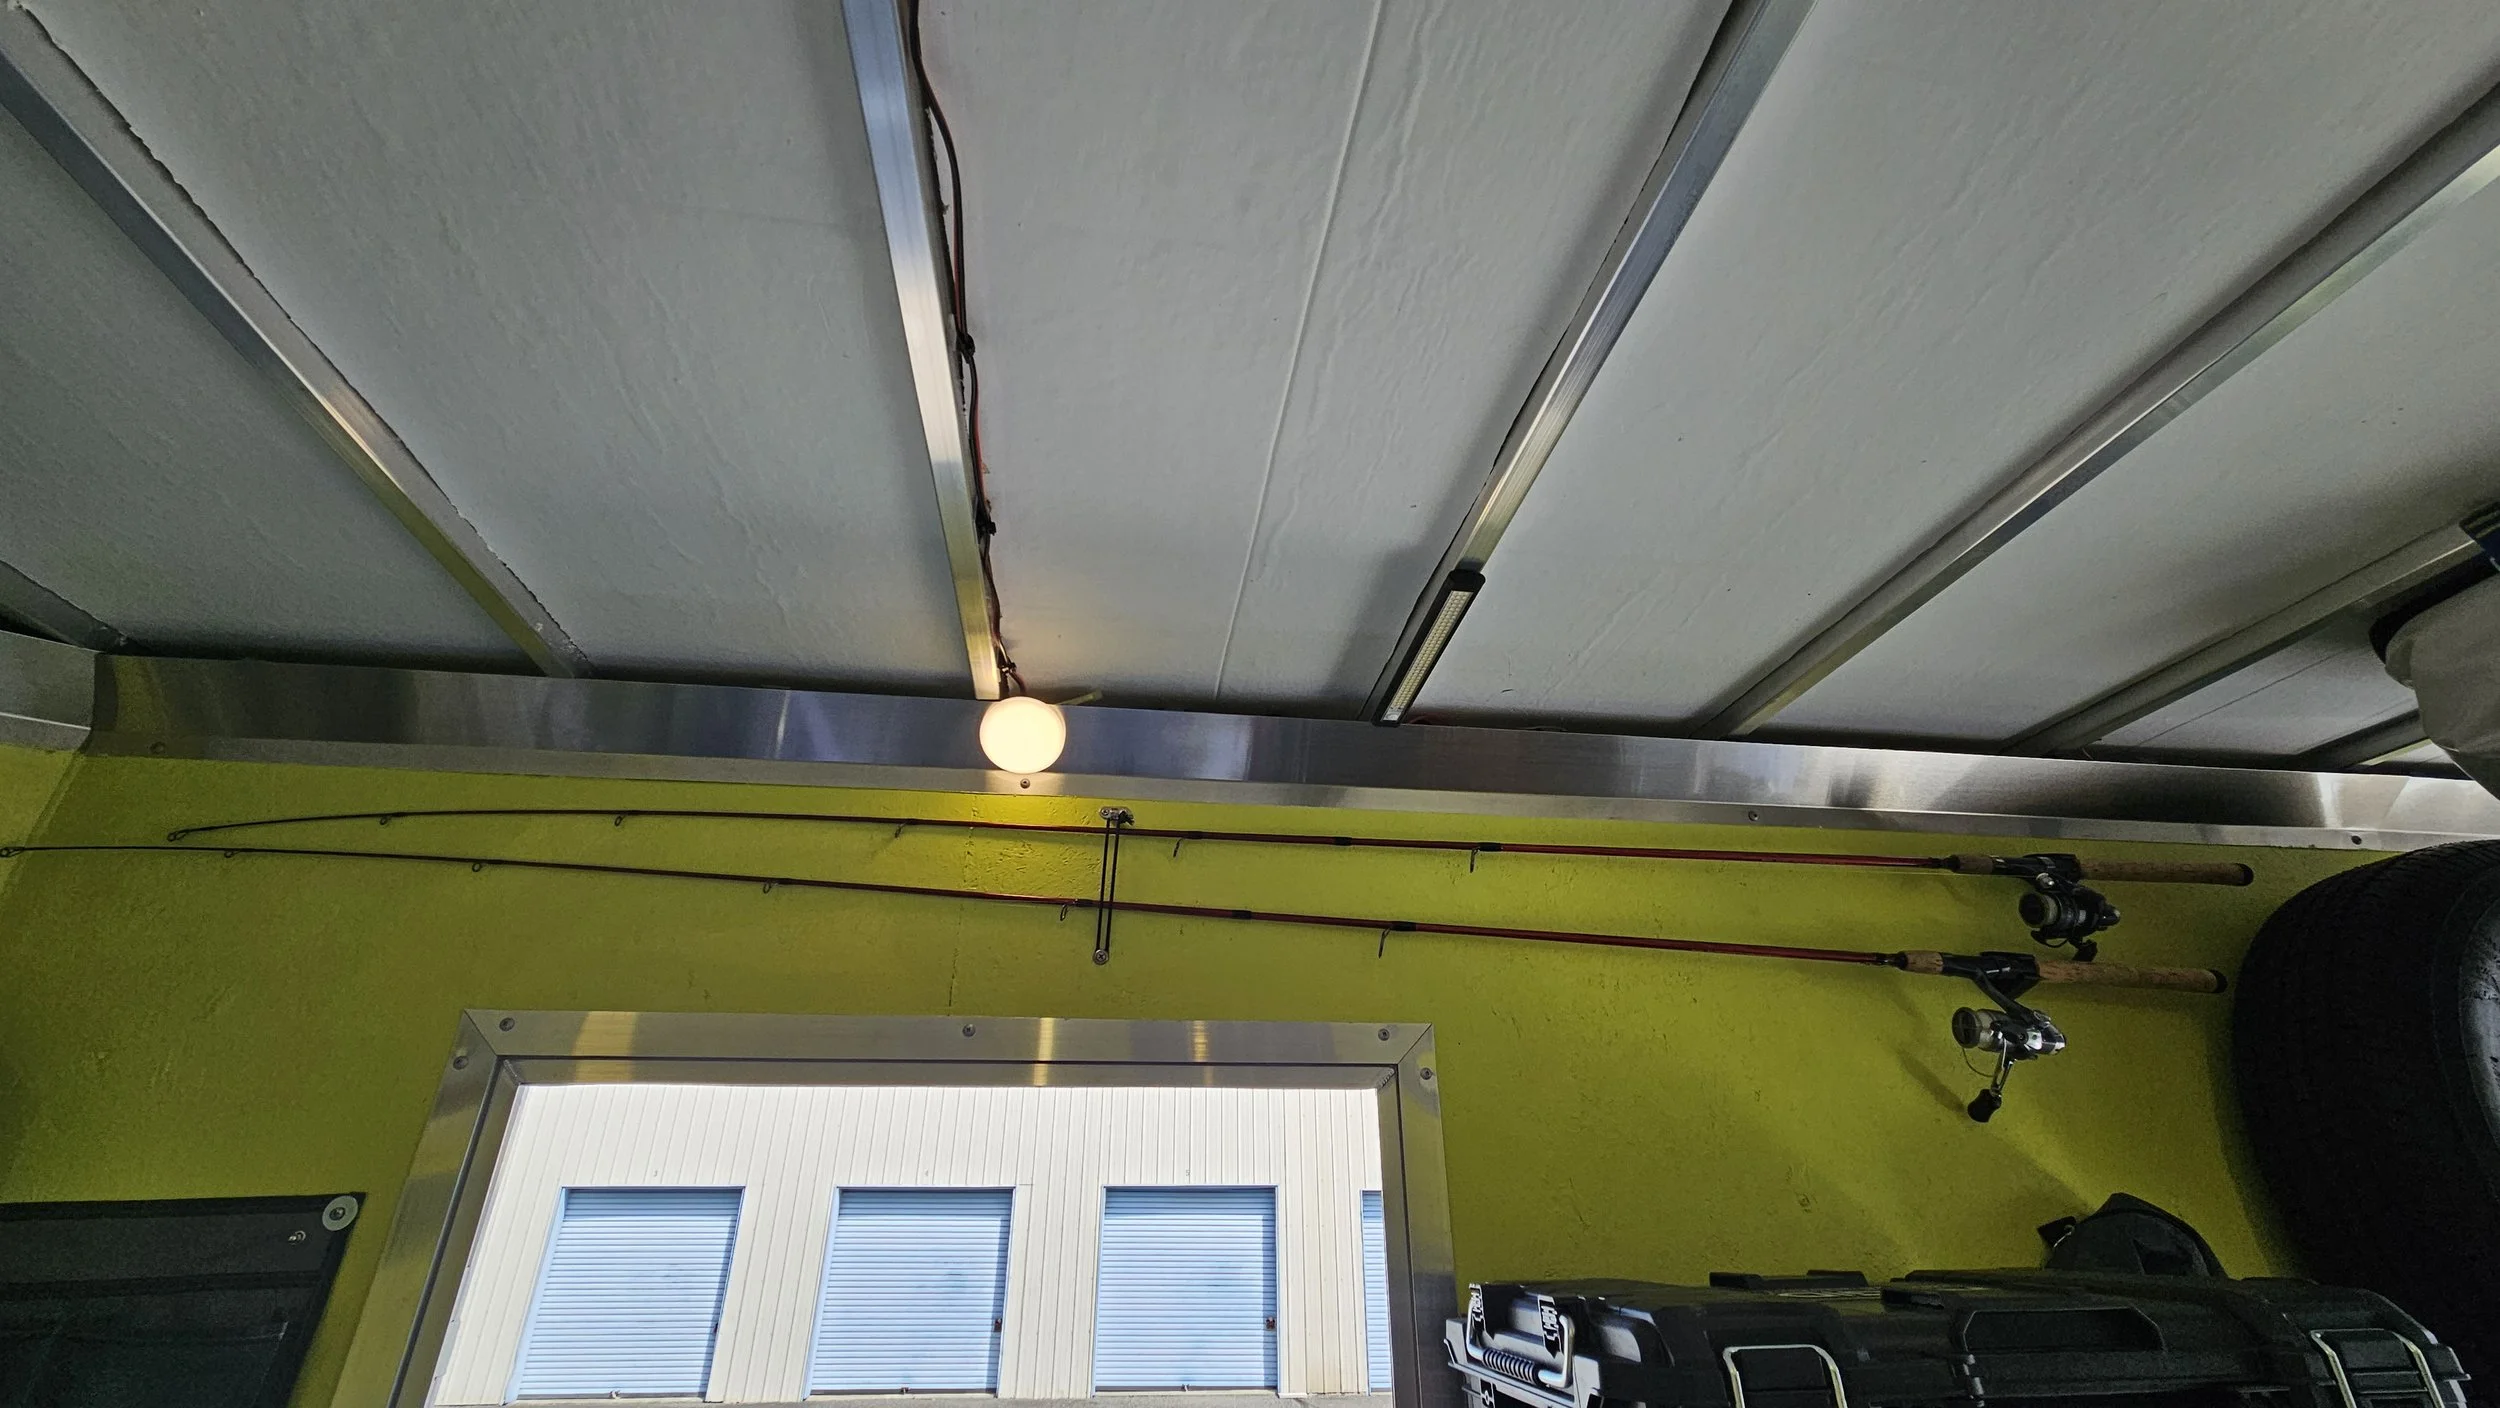
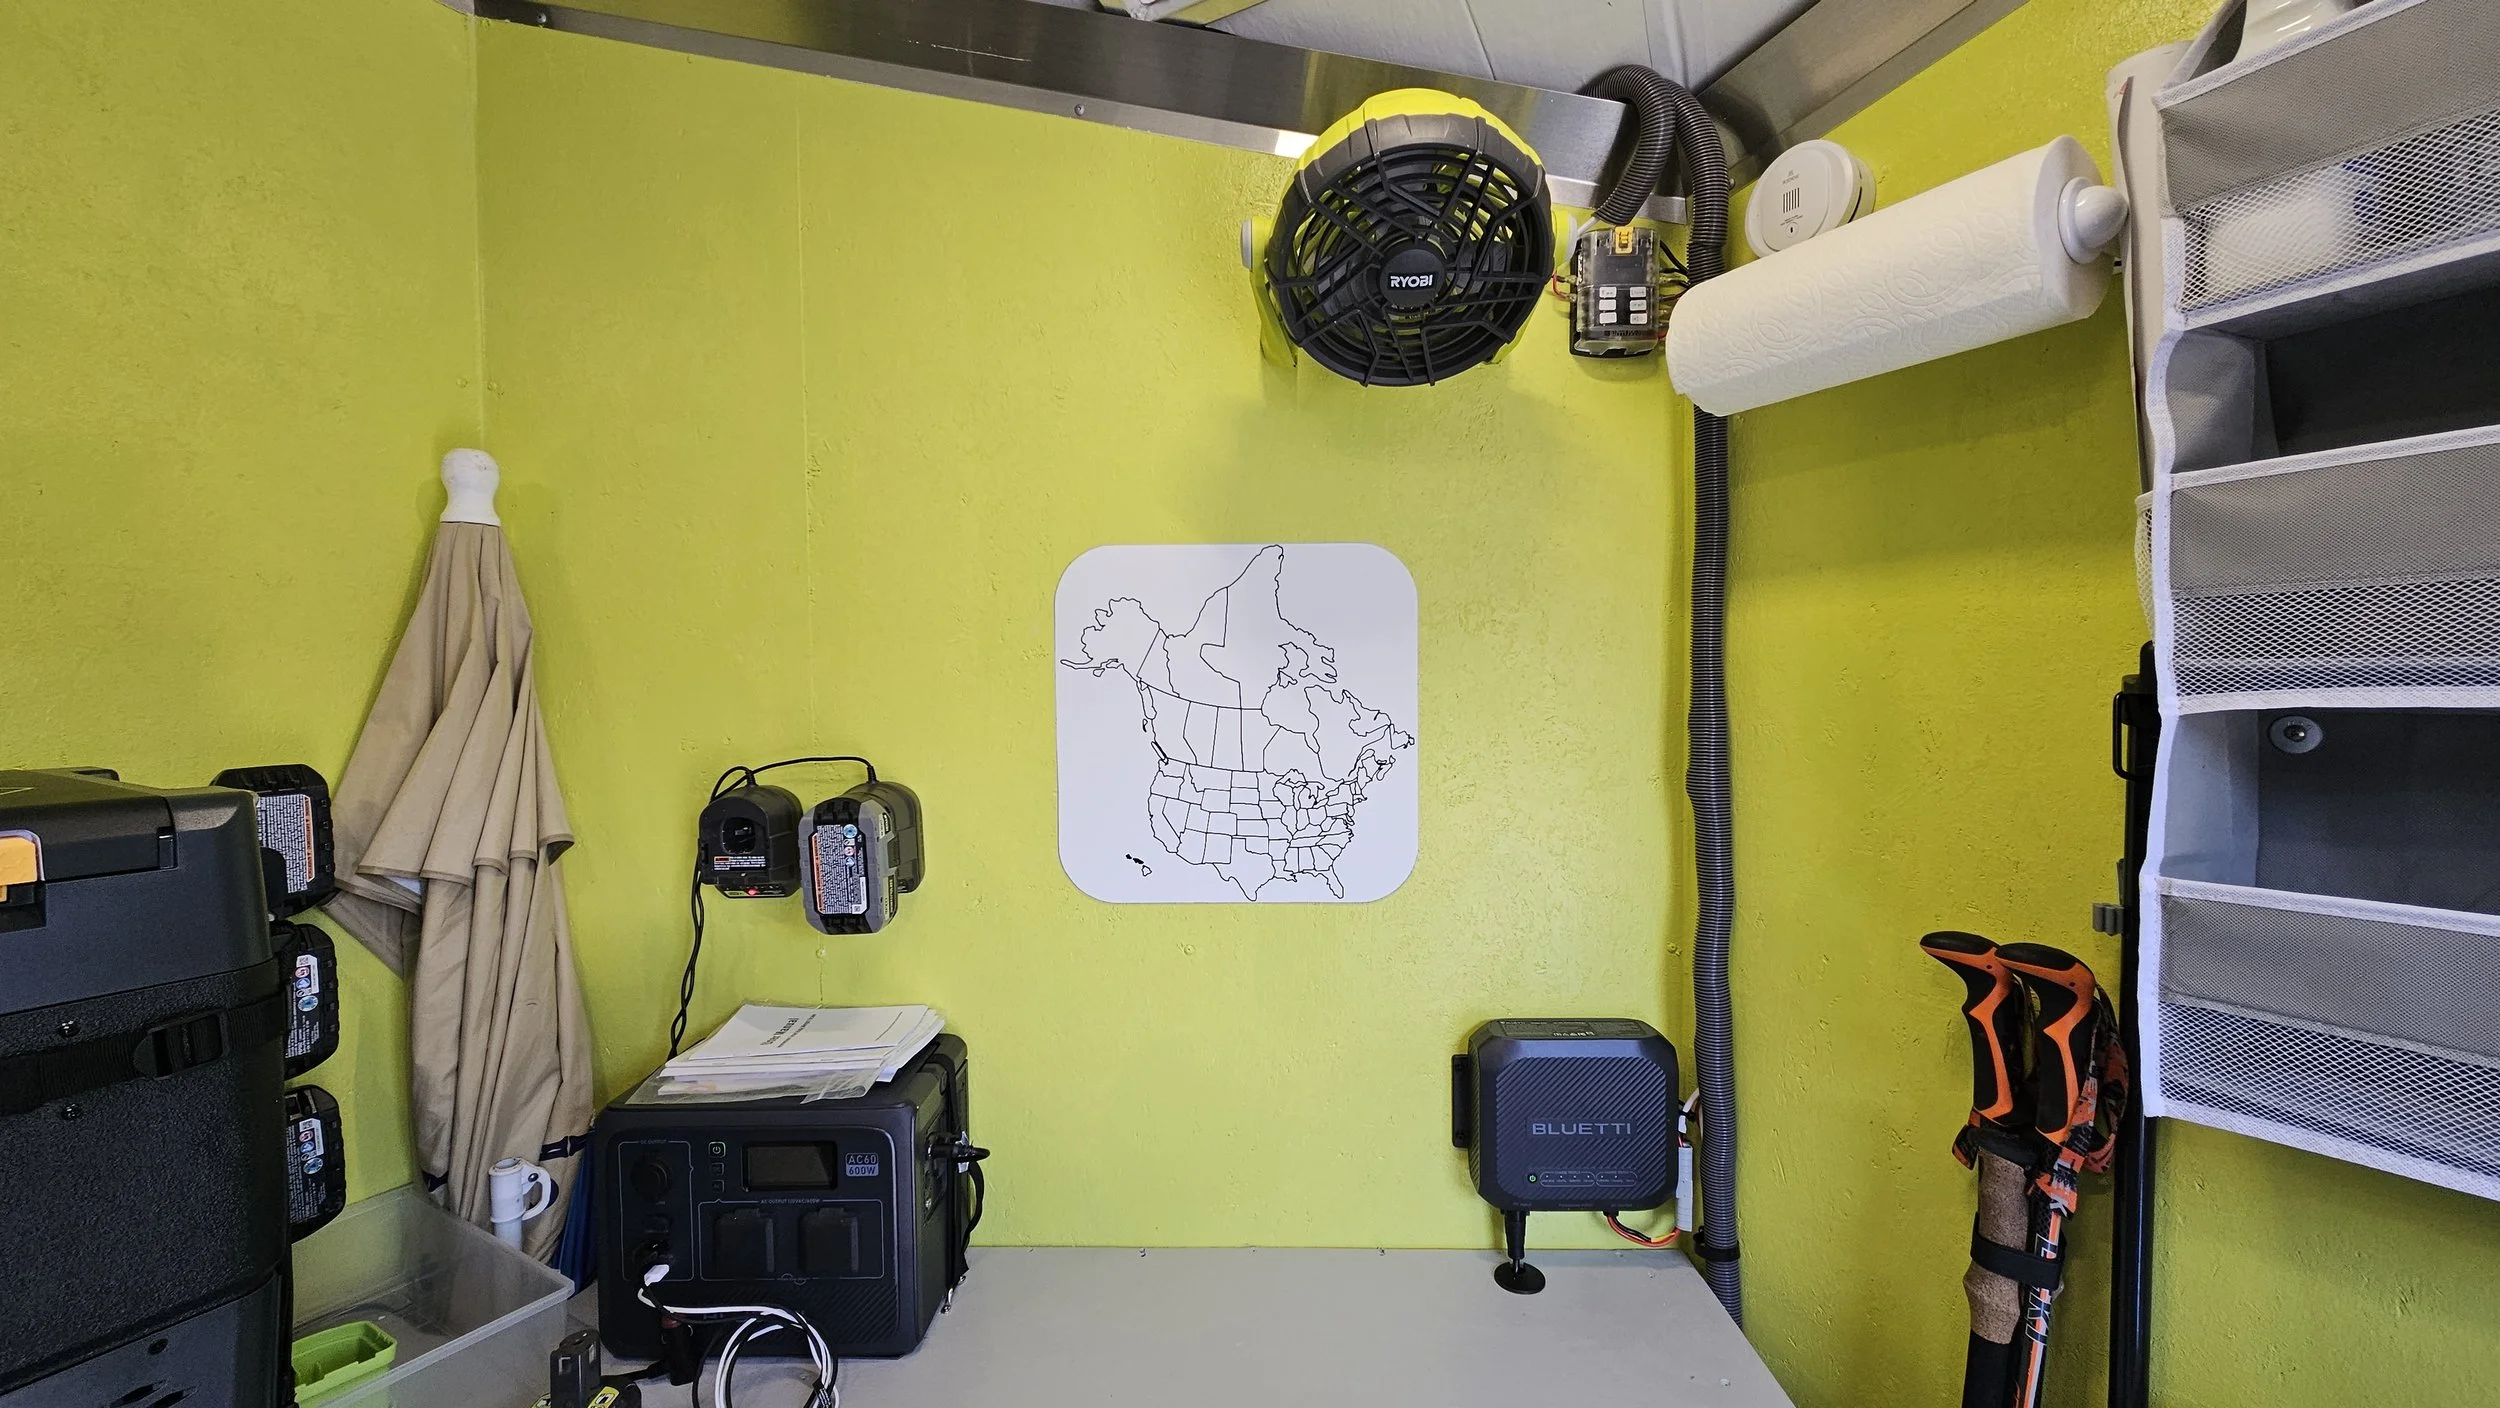
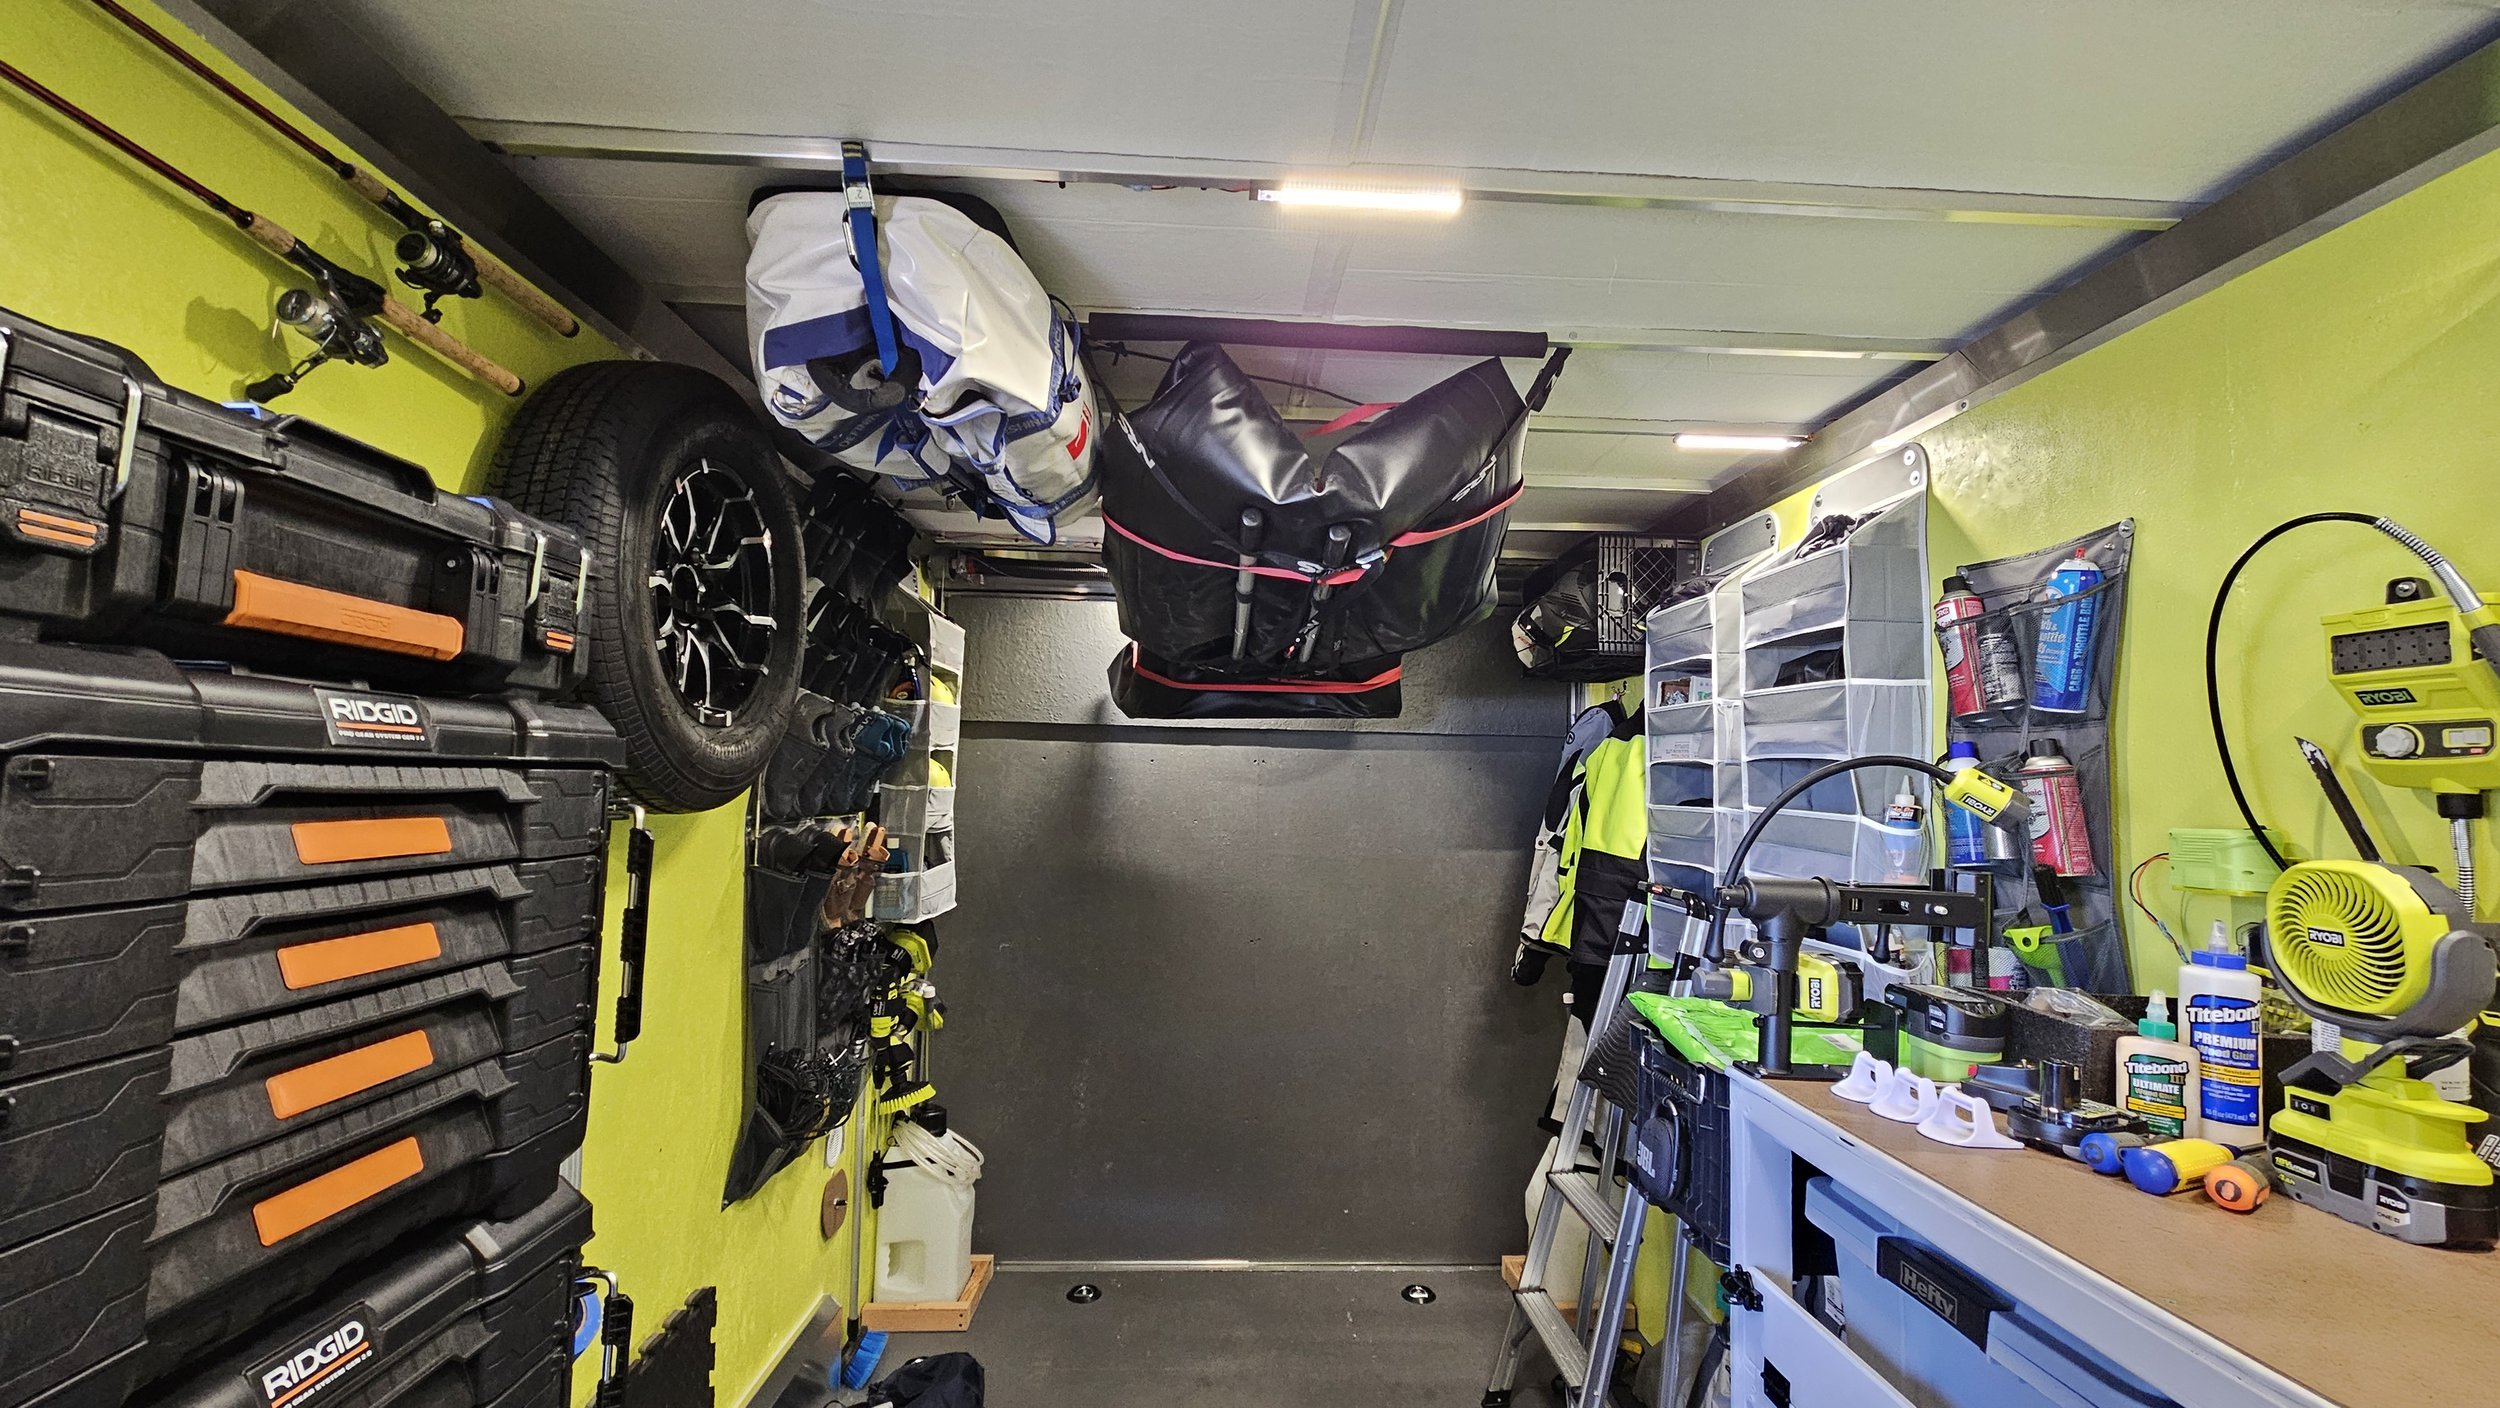
In these next pictures, you can see many jobs we completed - fridge/freezer (looks like a cooler) installed, tool storage set up, spare tire mounted, pockets attached to walls, motorcycle gear storage put up, washing machine installed (& tested), fishing poles put up, a map to track our states & provinces visited, etc. At some point during this time we also installed the power system we are using - a Bluetti AC200L Portable Power Station, B500K Expansion Battery, and AC60 Portable Power Station. This setup will allow us to plug in our camper to our trailer and have another full charge available. This setup is recharged by solar or by plugging in to power.
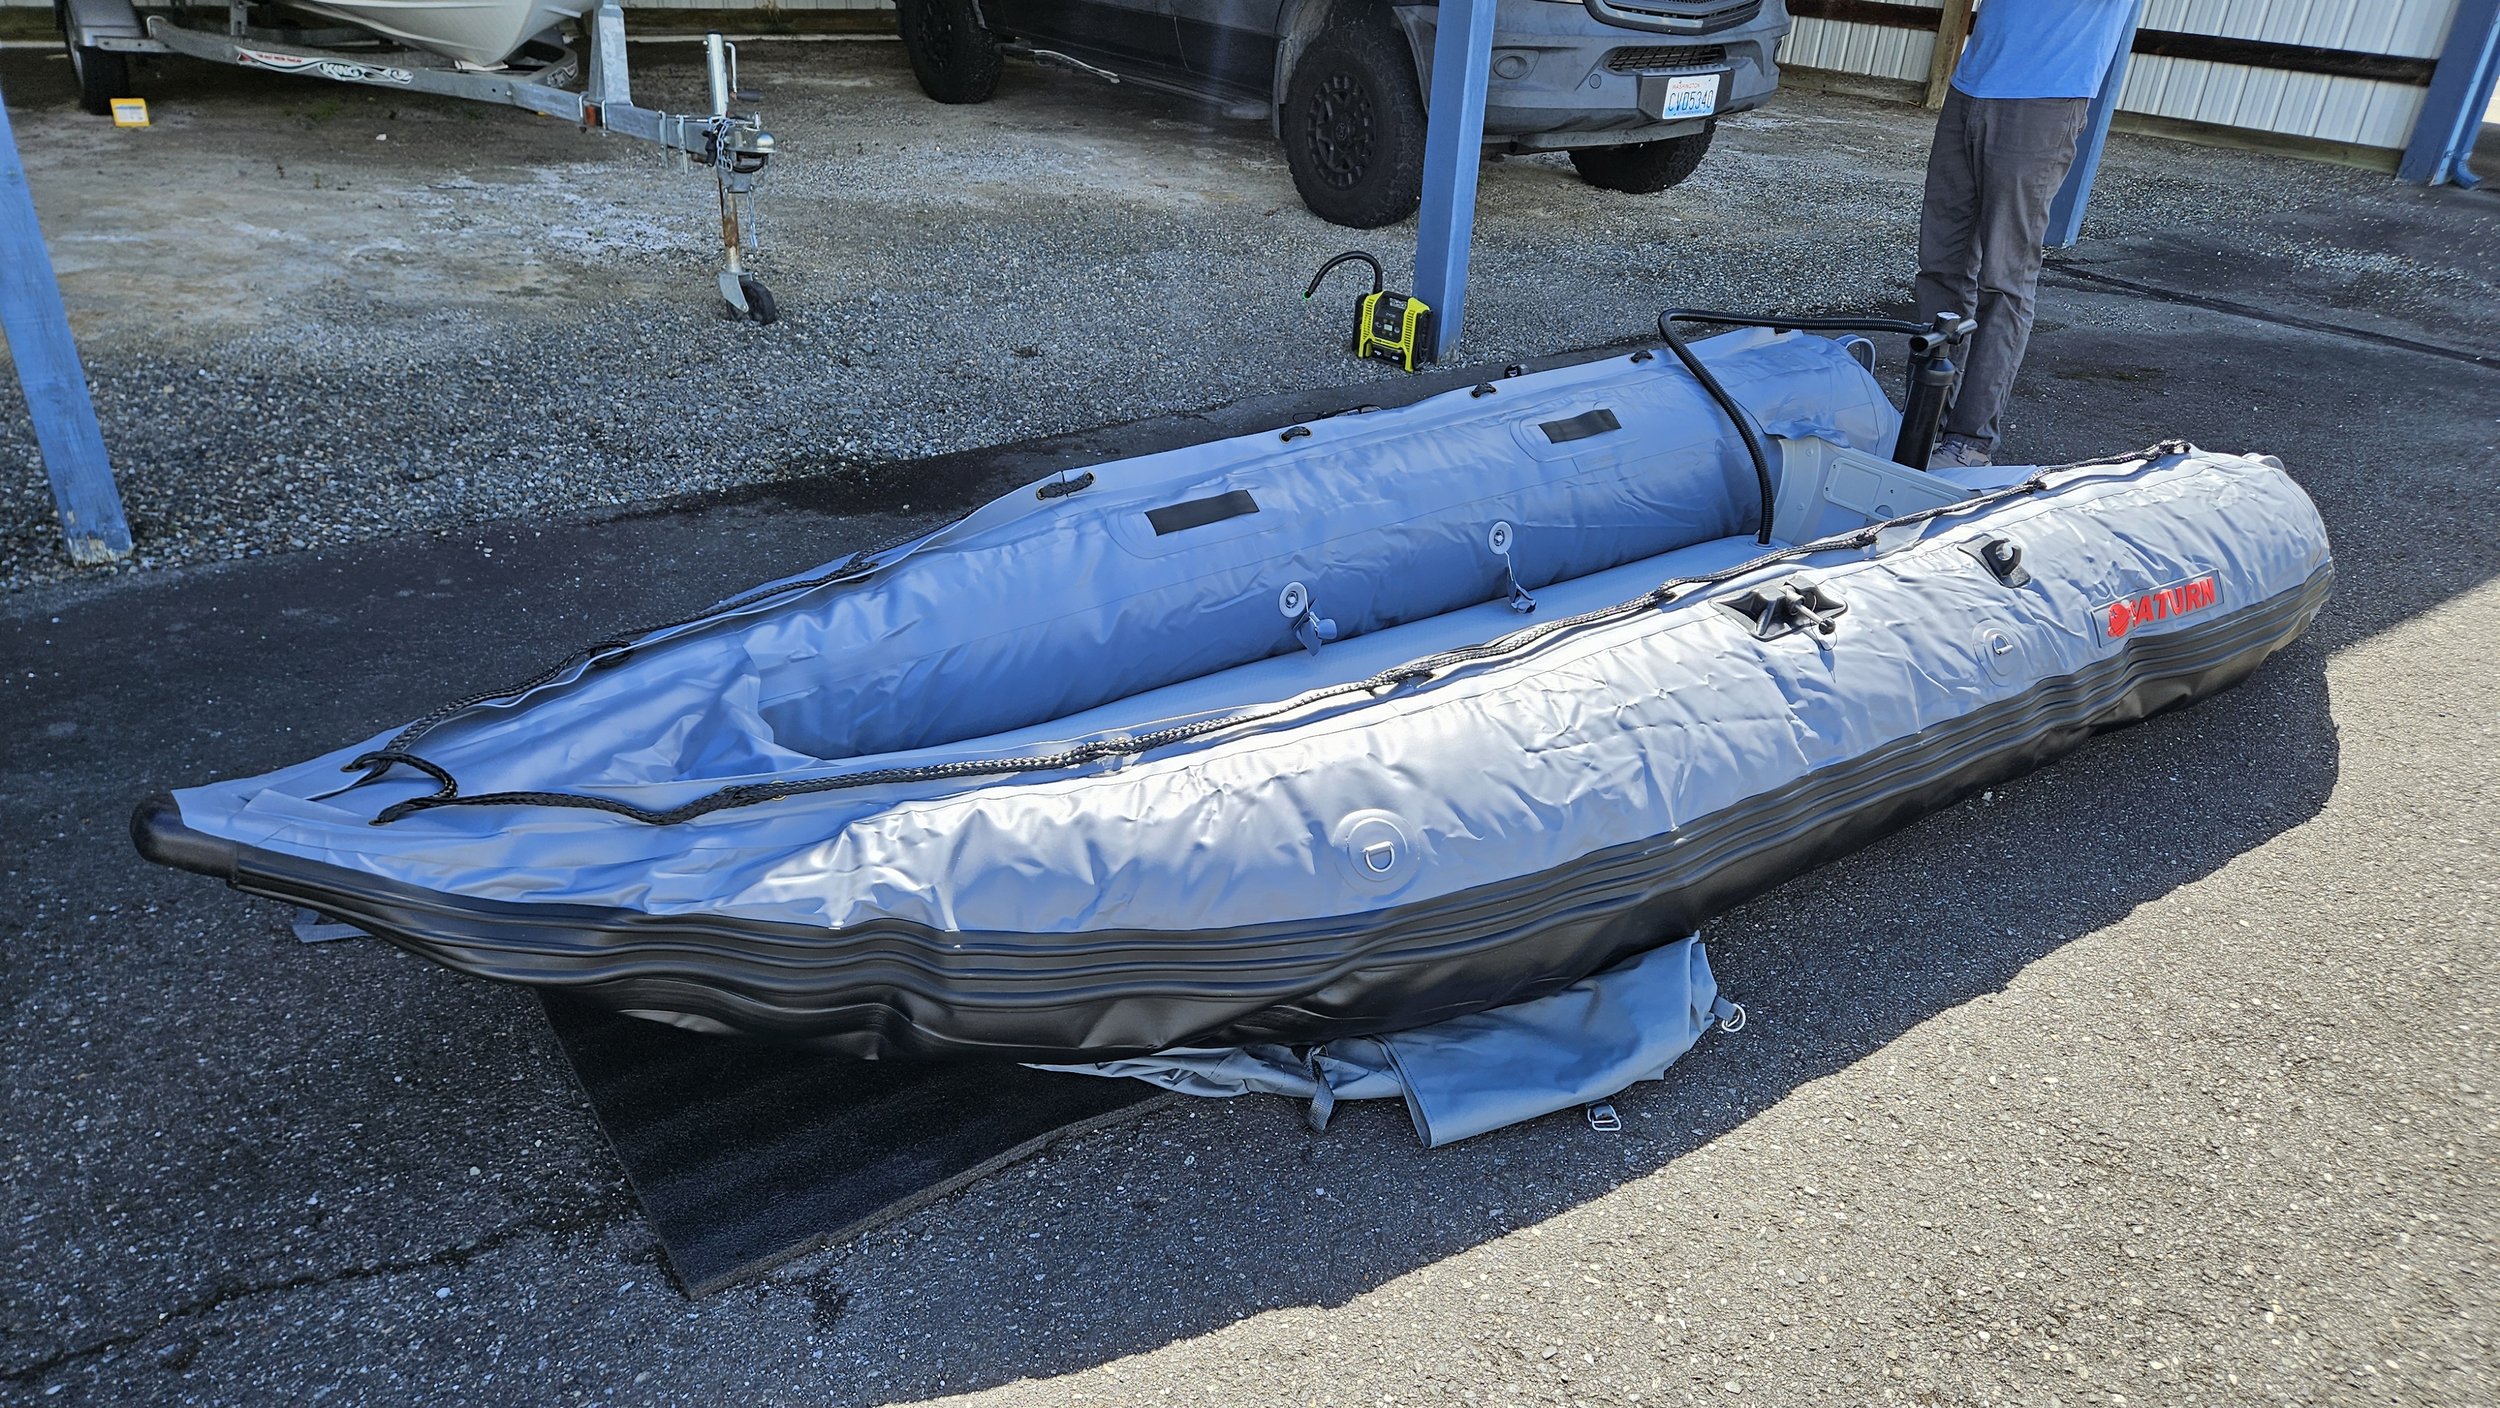
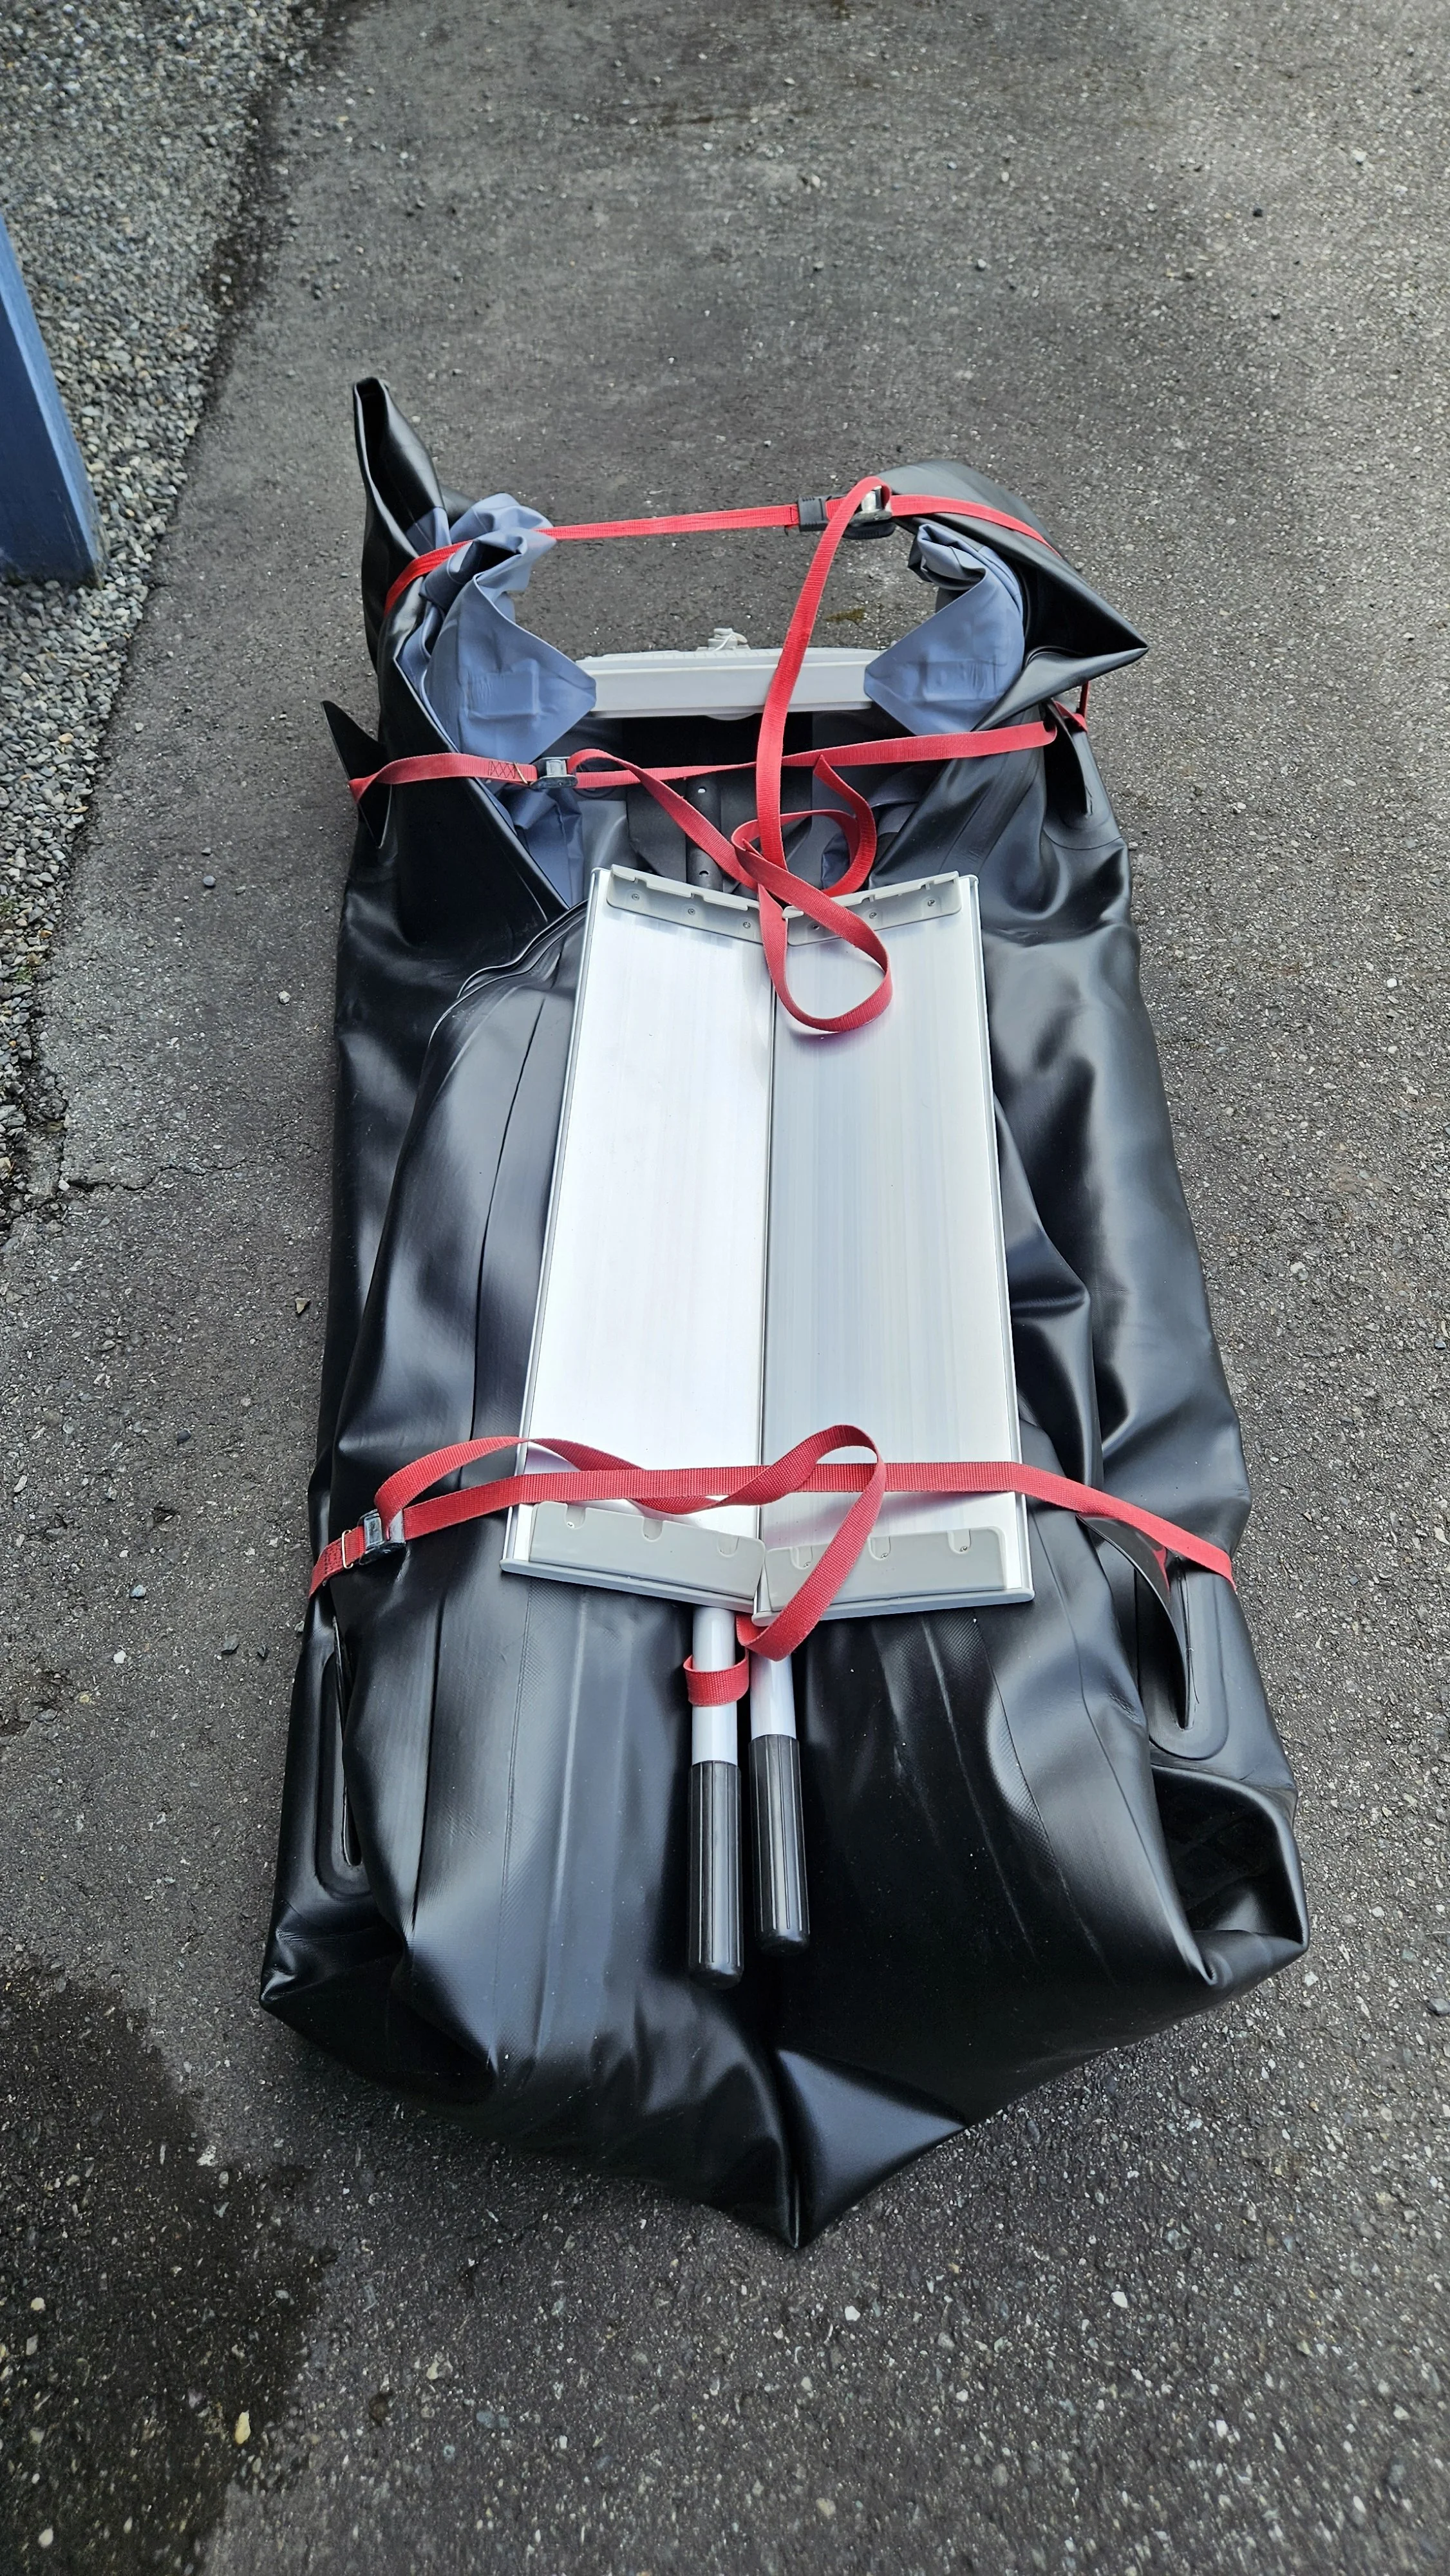
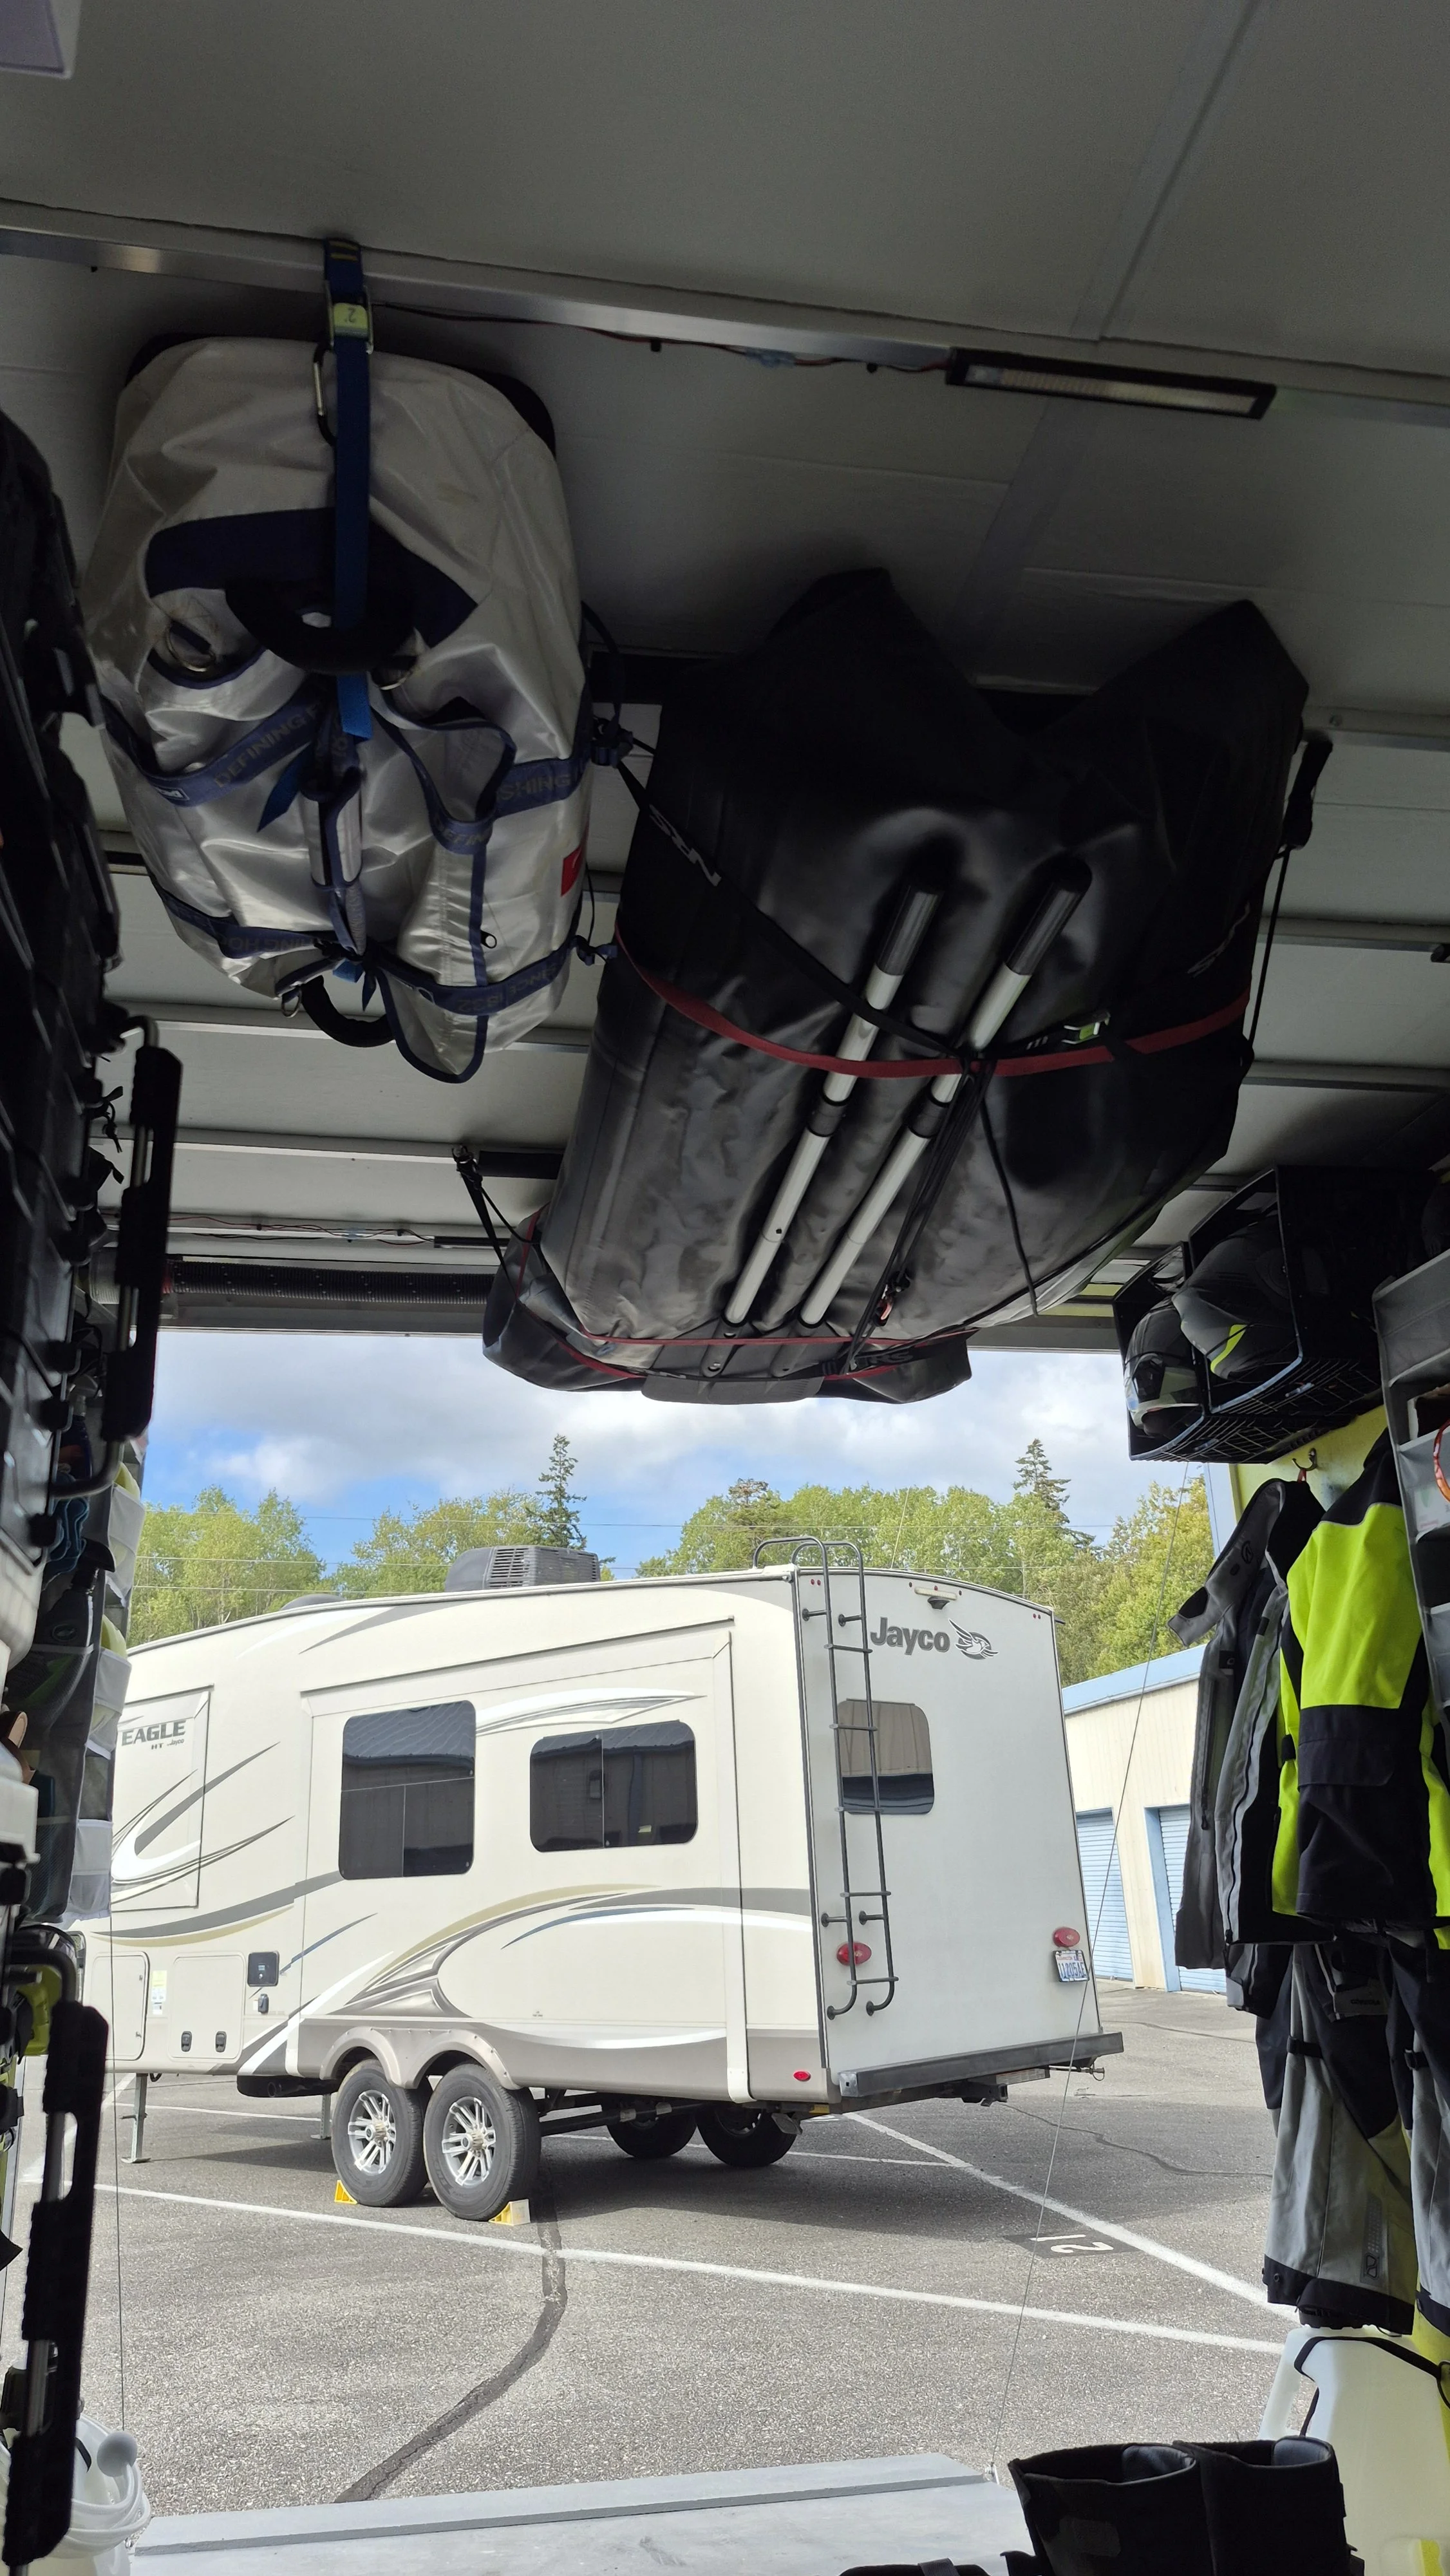
Here is our Saturn KaBoat 13XL that we will use to go out on lakes, rivers, and other bodies of water that we come across on our travels. We will use an ePropulsion eLite electric motor to power the KaBoat (unless we choose to row). It took some iterations to determine the best way to hang this and our “boat bag” from the ceiling.
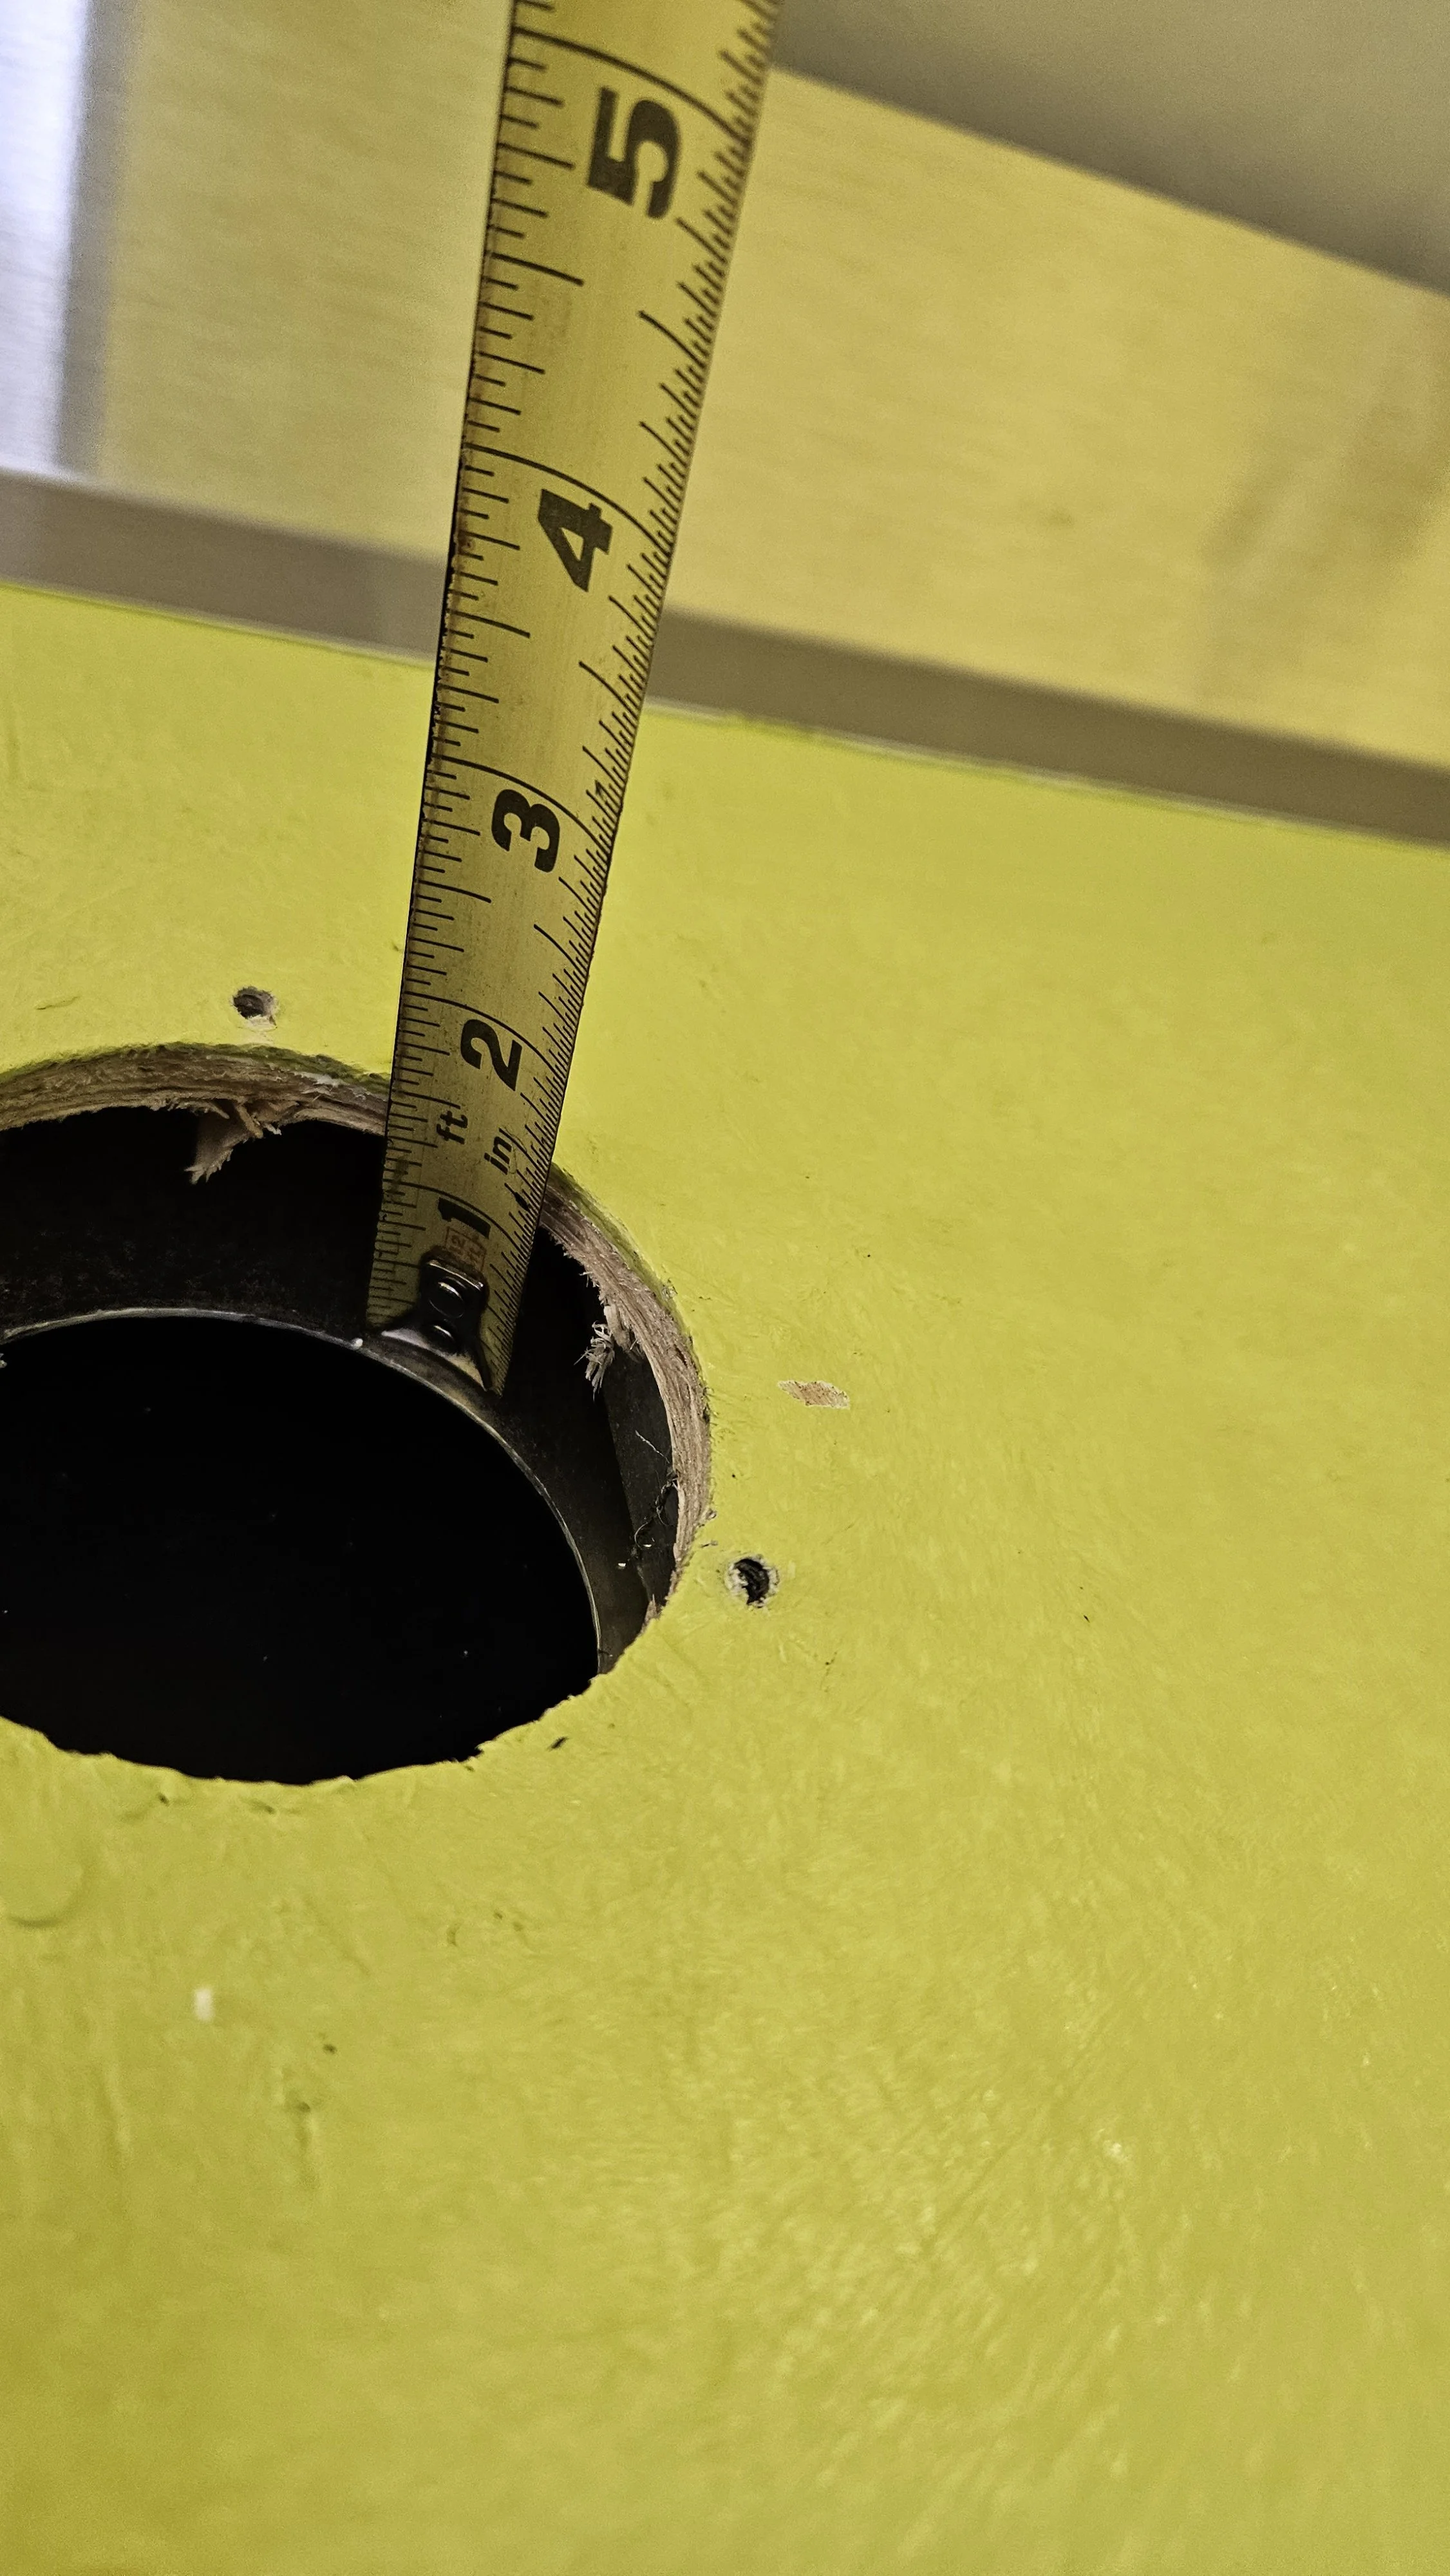
We cut holes in the trailer to have an electric hookup (in and out) and water fill.
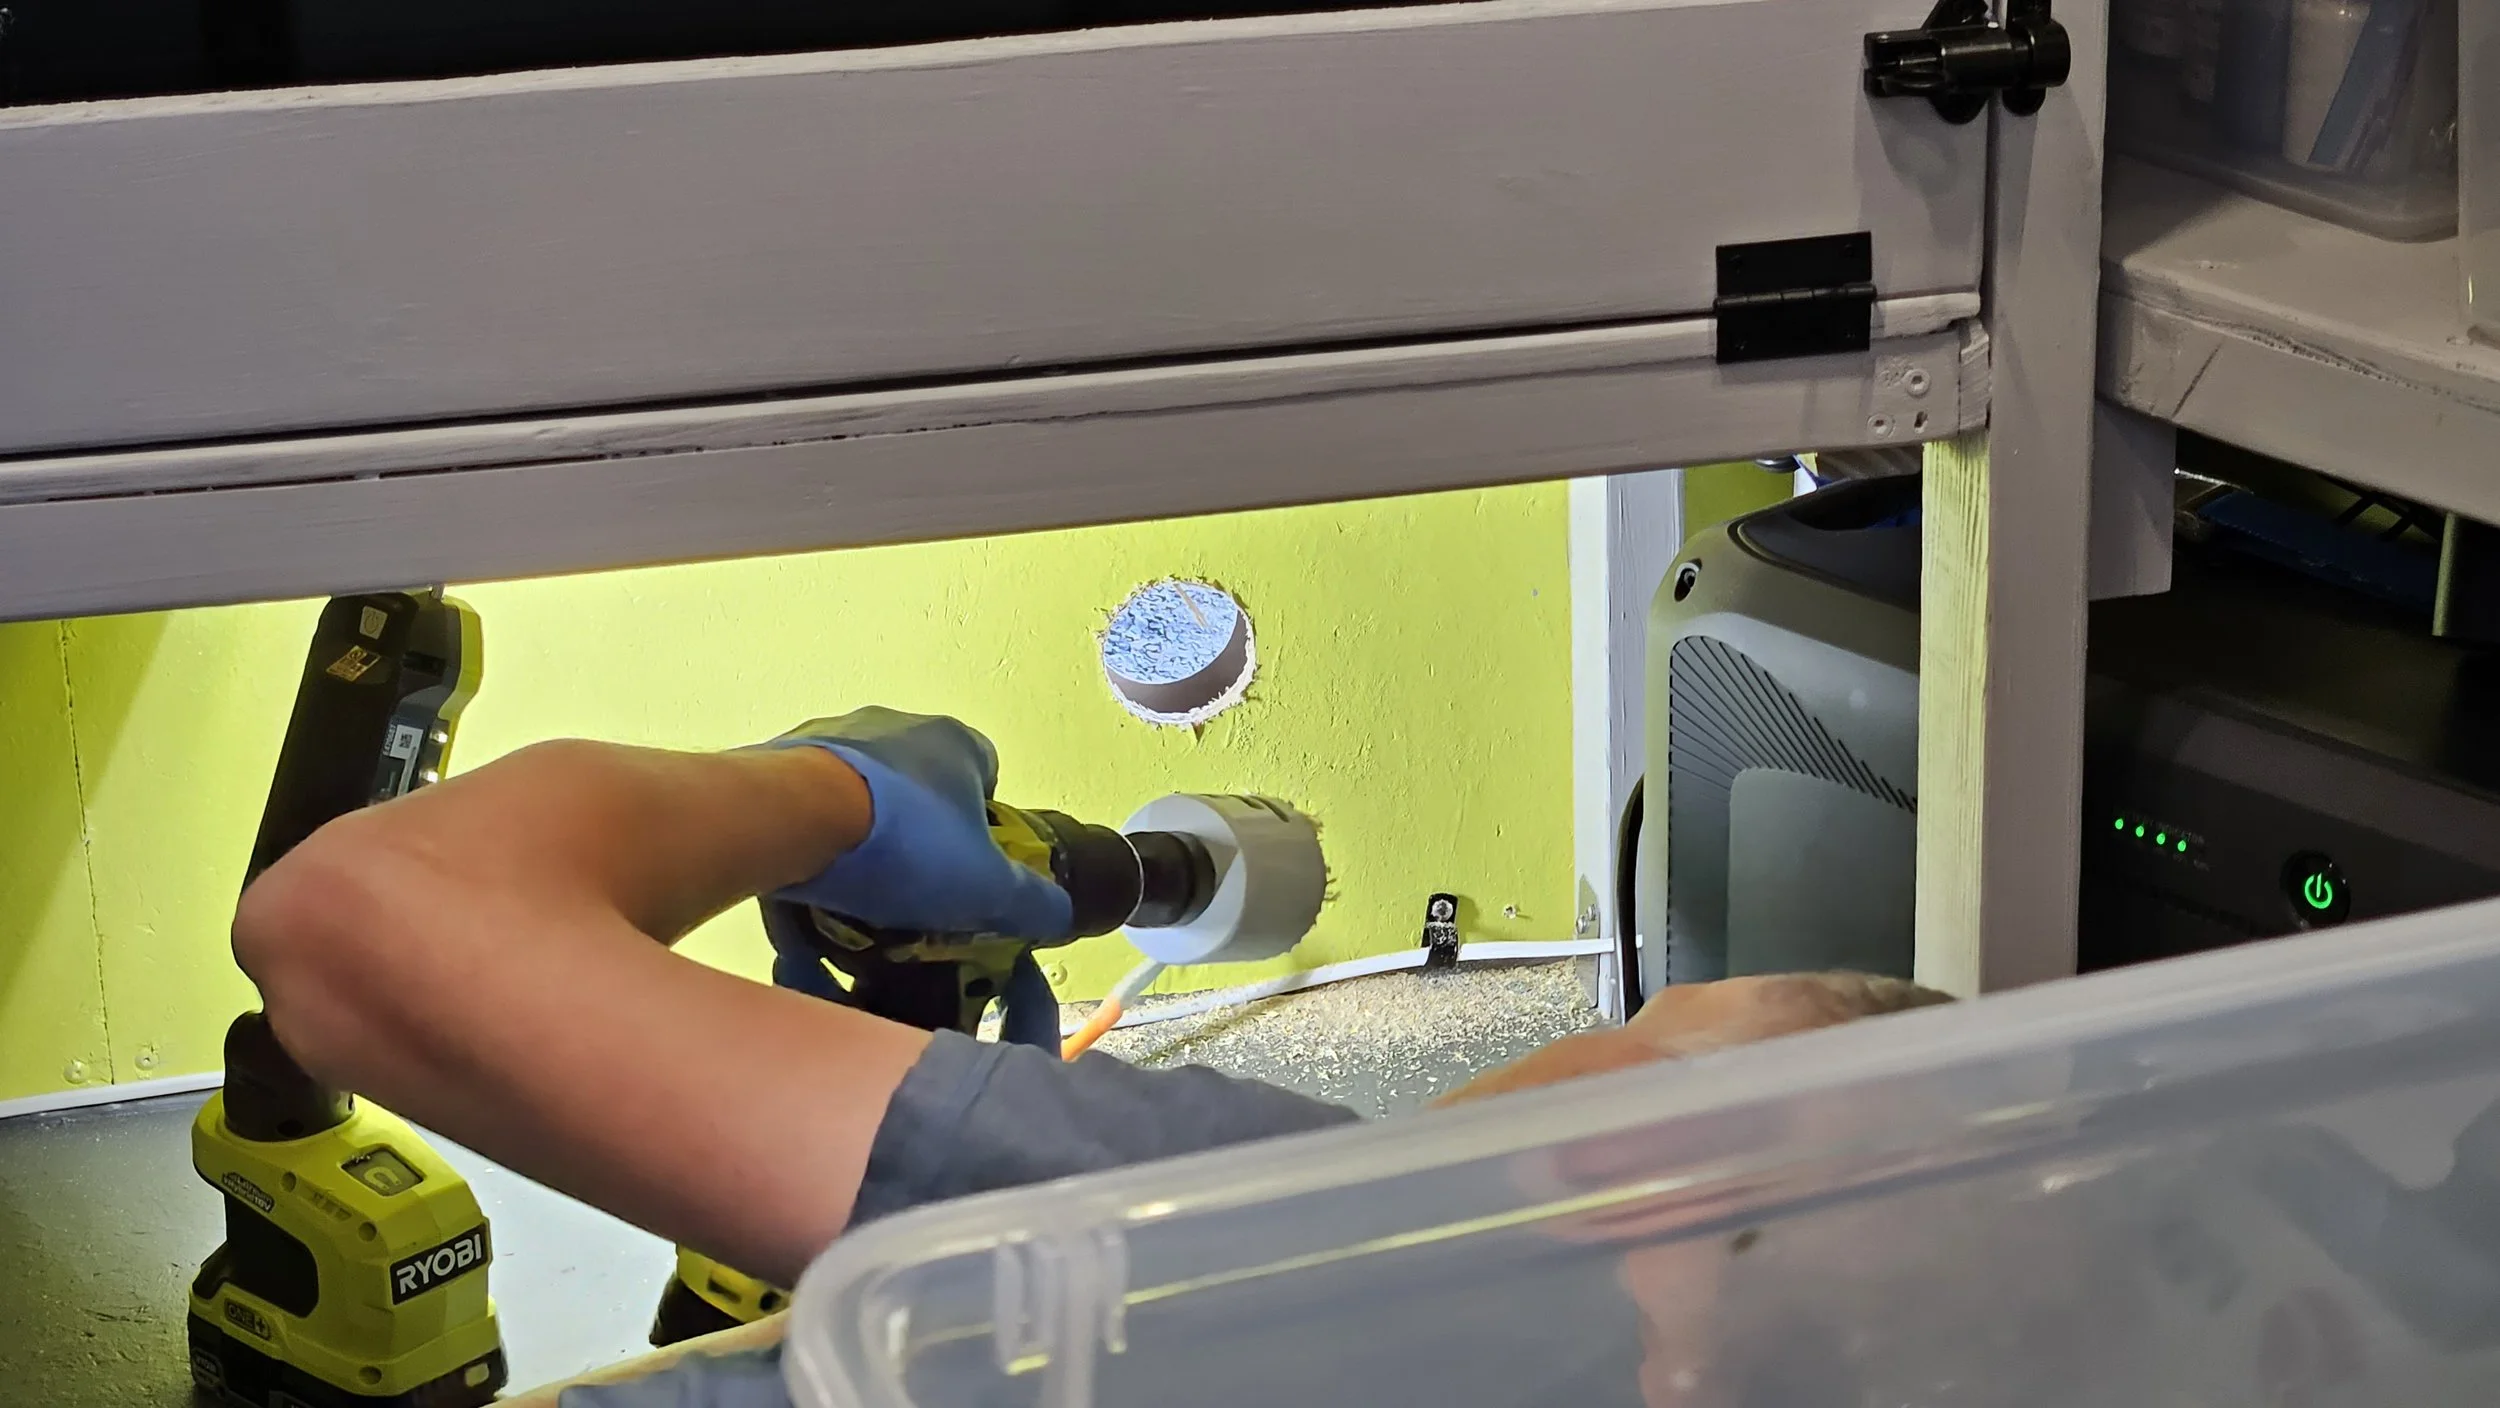
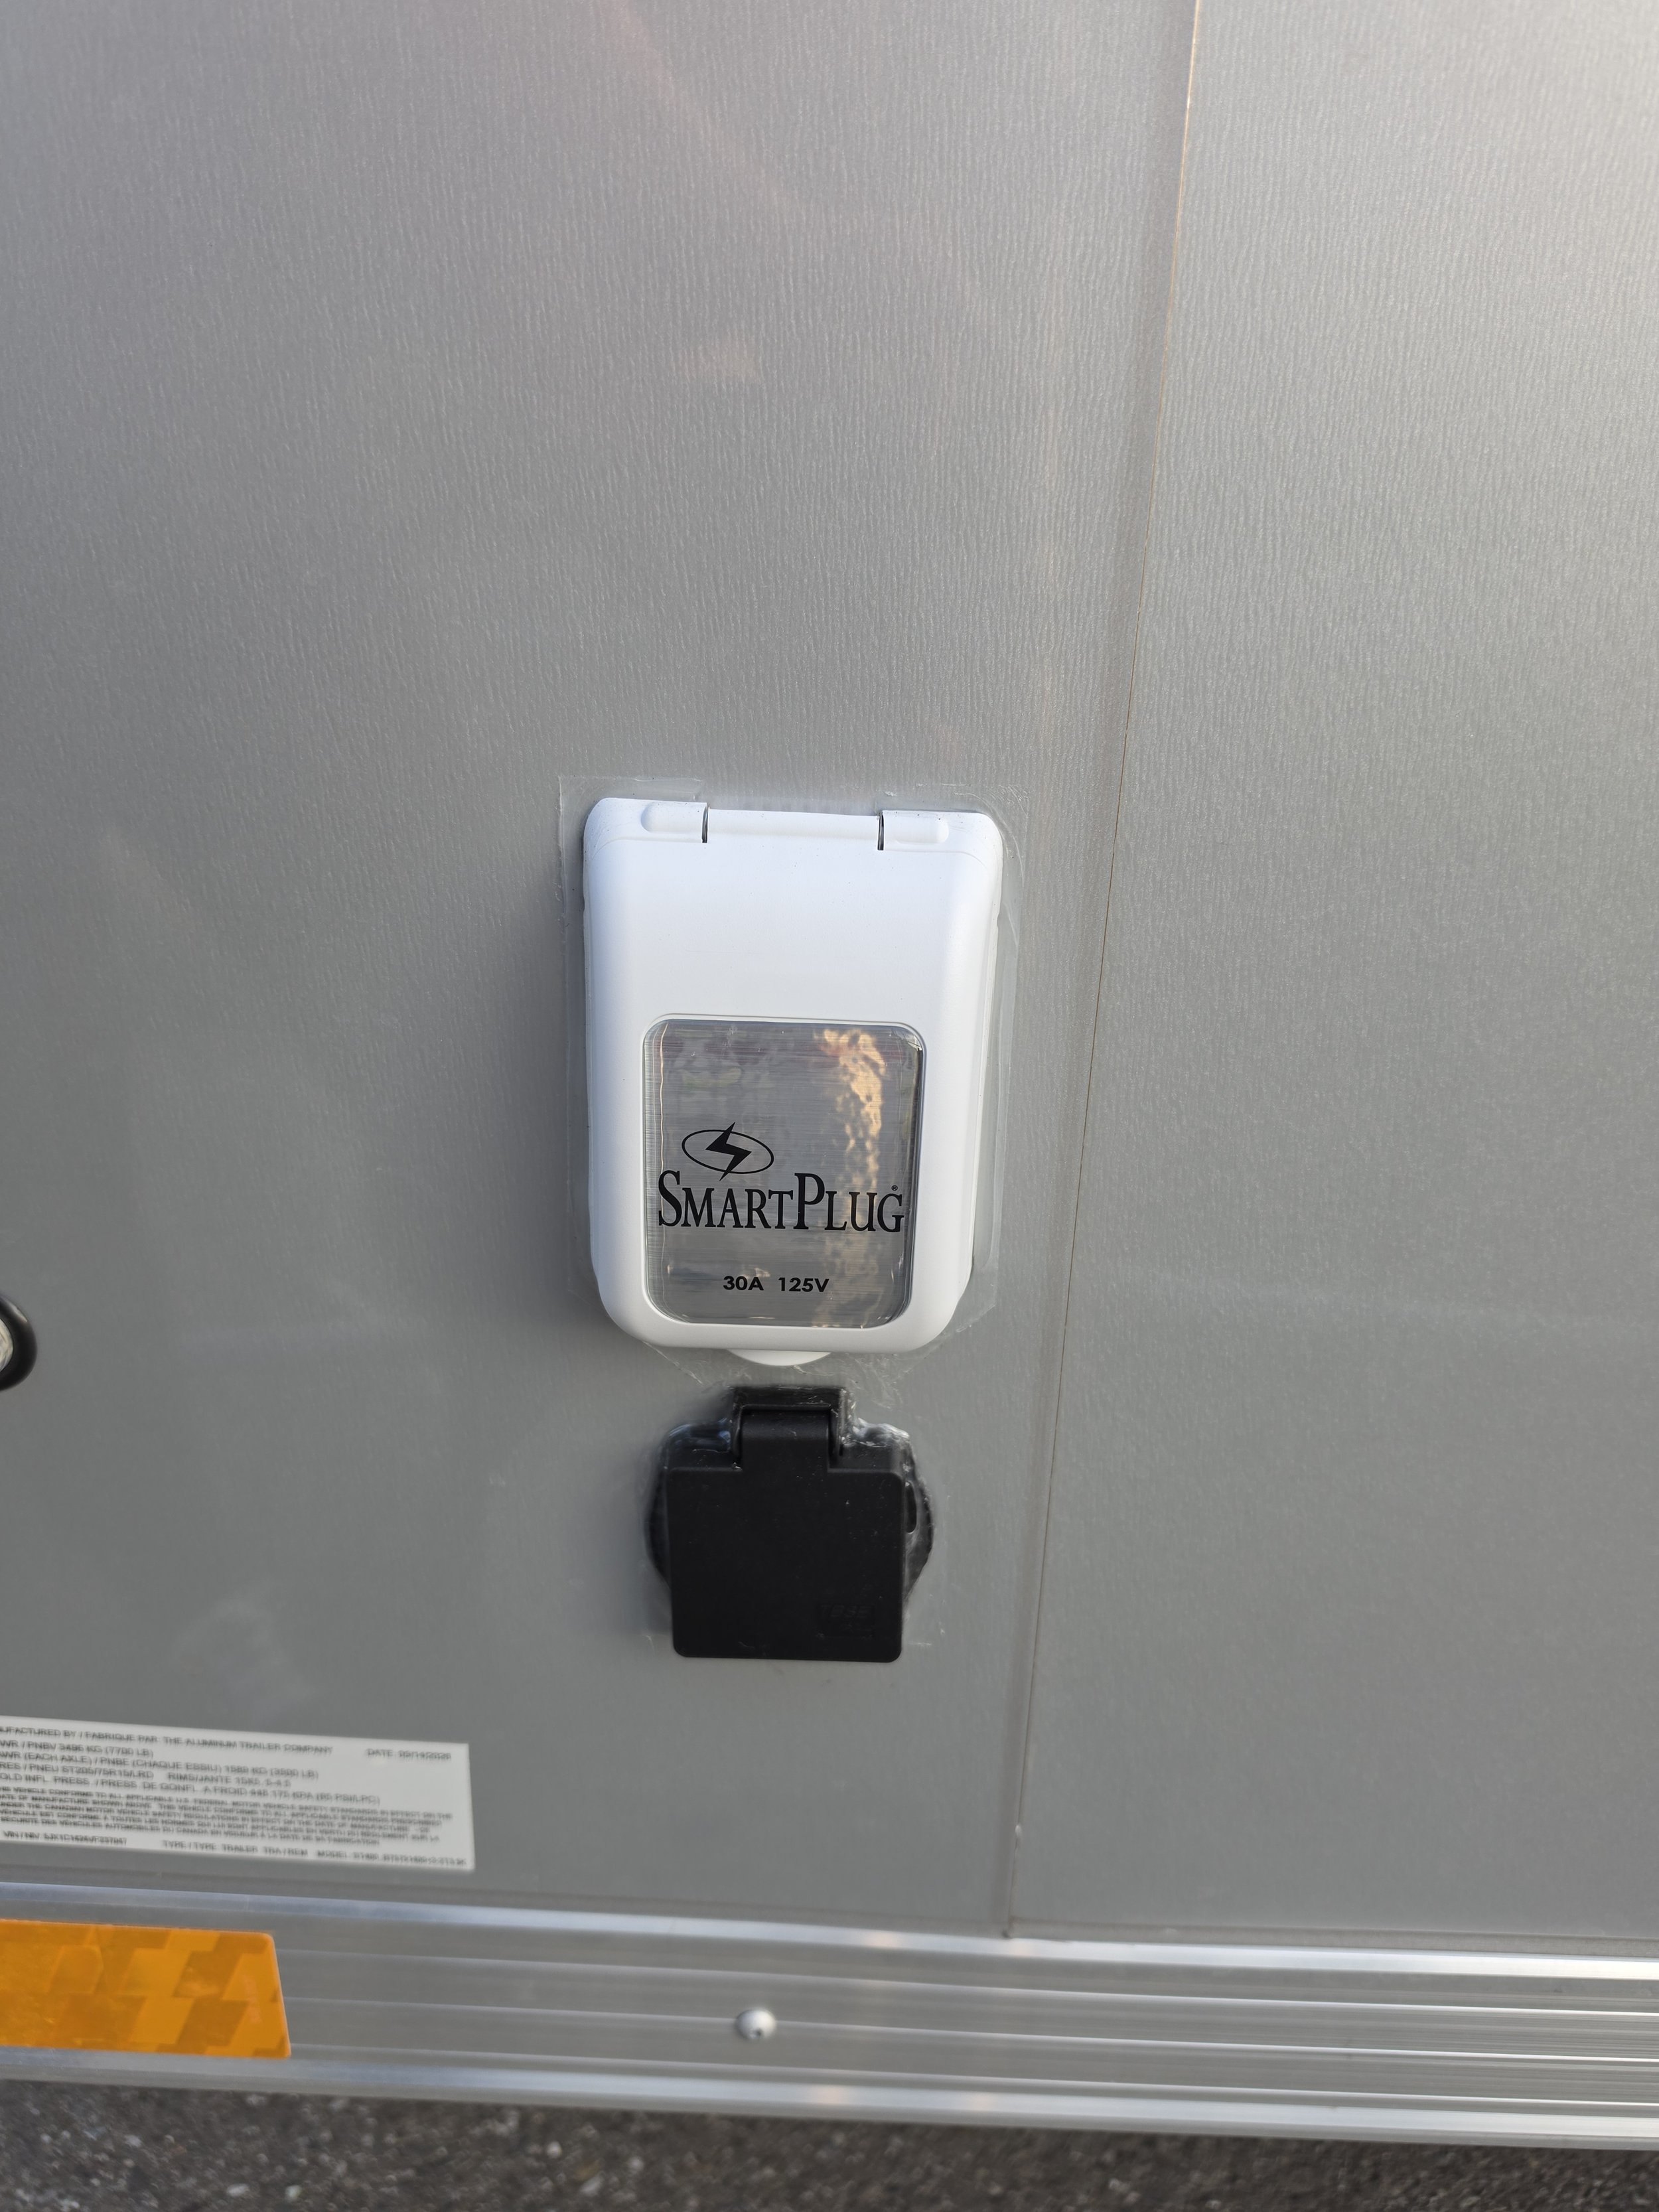
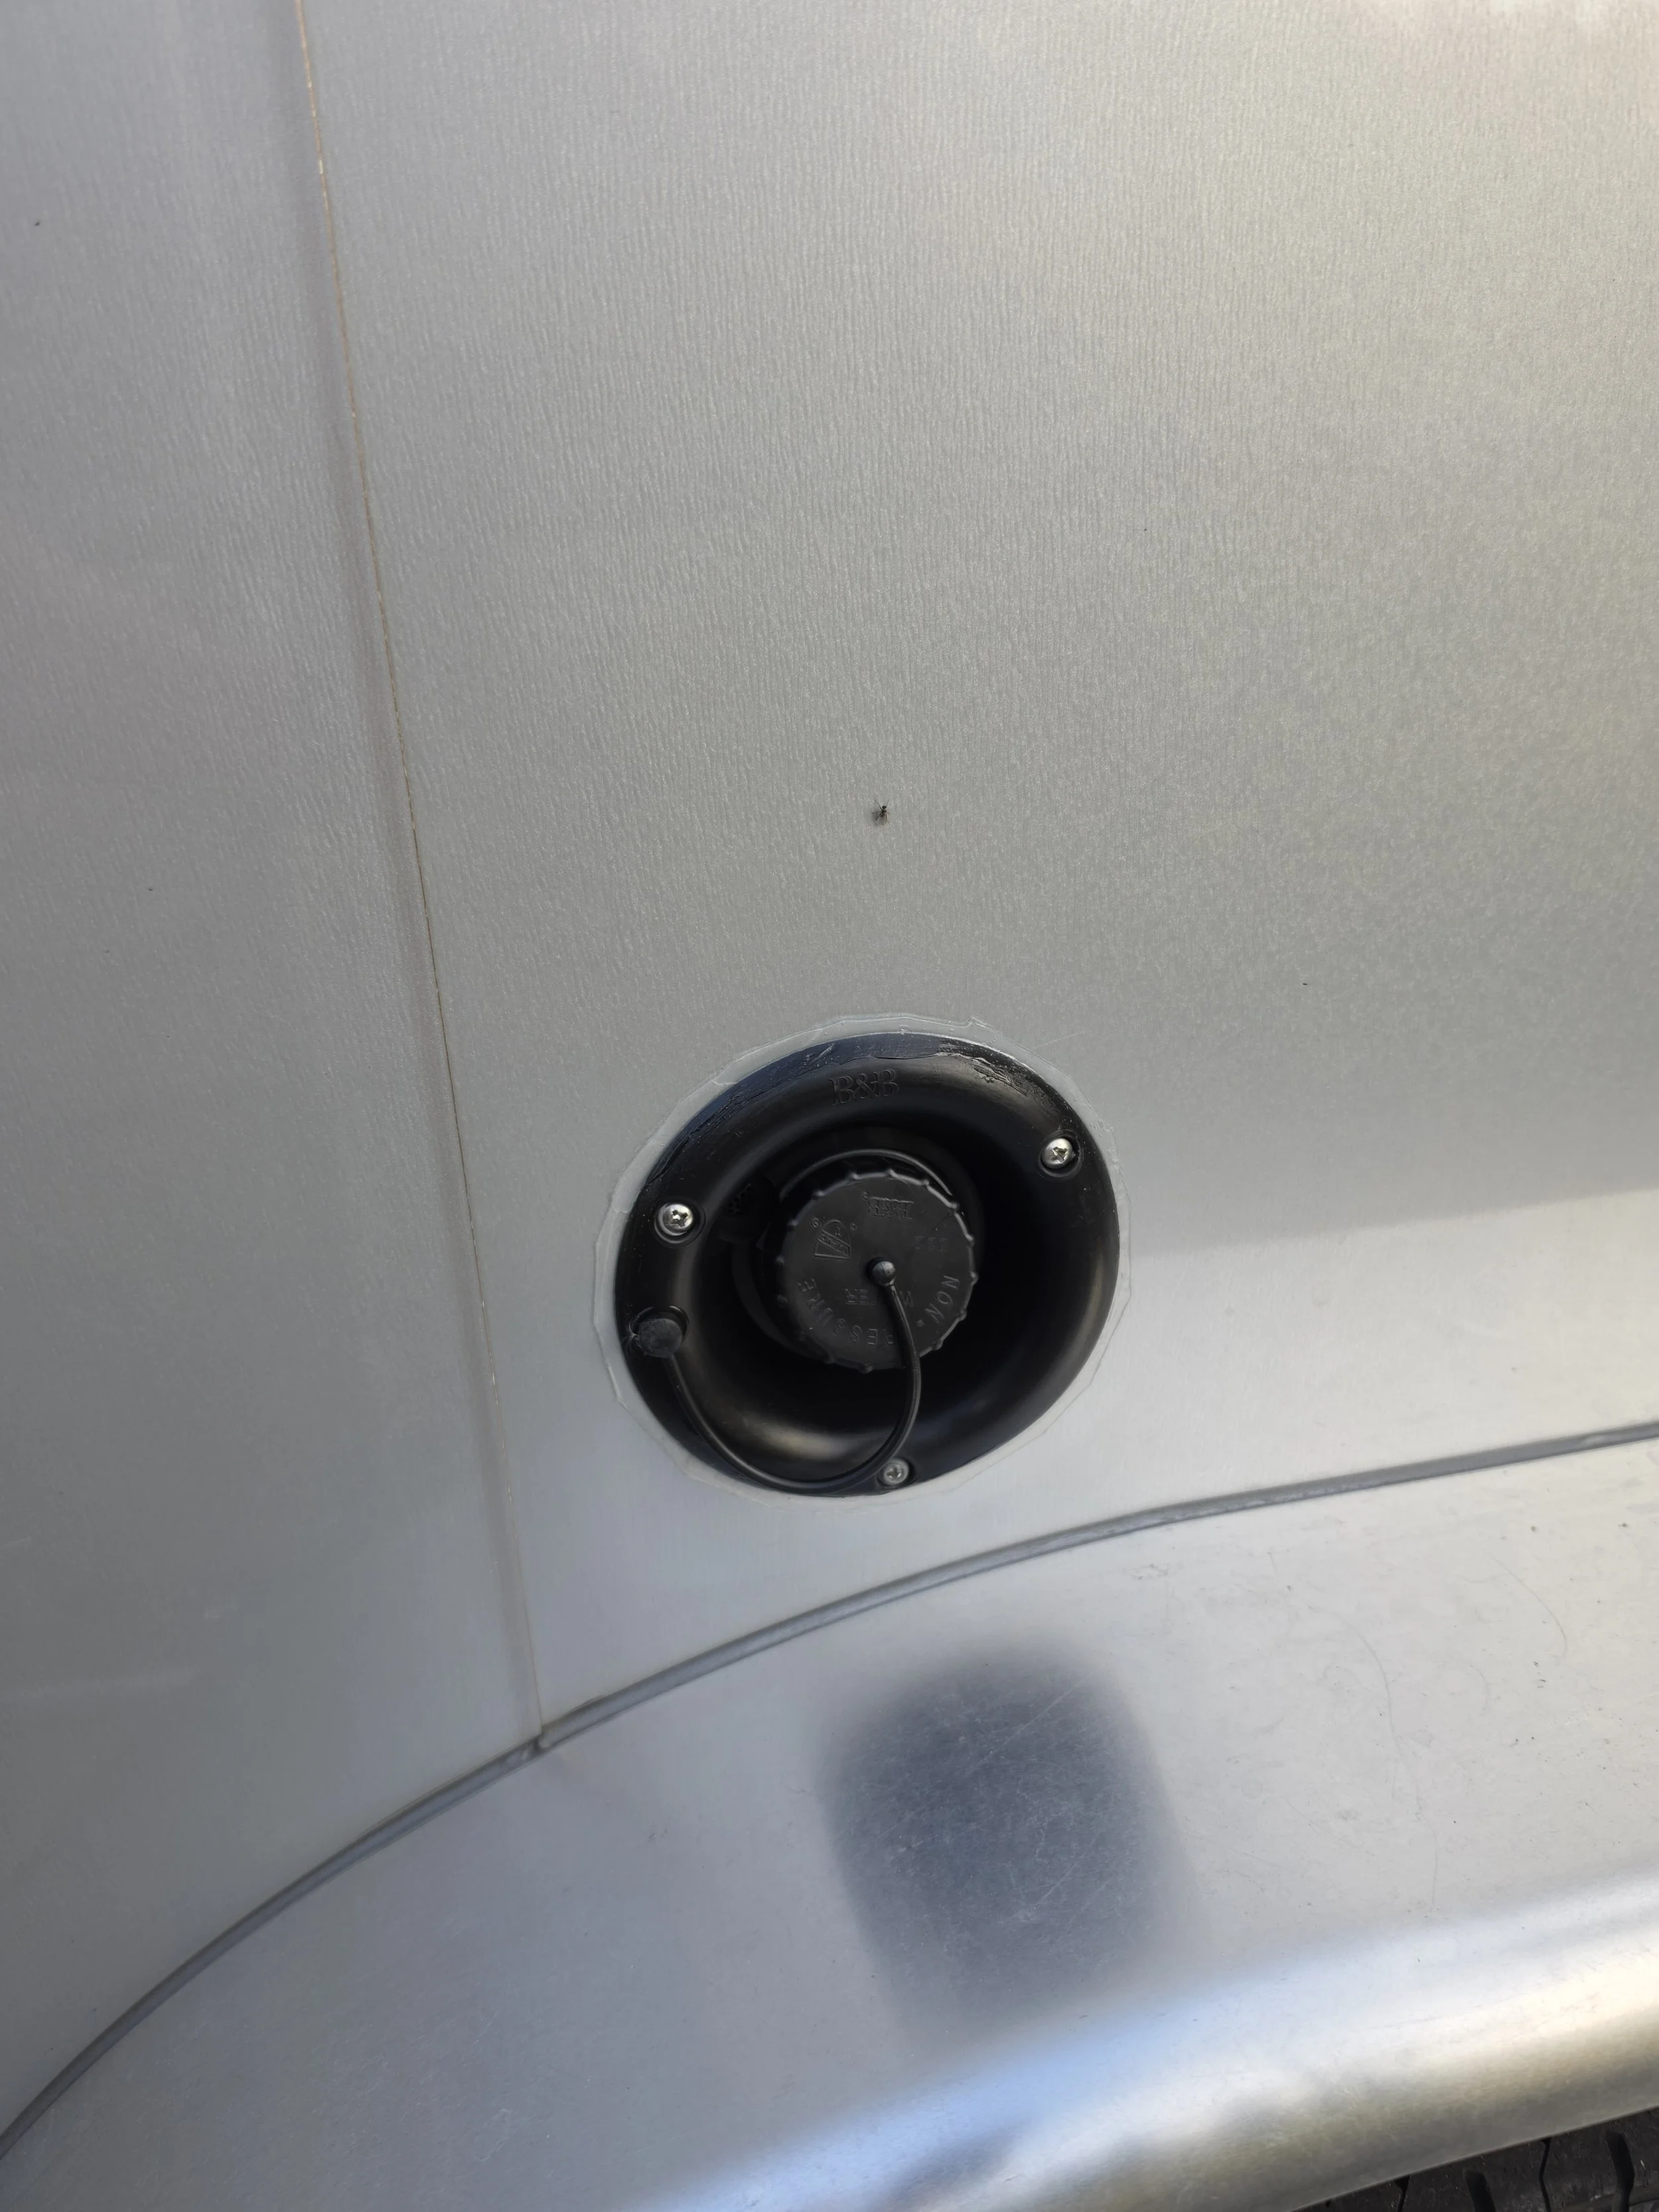
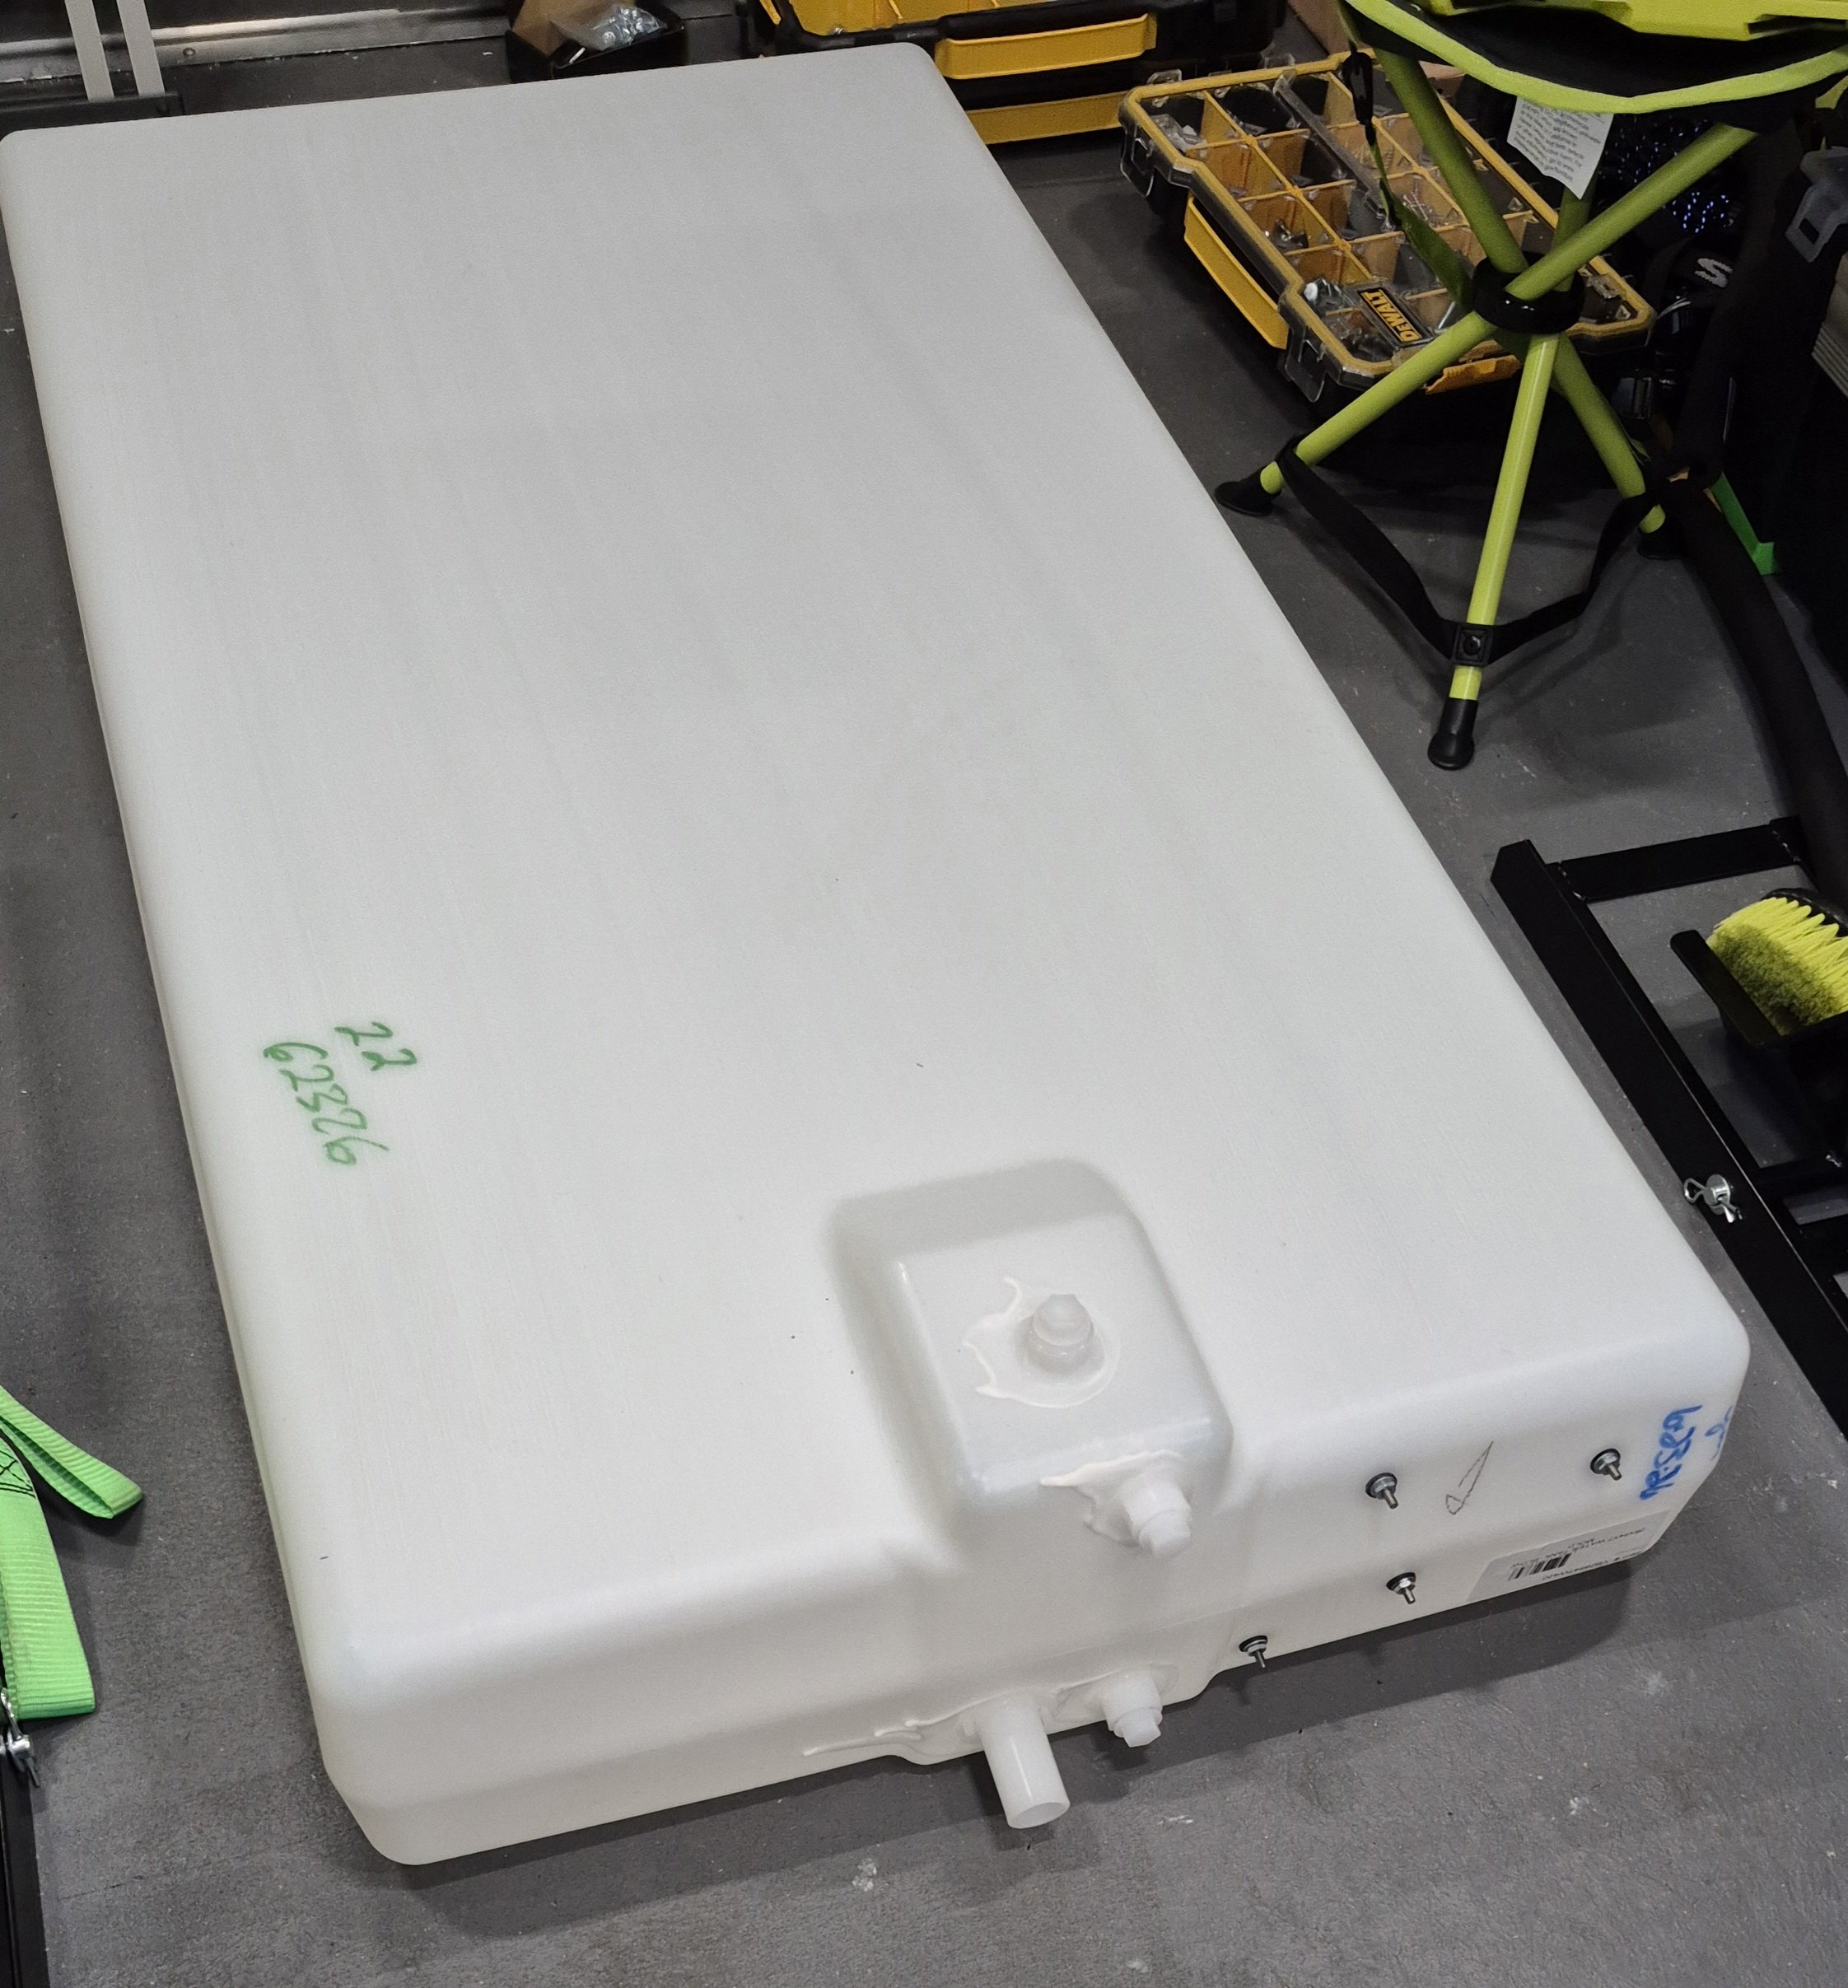
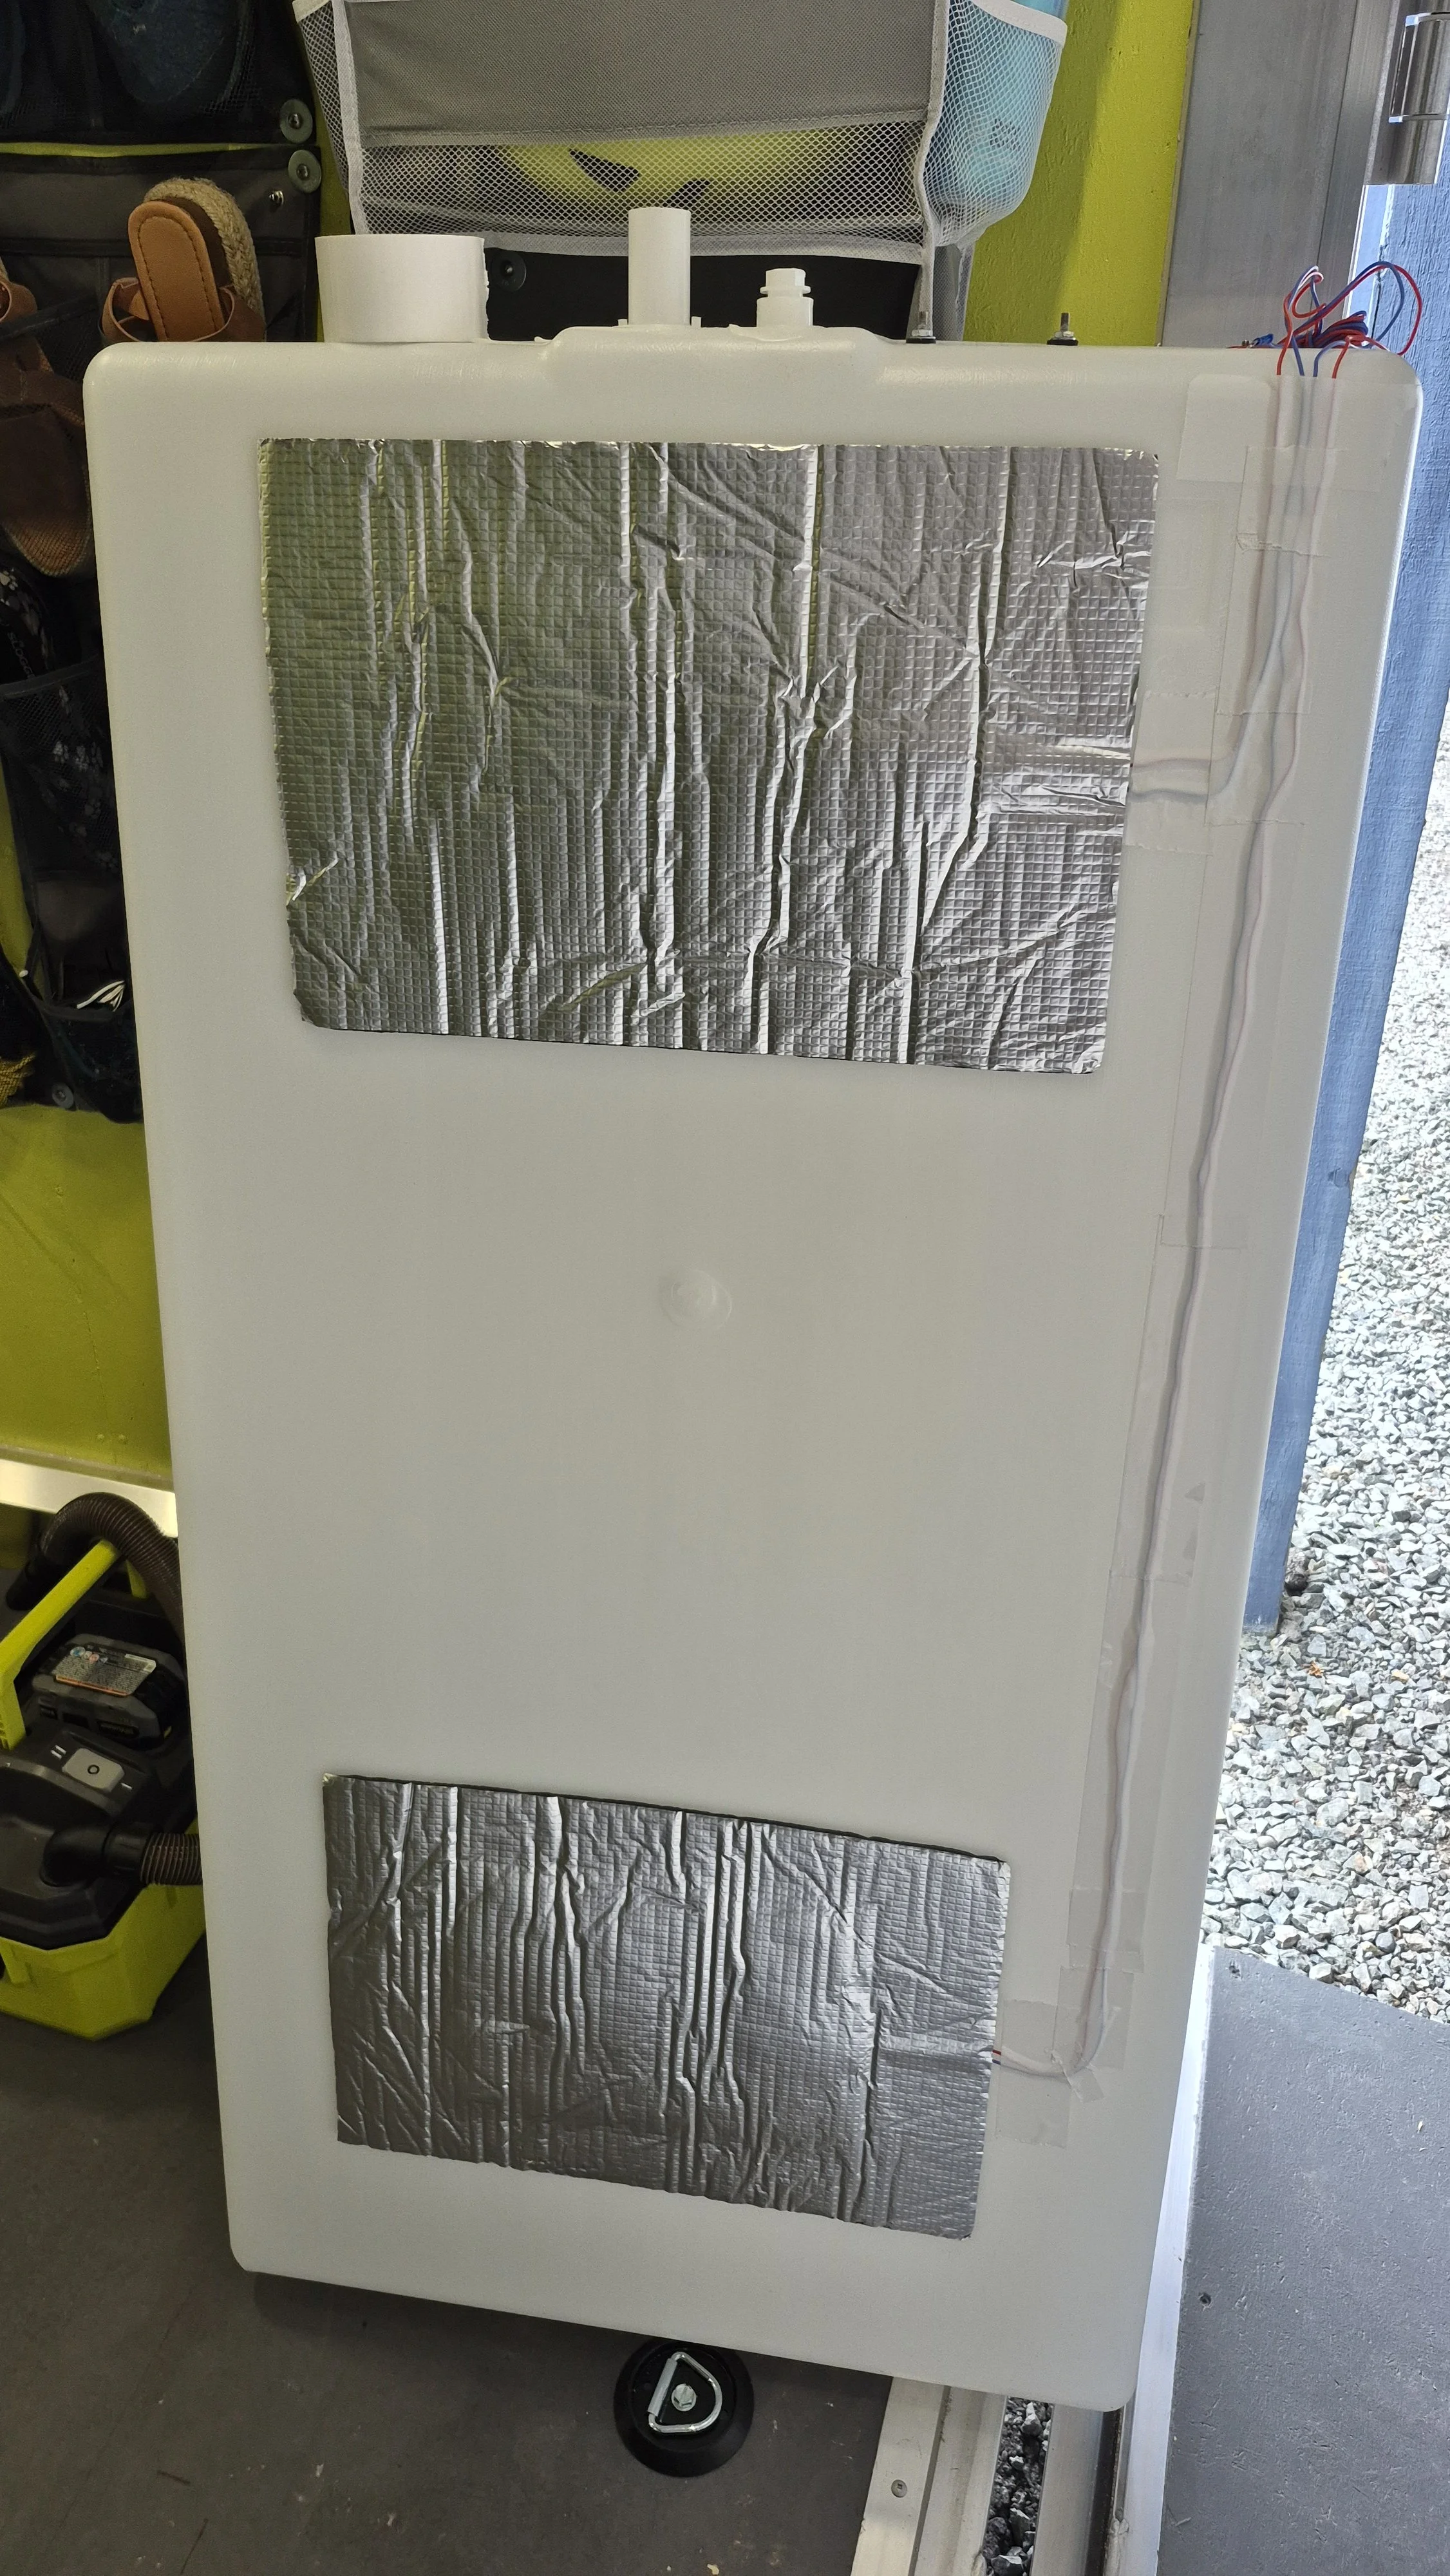
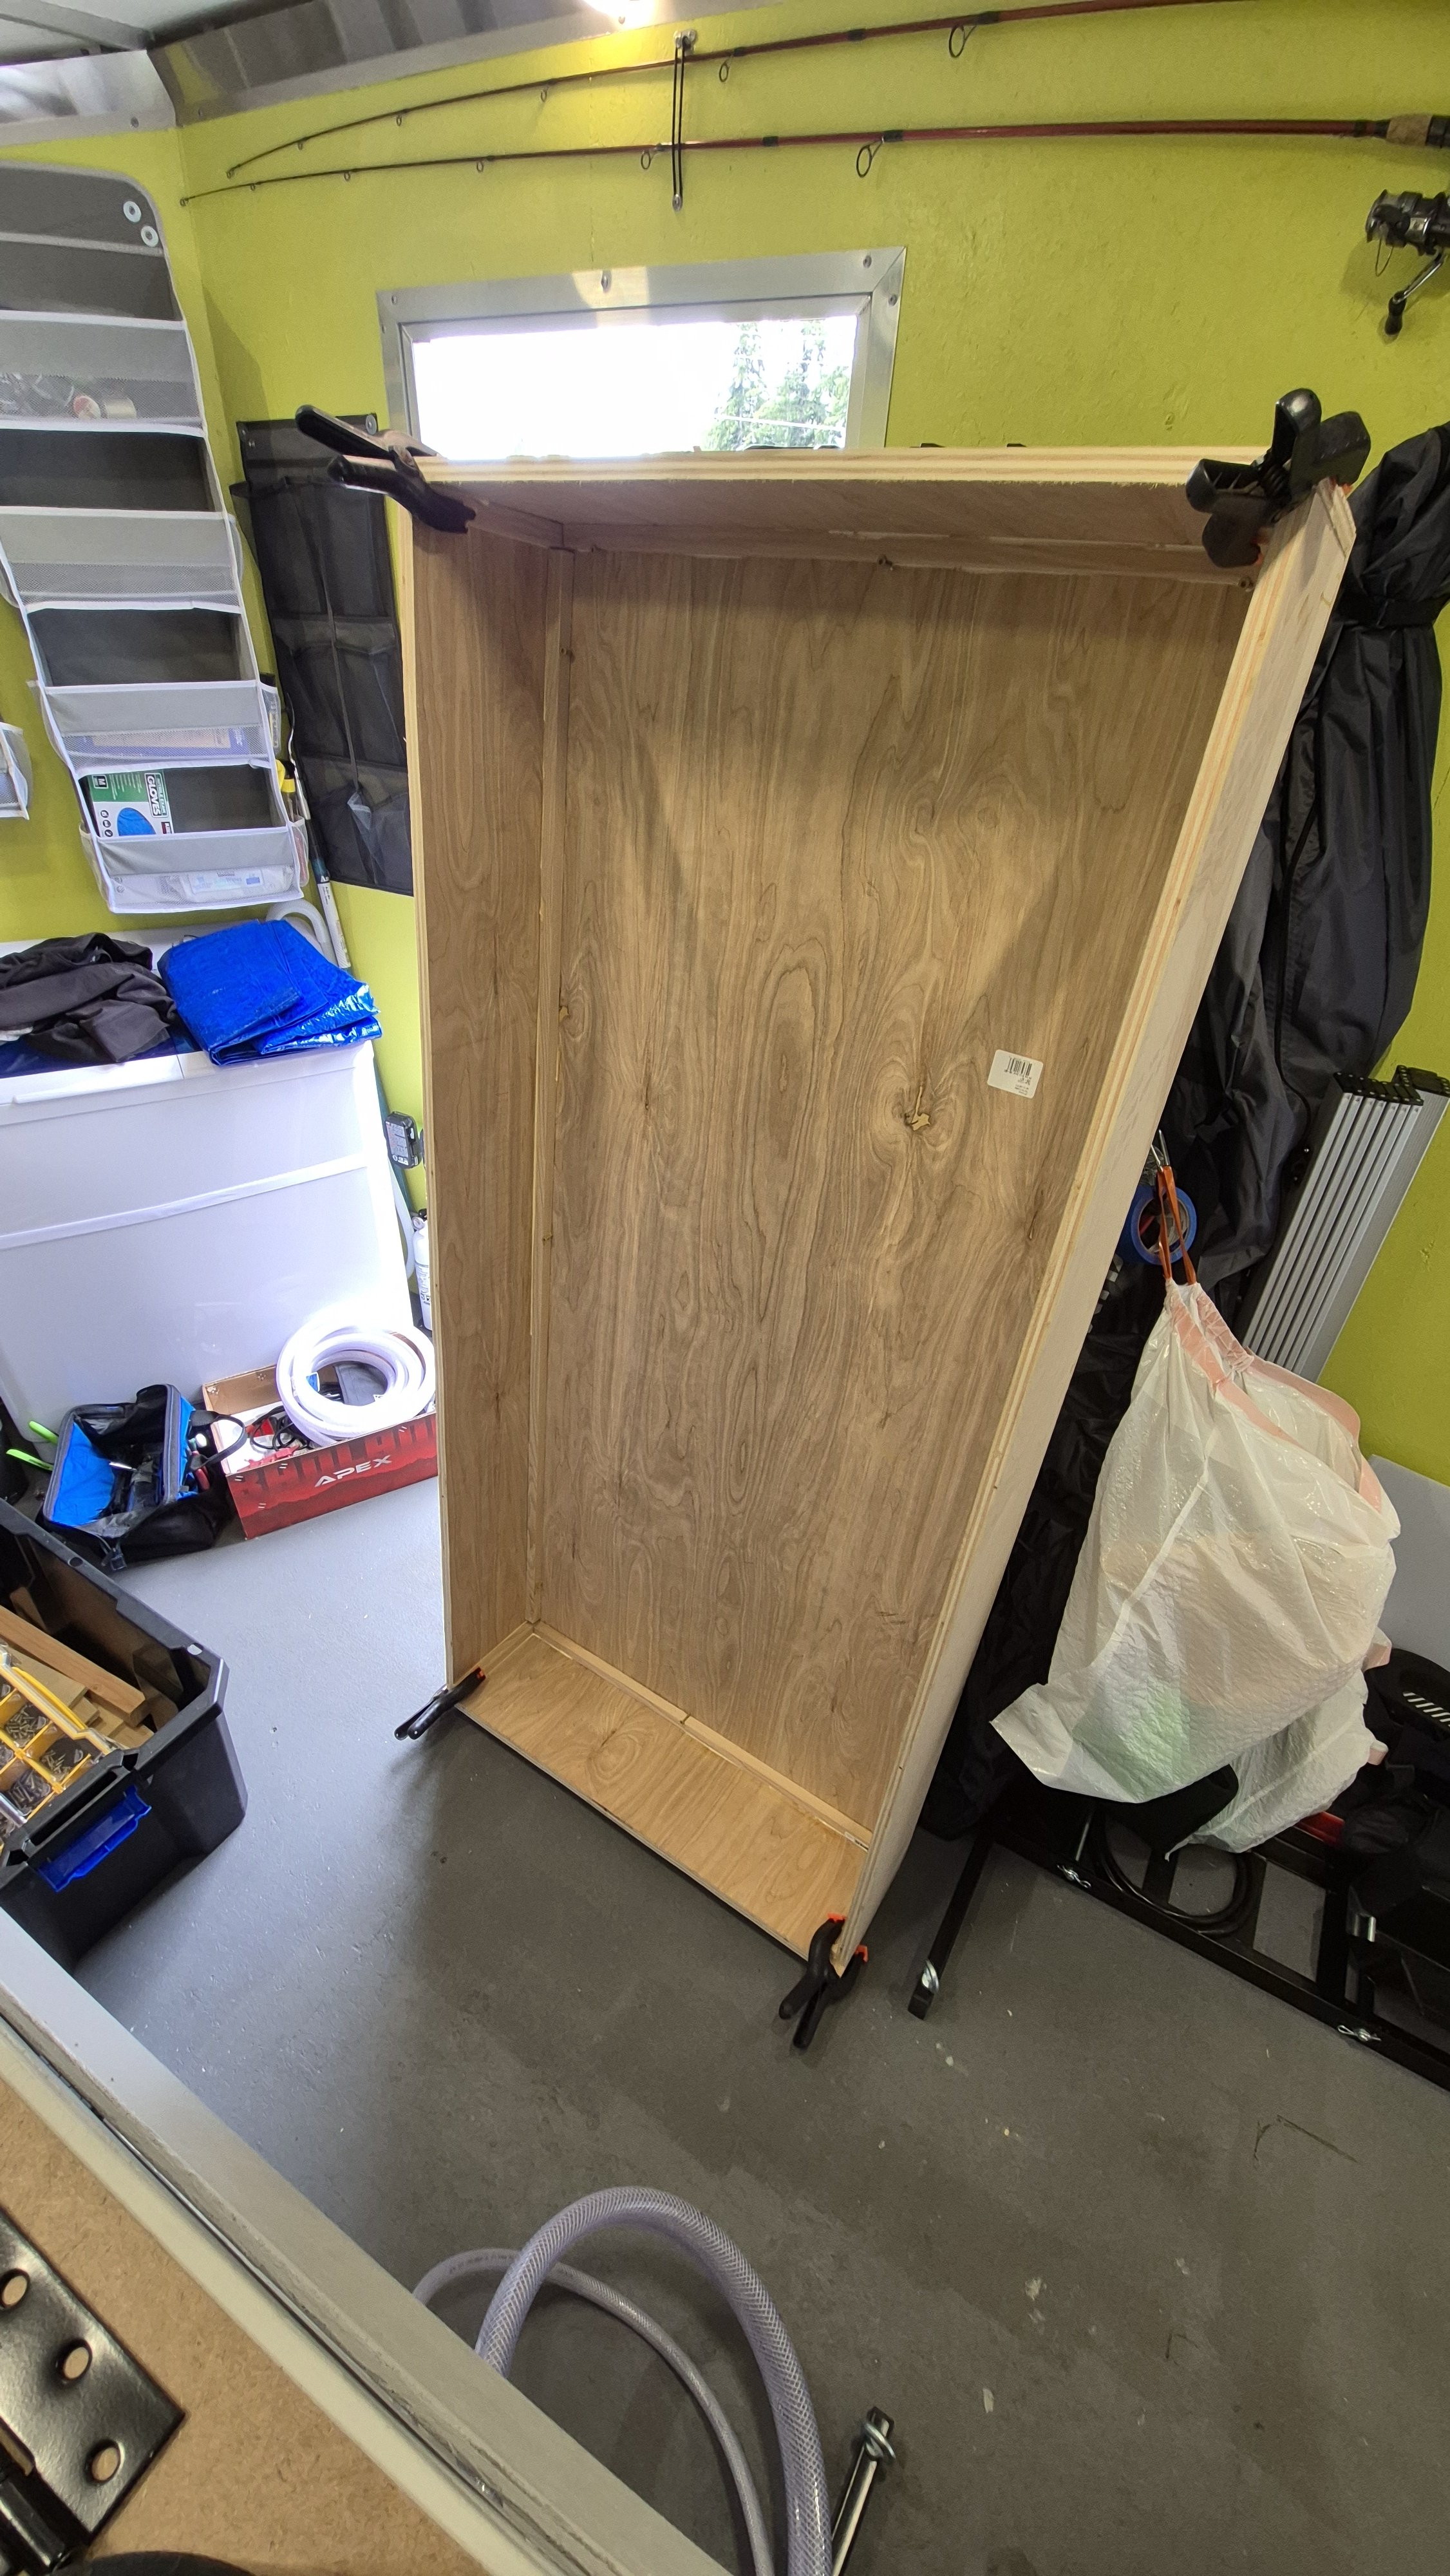
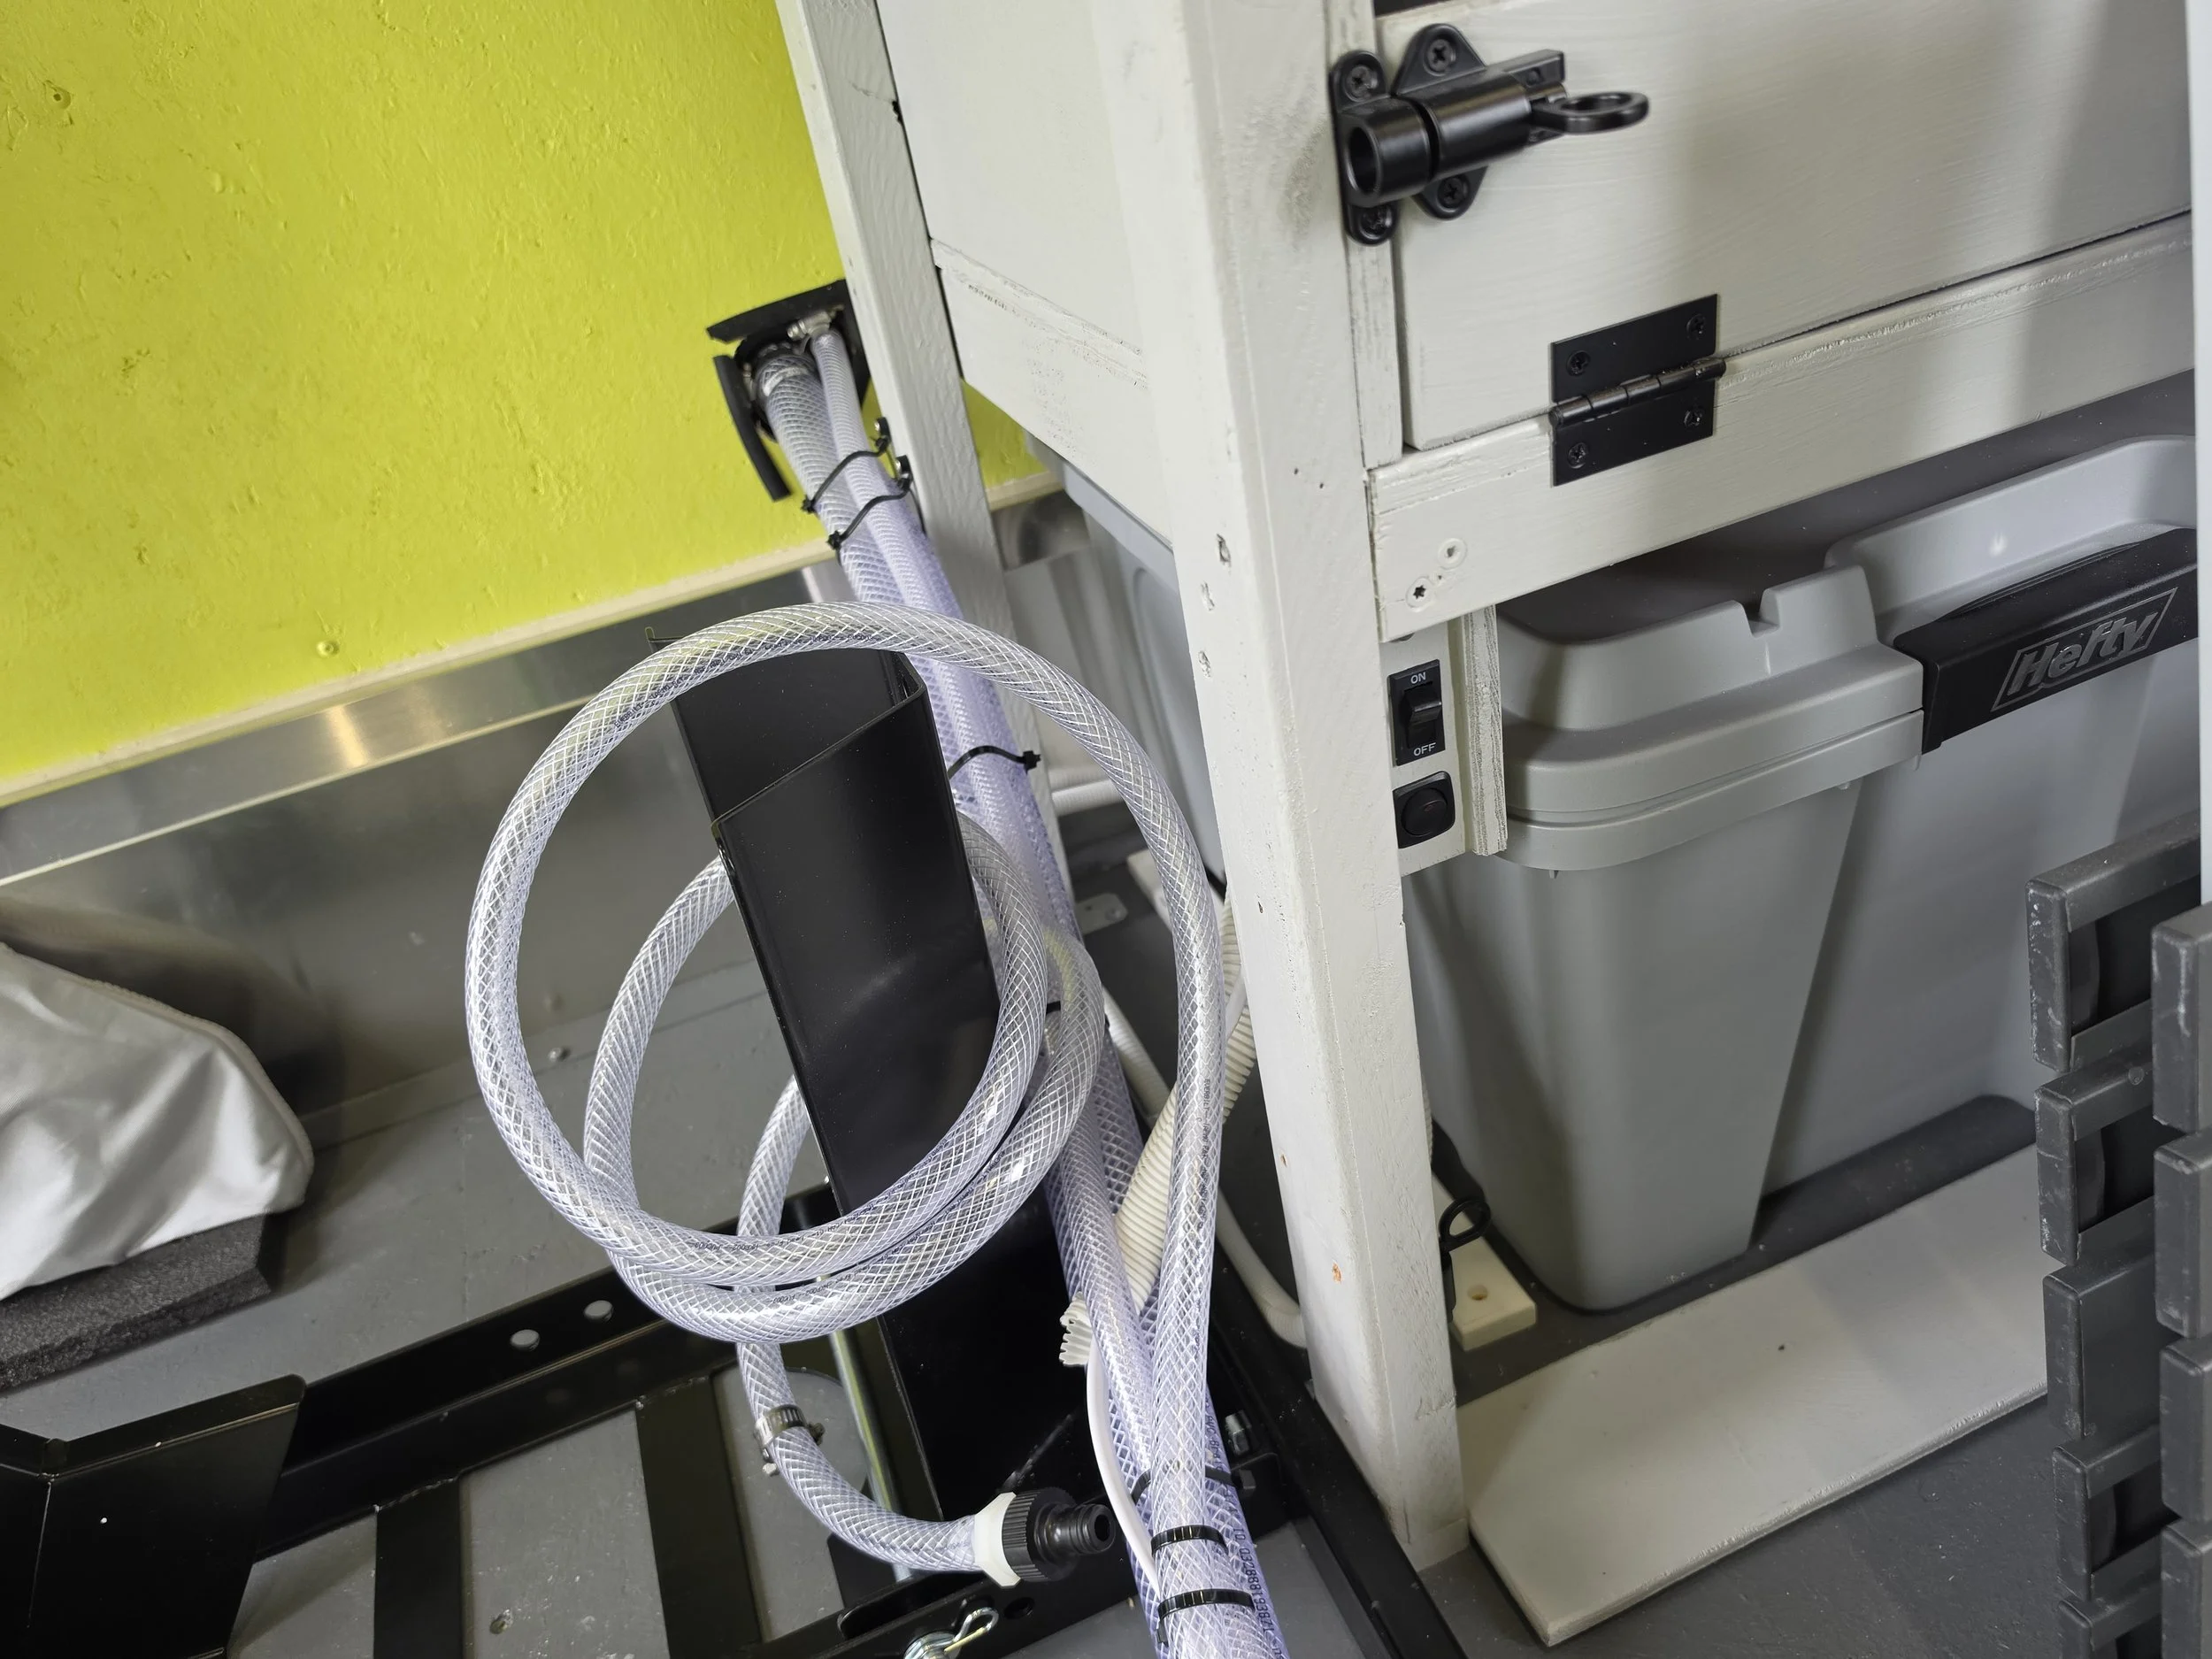
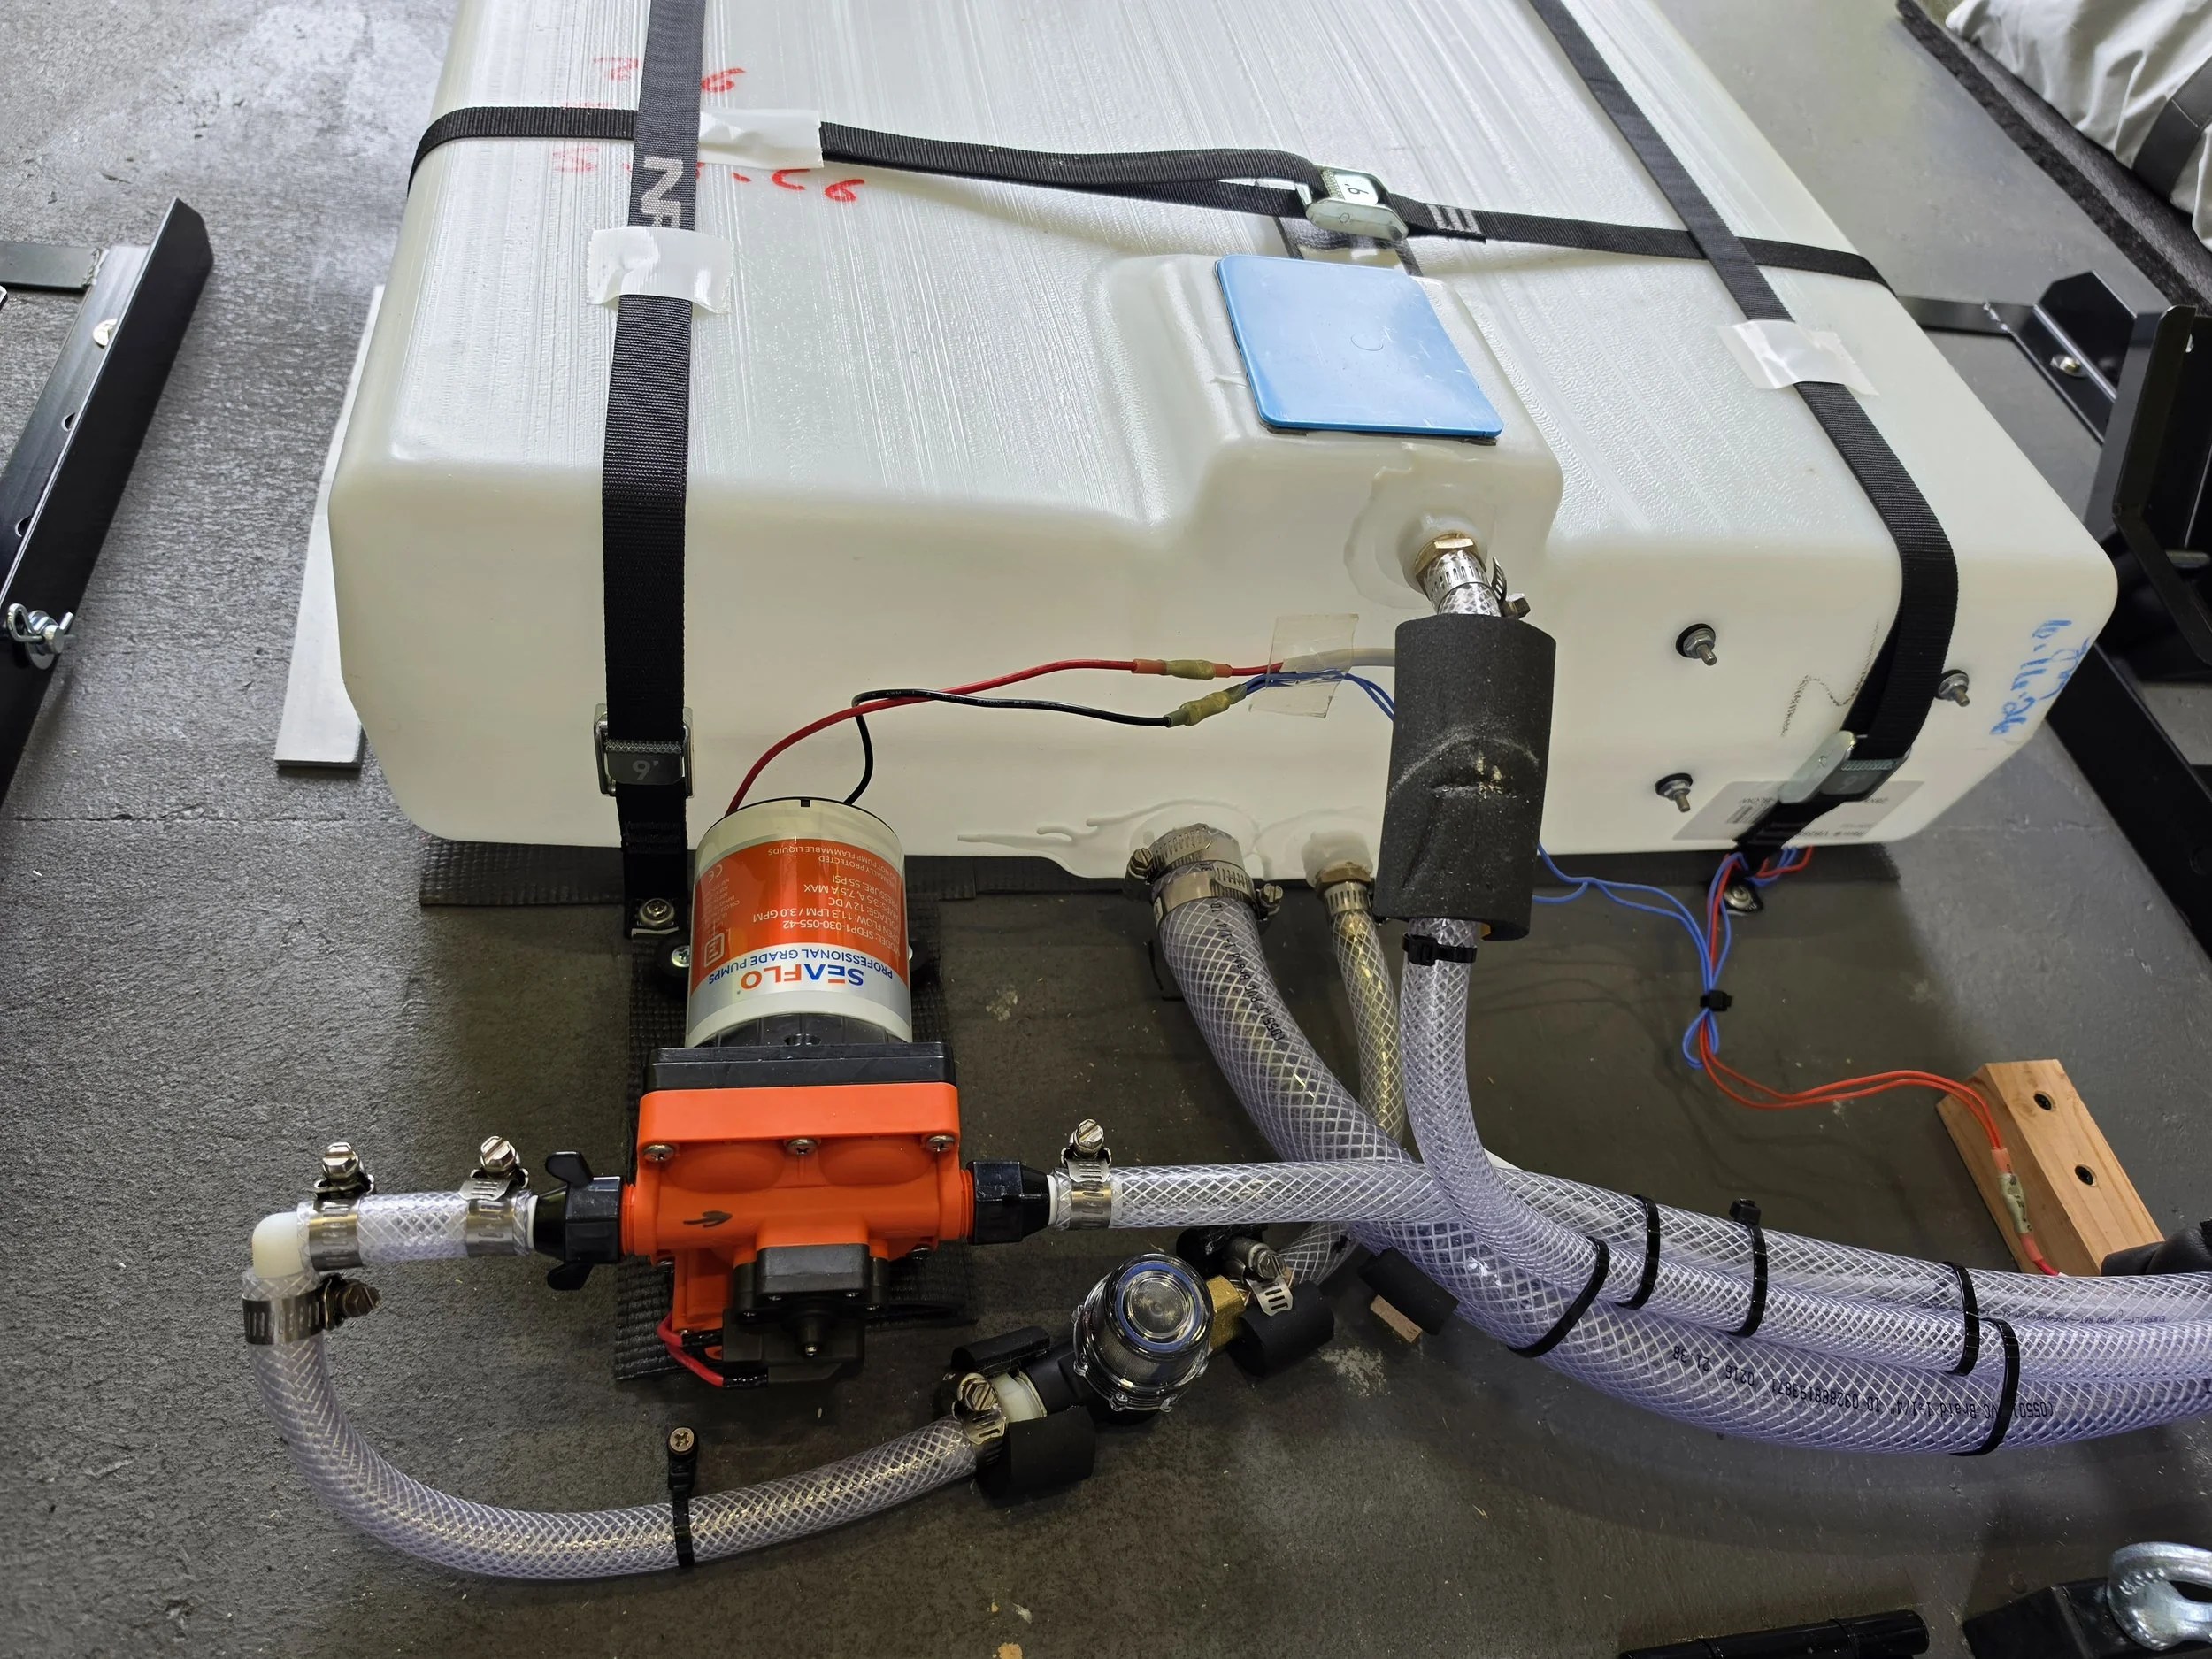
We installed a 45 gallon water tank in the trailer. This water will primarily be for washing clothes and washing the truck/camper/trailer once in a while, but will also be an additional source of water for the camper (which has an 80 gallon tank).
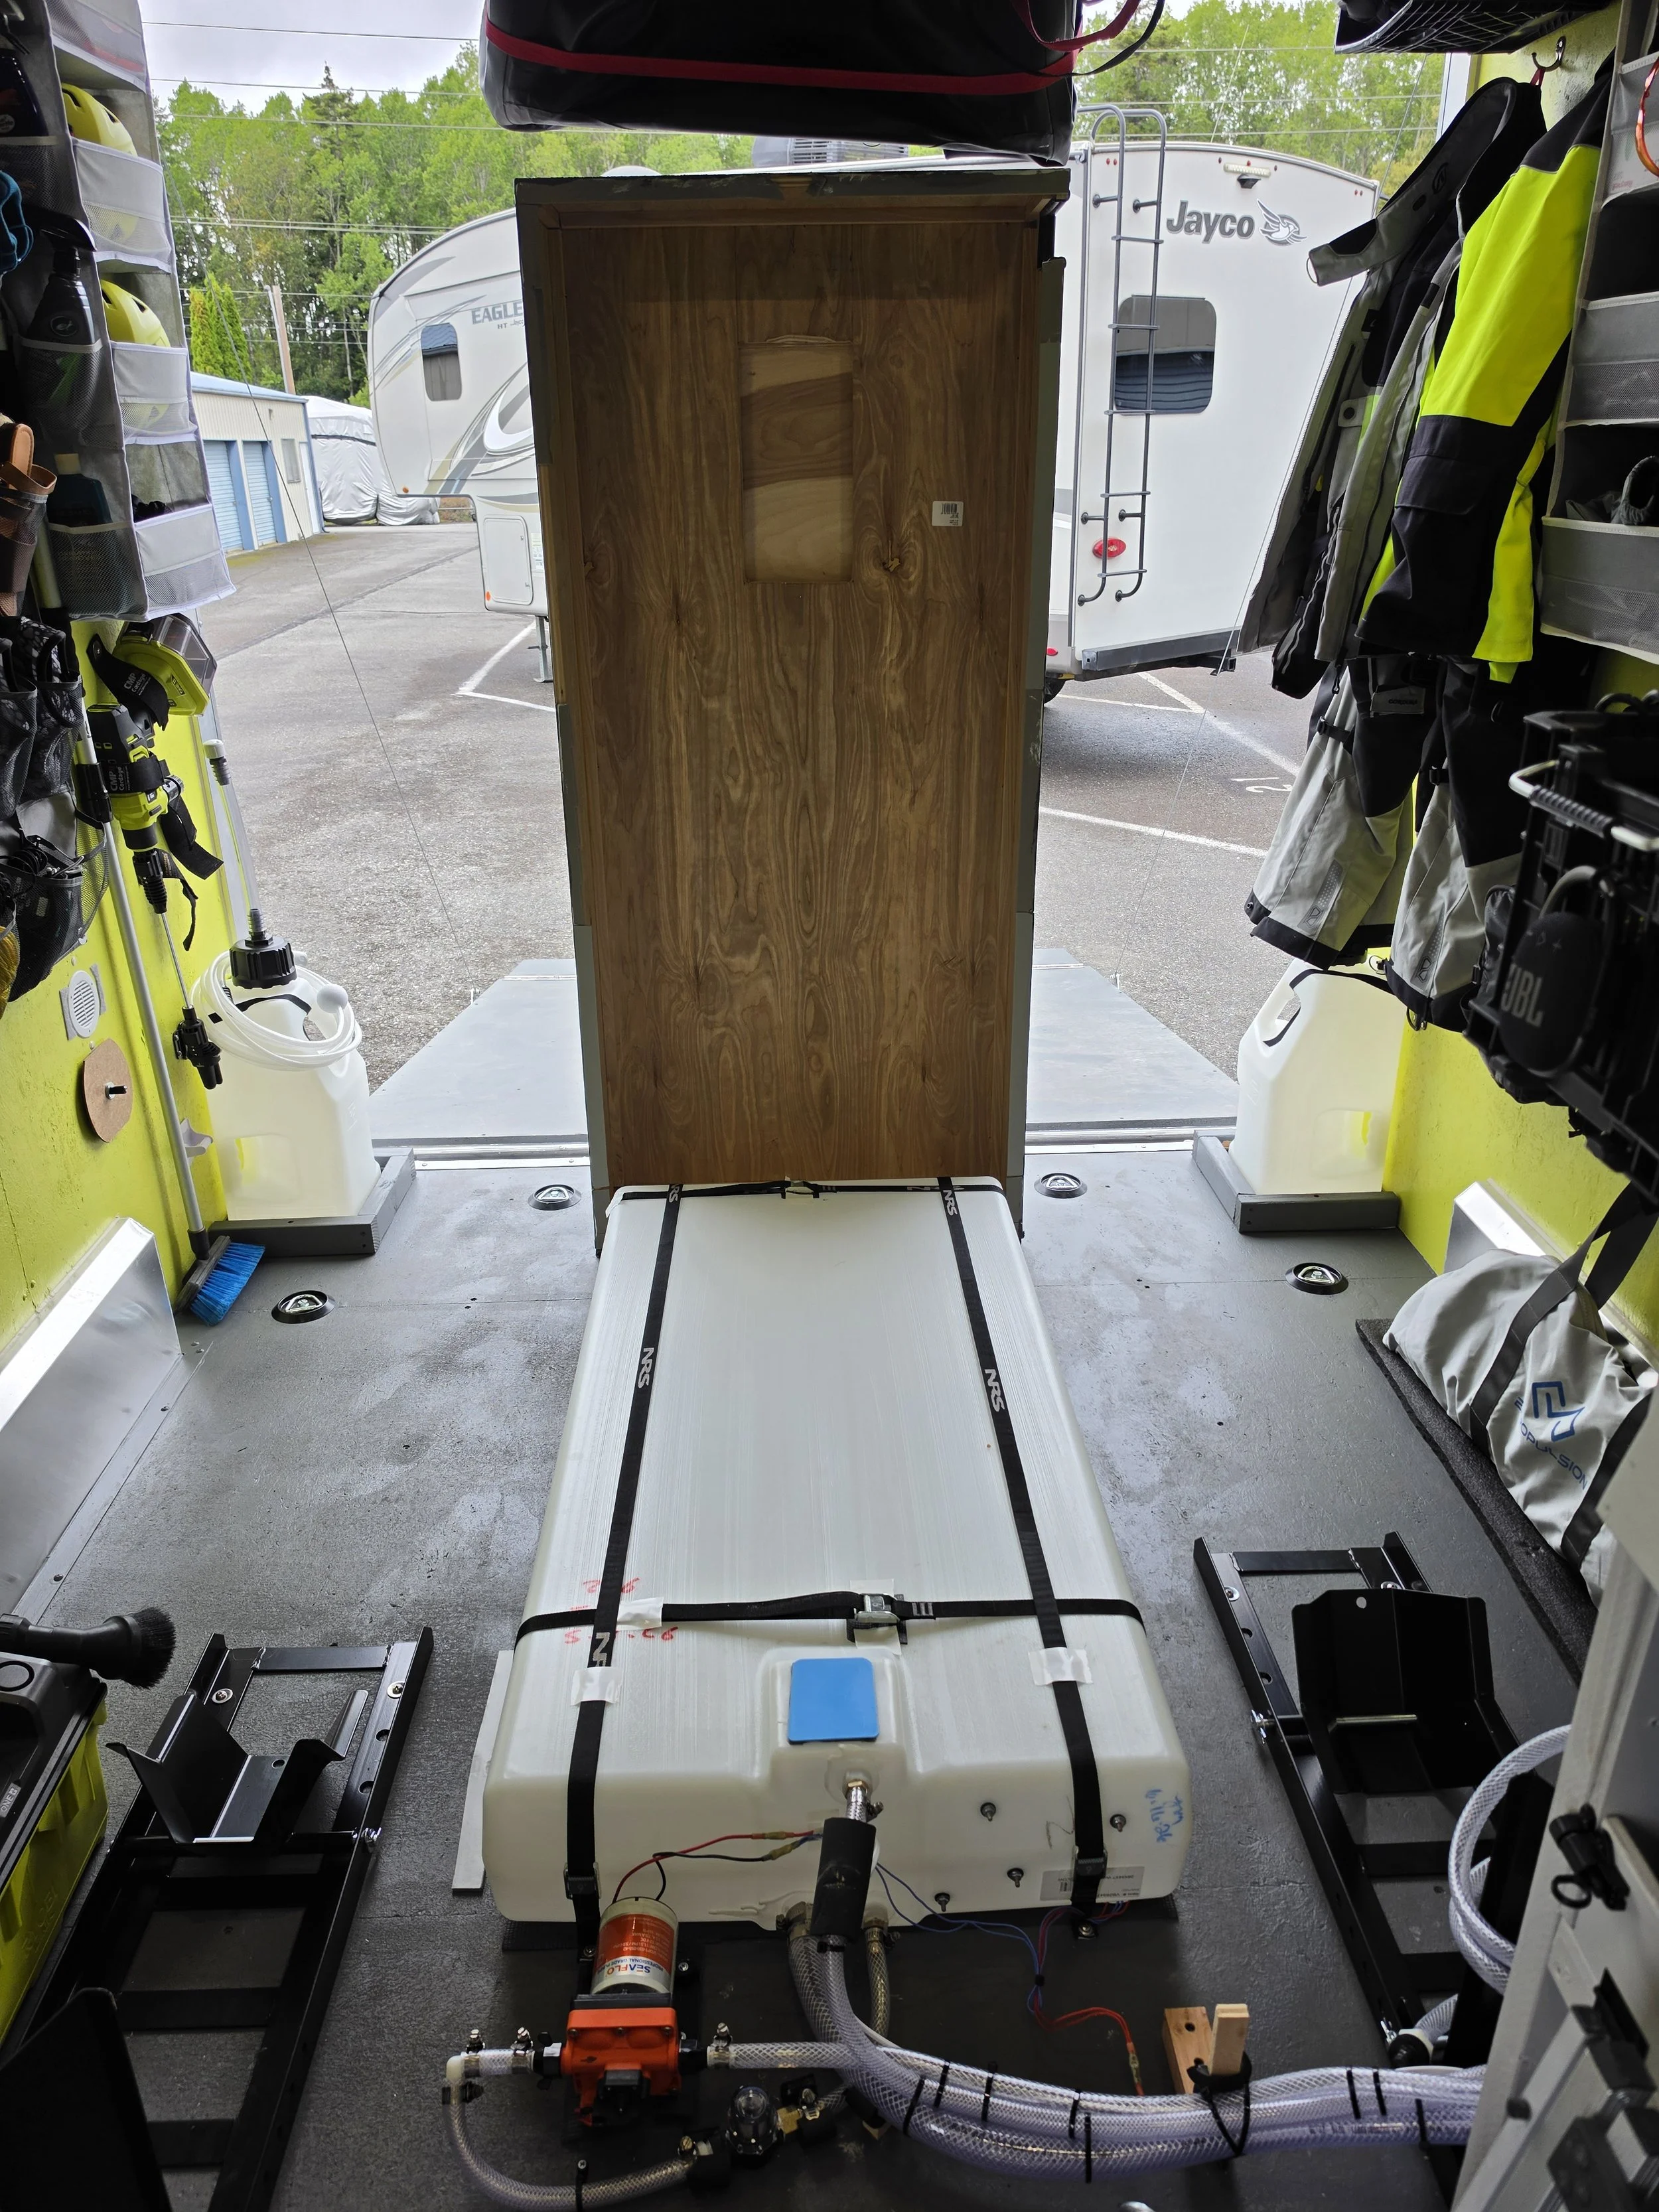
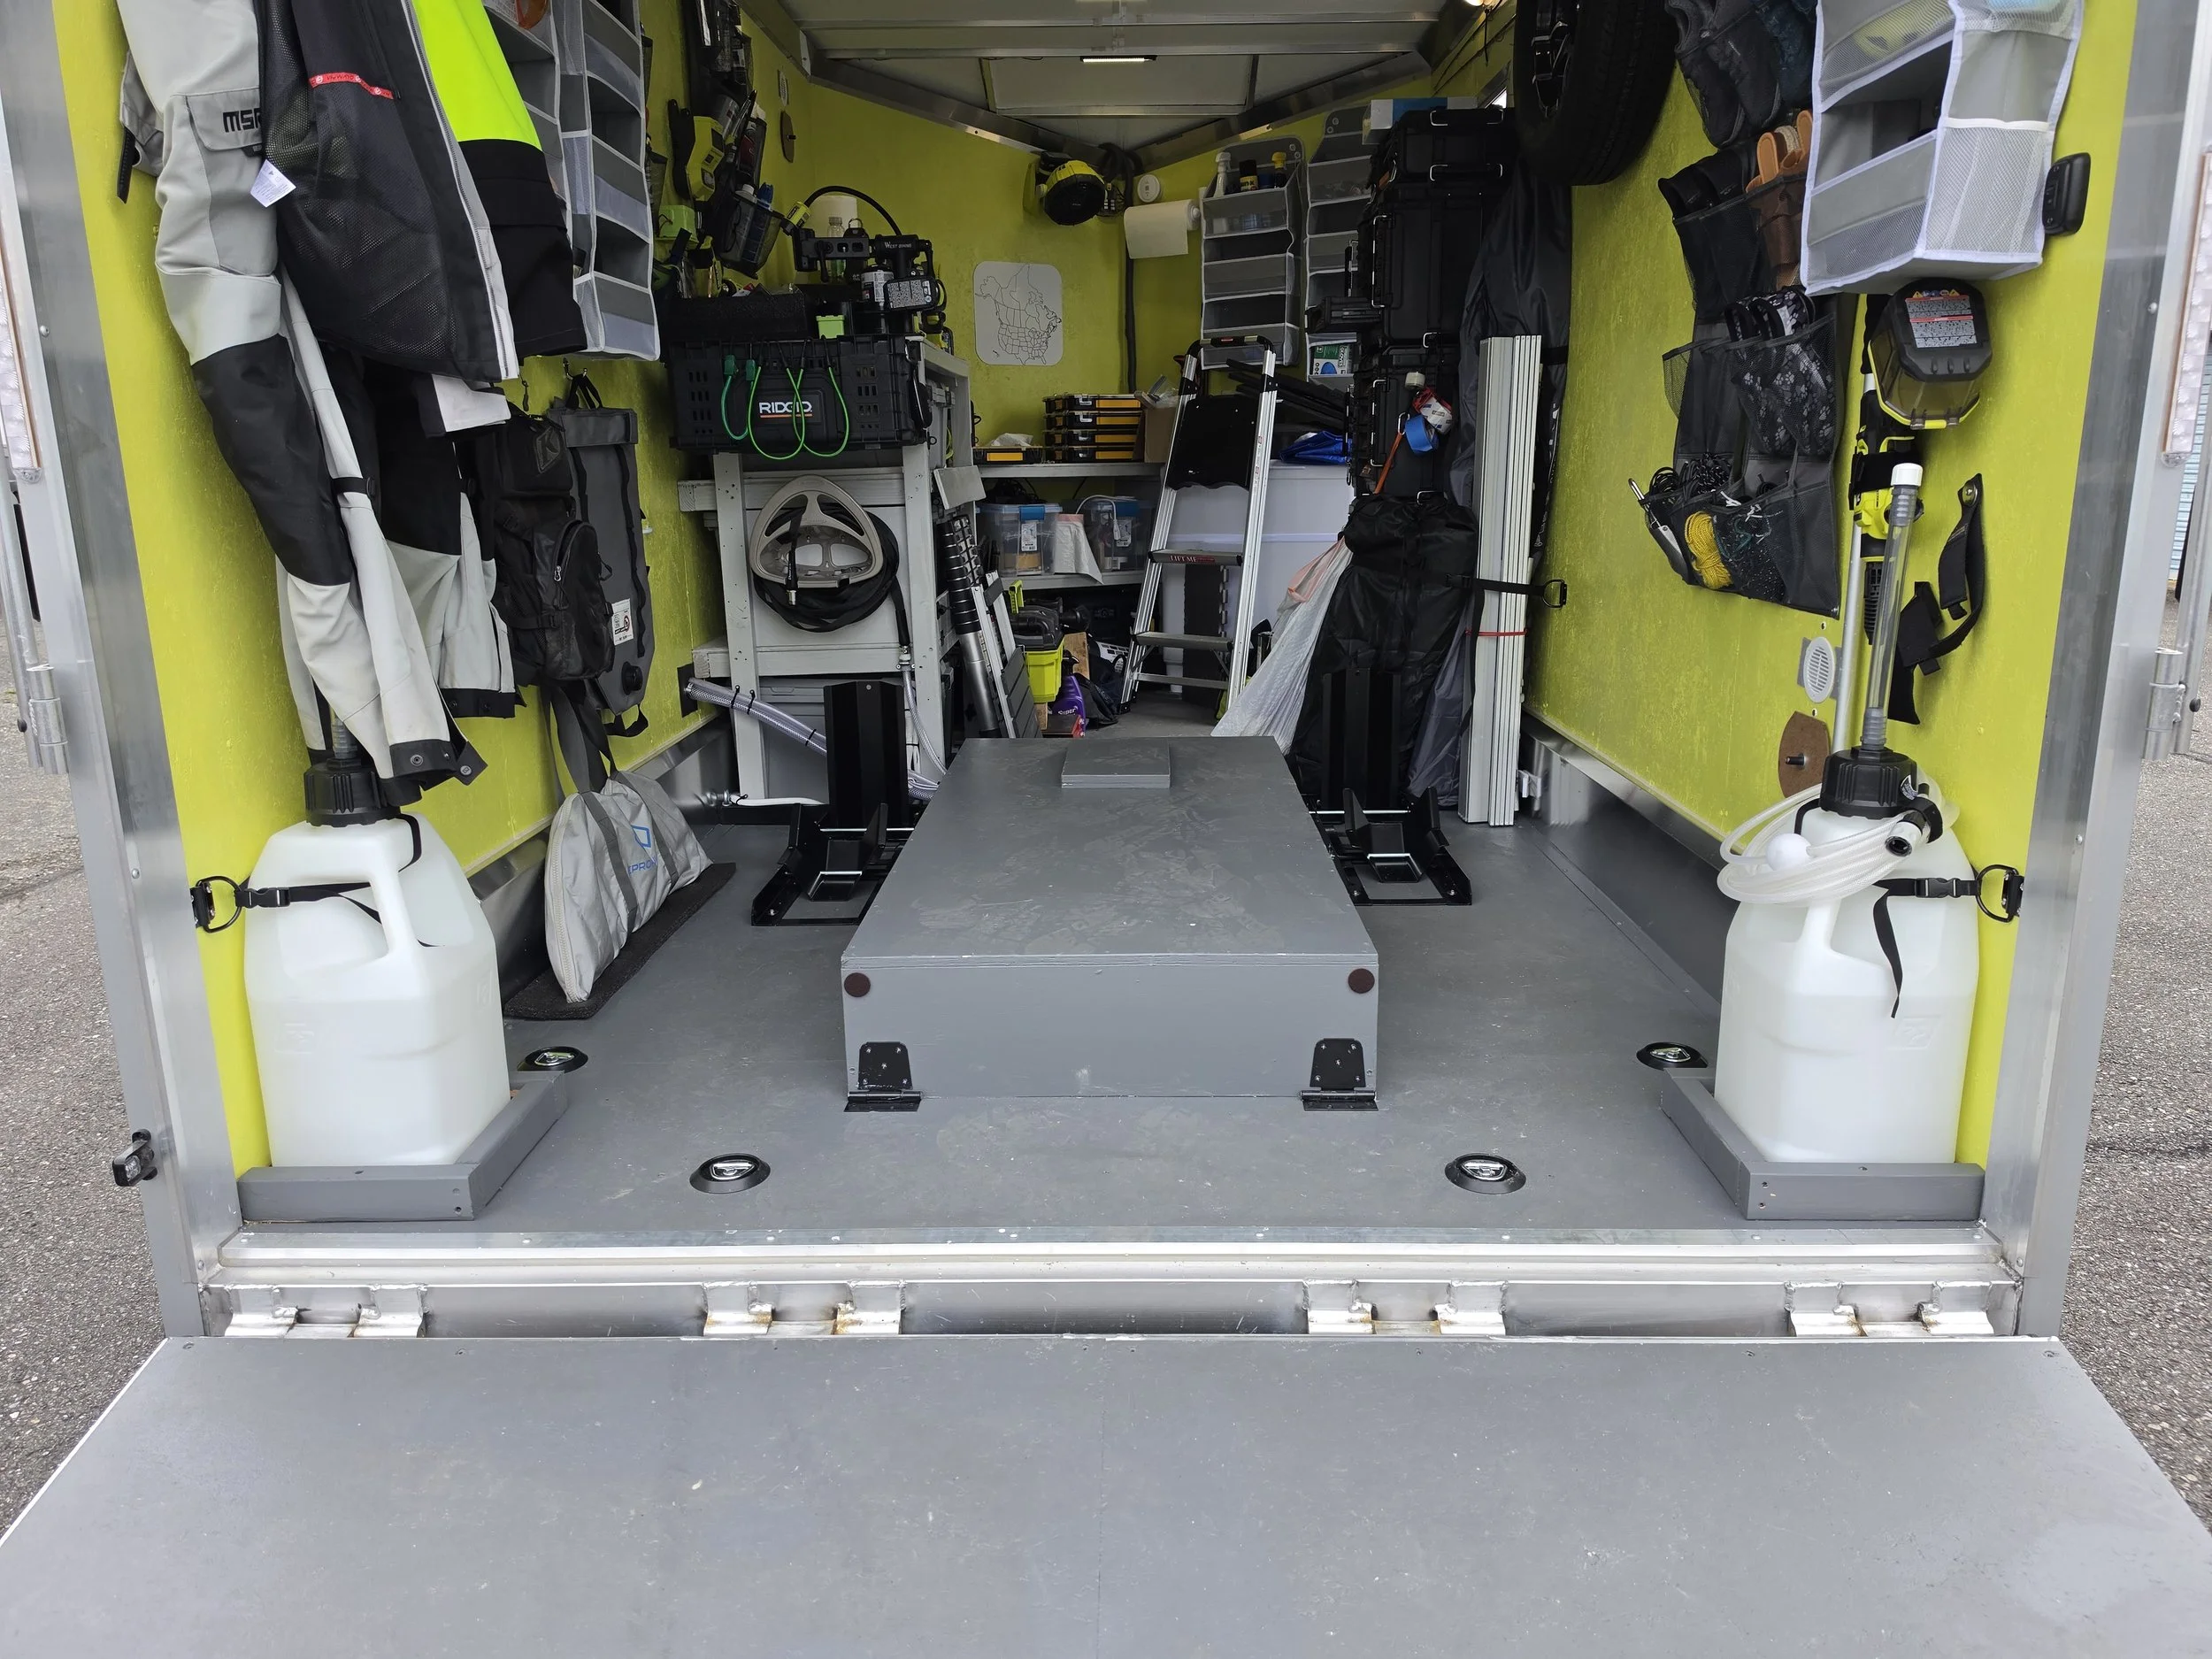
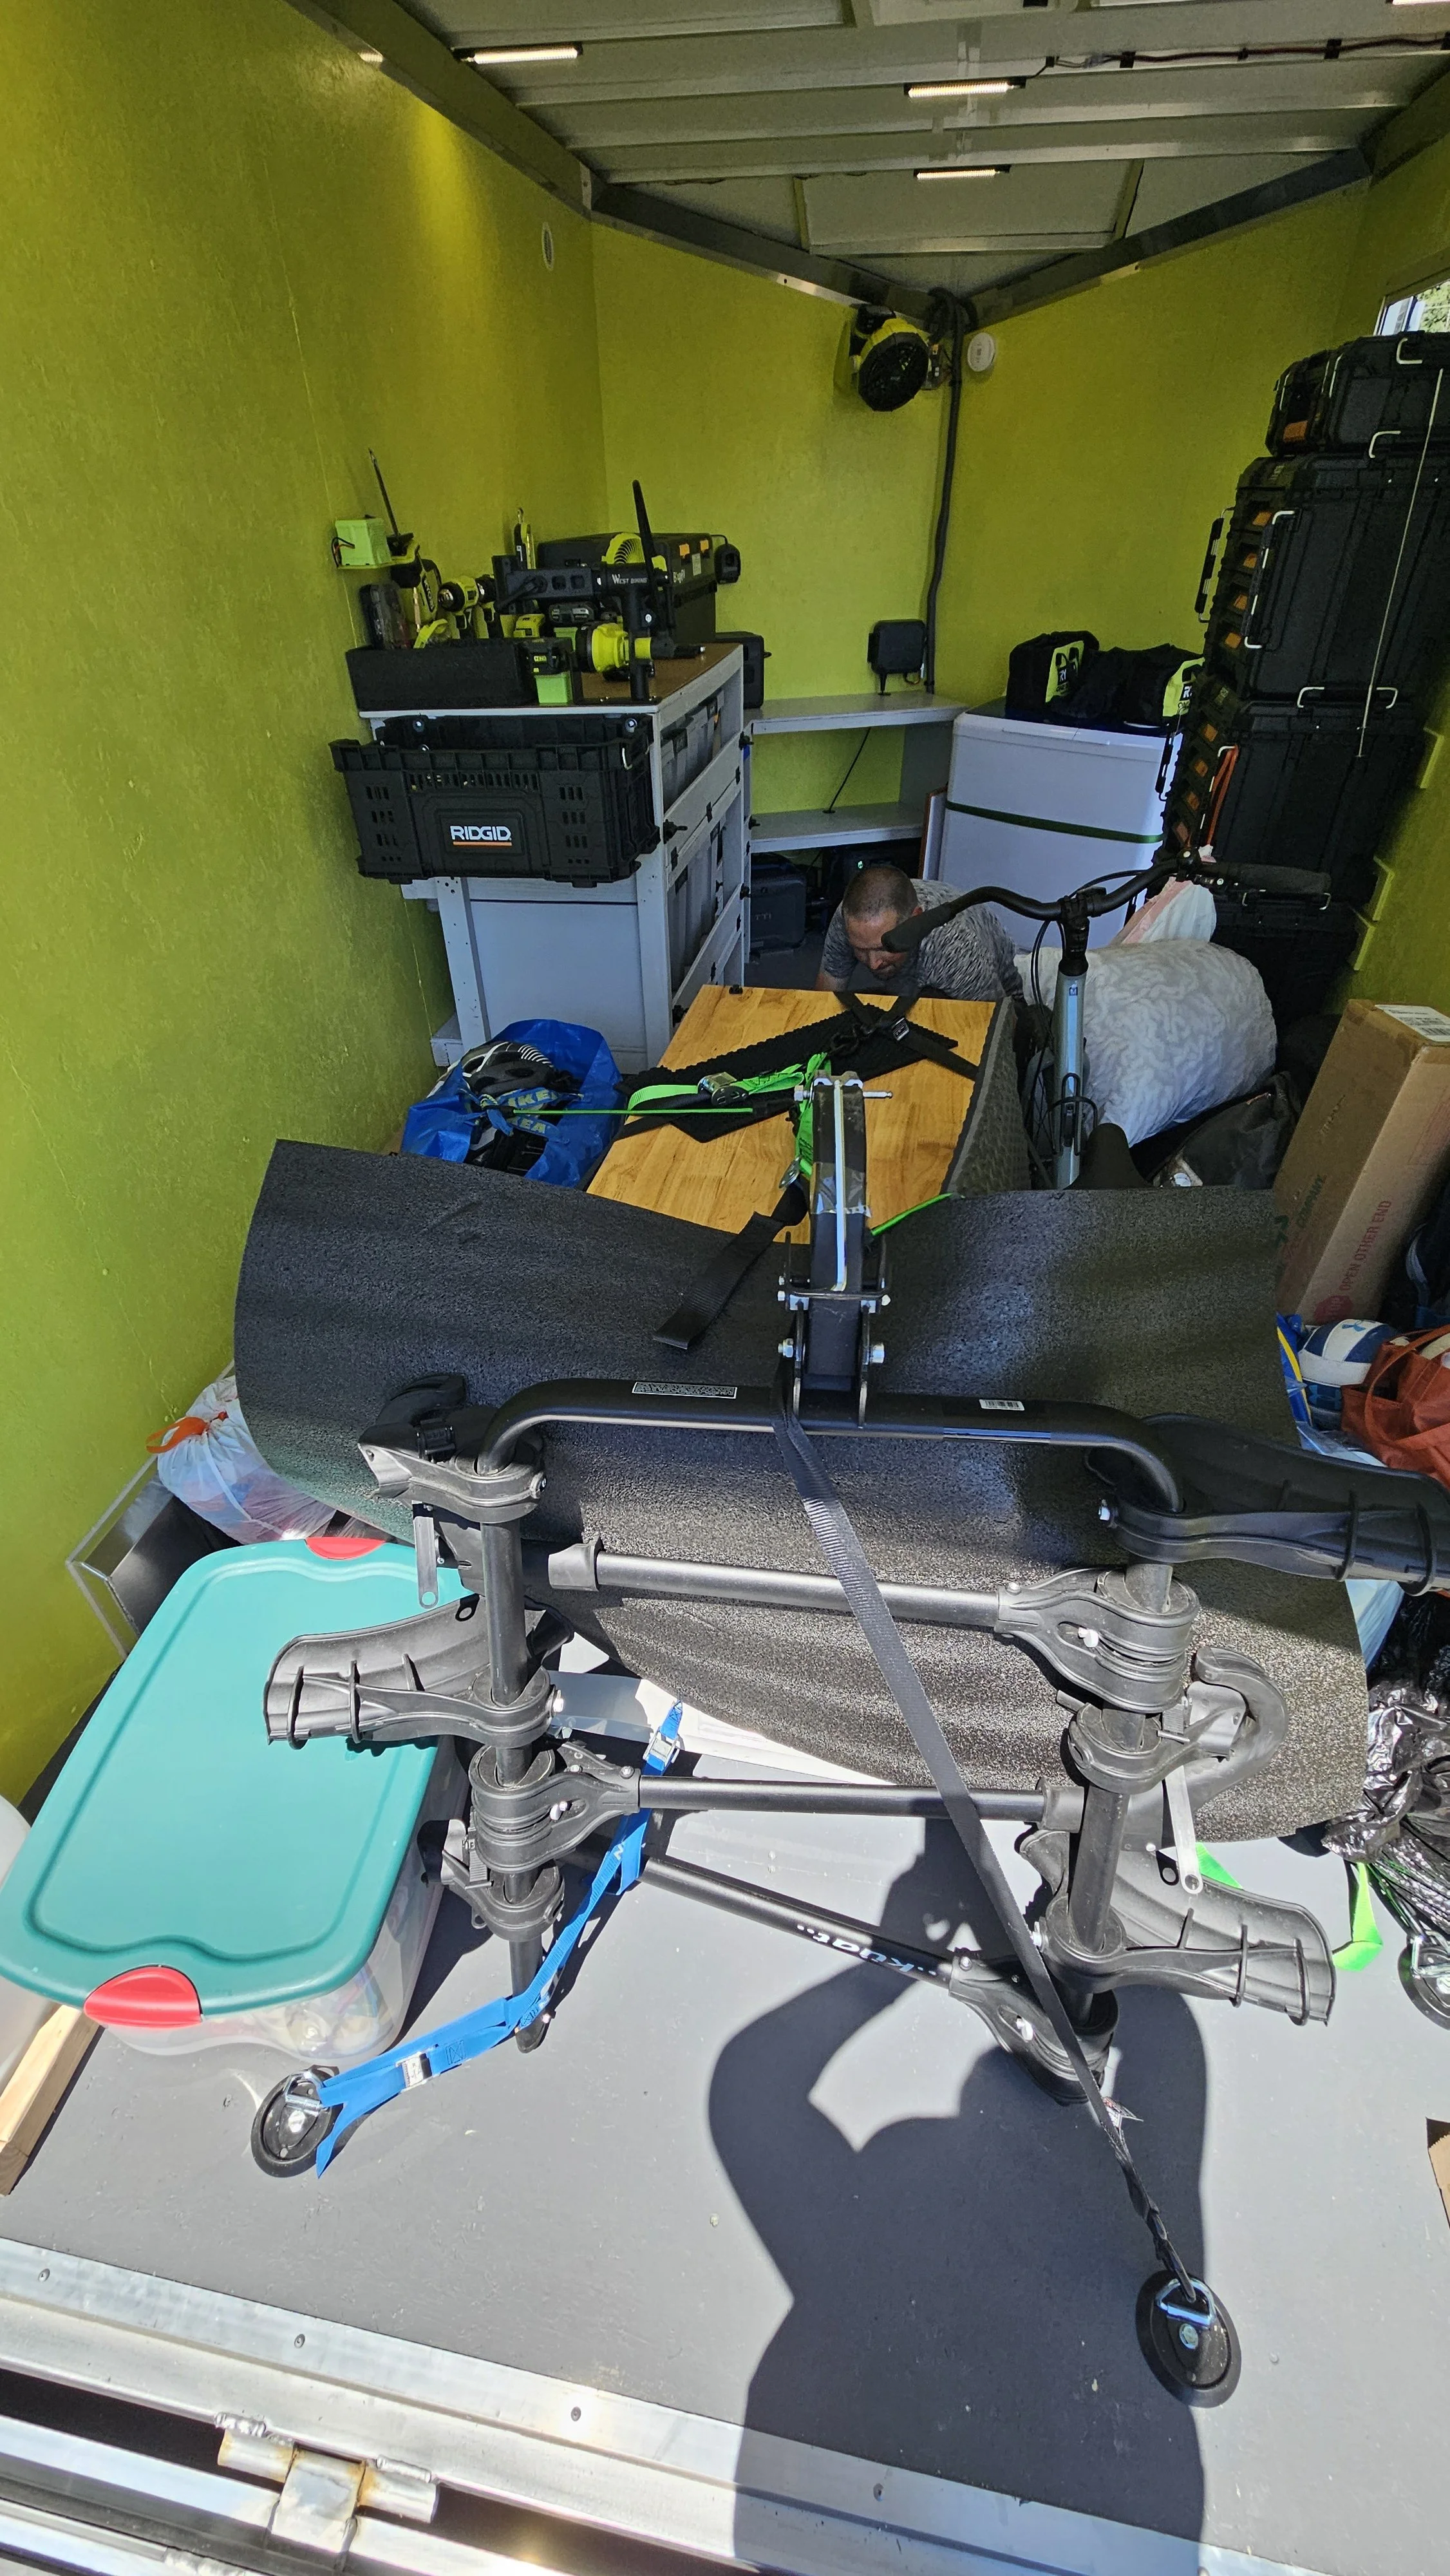
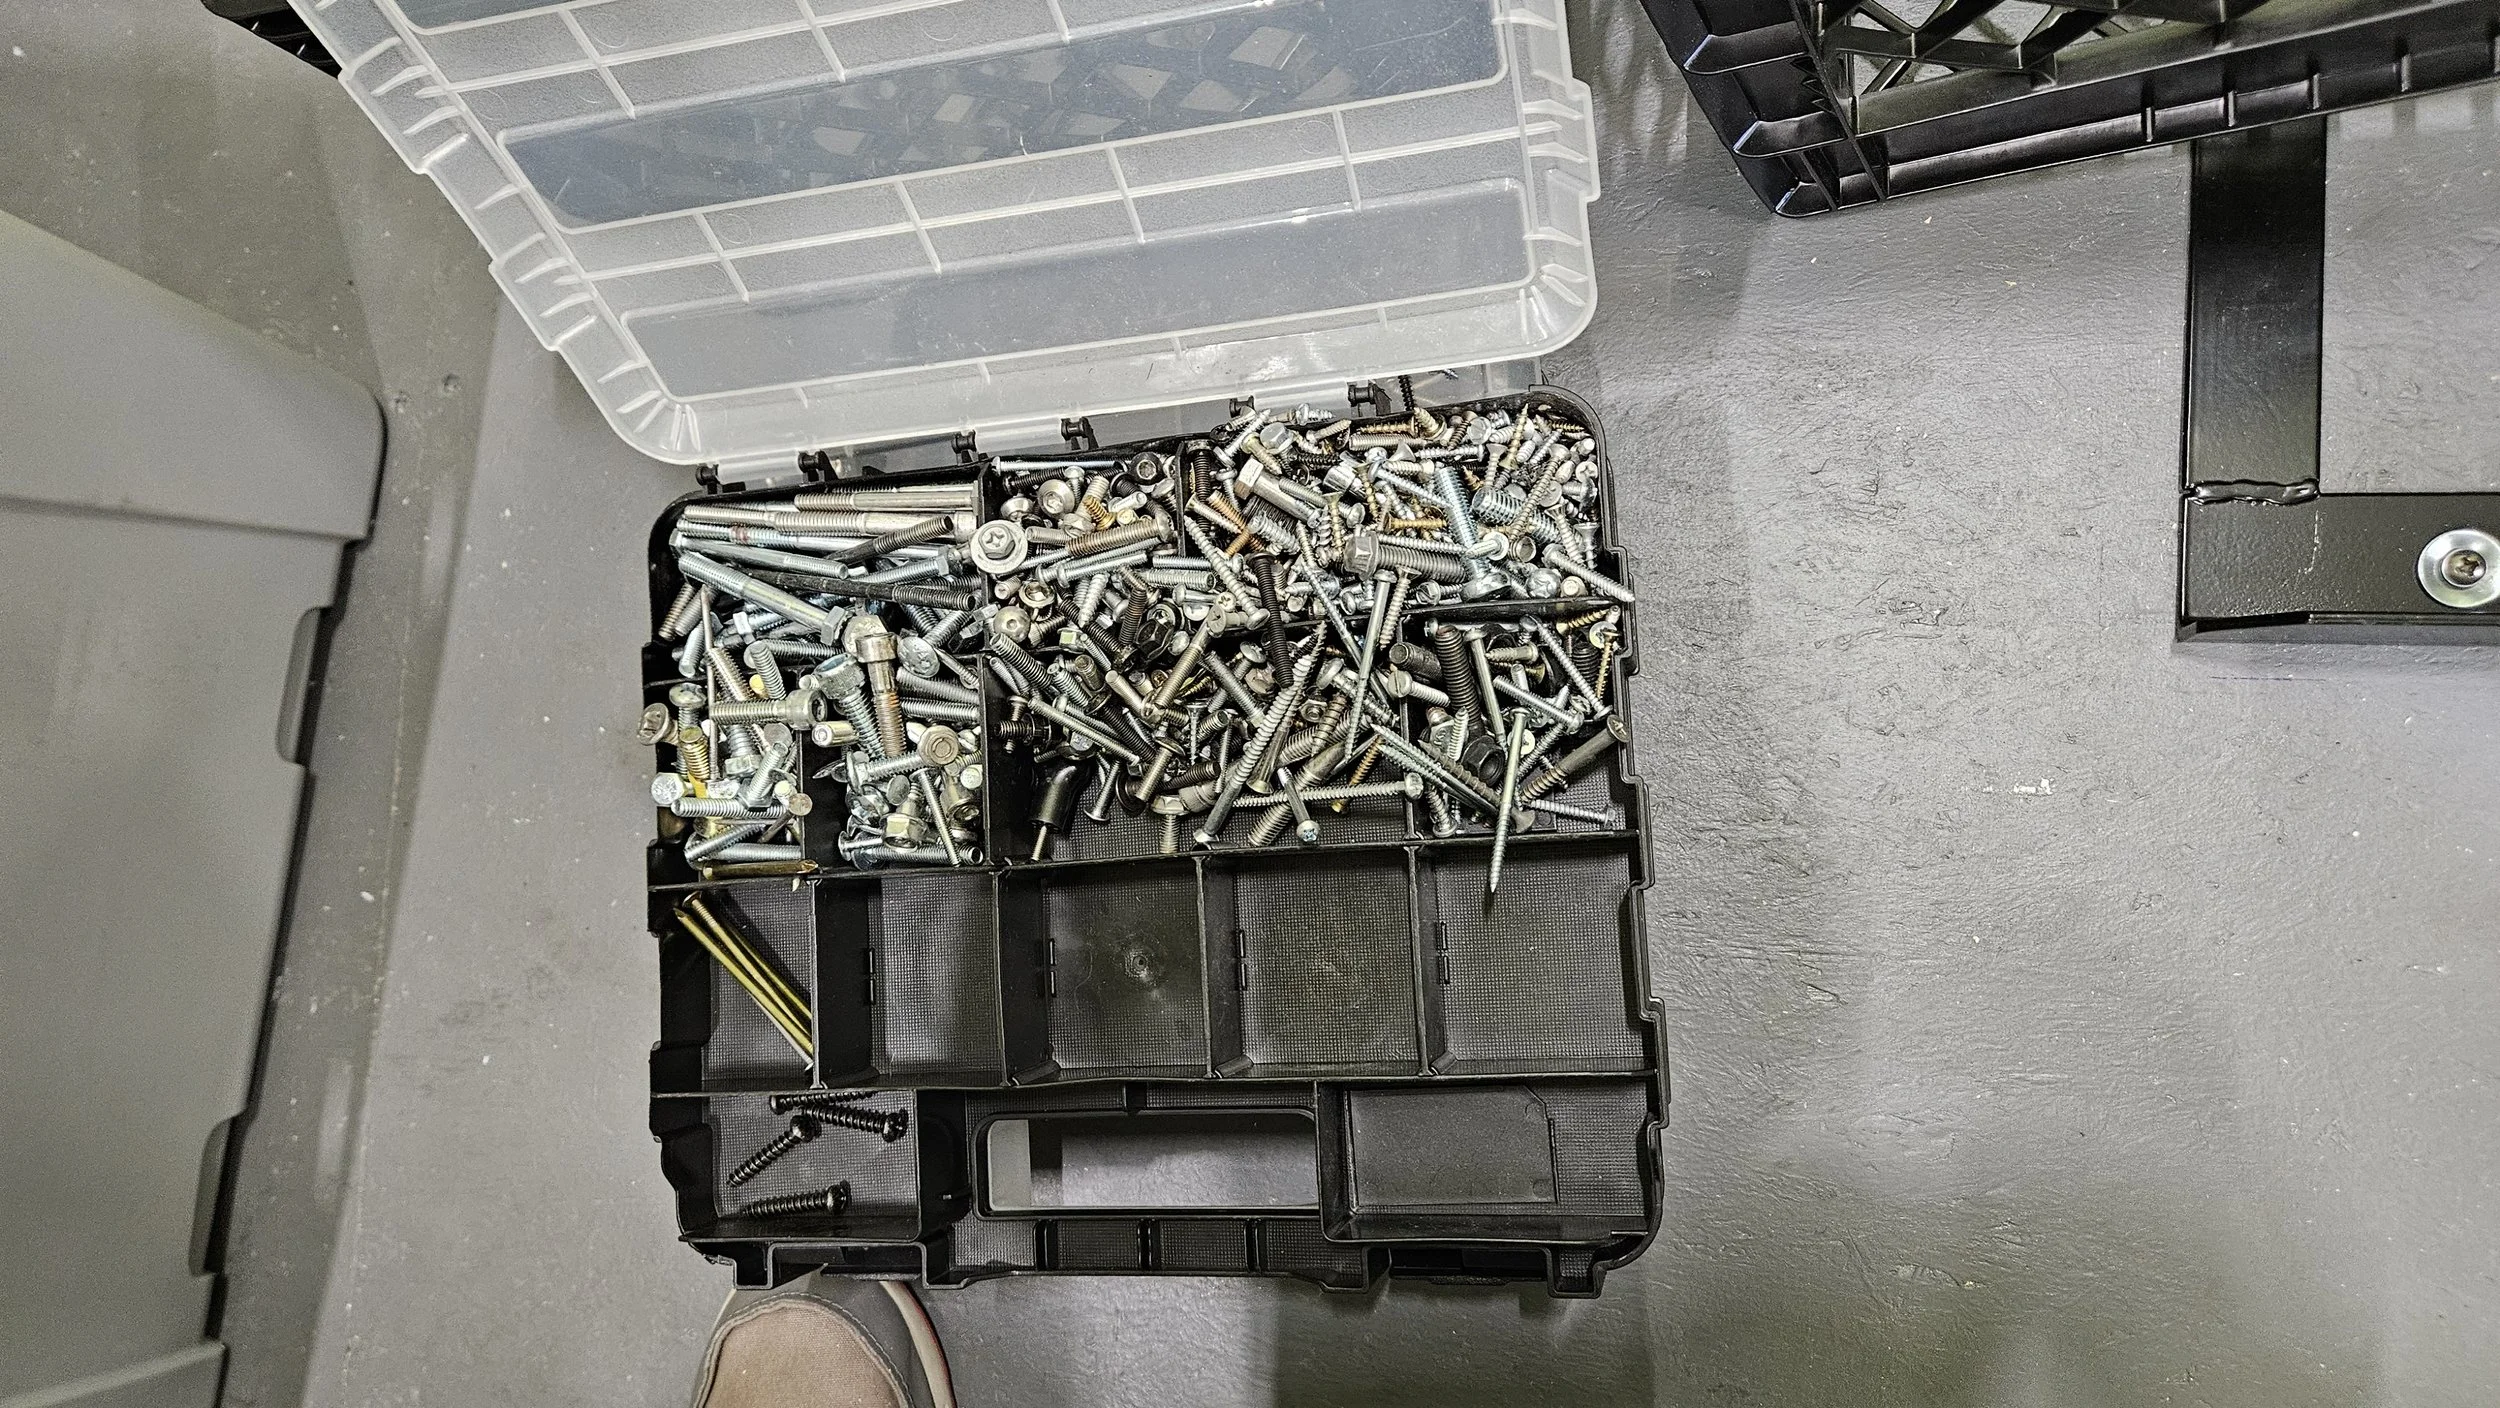
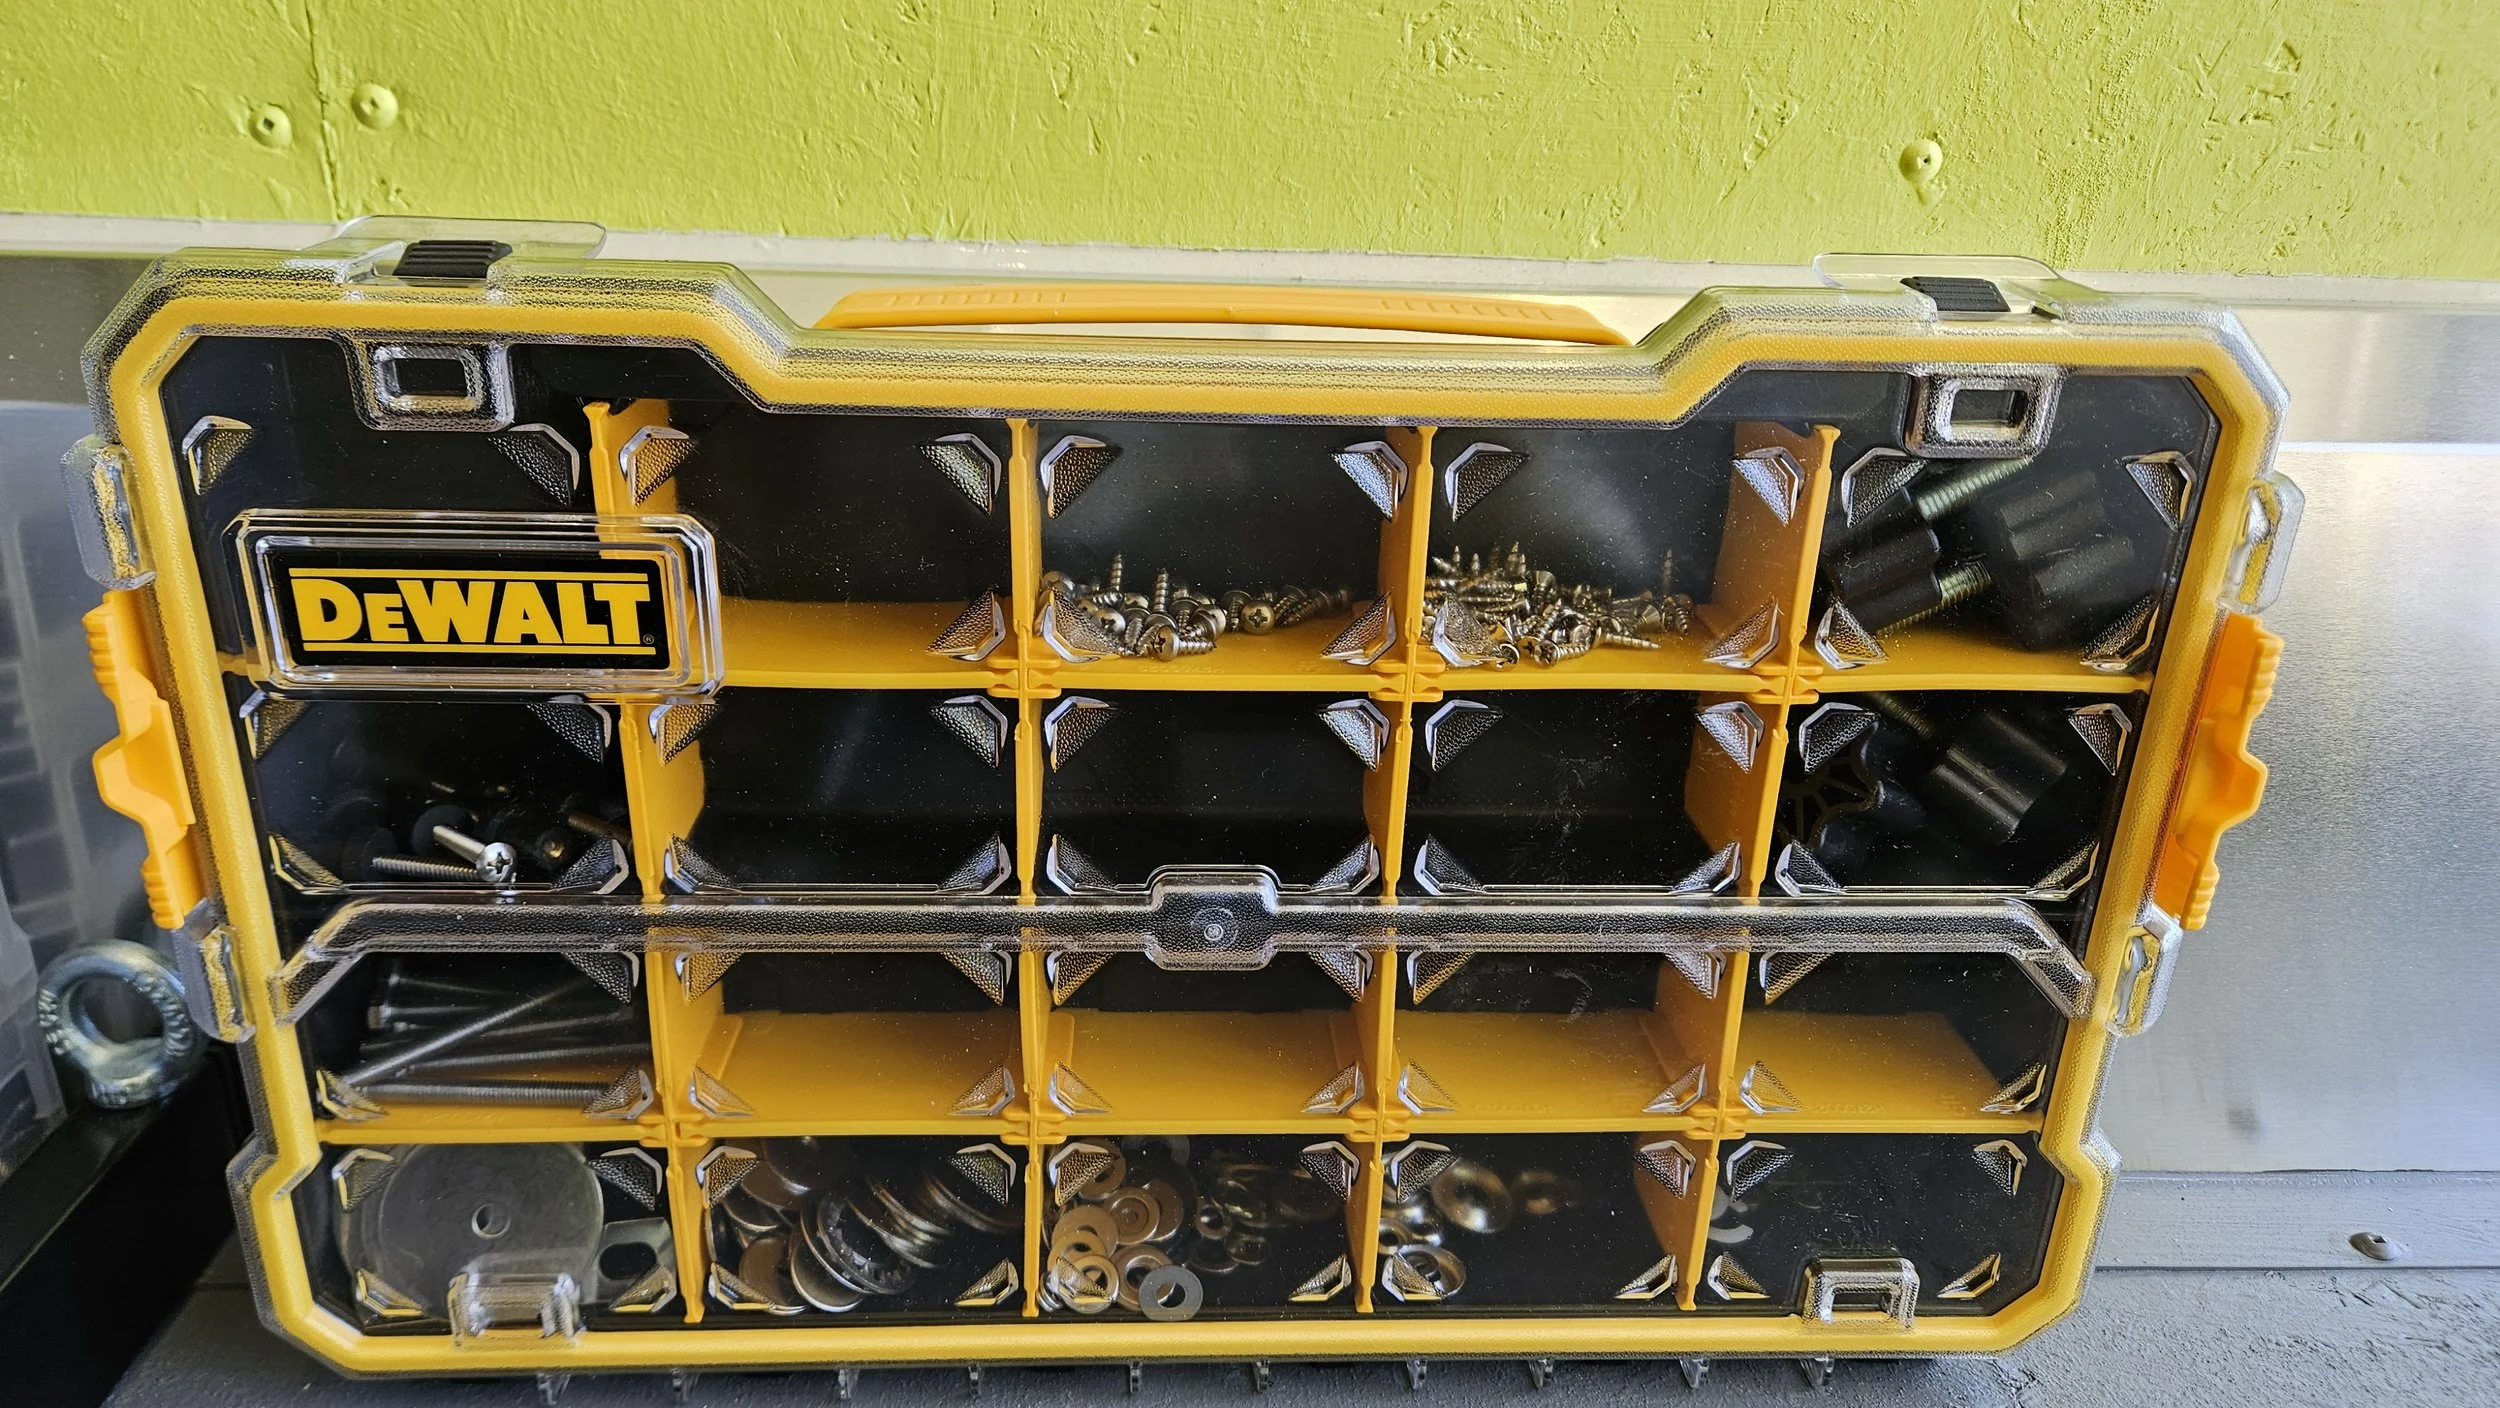
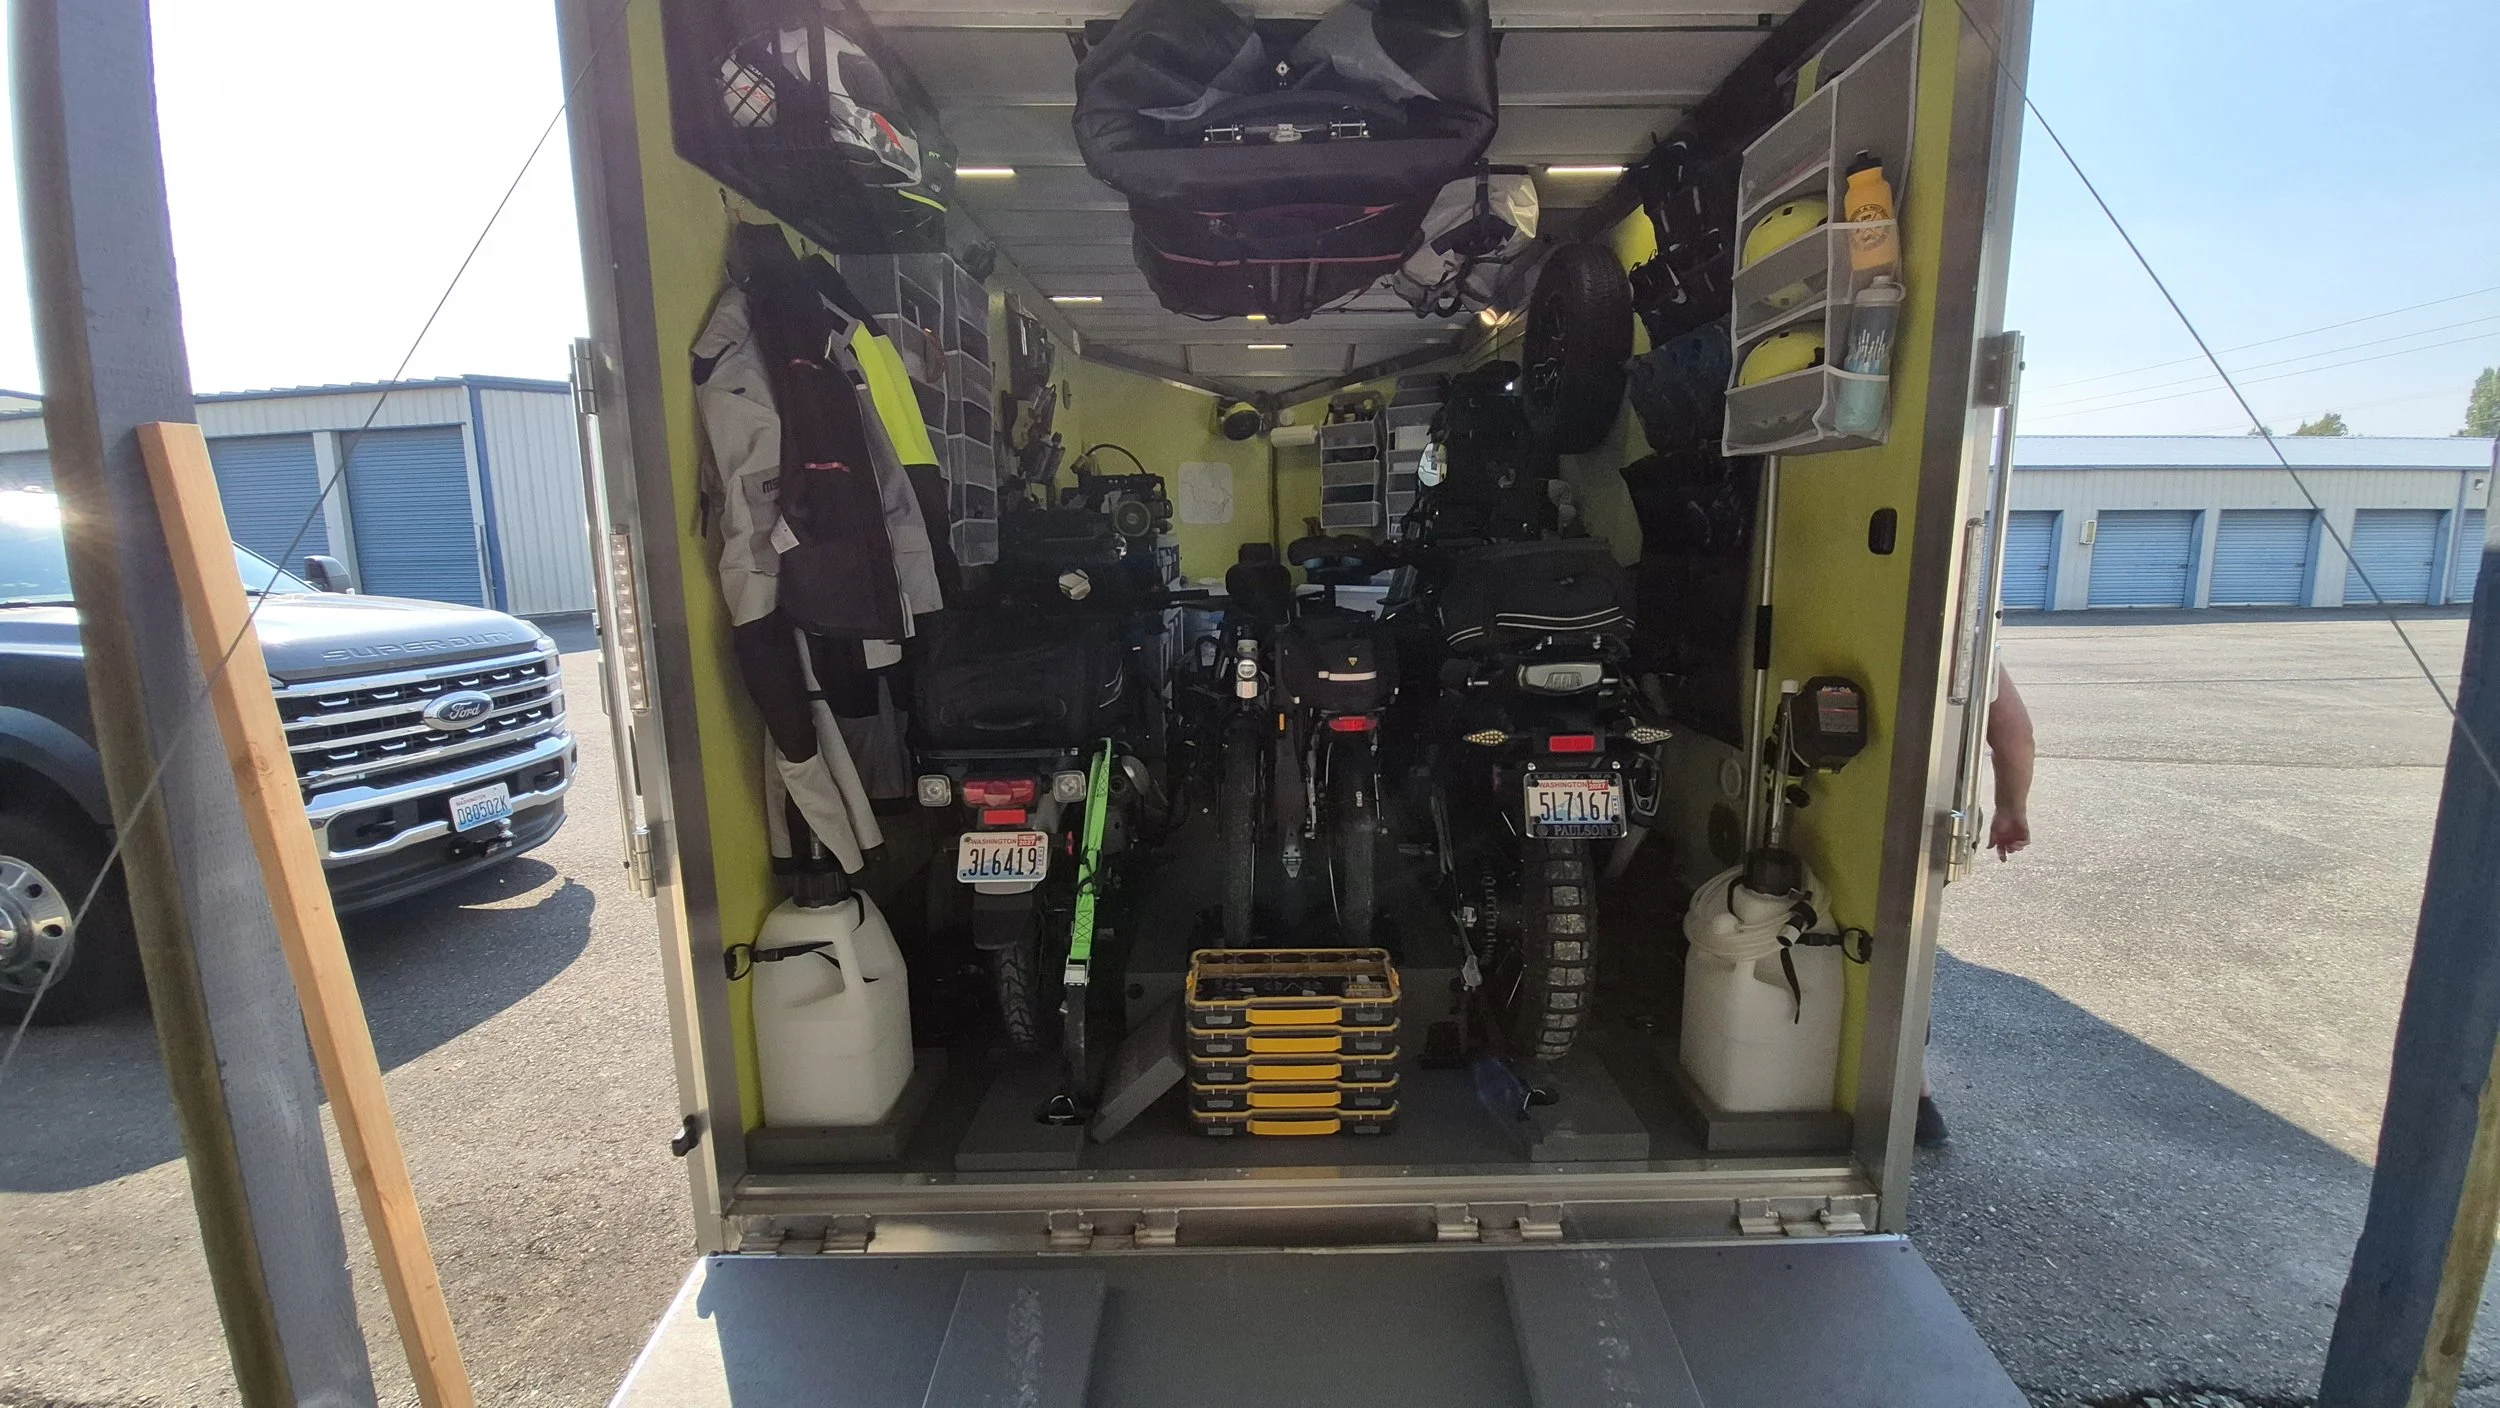
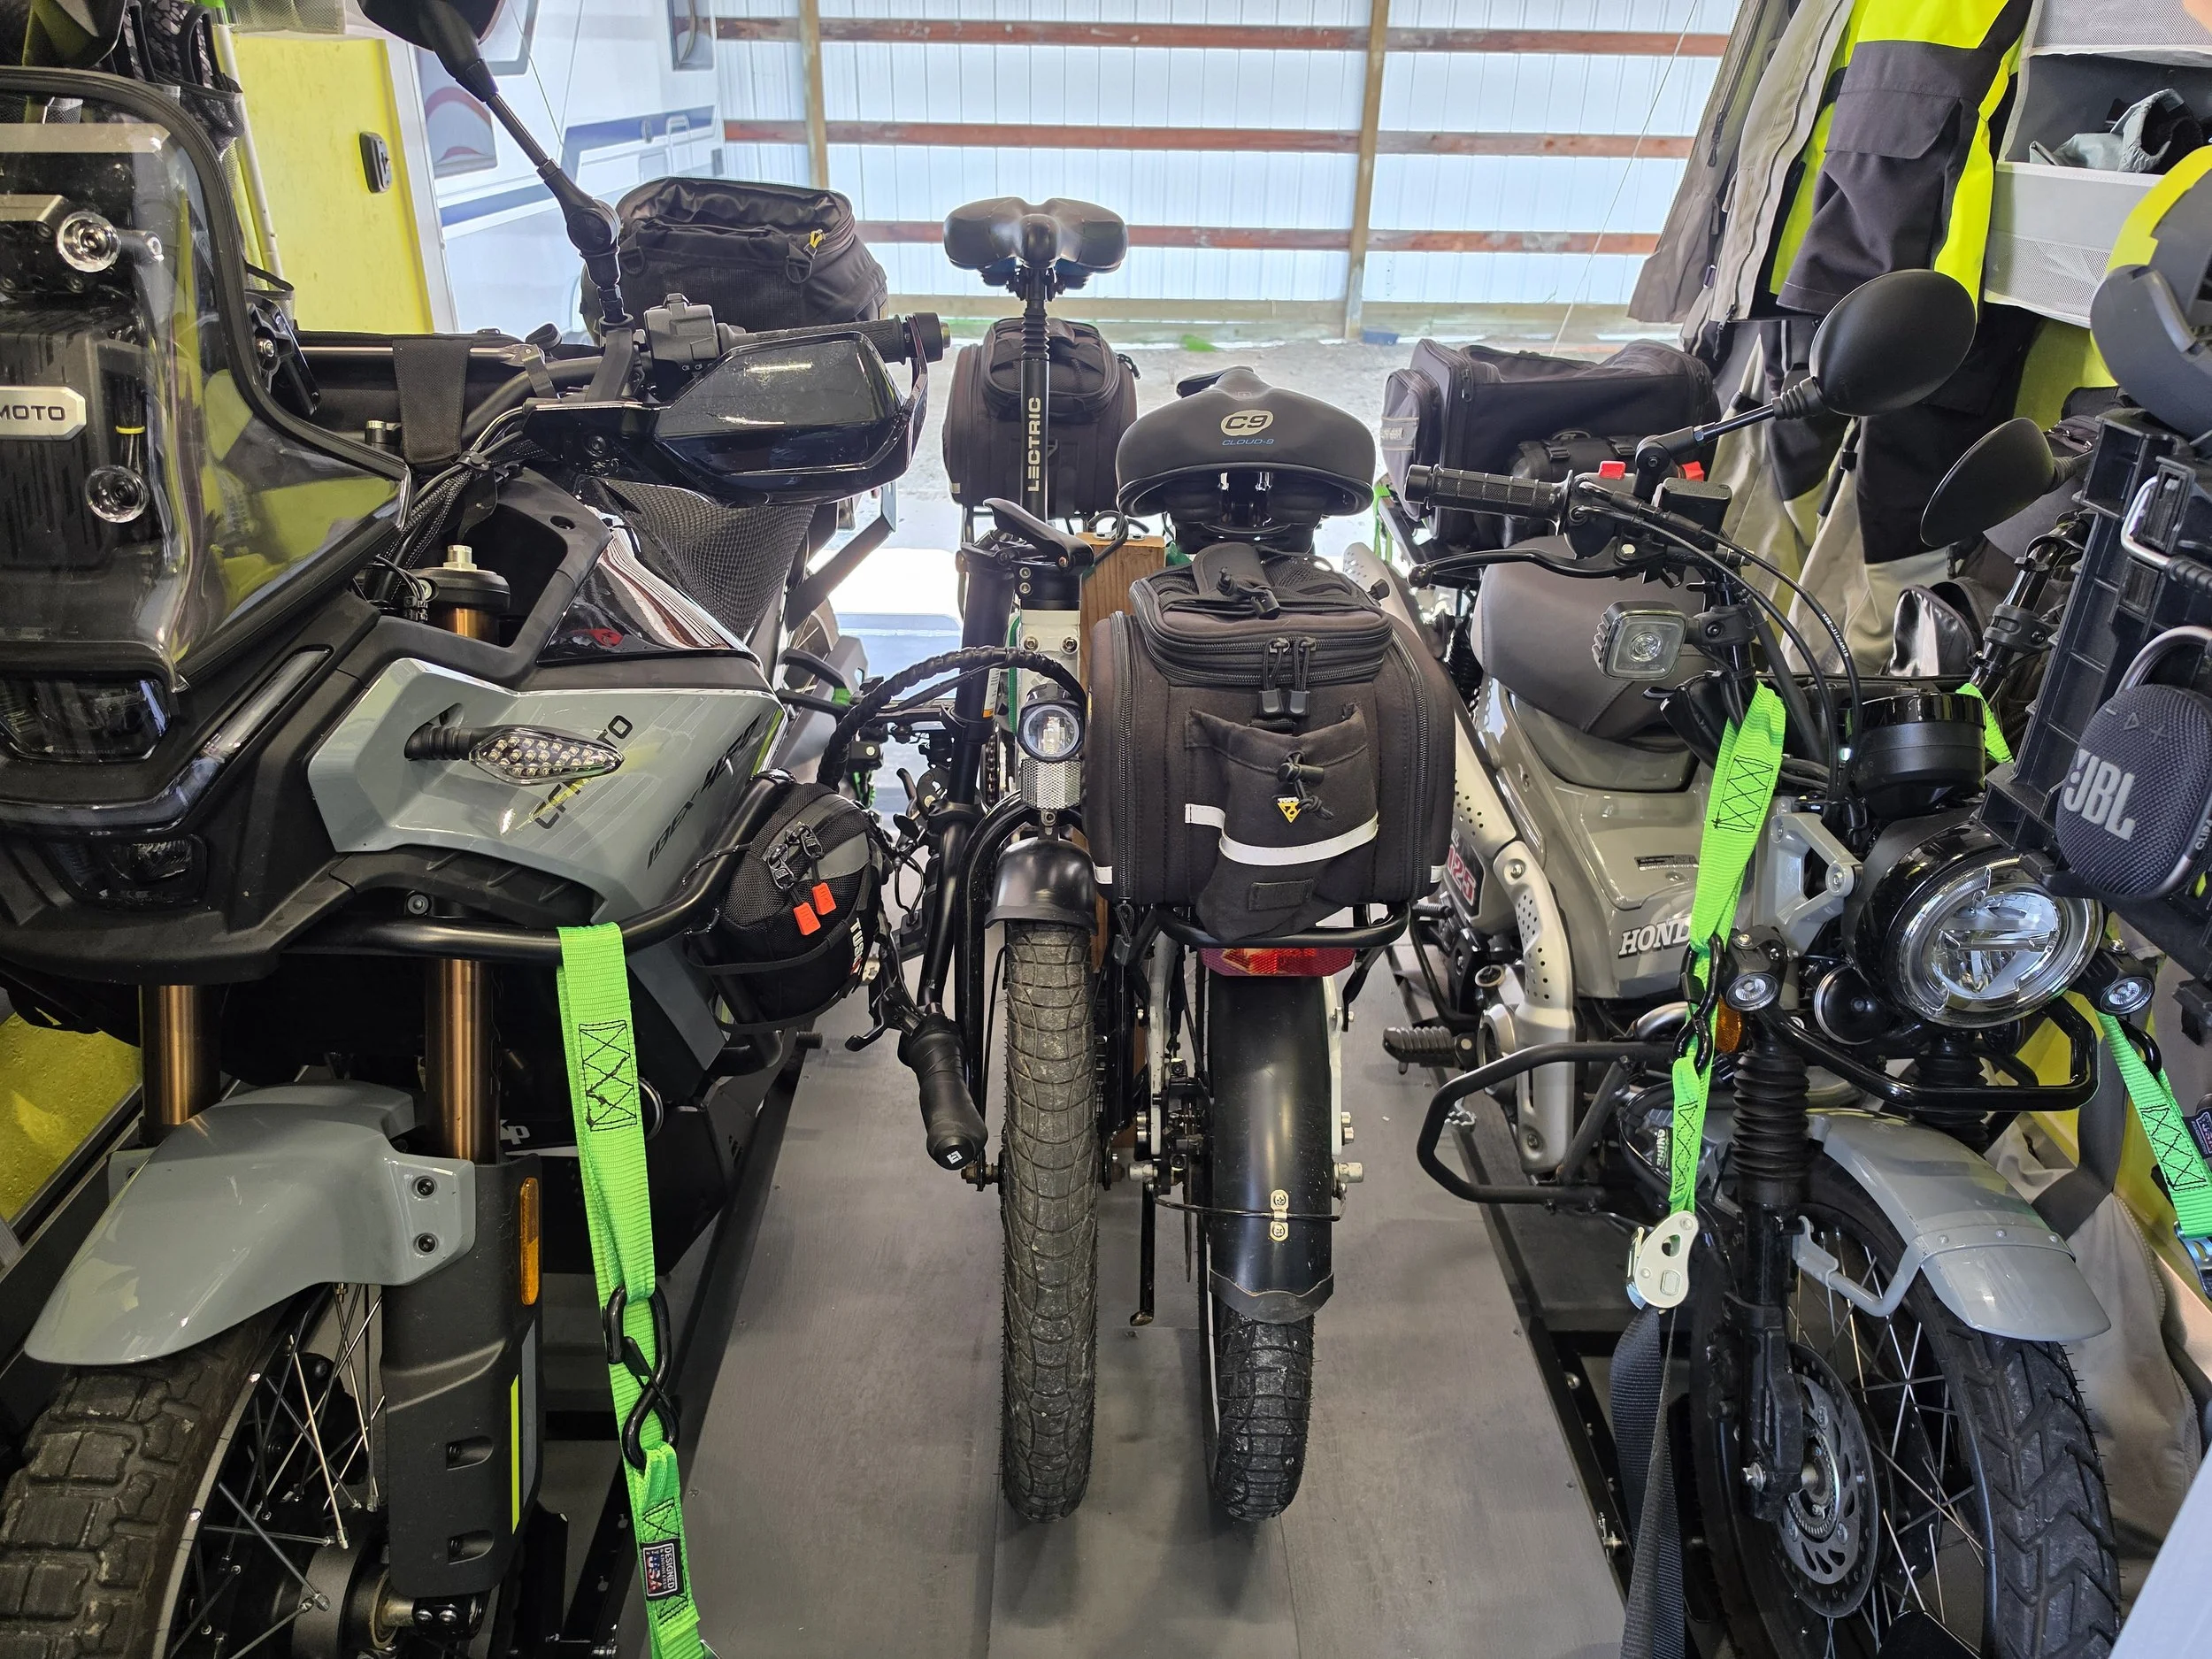
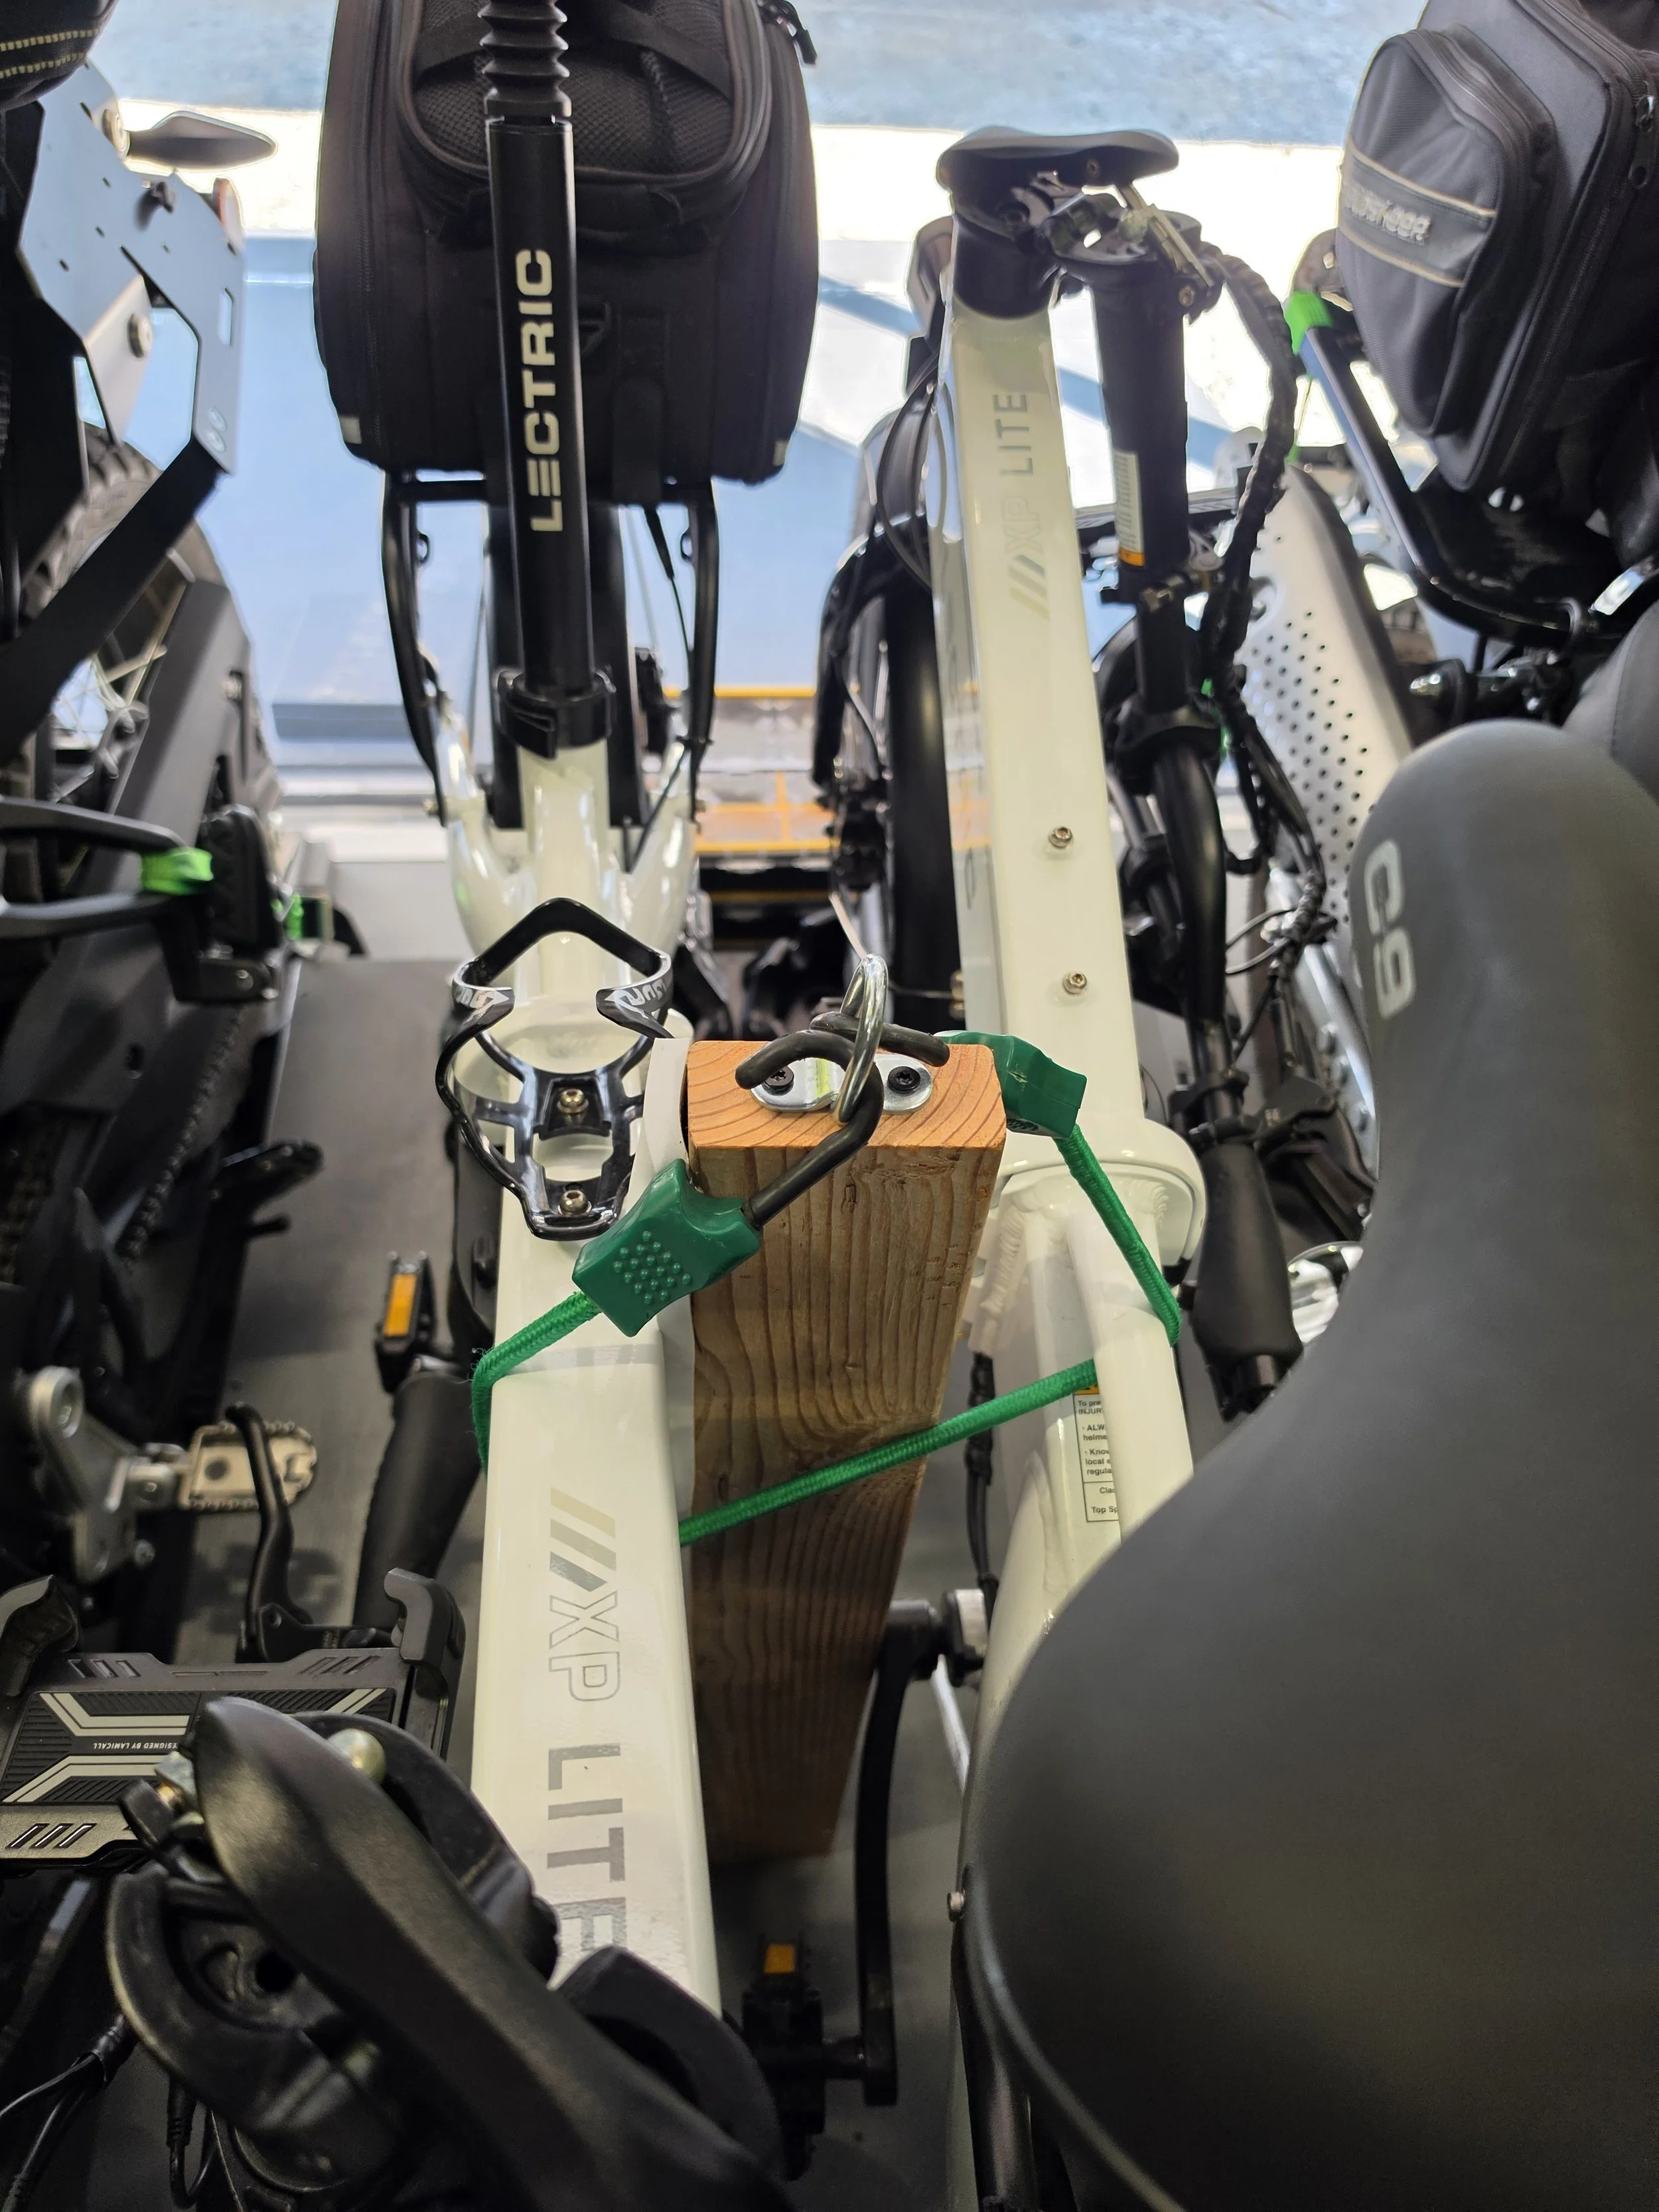
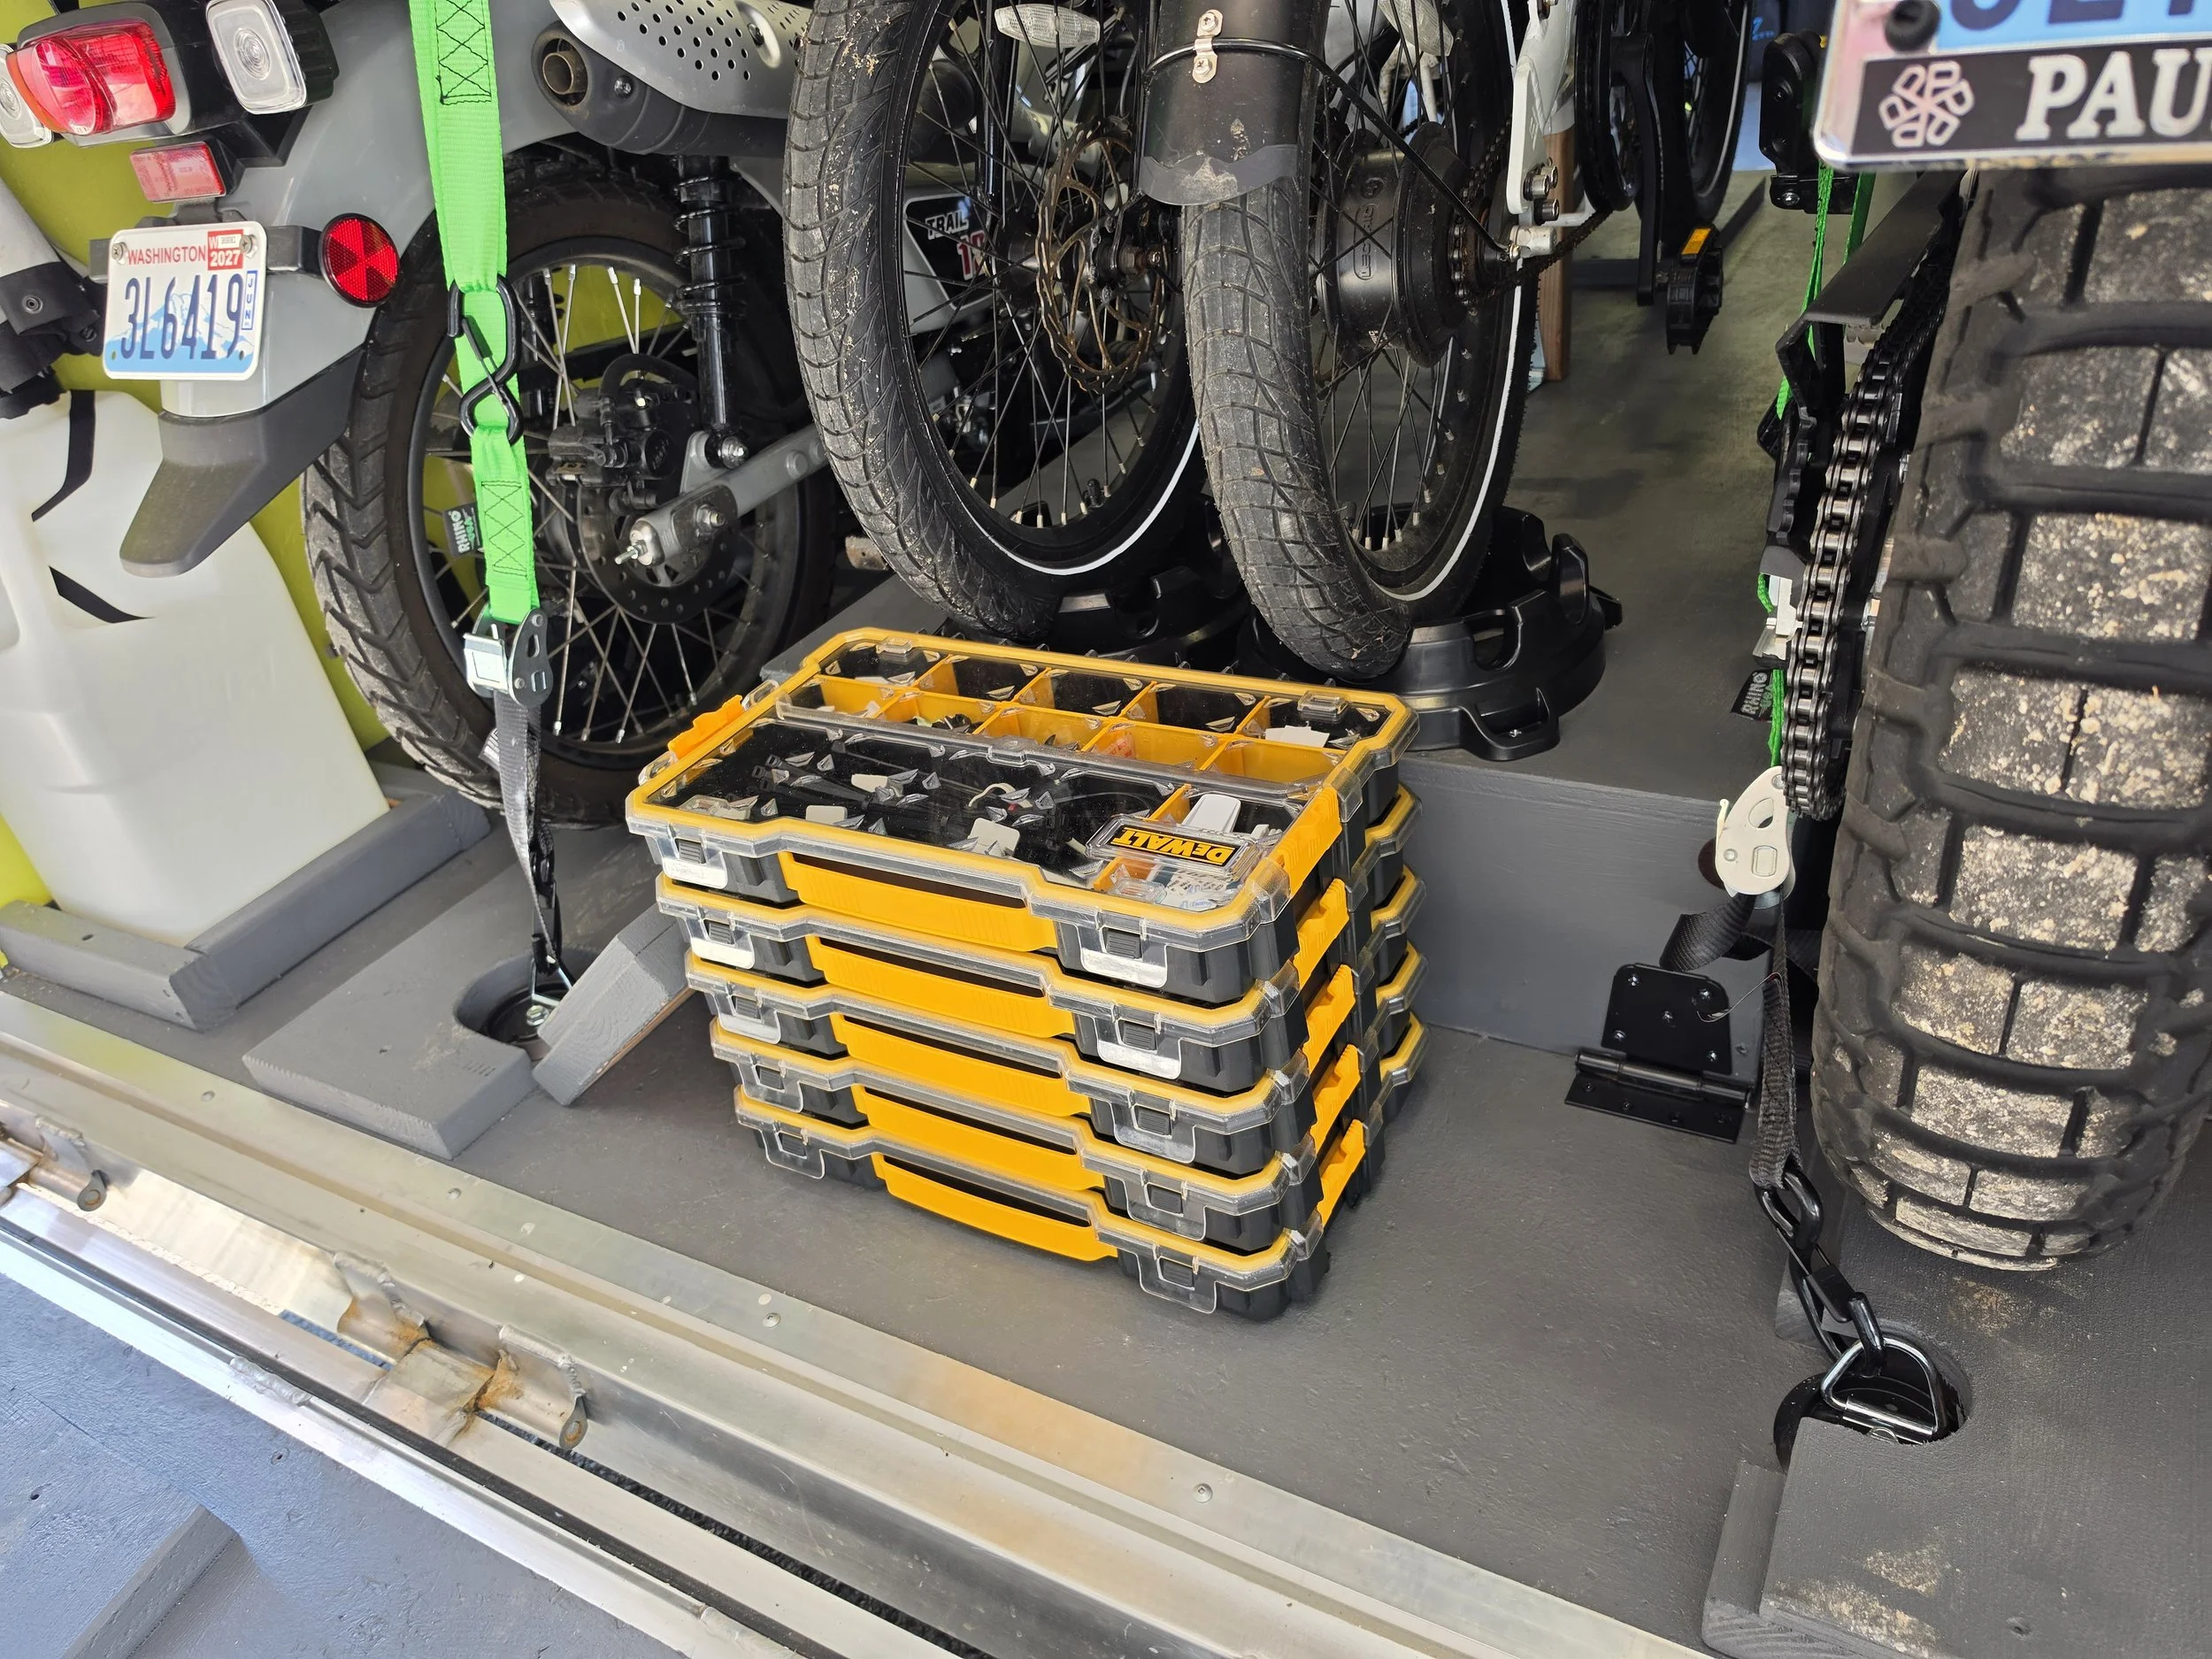
It’s gotten pretty crowded in the back end of the trailer (by design). Here is our setup for motorcycle and bicycle storage. This setup left a great spot to store the parts organizers.
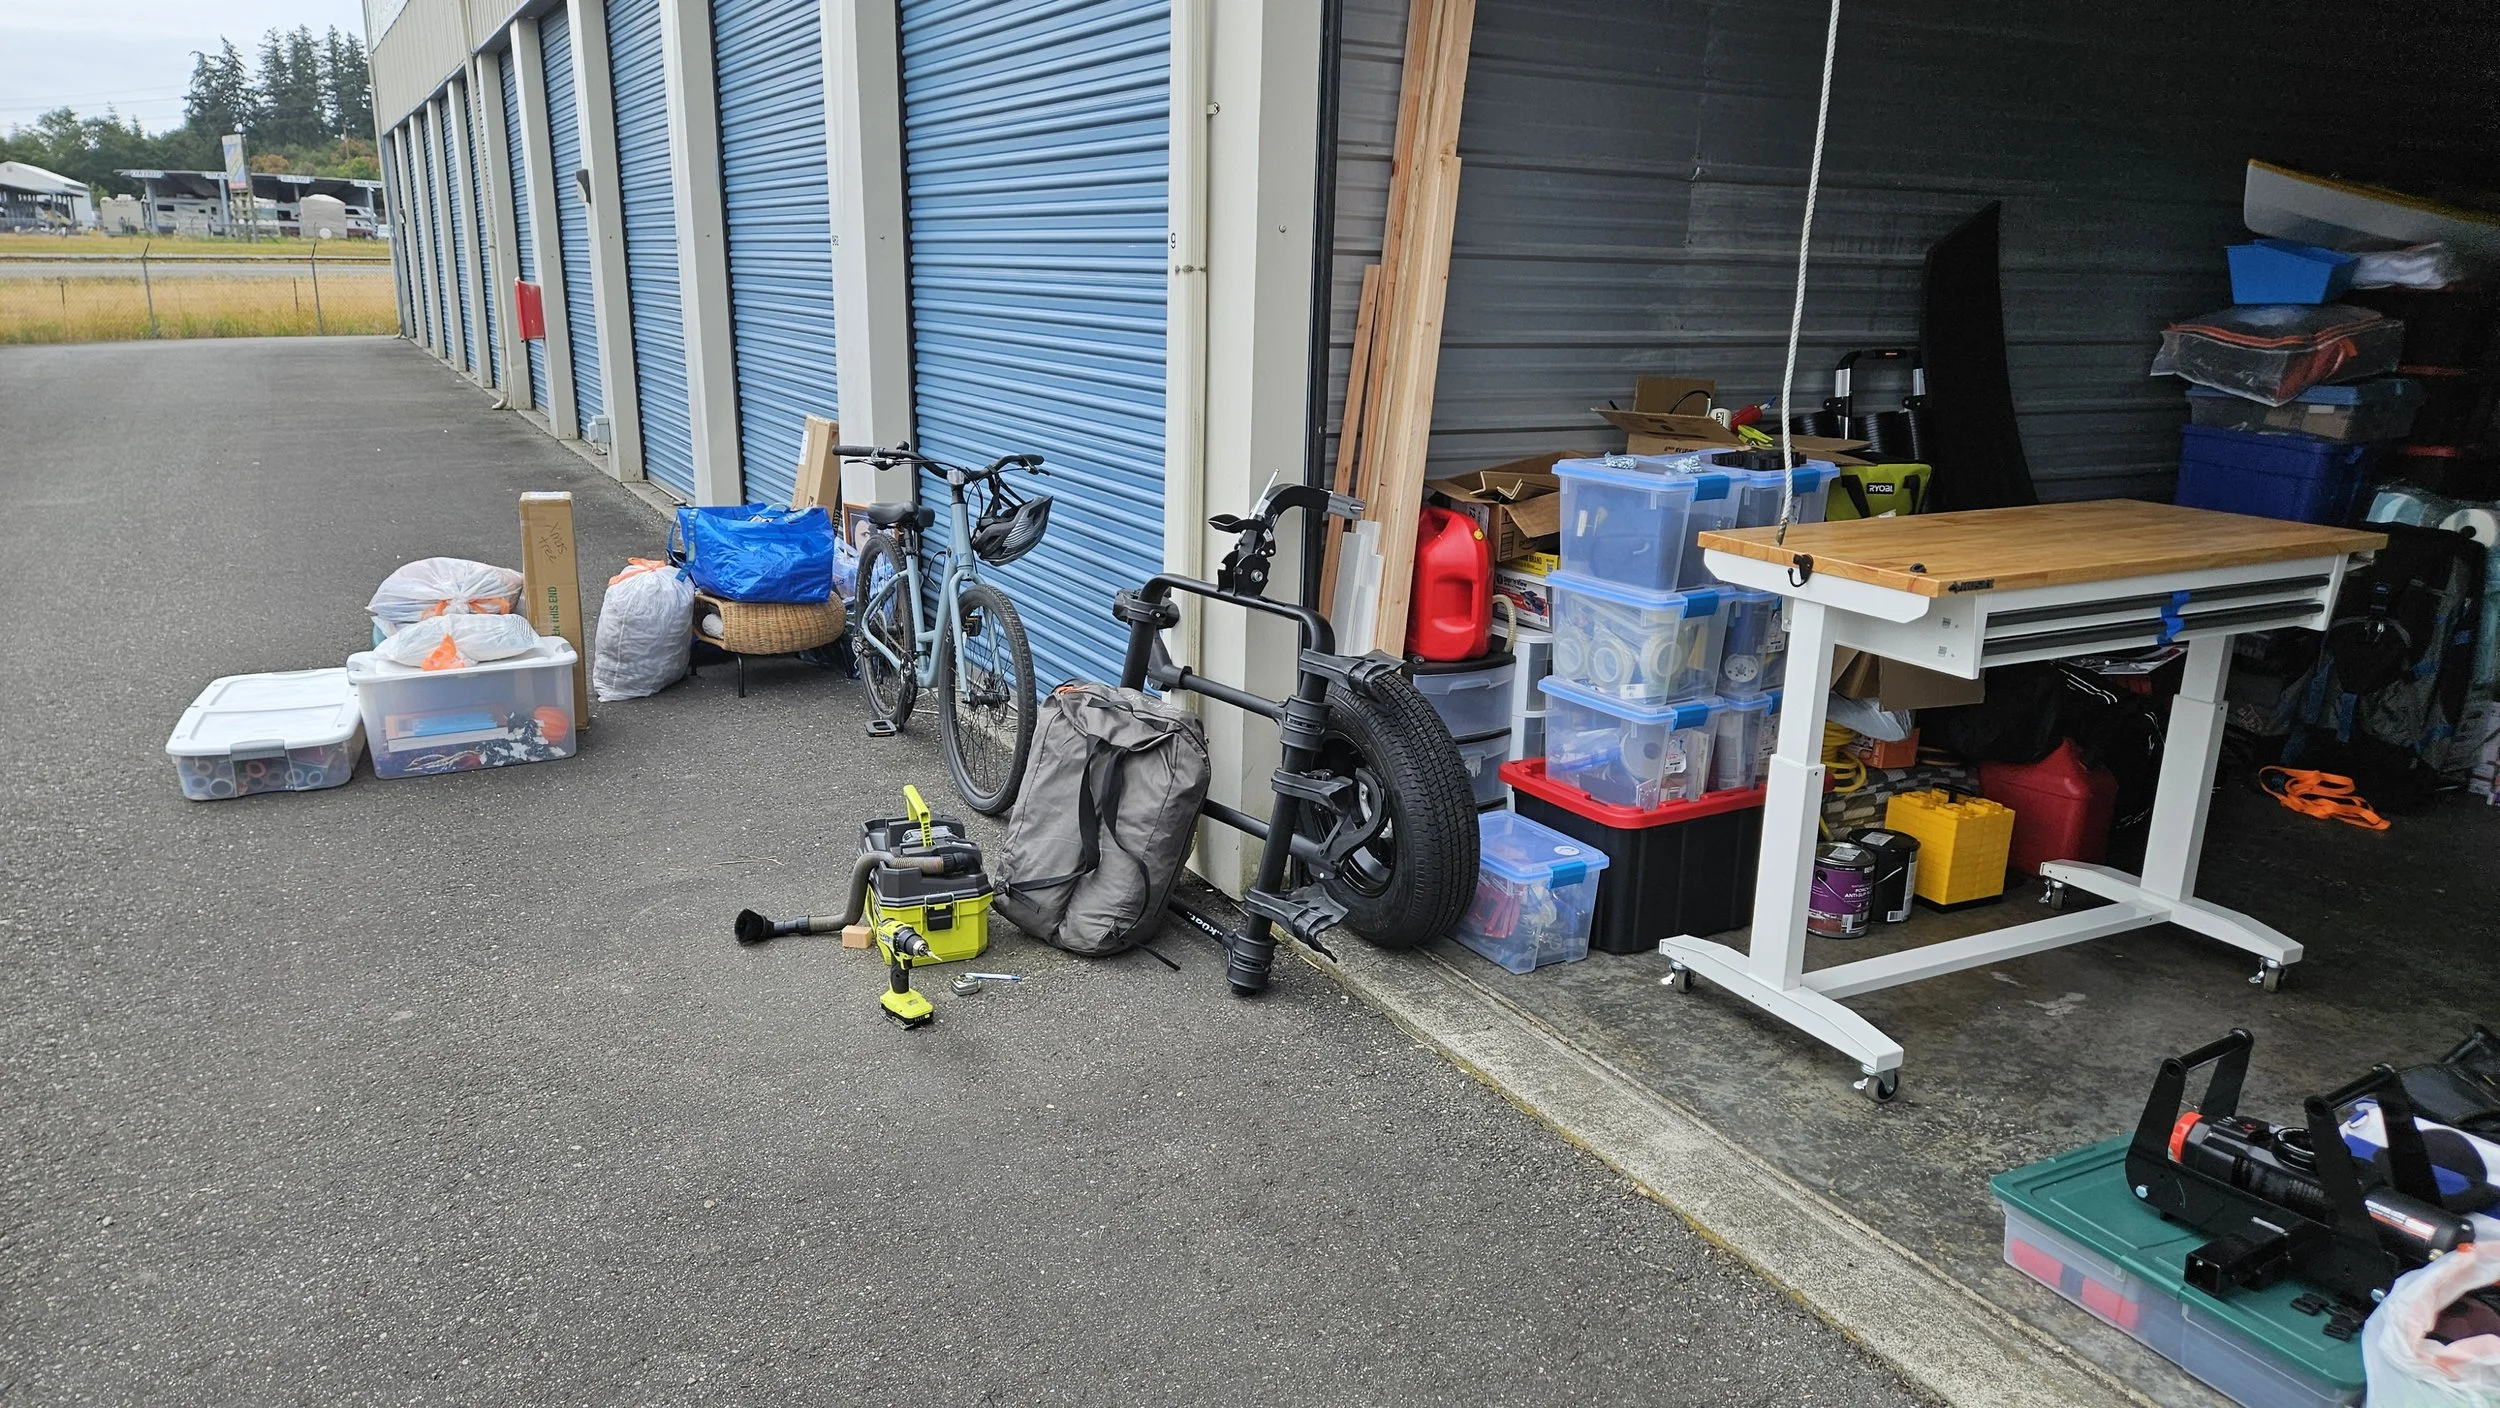
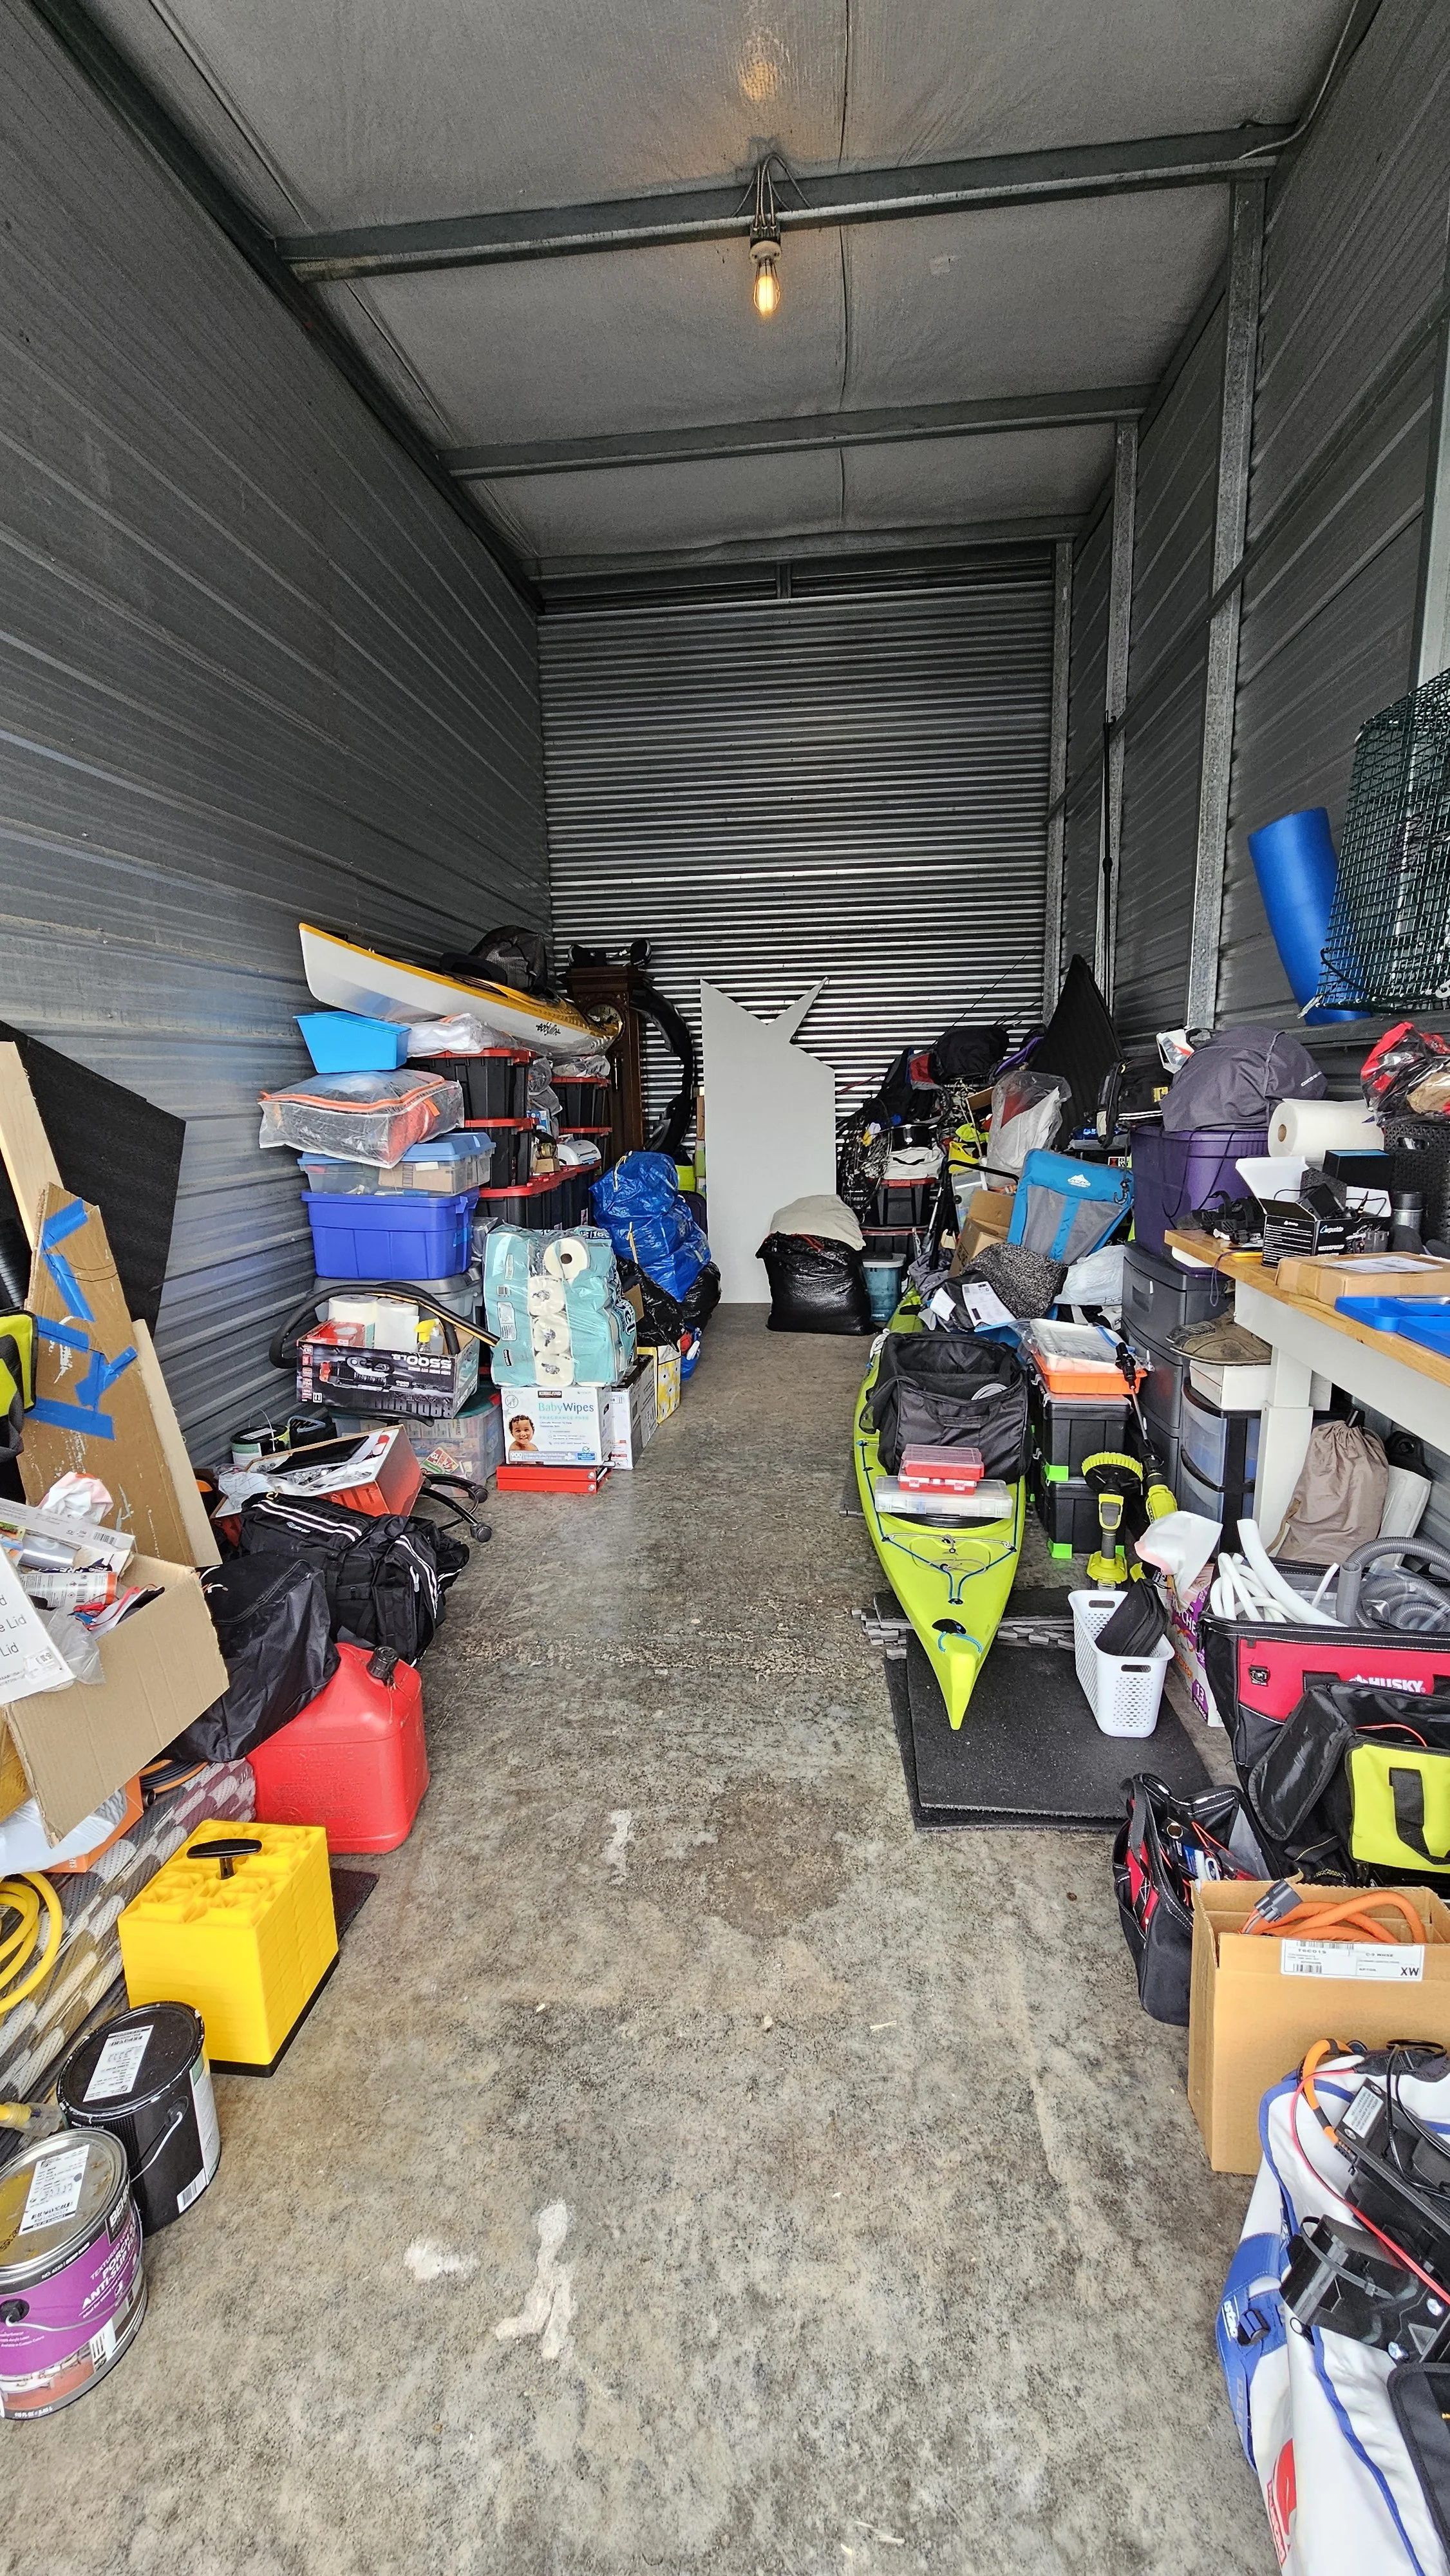
Here are some random pictures of the fun and chaos along the way!